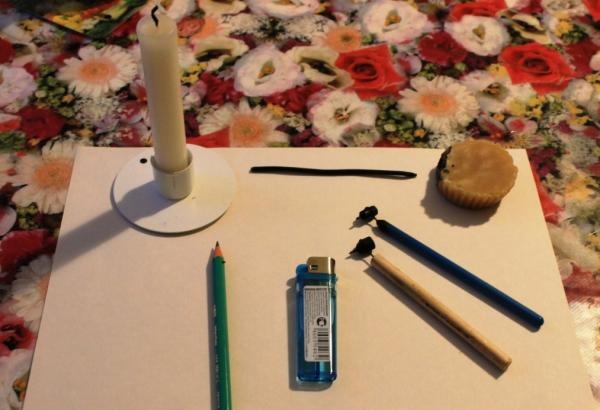
In order to make a pysanka with your own hands, you need the following things: a candle, wax (you can take either special black or bee wax), a pencil, a lighter, brushes (scribblers), aniline or specialized paints, as well as the eggs themselves, previously blown and dried .
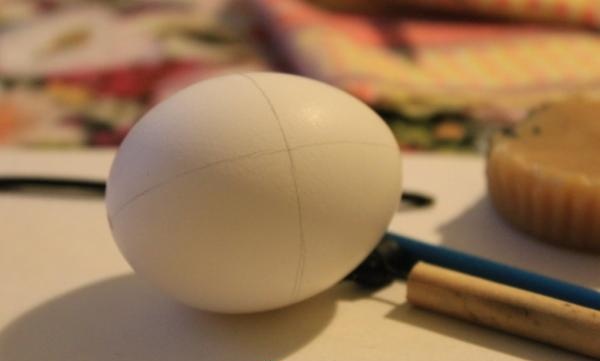
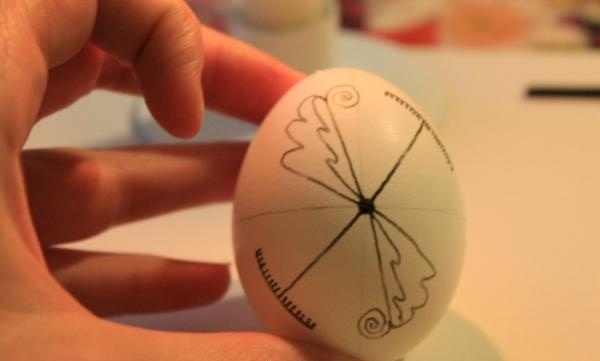
So, we take one egg and, using a pencil, draw the main lines on it, which we will then use to guide us when applying the pattern. The number and location of these lines depends on the design, but for this Easter egg we just need to divide the front and back of the egg into four parts.
Then we take the brush and slowly heat it over the candle fire, after which we put a small piece of wax into it and, first of all, seal the hole through which the egg was blown - if this is not done, then the paint will get inside; then we begin to apply the pattern.
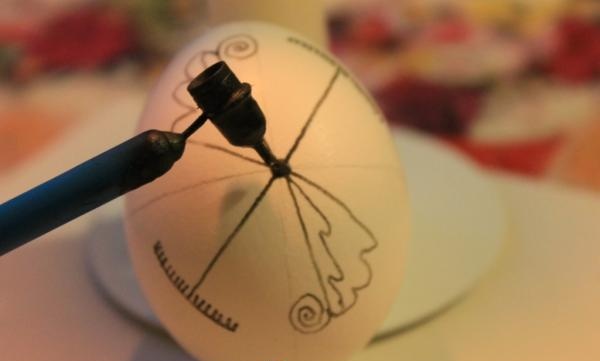
The pattern should be applied carefully, periodically heating the brush over the fire so that the wax flows out onto the surface evenly.
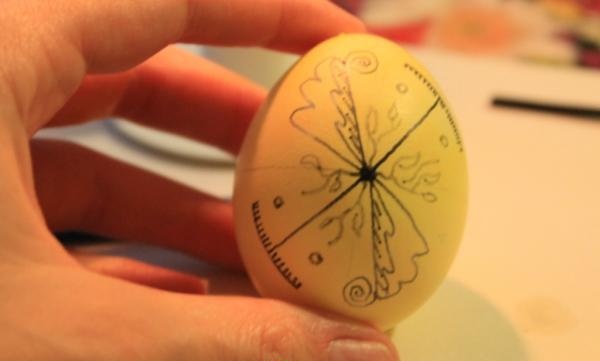
Once the pattern is applied to both sides of the egg, you can begin painting.
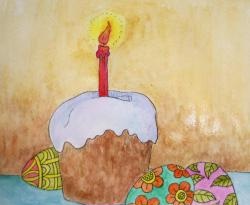
First, dip the egg in yellow dye (I use special dyes for Easter eggs, but aniline dyes for wool can be an alternative).
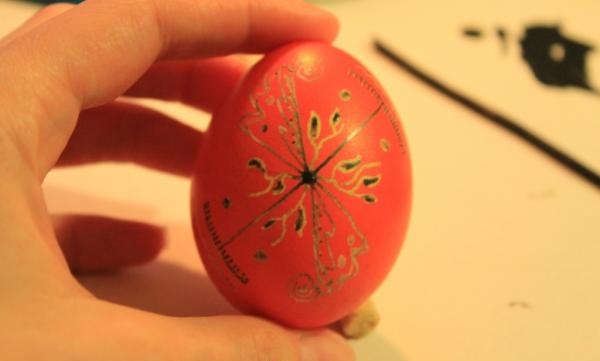
Now we apply the following fragments of the pattern to the surface of the egg and color it first with orange and then with red. It should be remembered that when coloring an egg you need to go from lighter to darker shades, so the color scheme of the pysanka needs to be thought out in advance.
We make the final touches with wax: we finish the dots of the flower petals and fill the elements of the “wings” with wax, after which we paint the pysanka in the final black color.
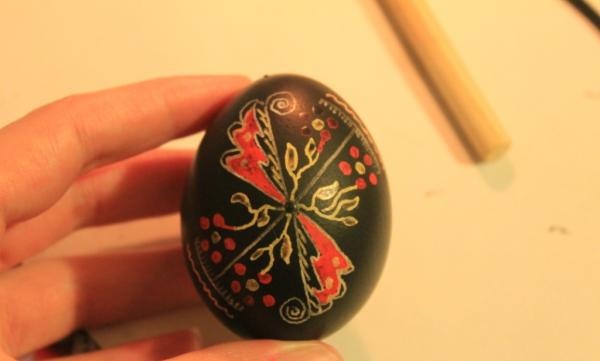
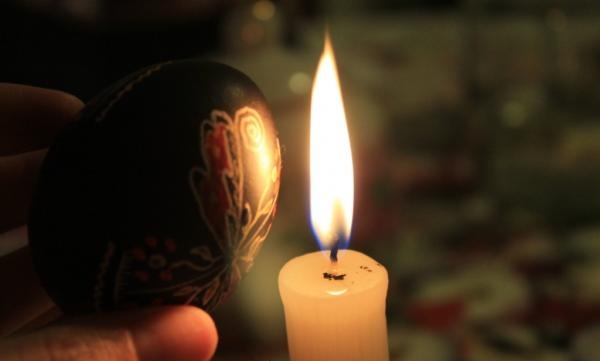
Using the sharp tip of a brush, we open the egg so that it does not explode when heated, and then we bring it to the candle flame and melt the applied wax, wiping it off with a cloth. At this stage, special care must be taken so as not to spoil the finished work: firstly, you cannot heat the egg too much so that it does not explode; secondly, you should not put the egg into the upper part of the flame so that the pattern does not become smoky.
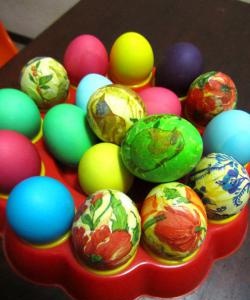
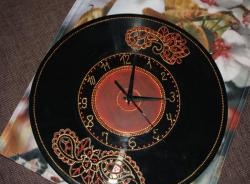
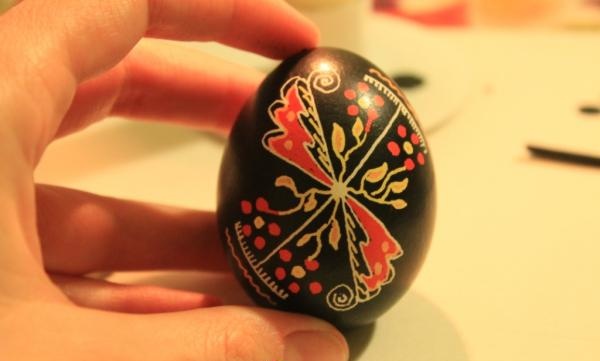
That’s it, the beautiful and original pysanka is ready!
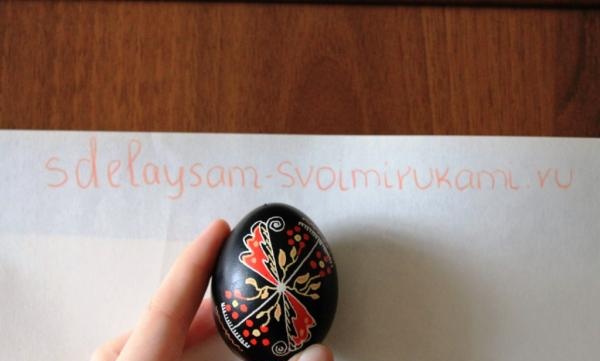
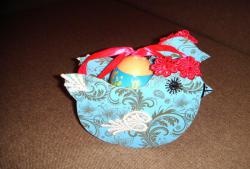
If you wish, you can weave a small basket for the pysanka or hang it on a thin cord on willow branches.