Do it yourself
Life hacks, master classes, useful tips, recipes.
home » Different » Mini vase
It’s so nice when flowers smell in a room, you immediately get a feeling of freshness and a pleasant atmosphere around. But the flaw of flowers is that although they are all beautiful, they are of different sizes. Sometimes it is very difficult to choose a vase that is ideal for your bouquet of flowers: it is either too small or too large. But, nevertheless, you will agree that large flowers are easier to place in a vase, and besides, they can also be trimmed if they are too huge, but then what to do with smaller flowers? On the one hand, it is indeed a problem, but on the other hand, it is easily solvable. After all, you can make a vase for small bouquets with your own hands.
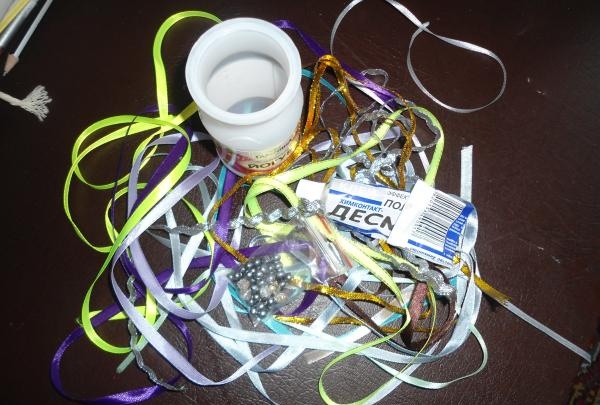
To make a mini-vase with your own hands, you need to stock up on the following materials: a base for a vase (this can be the shape of an old bottle or yogurt container), three narrow satin ribbons, one ribbon 1 centimeter wide and 1 meter long, several beautiful and flat buttons, as well as glue.

Mini vase


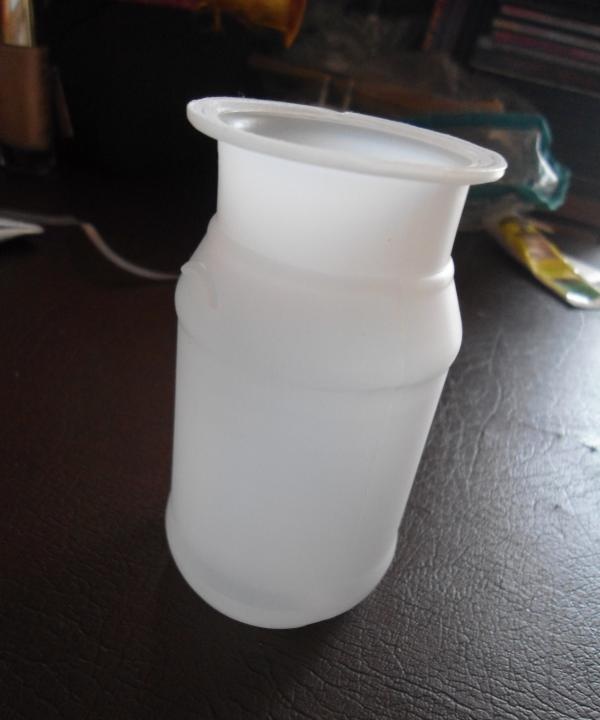
If you took a yogurt mold as the basis for your vase, then free it from various stickers, because the tapes will then stick poorly and, subsequently, stick.


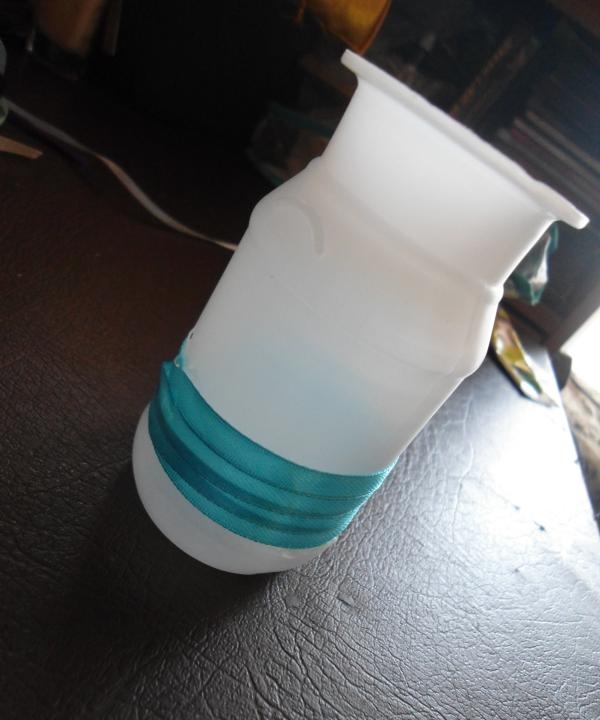
Leave a centimeter or two at the bottom, and then apply glue along the vase at a level of two centimeters and glue the first narrow satin ribbon.


Further, even higher a centimeter or two (depending on how long your ribbons are), glue the second ribbon.


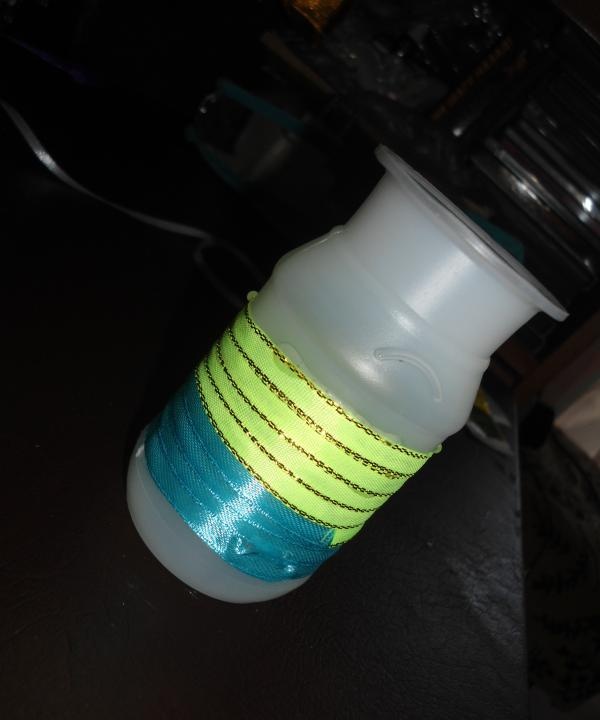
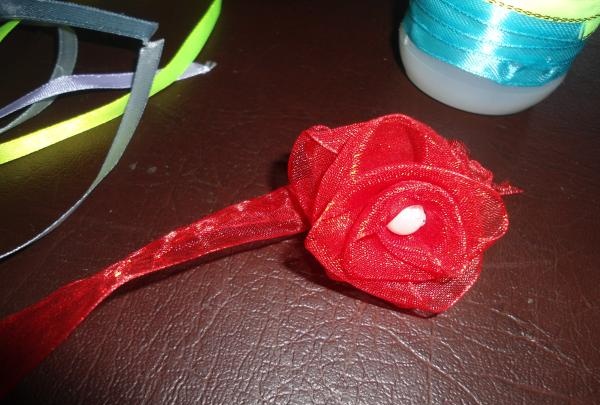
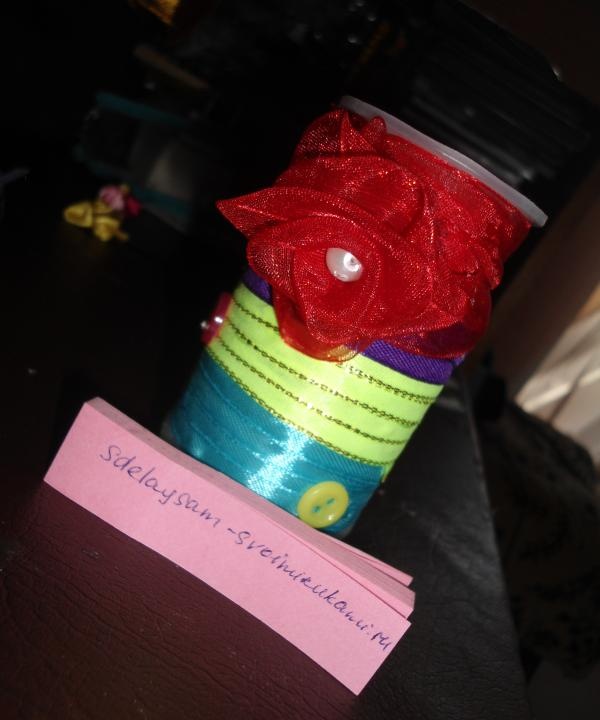
We glue the third ribbon in the same way, but due to the fact that the neck of the vase begins to narrow towards the top, in order to hide all the flaws we need another ribbon, but thicker. From the first half of this ribbon we make a rose (any method of creating this rose is suitable, as long as it turns out beautifully, because this is one of the main decorations of your miniature vase).


Now we take this tape with the finished rose and wind it, while simultaneously gluing the tape to the base.
In principle, you can leave it like that, but you can add more buttons in different places.


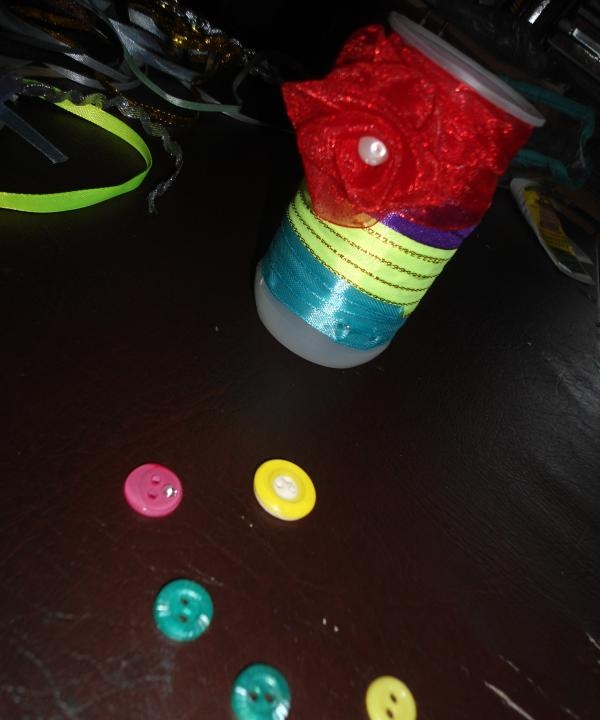
You can take a lot of buttons and cover the entire vase, but it won’t be the same and it will also look a little fake.
We glue the buttons in different places and at different distances.
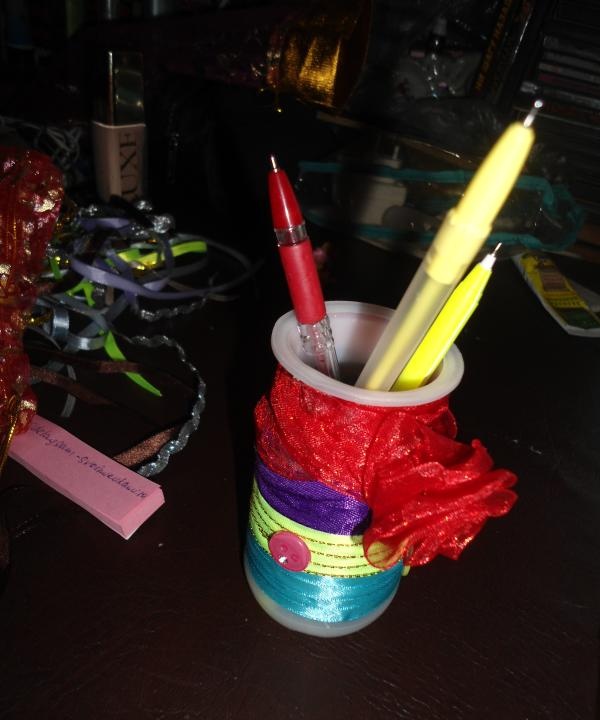
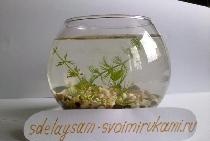
And what a lovely vase we have!


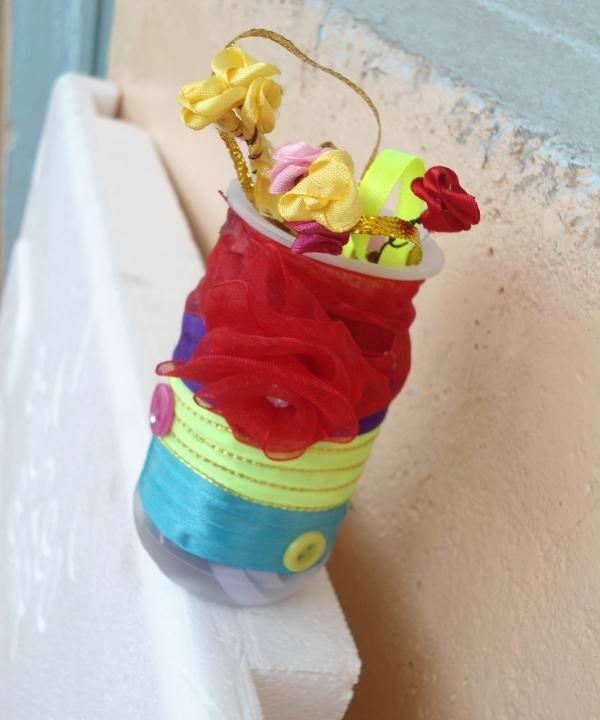
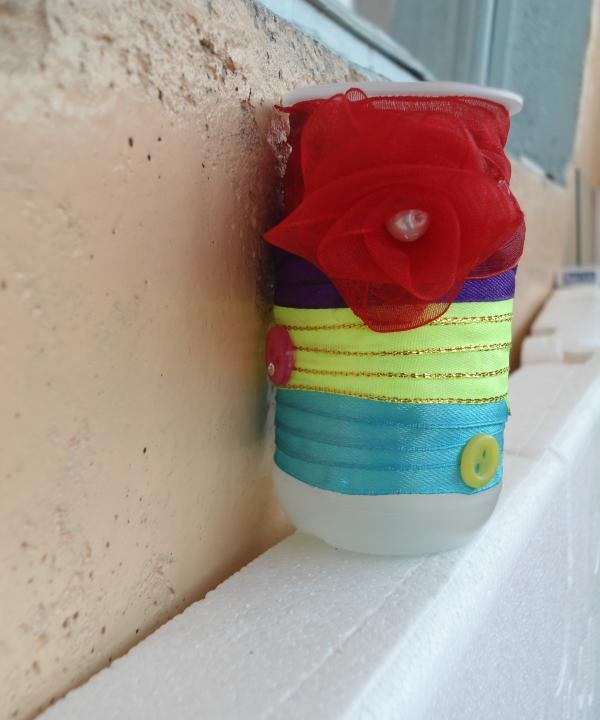
Another advantage of this thing is that it can also be used as a cup for pens and pencils.


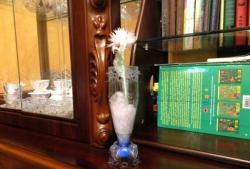
Whatever path you choose for your product, rest assured that it will also appeal to your friends, because such an exquisite thing simply cannot remain without the necessary attention. It seems like a miniature, but how chic it can complement your interior!

come back
Comment
  • bowtiesmilelaughingblushsmileyrelaxed relaxedsmirk
    heart_eyeskissing_heartkissing_closed_eyesflushedrelievedsatisfiedgrin
    winkstuck_out_tongue_winking_eyestuck_out_tongue_closed_eyesgrinningkissingstuck_out_tonguesleeping
    worriedfrowninganguishedopen_mouthgrimacingconfusedhushed
    expressionlessunamusedsweat_smilesweatdisappointed_relievedwearypassive
    disappointedconfoundedfearfulcold_sweatperseverecrysob
    joyastonishedscreamtired_faceangryragetriumph
    sleepyyummasksunglassesdizzy_faceimpsmiling_imp
    neutral_faceno_mouthinnocent
4 minus one =
Comments (0)

Handmade soap “Tar” | Do it yourself

How to weld thin metal 1 mm thick without burning through it yourself

How to make a power bank with a flashlight from a syringe and a battery

Coffee toy “Fisher Cat” | Do it yourself

«Do it yourself - with your own hands» - a site of interesting homemade products made from scrap materials and items at home. Step-by-step master classes with photos and descriptions, technologies, life hacks - everything a real master or just a craftsman needs for needlework. Crafts of any complexity, a large selection of directions and ideas for creativity.

We recommend reading

Washing machine error codes