We will need:
- Form for a future vase;
- Newspapers;
- White paper;
- PVA glue;
- Disposable gloves;
- Polyethylene film;
- Gouache;
- Glossy varnish for coating;
- Brushes for gouache and varnish.
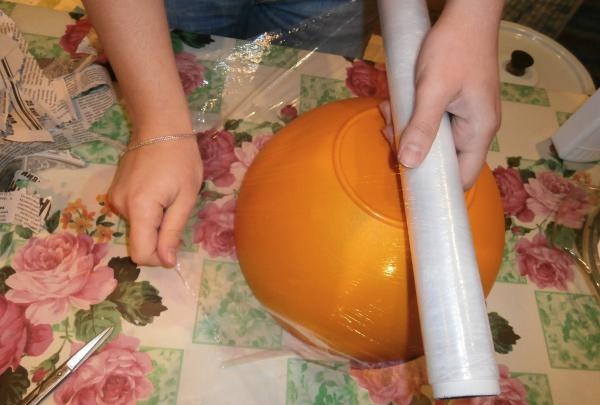
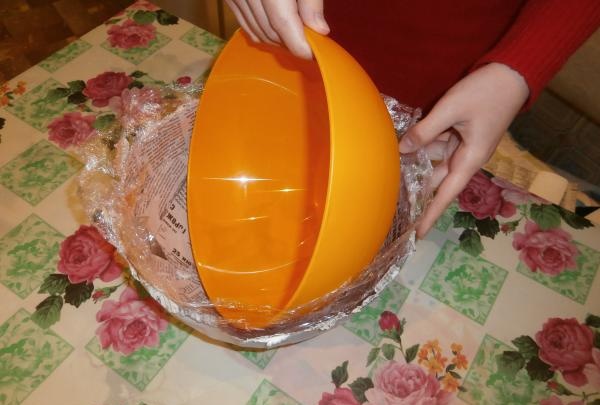
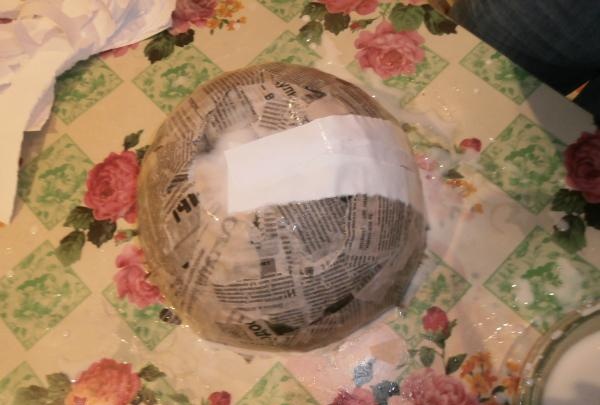
Prepare a mold for the future vase. If you choose a mold with a flat surface, it will be easier to work. Line the outside of the mold with polyethylene so that when removing the vase from the mold, you do not damage either the future vase or the mold itself.
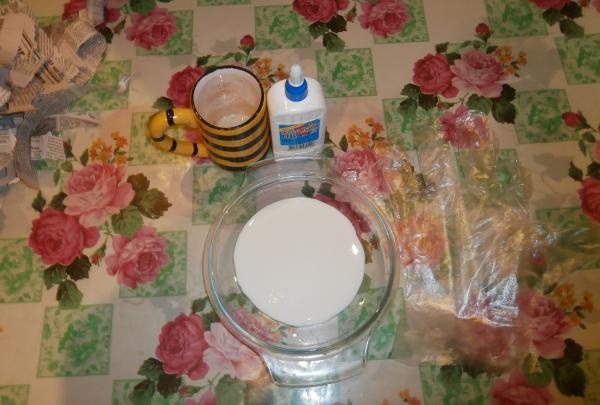
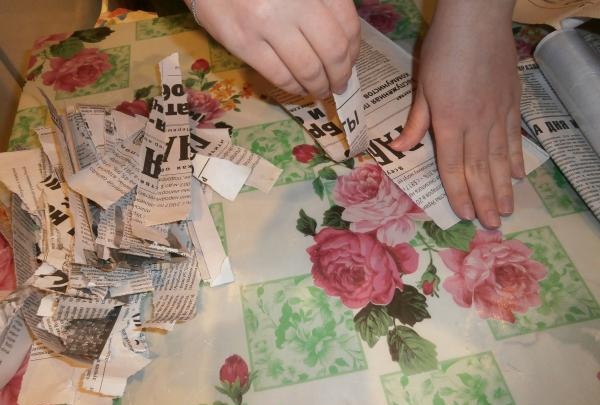
Dilute PVA glue with water in a ratio of 1:3. Tear the newspapers into small pieces (small pieces of newspaper will make the surface of the vase more even, and large rectangular pieces will significantly speed up the work). The amount of newspaper you will need depends on the size of your vase and the desired thickness of the walls.
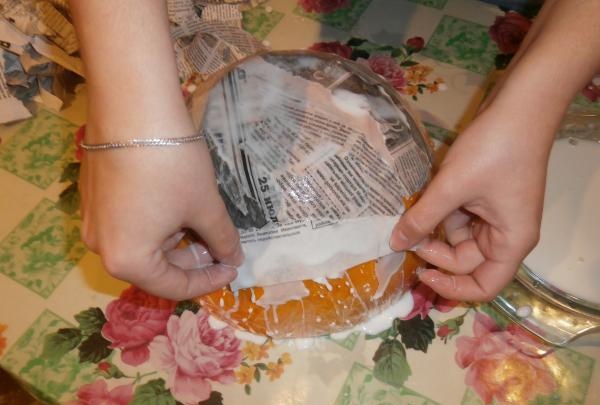
For this stage of work, disposable gloves will be useful. Dipping pieces of newspaper into glue diluted with water, carefully place them on the outside of the mold (I remind you that the mold must first be covered with polyethylene). Place the pieces in a circle. When the first ball is ready, you can give it some time to dry, or continue working, layer by ball, applying pieces of newspaper.For the best result and strength of the finished product, it is better to apply newspaper pieces in 8 layers.
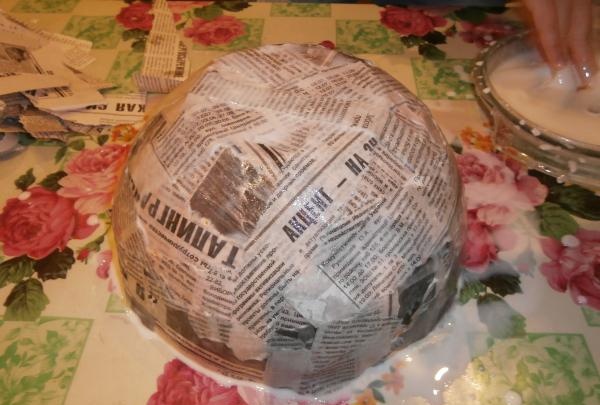
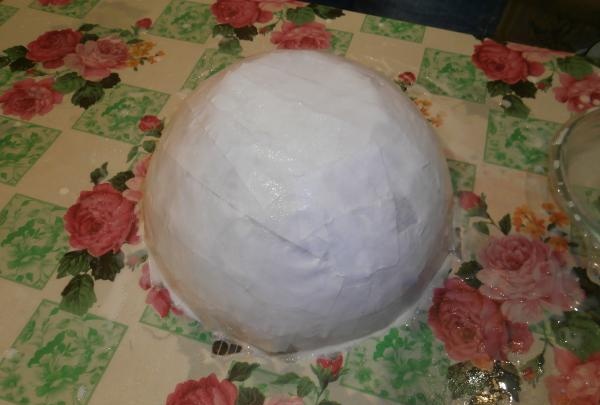
The drying process depends on the number of layers and can take from two to four days.
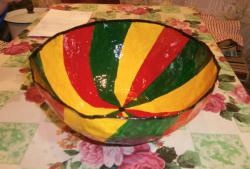
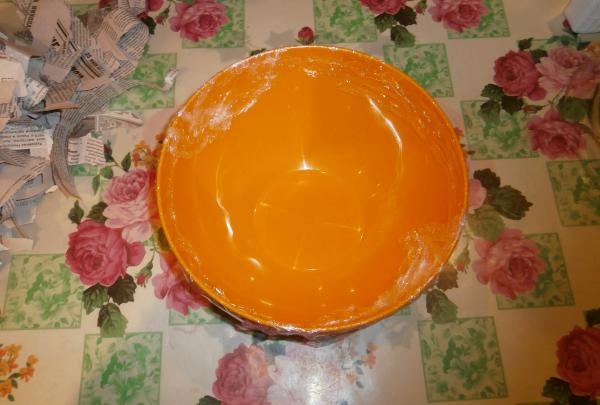
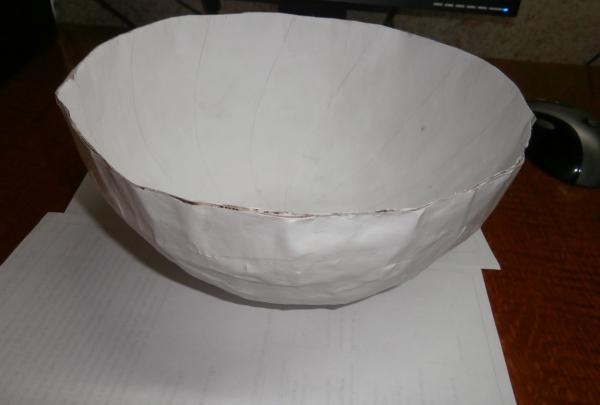
When the vase is dry, carefully remove the form from it. To prepare the vase for decoration, it must be covered with small pieces of white paper in several layers on the outside and inside. To glue white paper, we use the same method as when gluing newspapers. Leave the vase covered with white paper for another day.
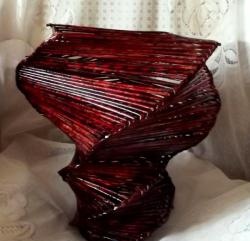
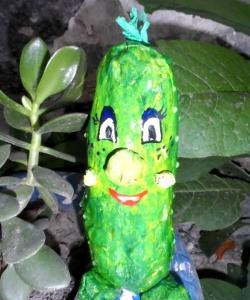
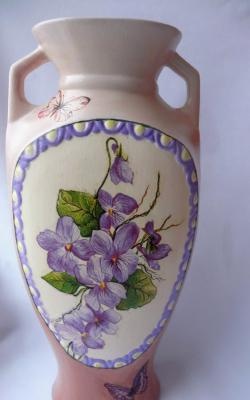
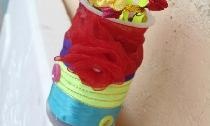
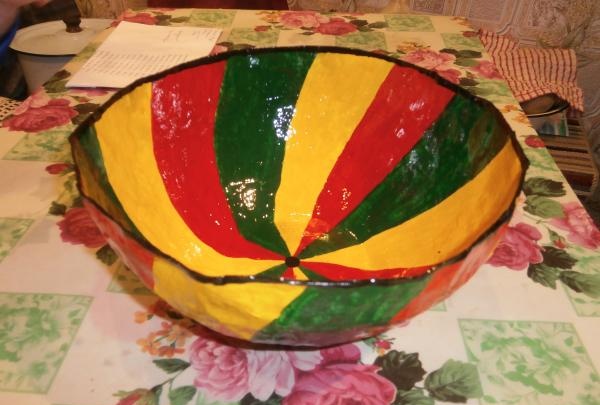
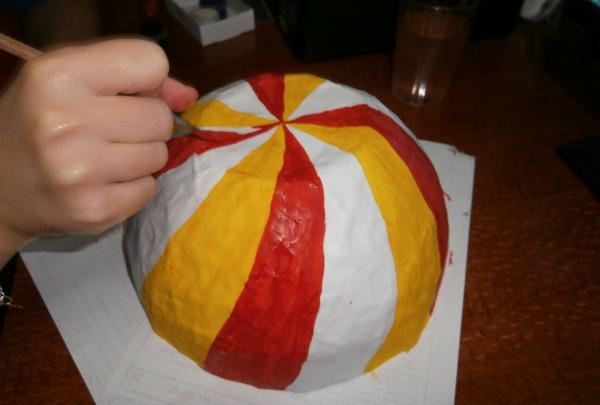
Decor your vase depends only on your imagination. We suggest covering the finished vase with patterns using regular gouache. Why gouache and not watercolors? It's simple. Watercolor paints will give a softer picture, since watercolor paints are more transparent. And gouache has a denser consistency, which gives a brighter and clearer drawing.
It is important to determine what design you want to apply, and whether you want to apply it only on the outside or on the outside and on the inside. It is better to first draw the drawing with a pencil. And then draw it along the contour using gouache and a thin brush. The drawing will dry for about 1-2 hours.
4. It is advisable to varnish the finished and completely dried vase for comfortable use.
Gloss varnish will look great on the finished product. If you plan to use a vase with food, then you should look for varnish for the coating in craft stores. If your vase will not come into contact with food, then an ordinary universal varnish, which can be bought at a hardware store, will do (besides, such a varnish will cost you much less).Coat the finished product with varnish on all sides and leave in a ventilated area for 5 hours until completely dry.