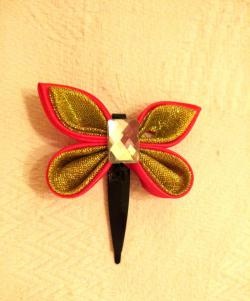
To do this, we will need a 4 by 4 cm square of yellow satin ribbon, a small piece of light fabric for the wings, 7 cm of the narrowest black ribbon, beads for the head and eyes, thread, needle, lighter, glue, elastic band or hairpin on which we will attach product.
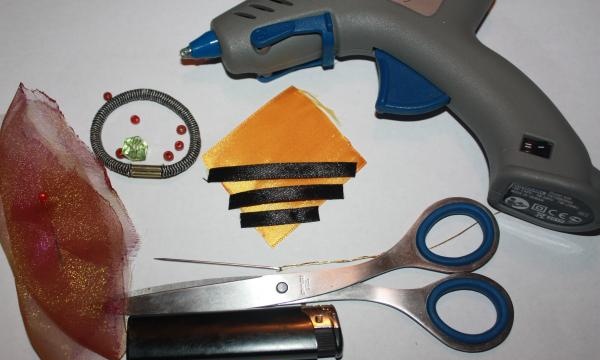
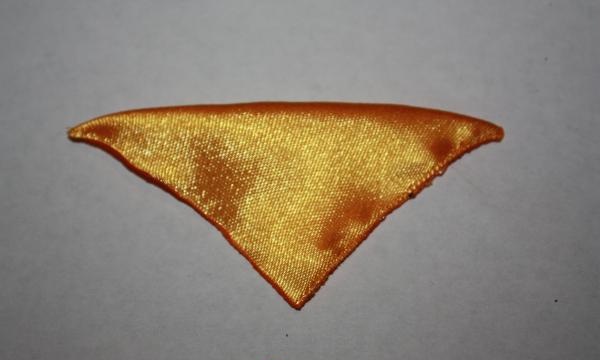
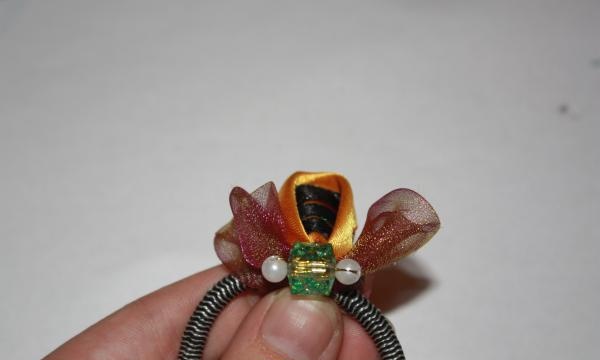
First, we bend the yellow square diagonally and fuse its free edges for better fixation.
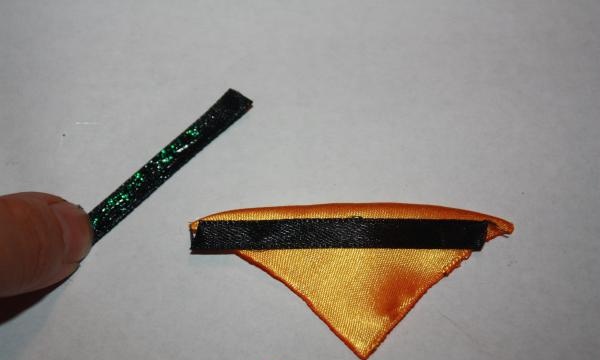
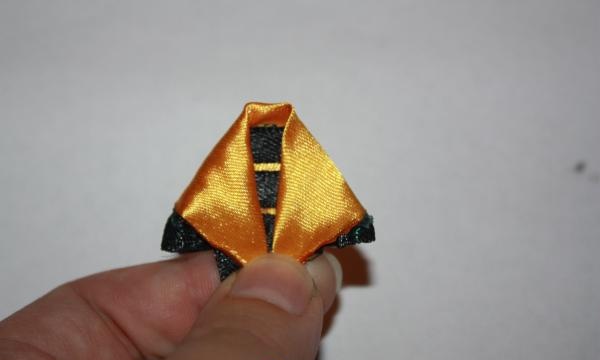
Then we cut the black tape so that they can be positioned this way.
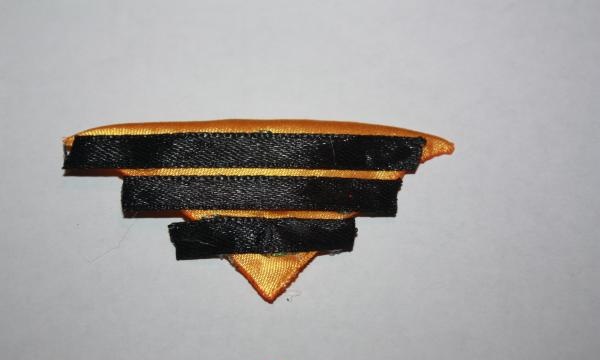
Glue them to the base triangle with glue.
We bend the edges of our triangle to the middle
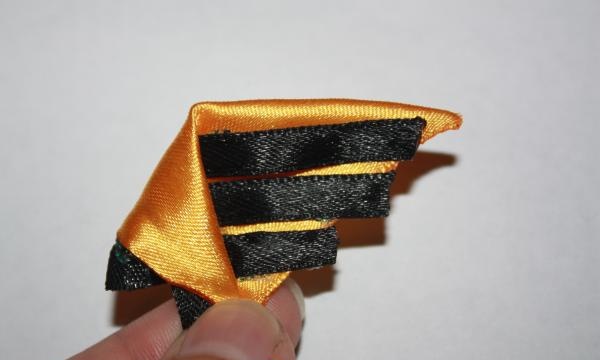
Fold the piece in half outwards.
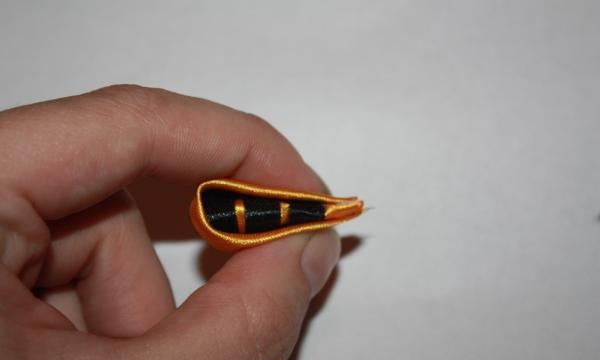
Cut off the sharp edge and melt it with the flame of a lighter.
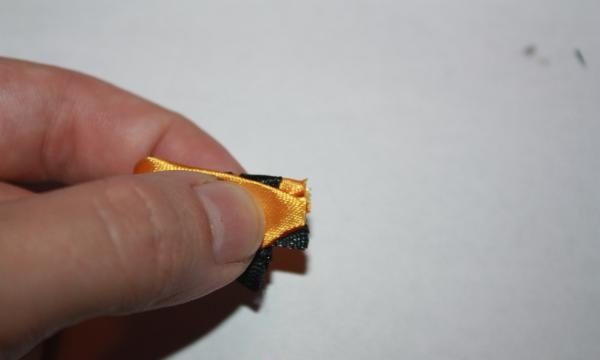
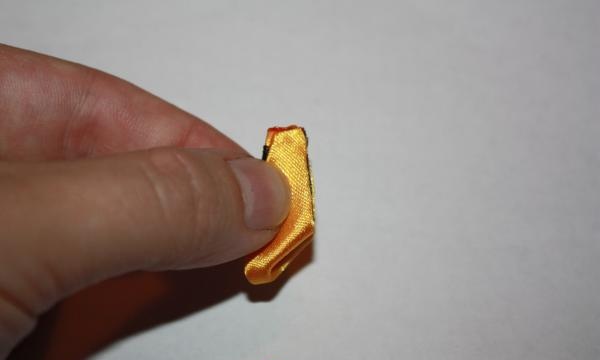
We also use scissors to refresh the lower edge of the part and treat it with flame.
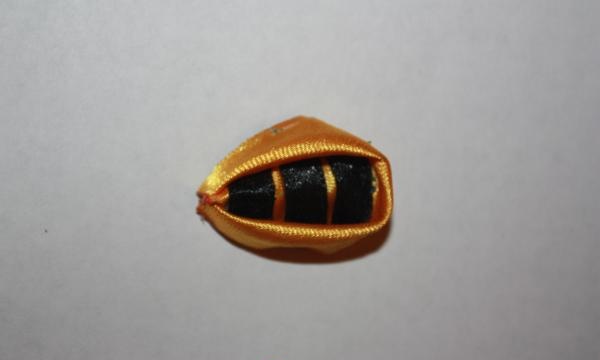
So the body of our future bee is ready.
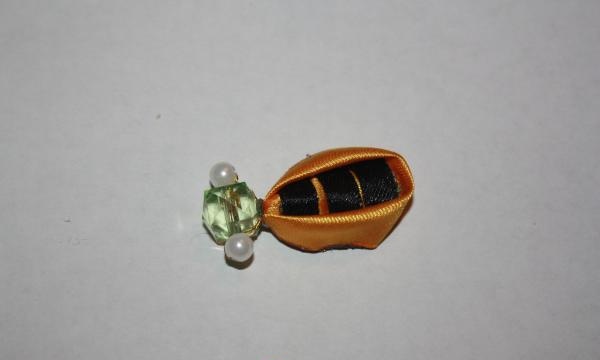
Now we sew a large head bead with smaller eyes onto it.
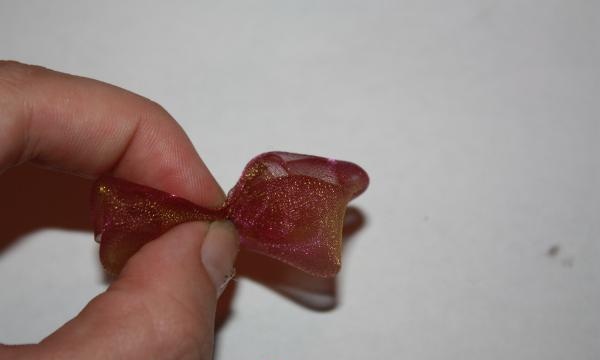
We fold the fabric for the wings (in my case chiffon) in such a way as to give them the most suitable shape. It's all up to your imagination and dexterity.You can make a regular bow and shape it as you go using glue, or make 2-4 full-fledged separate parts - wings.
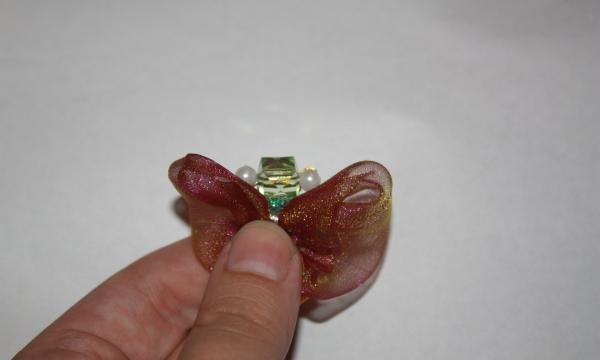
Using glue, we fix the wings from the bottom of the bee’s body.
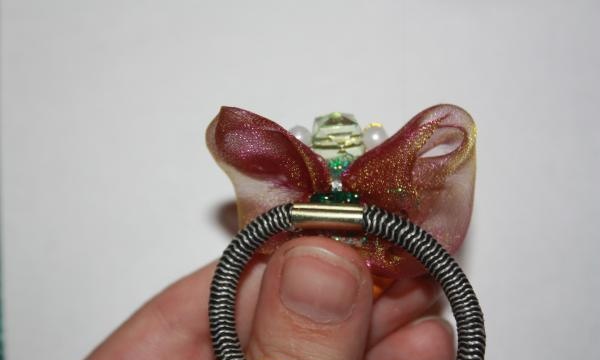
We also place a hair elastic on the center of the wings with glue.
We mask it on top either with the edge of the wings, or cut off a little chiffon and glue it well.
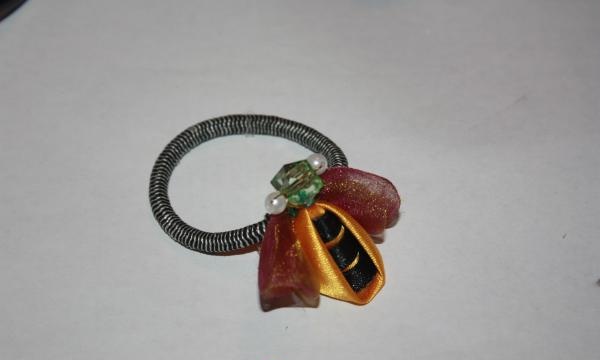
This is the kind of hair elastic we got.
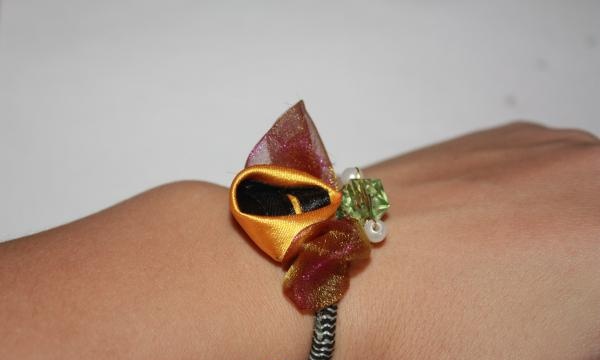
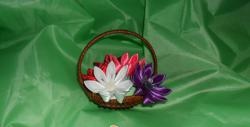
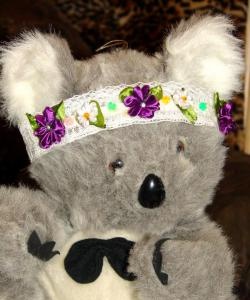
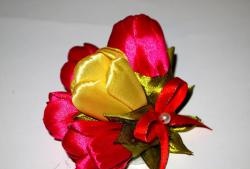
If you use other accessories, you can get a completely special product. By varying the colors and sizes of the head-eyes, we can achieve different emotions and the character of our insect. If you put a bee on a flower, photo frame, curtain garter, topiary or even a bouquet, you get a completely different composition. Give free rein to your imagination - and this idea will be embodied in many forms and variations. Work done with your own hands will always reflect the master himself. She will be unlike others, unique.