One of the main elements of the fairy-tale style is a garden sculpture made of wood. Finished products are quite expensive and are not always suitable for a specific site, but with a simple tool, desire and a couple of evenings of free time, anyone can make a garden sculpture out of wood with their own hands.
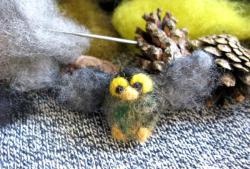
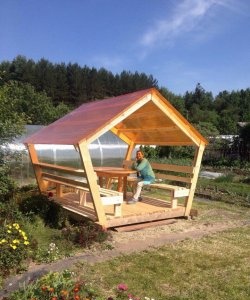
In our example, the fairy-tale character will be a wise and watchful owl. Possessing easily recognizable features, the sculptural image of an owl looks impressive both on the veranda and in the garden.
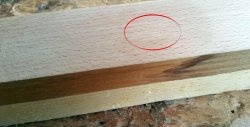
It is convenient to use linden as a material. Wood that has lain in a dry place for at least six months, with a minimum number of knots, cracks and other defects, is suitable.
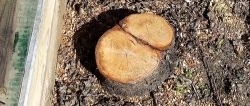
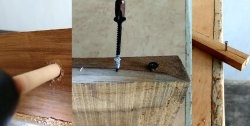
• First, we cut off a piece 40–50 centimeters long and fasten it for convenience with a self-tapping screw on a piece of plywood.
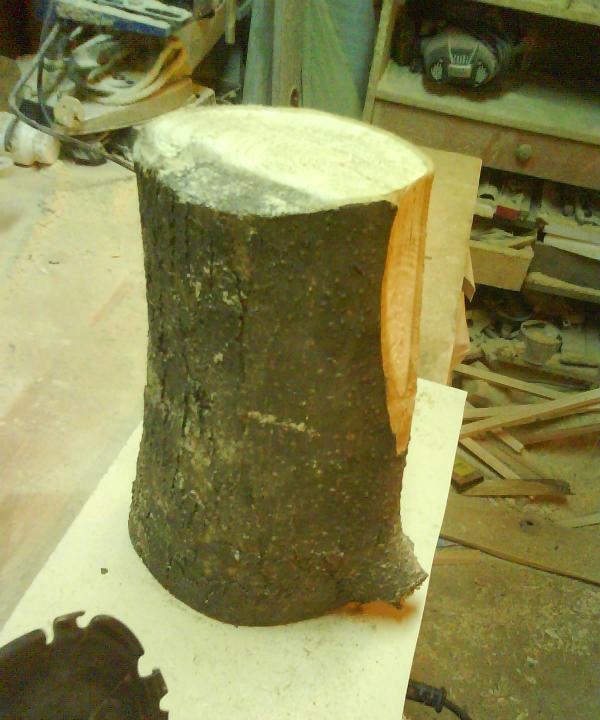
• Using an ax and, if possible, a special wood cutting disc on an angle grinder, we will form the outlines of the future sculpture.

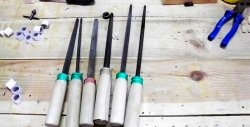
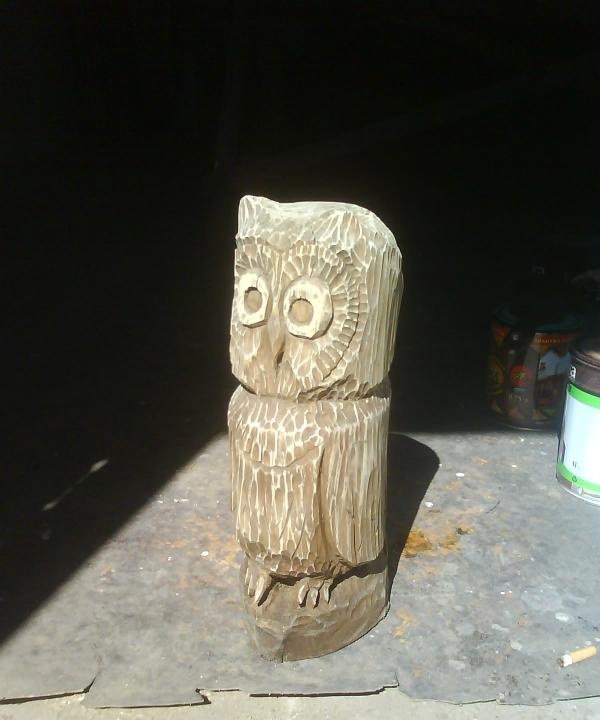
• Next comes the elaboration of small details. You can pre-outline the main lines or rely on your own eye. You should work with a sharply sharpened regular knife or a blunt knife. It will be great if you have one or two semicircular chisels in your arsenal. The point needs to be periodically adjusted on a leather belt with polishing paste. Extreme care must be taken to avoid injury. If possible, the tool should be held with both hands and the workpiece securely secured to the table.
An approximate result of this stage is shown in the photo.

• Now you need to take care of the finishing. The resulting product is treated with tinted protective compounds designed for outdoor use. It is better to choose a color closer to natural.
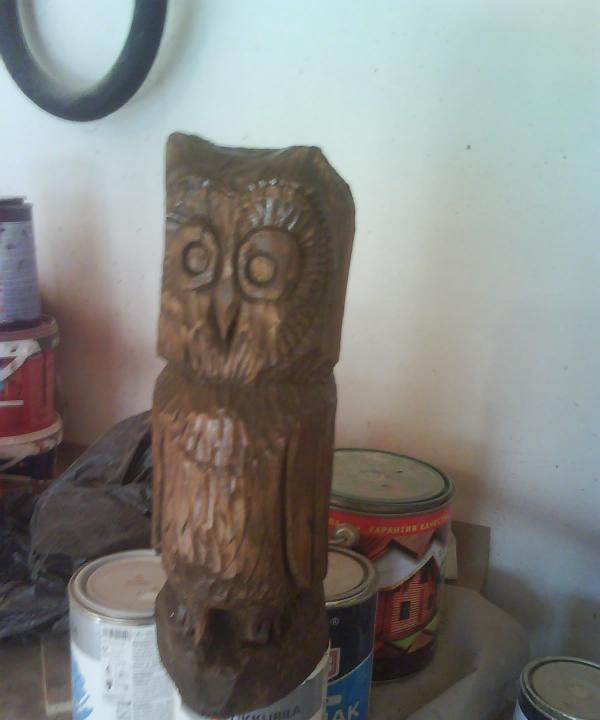
• In order to remove raised lint and revive the plumage, lightly sand the product with fine-grain sandpaper.
• The sculpture, thoroughly cleaned of dust formed during sanding, is coated with two layers of weather-resistant varnish.

• When the varnish is completely dry, the finishing touches are applied: we fill the pupils with black paint, and cover the very circle of the eyes with a composition that glows in the dark, for example, “Firefly” varnish.
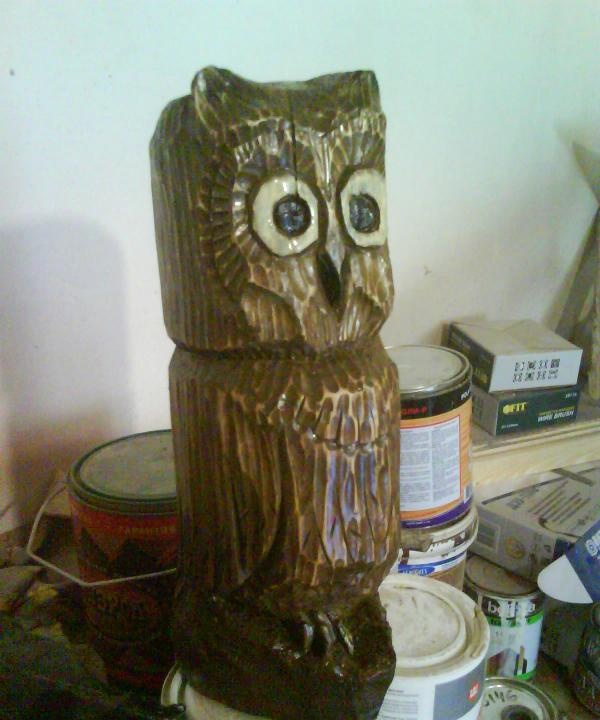
By placing the resulting sculpture so that during the day it is illuminated, but not immediately noticeable, you can be quite surprised.