Surely each of us already knows that in stores or supermarkets you can now see a strange vodka called “Belochka”. That vodka that the famous writer and satirist Mikhail Zadornov mentioned at one of his speeches. I will give you a photograph of that very vodka so that you can see what such a squirrel looks like. Under it the inscription reads: “I have arrived!”
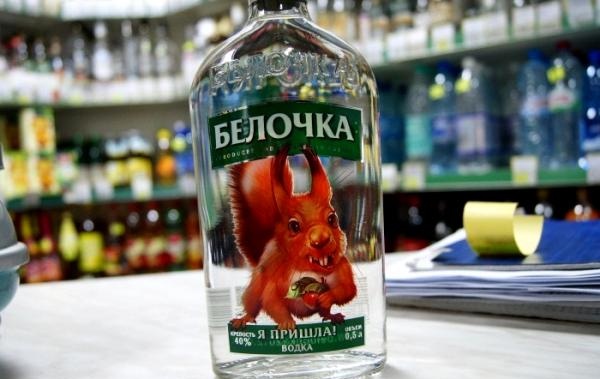
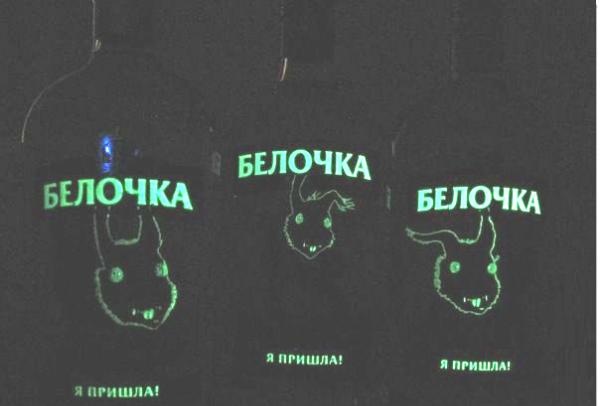
Some elements on the label glow in the dark:
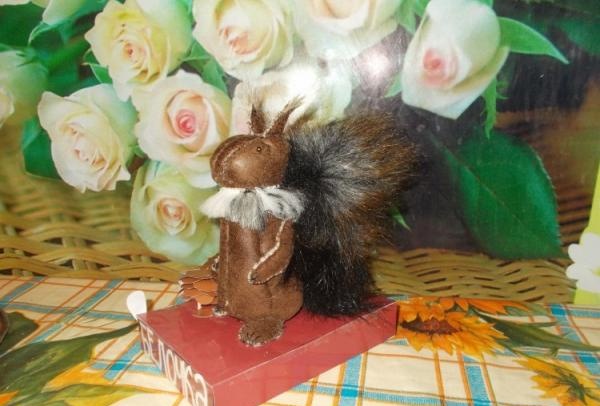
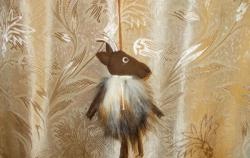
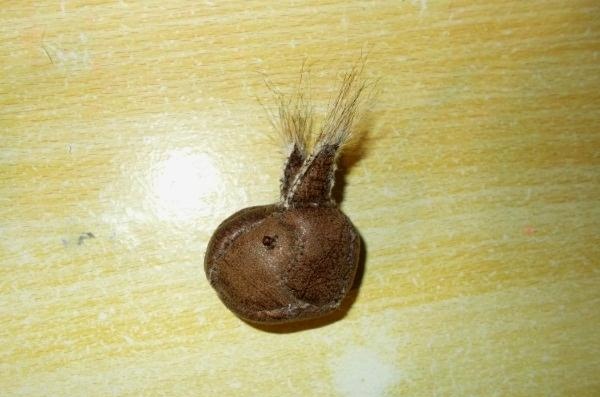
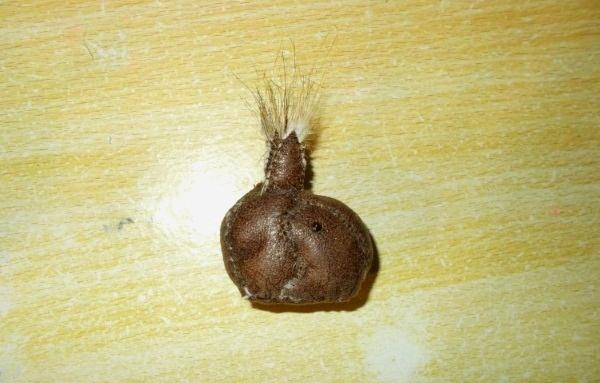
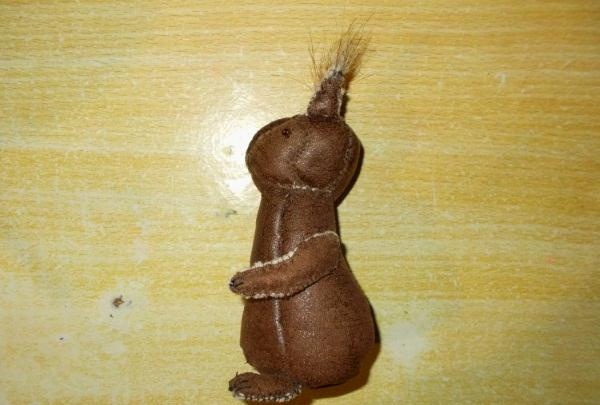
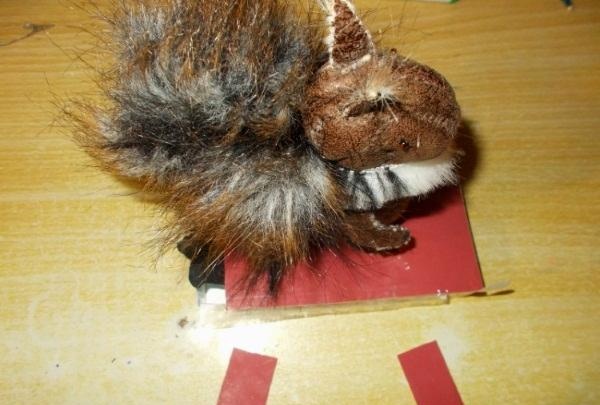
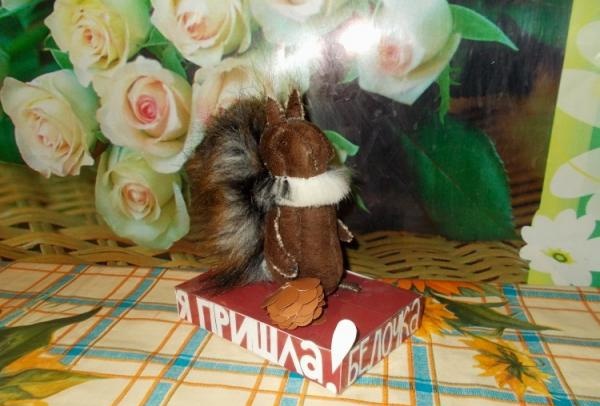
We took the idea for the work from her, but we just decided to make it so that it looked more harmless. I present to you a photo of the finished product crafts:
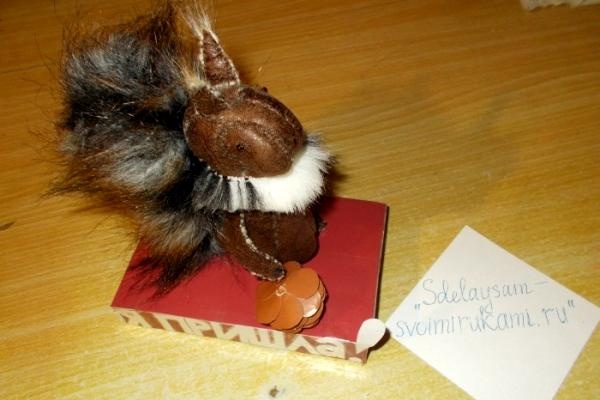
This funny toy is designed against alcoholism and drunkenness.
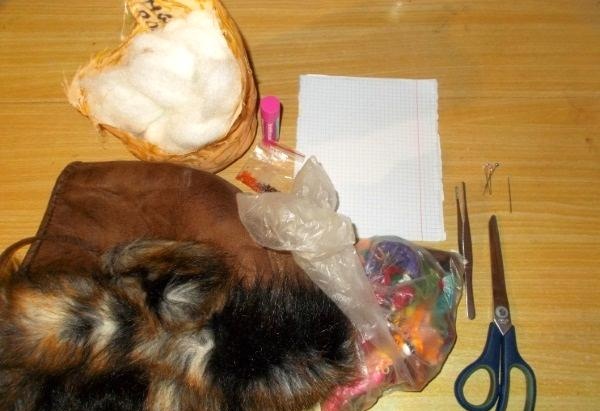
I provide a list of everything we needed to make the squirrel:
1. Hood from an old leather fur coat;
2. Scissors, thread, needle;
3. Tweezers, cotton wool, beads, glue;
4. Paper for the model image.
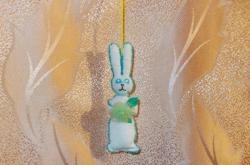
Here is the toy model:
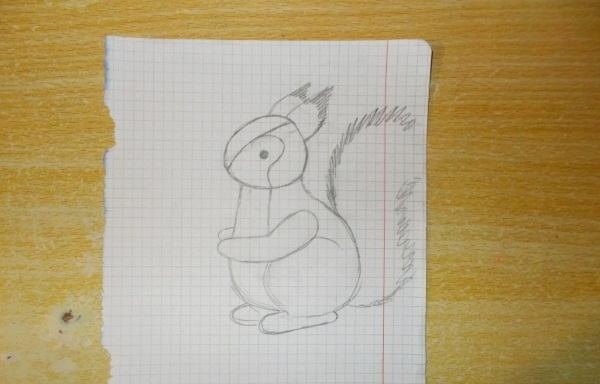
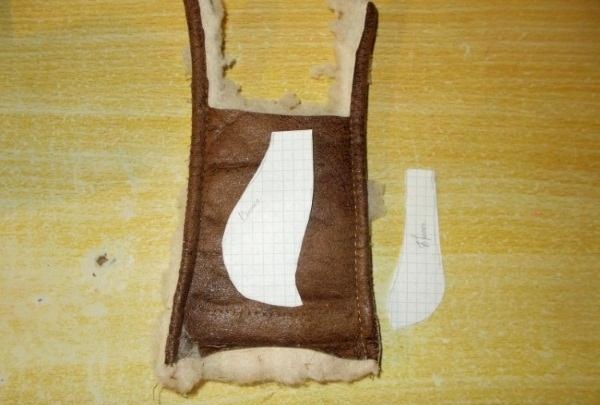
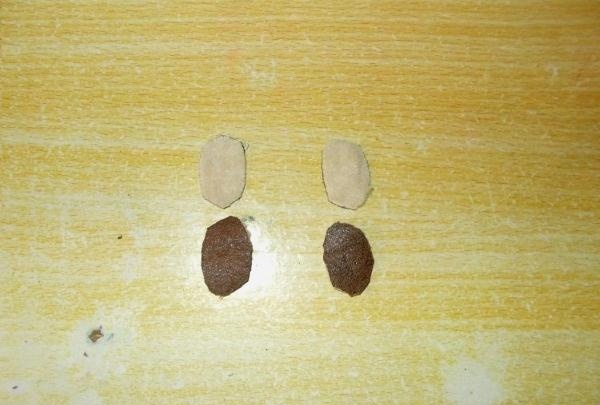
Having drawn the model of the head on both sides on a separate sheet of paper, cut out:
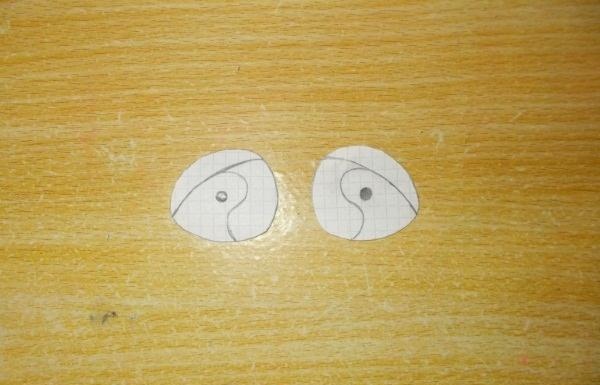
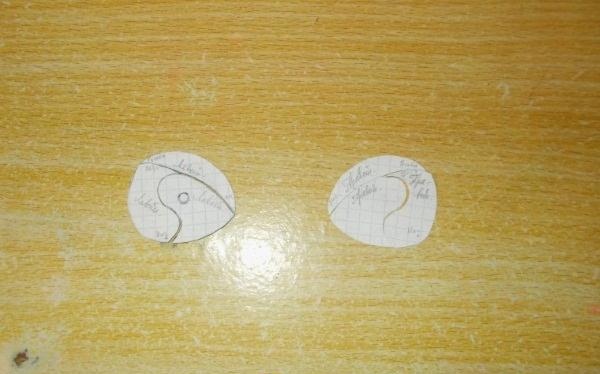
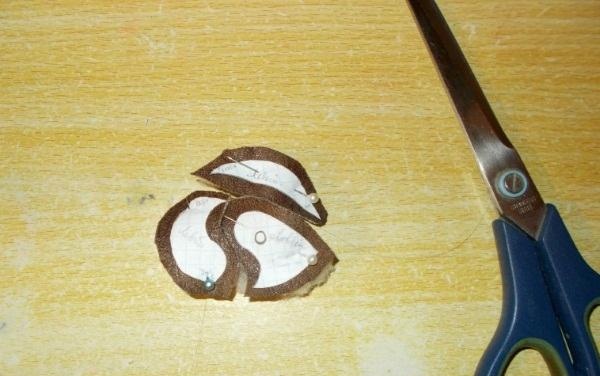
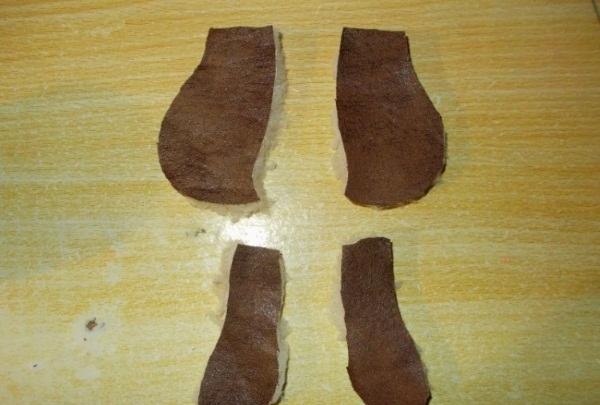
We divide each model into three parts with scissors, signing the sides of each of them so that they can be assembled correctly when sewing:
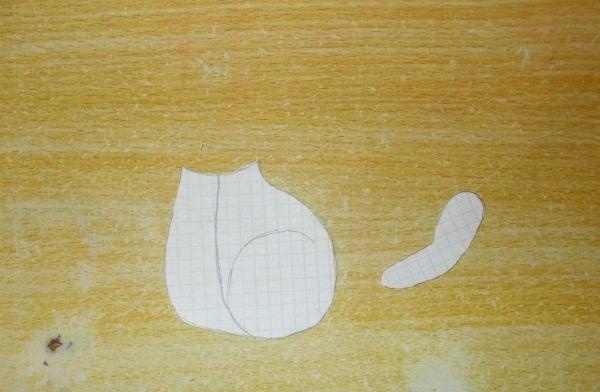
Here are the models of the body and legs:
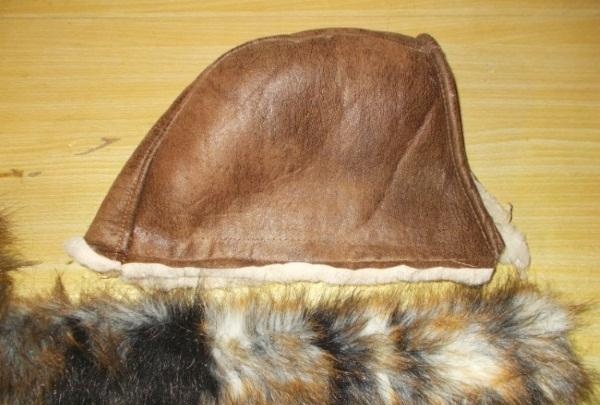
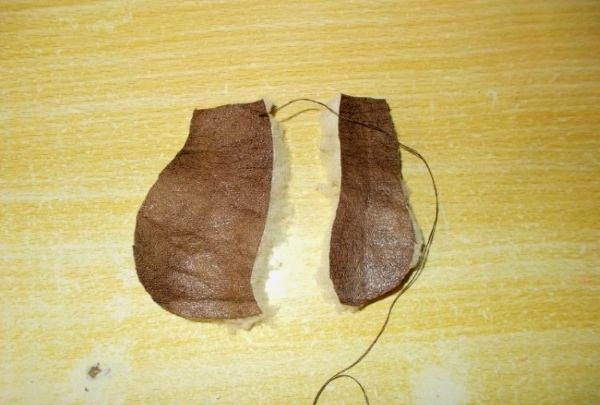
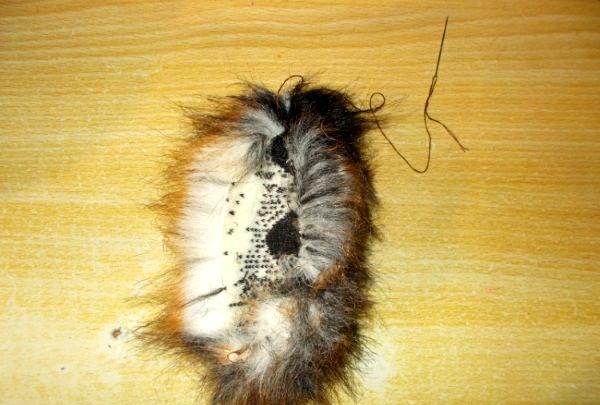
Now we take the hood and carefully cut off the fur part from it, sewn on both sides:
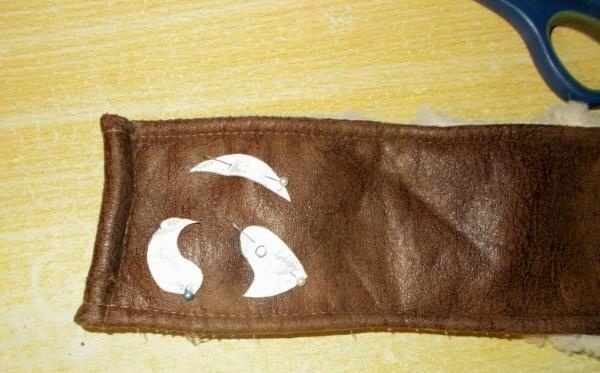
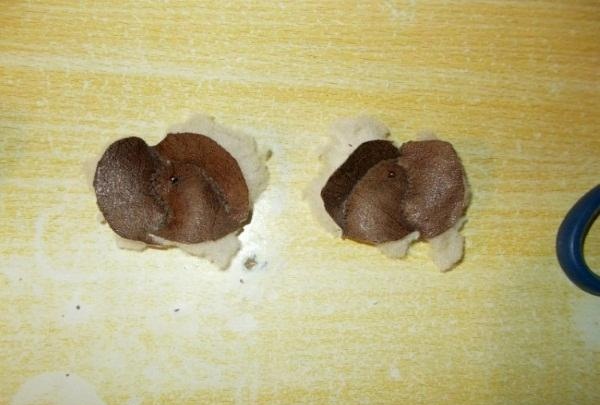
We take paper samples of the head and pin them to the trimmed part of the hood:
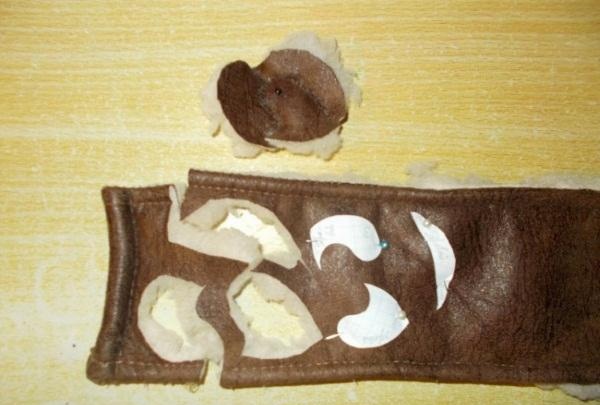
Carefully cut them out, leaving areas along the edges for stitching:
We pin samples of the other side of the head:
Having sewn the samples together, we make eyes from beads:
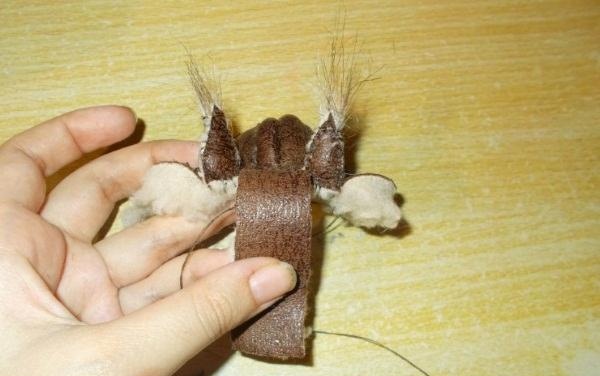
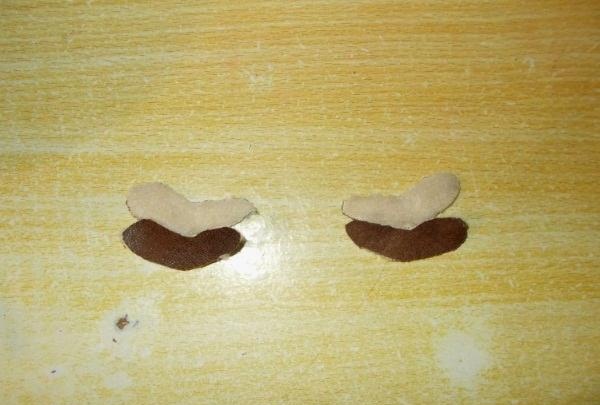
Next, cut out the ears that fit the size of the head:
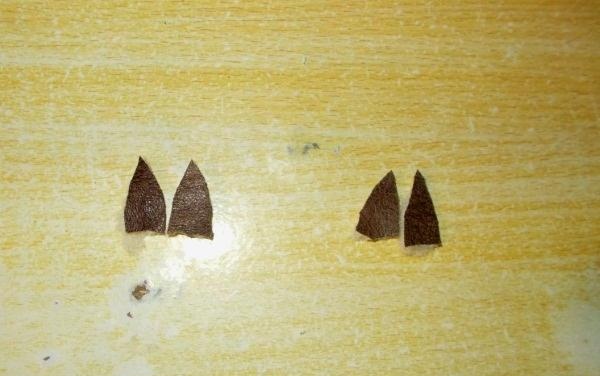
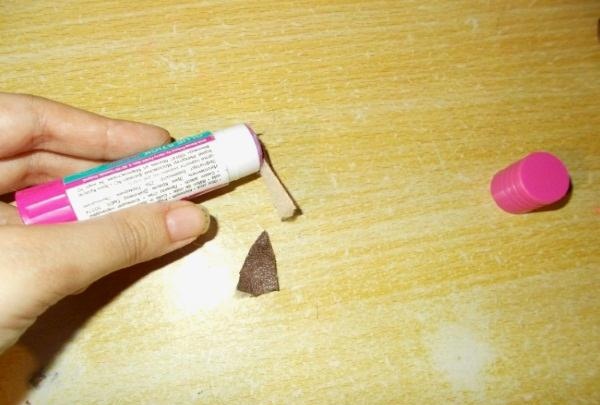
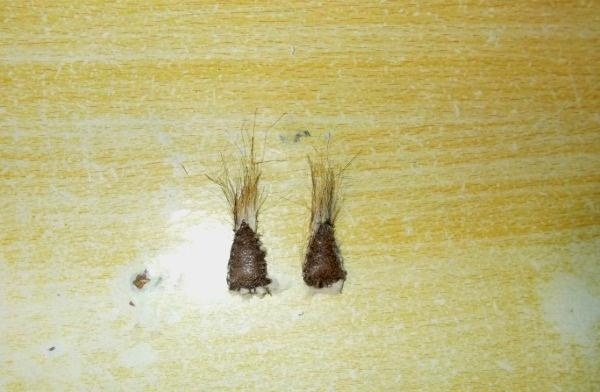
We will make fur tassels on the upper tips of the ears, but before sewing on the fur, we will glue it so that it does not fall apart:
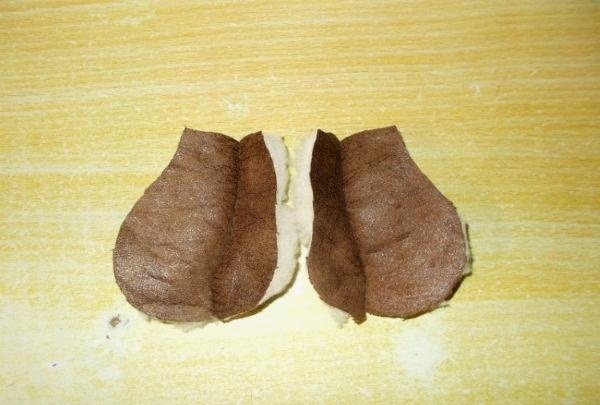
We sew the models together from the outside:
Now we make the back of the head and the back of the squirrel’s head, using only one piece of material for this:
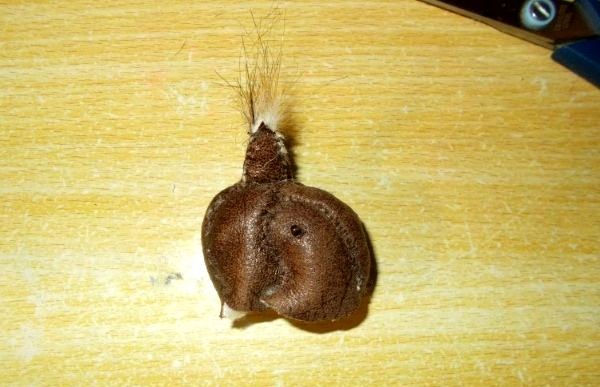
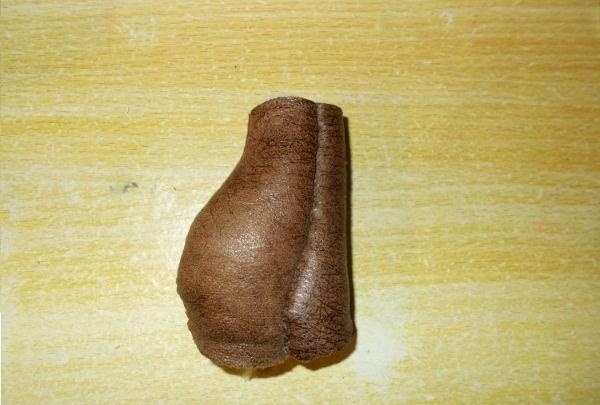
This is what the finished head will look like:
There is a lot of wool on the inside of our material taken for cutting. This wool half filled the squirrel's head, and half the amount of cotton wool was needed.
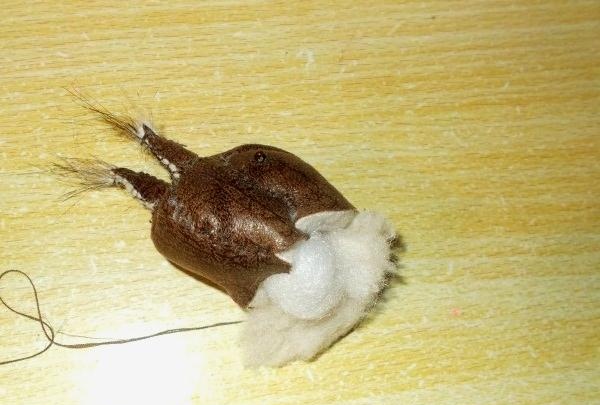
By cutting out a piece of fabric of a suitable size, we form the lower part of the squirrel’s head:
Now let's get down to making the body. Having cut the sample into two parts, we cut out the constituent segments of the body from the fabric one by one:
Here are all the tissue segments that form the torso:
Now we compare the models that match each other and sew them together:
We combine both of these sides into one, we get the torso:
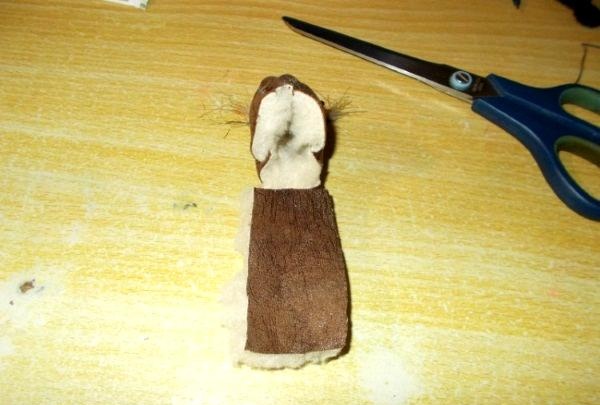
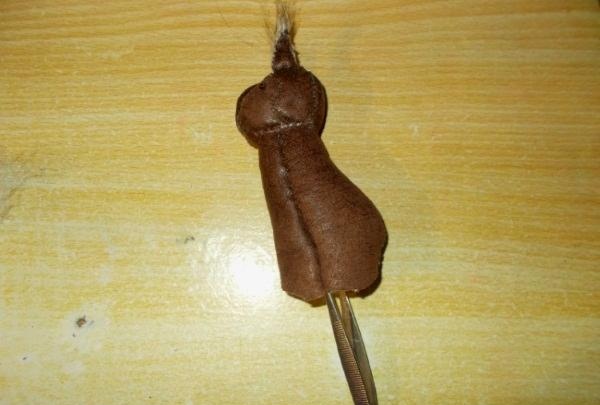
Next, we sew the finished body to the head and fill it with cotton wool:
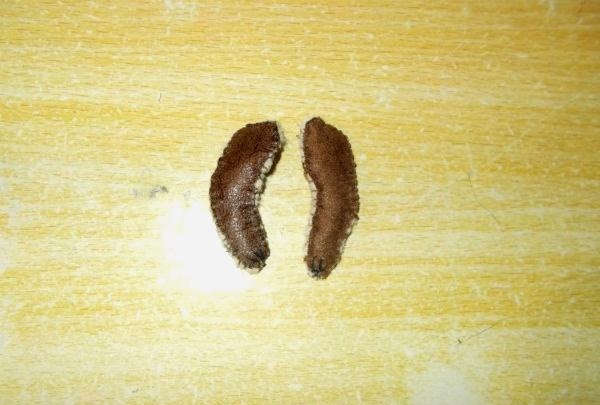
We make paws:
Sew the legs to the toy:
We make a sample on a piece of paper for the underside of the body, and then pin it to the fabric and cut it out, and then sew it to the toy. We do the same for the front legs.

Sew the finished front legs to the squirrel:
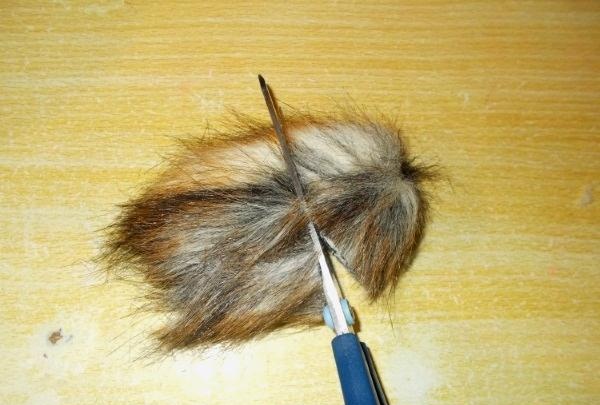
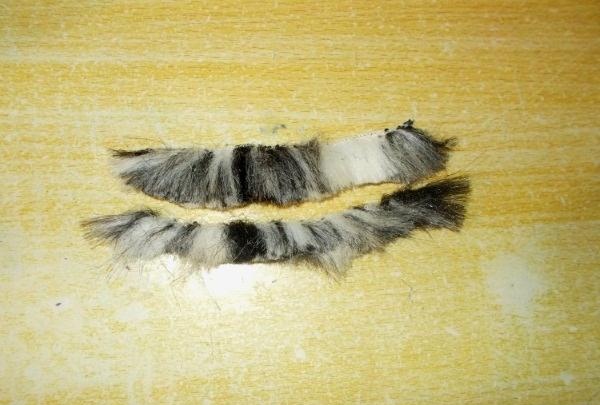
Now we take a small piece of fabric with fur and cut off a small part from it:
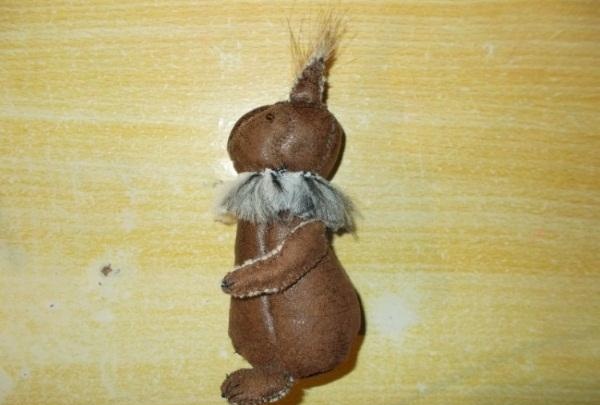
We form several fur patches from it and wrap one of them around the squirrel’s neck, and then sew its edges (i.e., without sewing it to the toy itself):
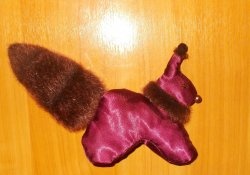
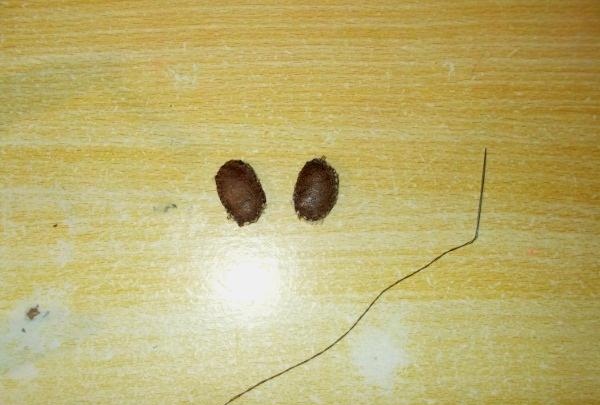
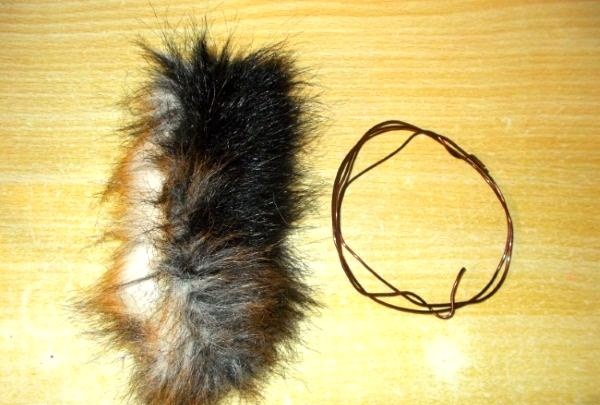
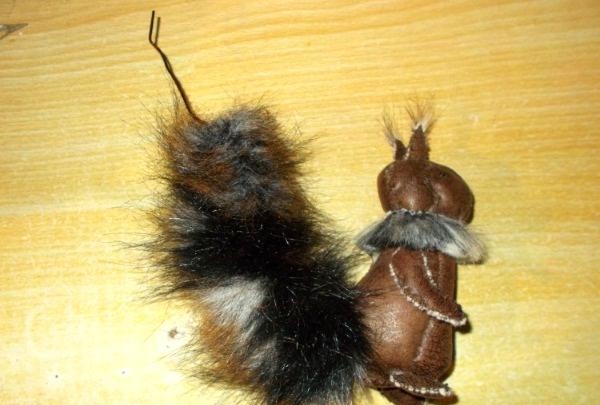
Now we cut off a piece of fur fabric that is suitable in size for our toy, and take a thick wire. These things are needed to make the tail:
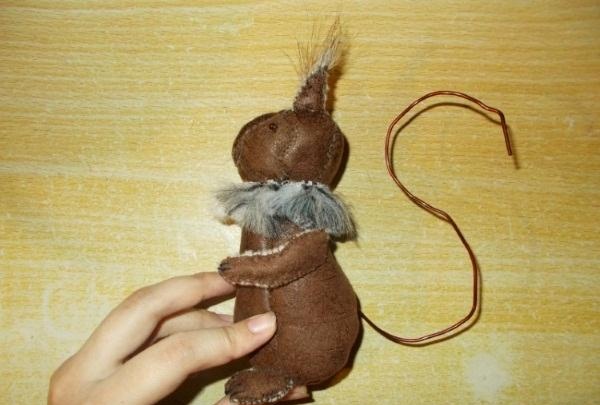
We determine the required wire size by giving the wire the appropriate size for the tail. We insert the lower tip into the toy, bending it strongly down:
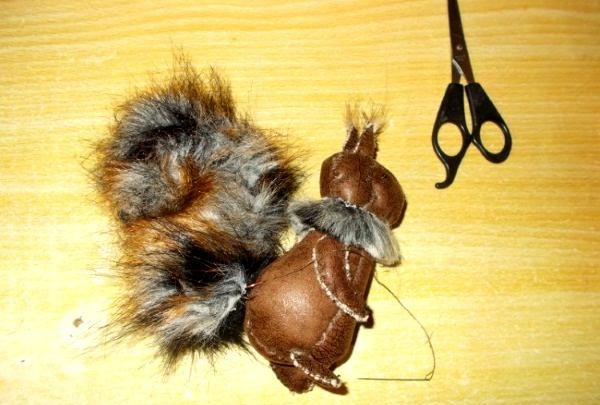
The previous seam in a fur piece of fabric should be ripped out and a new one should be made, and then placed on the wire, forming a tail:
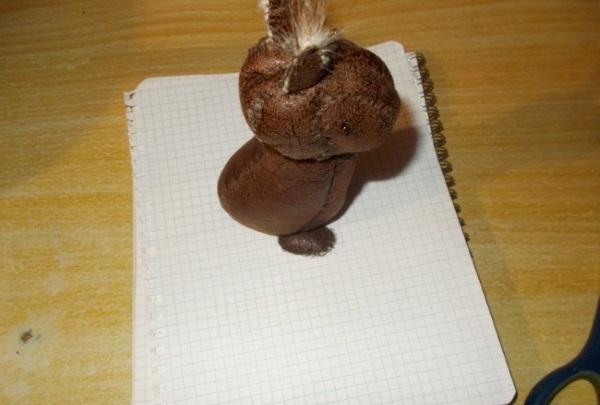
We remove the excess protruding wire and sew the tail to the almost finished toy:
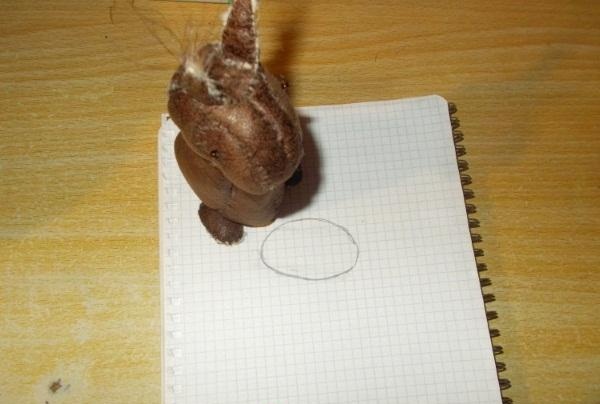
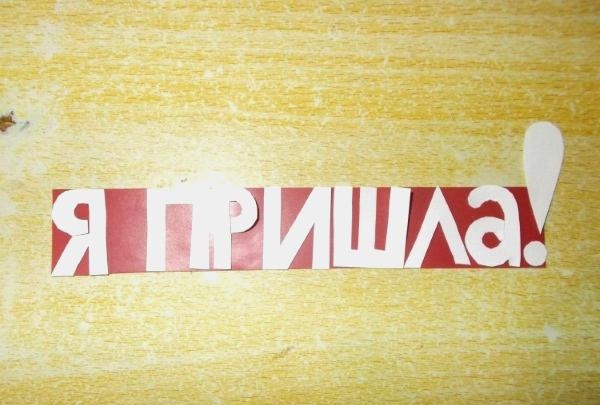
If desired, a thin layer of fluorescent paint (paint based on phosphorescent pigment that accumulates light energy when illuminated) can be applied on top of the squirrel’s beaded eyes. In the dark, these paints release the accumulated energy of light. After processing the eyes, the beads can be covered with transparent tape on top. Let's start making a platform for our toy. On this platform there will be an inscription: “I have arrived!”
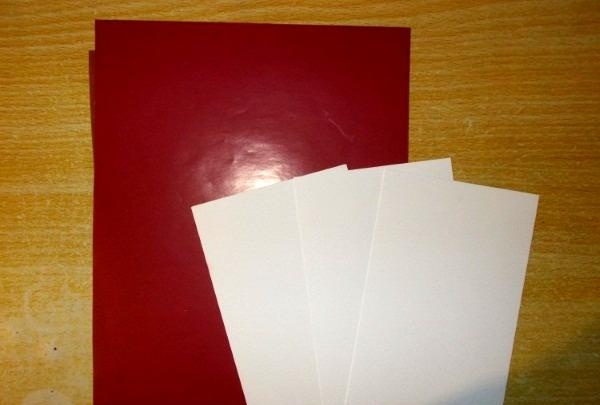
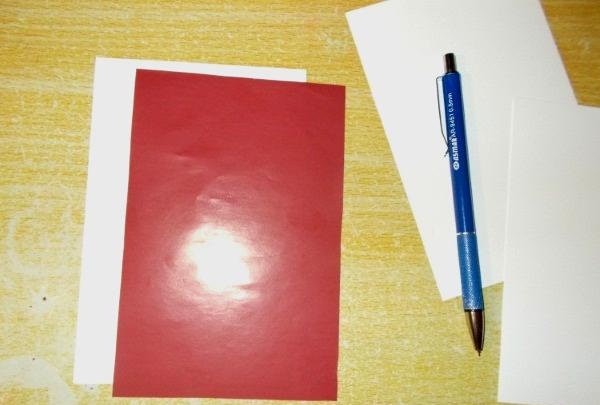
We take three to four cardboard sheets, several sheets of colored paper, glue and scissors:
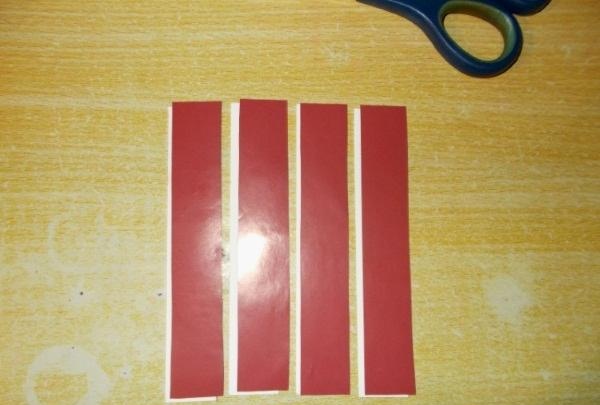
We cut out rectangular shapes from colored paper that match the size of the cardboard sheets for the six sides of the future platform and glue them together:
These are the sides:
Glue colored paper to the cardboard rectangles:
On a separate side we make the inscription:
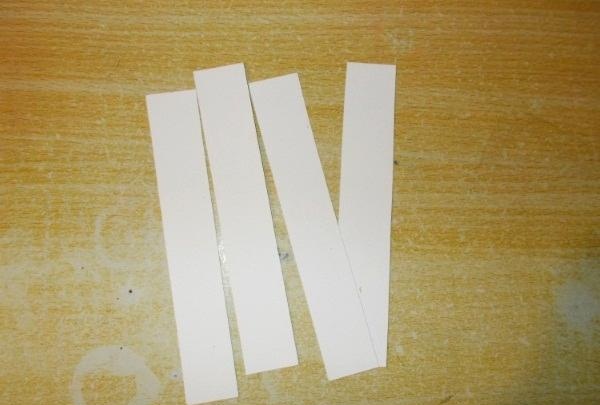
Now we make the inscription “Squirrel”. On the back of the prepared paper we write the letters:
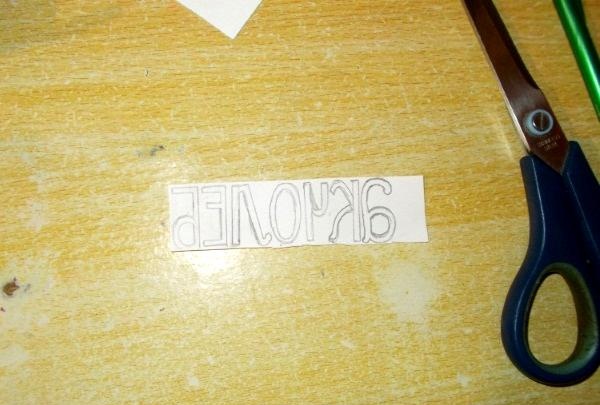
Having cut out the letters, we assemble them and glue them with tape:
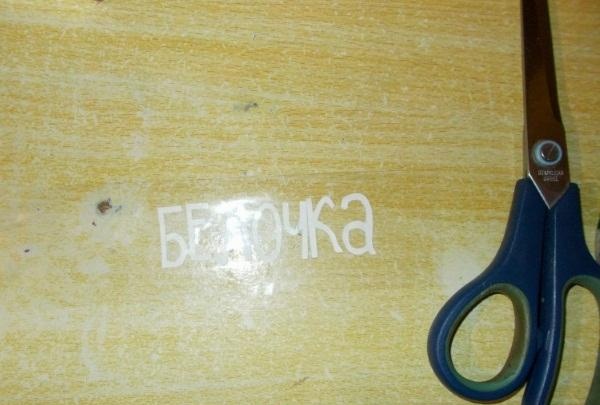
Cover the surfaces of all rectangles with tape.We assemble and glue with tape the outside and inside of the platform, putting something inside it so that the cardboard platform does not bend under the weight of the toy (book, fabric):
Now, if you wish, you can make a cone from cardboard and colored paper:
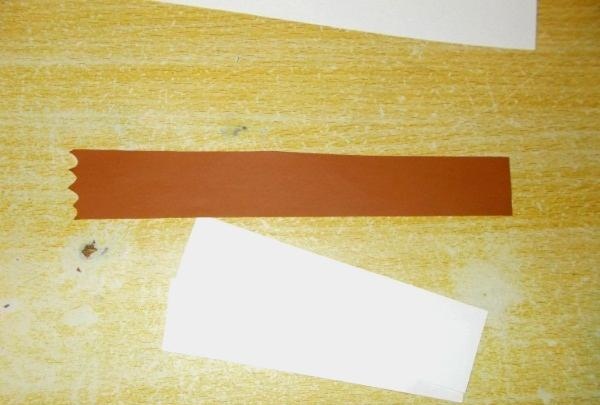
We fold the paper like an accordion and draw a cone scale on it, and then cut it out:
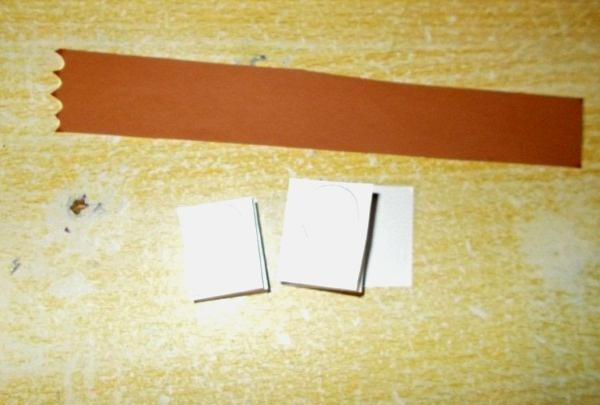
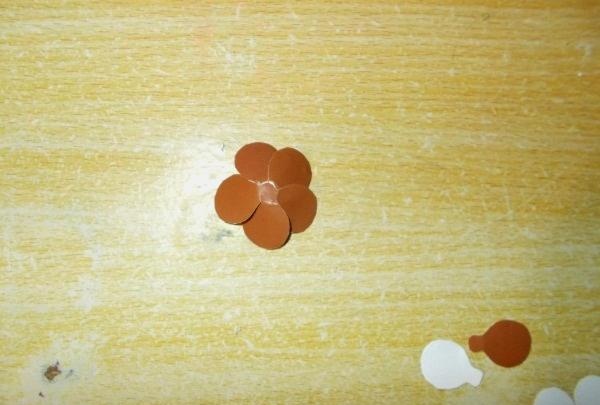
Glue the first circle of scales together:
Then we take a thick gypsy needle and pierce through the center of our “bump”, after which, sharpening the sharp end of a previously prepared match with a blade or knife, we insert this match into the pierced area of the “bump”:
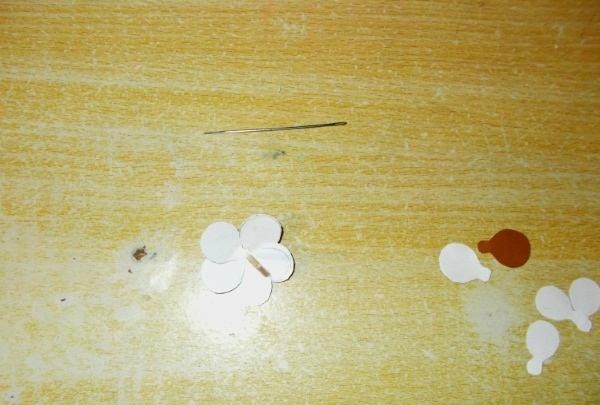
Next, we simply make more and more new scales, and in turn place each of them on a match:
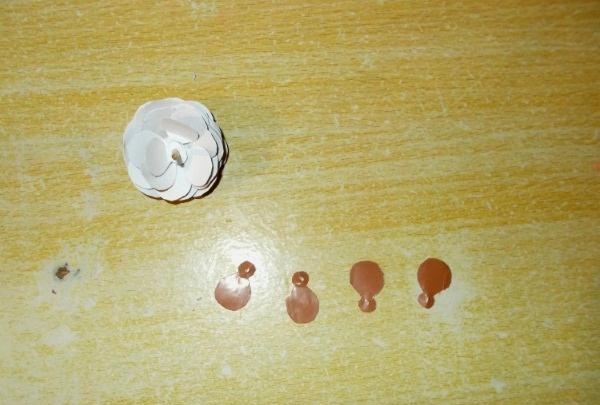
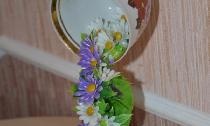
When the cone is ready, insert its sharp end into the hole pierced with a needle in the platform:
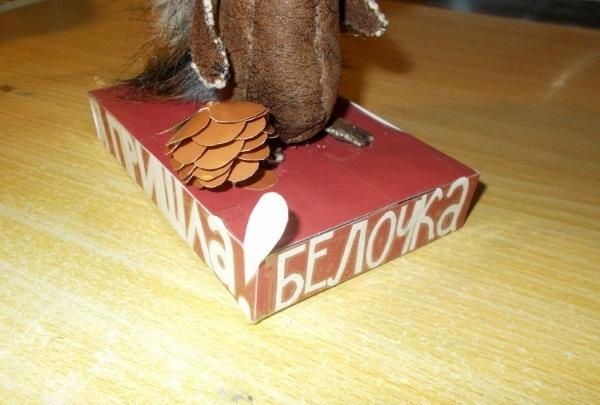
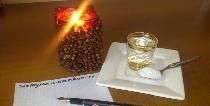
We cover the inscriptions “Squirrel” and “I have come!” fluorescent paints (if desired). And that's it - our toy is ready!
One bottle of fluorescent paint can be ordered or bought in a special store for about 630 - 1100 rubles.