Do it yourself
Life hacks, master classes, useful tips, recipes.
home » Games and toys » White-winged gliders, airplane made from ceiling tiles
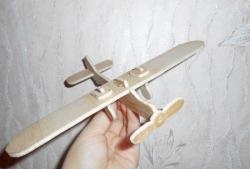
Recently, small models of gliders made from EPP, or, in other words, from ceiling tiles, have begun to appear in toy stores. Of course, such a toy flies beautifully, can withstand many flights and can be used anywhere, but the prices are steep - $9 apiece. But you can also make a homemade model by spending no more than 30 rubles on an airplane! So, let's start sculpting our toy.

butterfly model


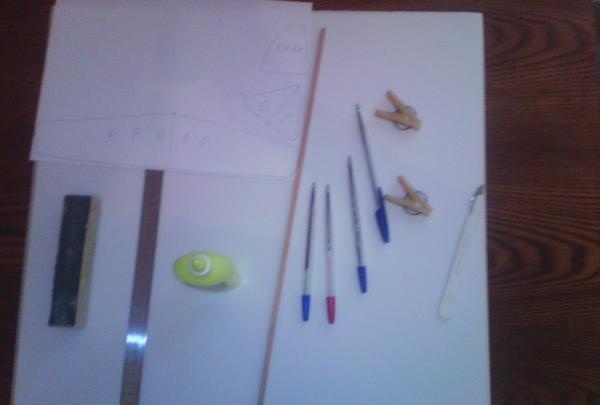
Materials:
*ceiling tiles without relief pattern
*PVA glue
*pine slats 4x4 mm
*buttons
*clothes pegs
*pins or needles
*templates
*pens, markers, etc.
*stationery knife
*fine skin on a block
*plasticine
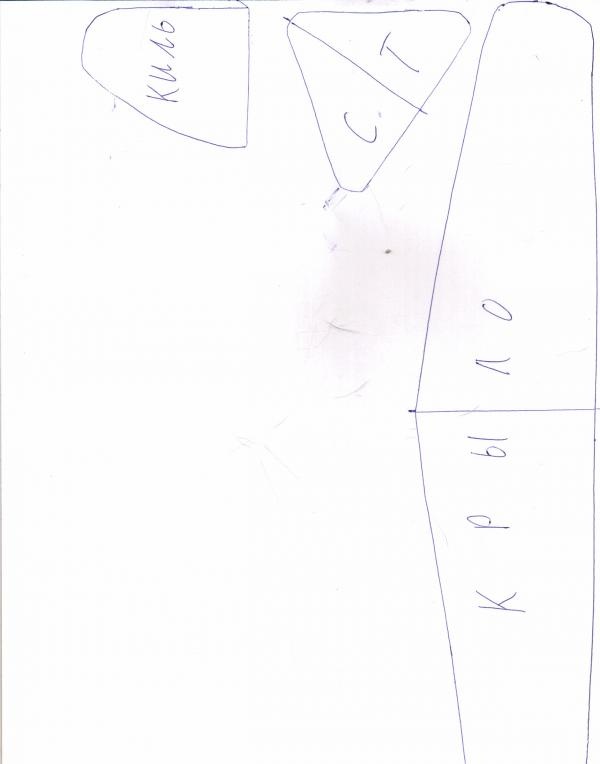
cut out templates


First you need to print and cut out the templates for the airplane.
sample


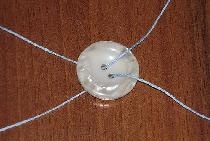
It is advisable to glue the printout to cardboard. Then attach them to the tile, secure with buttons and draw the wing, stabilizer and keel.
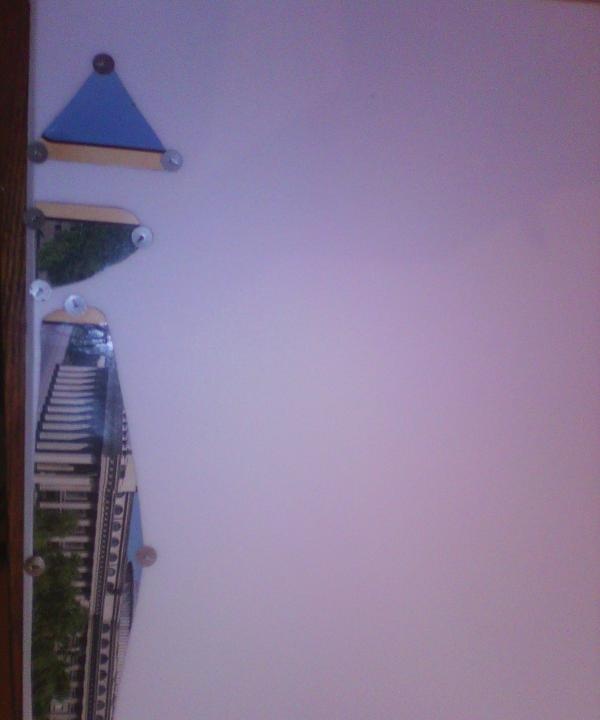
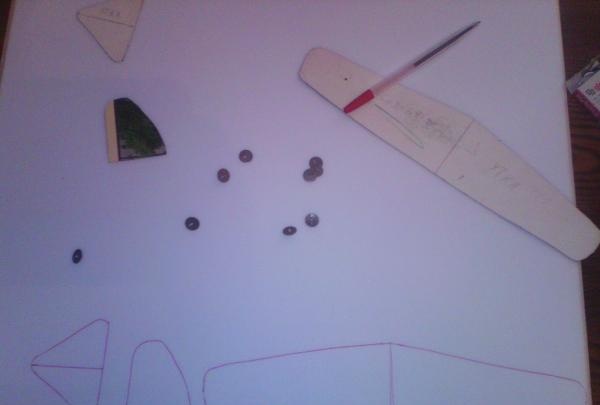
cut out

do not touch the workpiece lines


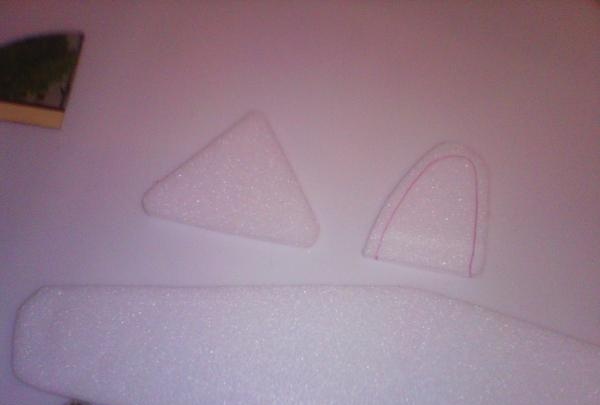
Afterwards, we remove the templates and cut out the workpiece with a stationery knife (or a medical scalpel) with an allowance of 1-2 mm.
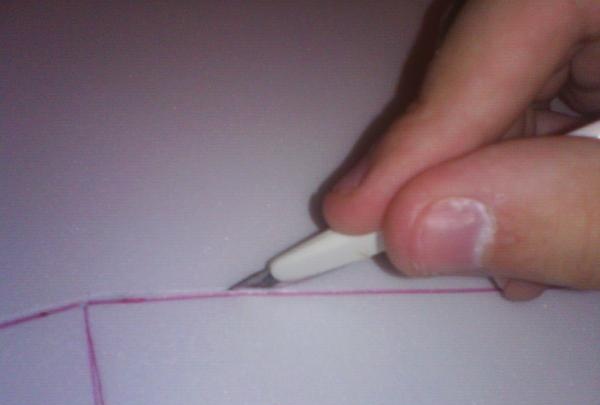
cut with a utility knife


Be careful not to touch the workpiece lines.
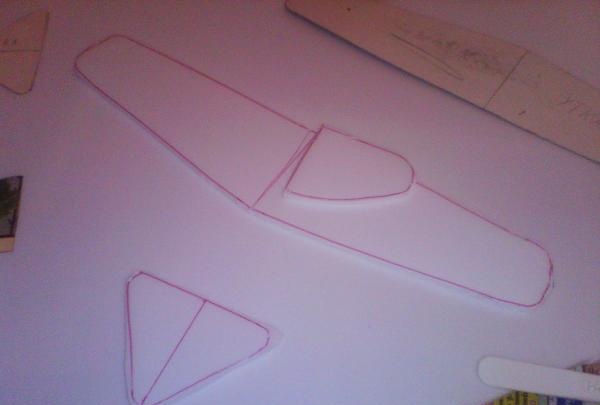
You need to handle it with confidence


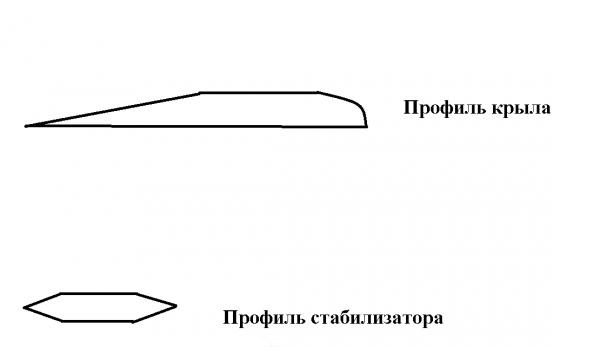
Now you need to process the workpieces.We mark the boundary lines, take a block with sandpaper and give a profile to the wing and stabilizers using back and forth movements.
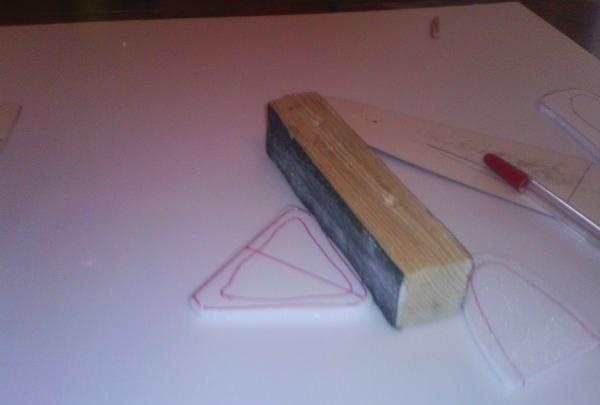
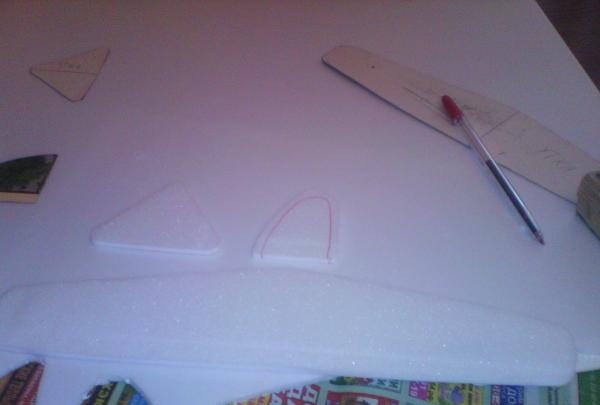
details

gave the details the desired shape

aircraft parts

Wing profile


You need to process it confidently, smoothly, without jerking, otherwise you can ruin the part. Of course, you can give a profile with a heated iron, but this method does not always work.
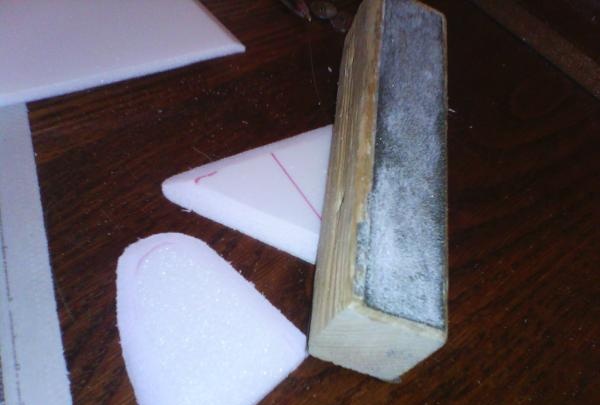
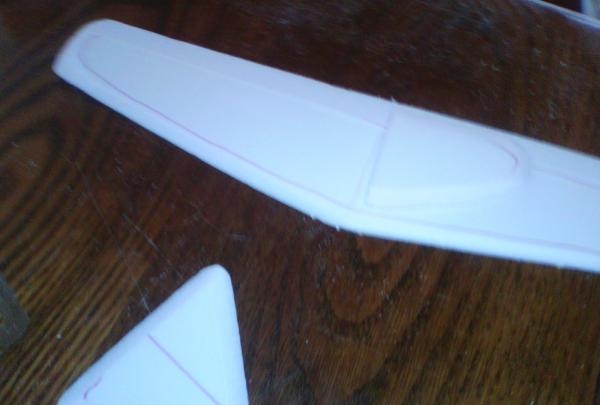
you can add a profile

with a heated iron


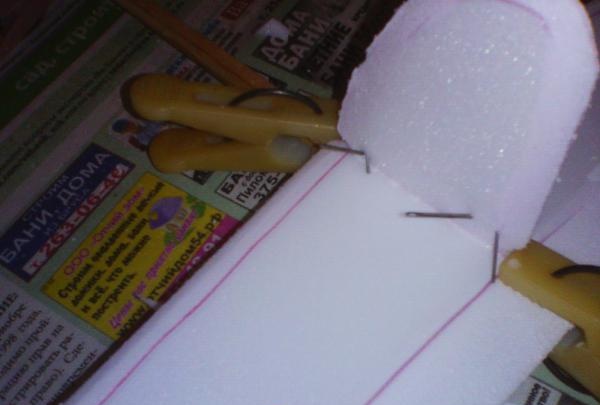
If you have given the parts the desired shape, then you can start gluing. Never grab the Moment glue! Solvents will turn the plane into mush, so you need to use PVA glue. A rail 18-25 cm long is smeared with glue on one side and the other, and left for 5 minutes so that the glue is absorbed into the wood. The middle of the stabilizer and wing is marked and the bottom is coated with glue along the middle line. Next, we secure everything with clothespins, the keel is attached with pins to the wing also along the midline.
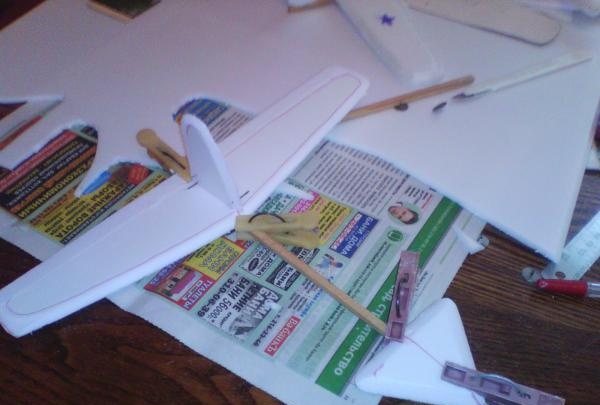
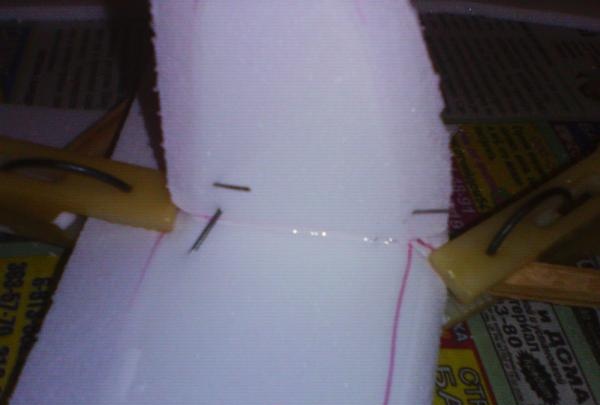
secure everything with clothespins

the keel is attached with pins

wing also along the midline


After 5-8 hours, you can remove the fastenings and configure the model. To do this, launch the glider by hand and watch how it flies. If it gains altitude sharply, stick plasticine to the nose, if it dives, to the tail or bend the stabilizer down. Happy flying!
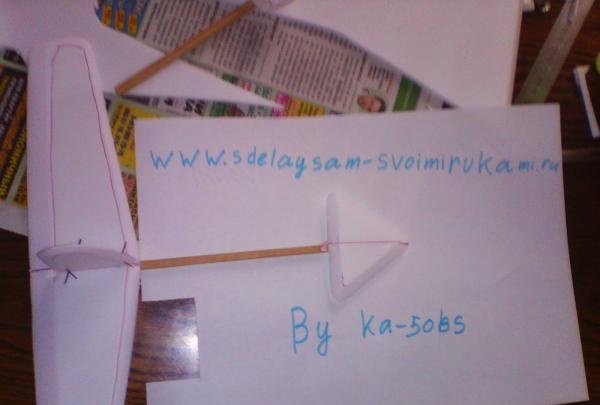
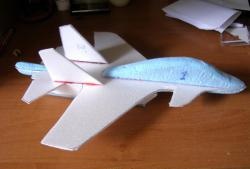
White-winged gliders
come back
Comment
  • bowtiesmilelaughingblushsmileyrelaxed relaxedsmirk
    heart_eyeskissing_heartkissing_closed_eyesflushedrelievedsatisfiedgrin
    winkstuck_out_tongue_winking_eyestuck_out_tongue_closed_eyesgrinningkissingstuck_out_tonguesleeping
    worriedfrowninganguishedopen_mouthgrimacingconfusedhushed
    expressionlessunamusedsweat_smilesweatdisappointed_relievedwearypassive
    disappointedconfoundedfearfulcold_sweatperseverecrysob
    joyastonishedscreamtired_faceangryragetriumph
    sleepyyummasksunglassesdizzy_faceimpsmiling_imp
    neutral_faceno_mouthinnocent
4 minus one =
Comments (4)
  1. Nik
    #1 Nik Guests 12 May 2015 15:24
    2
    PVA is a bad choice. Better glue for ceilings: it will glue both the wood and the ceiling together. Then even tear it off with your teeth - it won’t work
  2. uh
    #2 uh Guests 21 September 2015 23:02
    5
    or better yet, hot glue
  3. Lada
    #3 Lada Guests 23 April 2016 23:56
    1
    He flies well, we just have a competition and I want to win.
  4. Nestor
    #4 Nestor Guests 15 January 2018 21:23
    1
    Brilliantly simple. I will definitely do it. One question, are the dimensions in centimeters? Wing span, wing width, etc.

Cat pillow | Do it yourself

How to cut a thread without a die with your own hands

DIY hair tie | Do it yourself

Charger for Li-Ion (Li-Po) batteries from an “electronic cigarette”

«Do it yourself - with your own hands» - a site of interesting homemade products made from scrap materials and items at home. Step-by-step master classes with photos and descriptions, technologies, life hacks - everything a real master or just a craftsman needs for needlework. Crafts of any complexity, a large selection of directions and ideas for creativity.

We recommend reading

Washing machine error codes