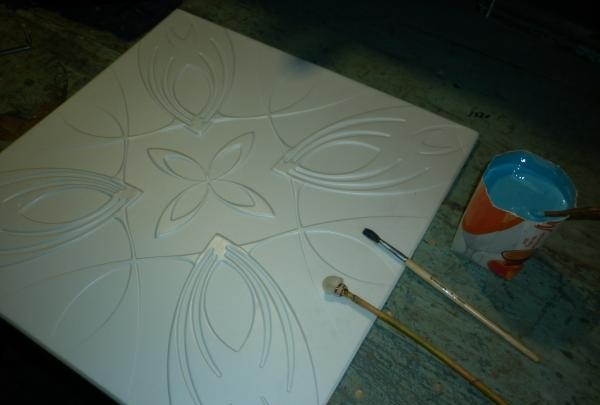
- tiles with a smooth (non-structural) surface and a large relief pattern,
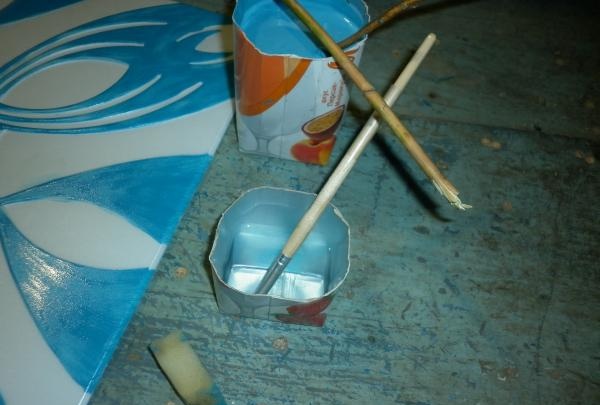
- a large artist's brush or a very small paint brush, but I prefer to use a small piece of foam rubber attached to a stick with a wire,
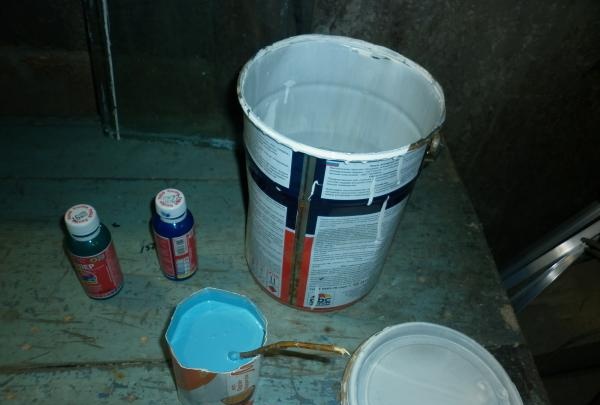
- acrylic water-based paint (in no case another type of paint, otherwise poisoning from toxic fumes is inevitable!).
As for the paint, or rather its color: you should not buy ready-made colored paint. As a rule, such materials have too bright a saturated color, so the ceilings will not be relaxing, but rather “aggressive”. Personally, I prefer to take white paint and different colors to create a range of colors myself.
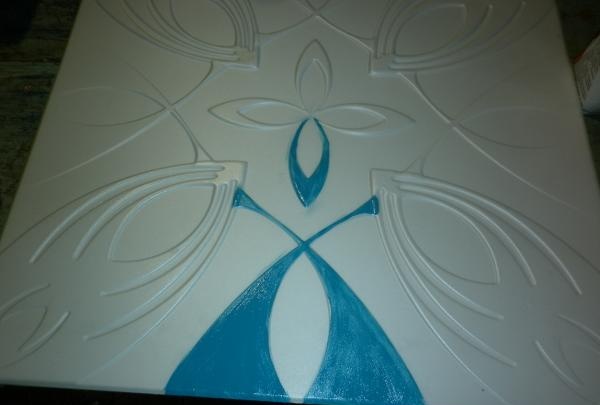
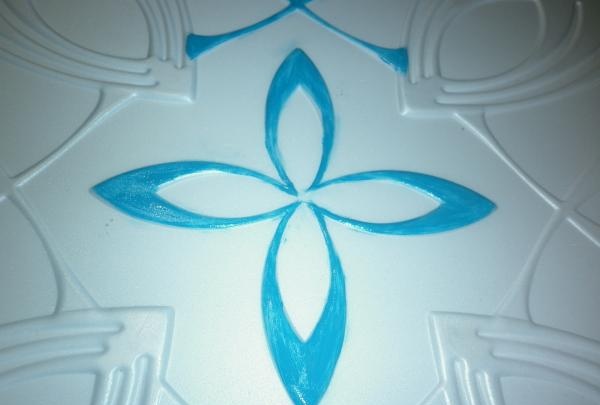
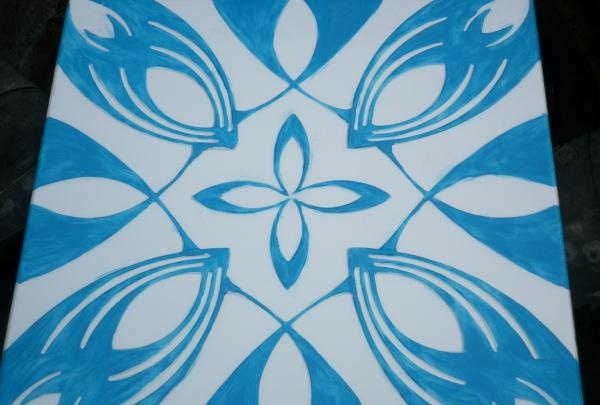
The painting process itself can be carried out even in a residential area (remember that the paint should only be water-based!). We start painting the relief from the central pattern, so as not to get dirty later. You can conditionally divide the tile into four parts and draw each part starting from the center.By the way, it is absolutely not necessary to go through the trouble of painting the rises of the relief; it is quite enough to paint the upper plane. At the same time, do not forget about the continuation of the pattern on the cut edge, so that when the tiles meet, white stripes do not form.
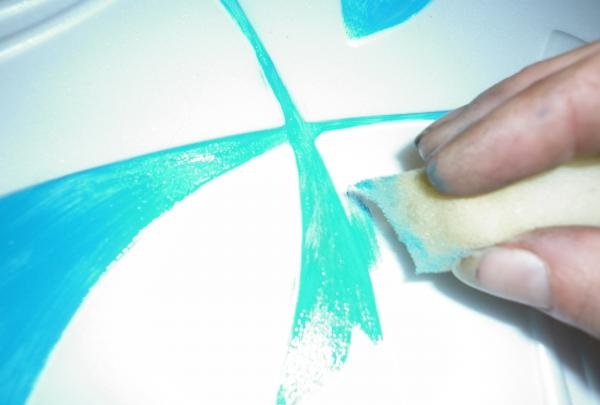
It’s quite natural that you won’t be able to do it without making marks, so it’s worth preparing a small piece of foam rubber with sharply cut corners and a little water to wet it. For those who don’t know, acrylic paints are easily washed off with plain water before drying, but only until they dry, then they are almost impossible to remove. Therefore, incorrect strokes must be wiped off immediately.
After painting, lay the finished tile or place it in a place with a gentle wind or draft, ideally in the “sun”. We remember that foam tiles are very light and fragile, so you need to handle them extremely gently! The finished tile dries in the sun in three to four hours, and in the shade for about a day.
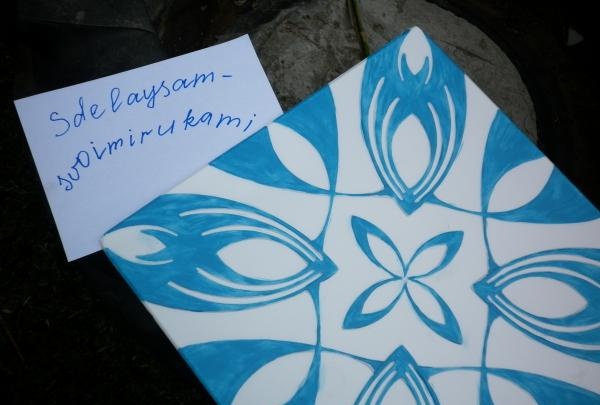
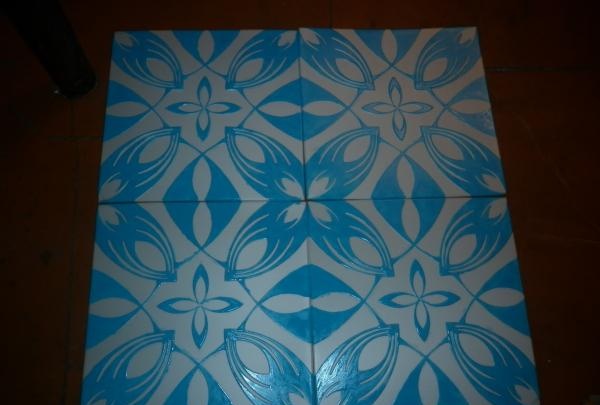
Well, now we take handmade tiles and glue them to the prepared ceilings with special glue or liquid nails. Here in the photo it is still “floor”, since I started painting it before I finished treating the ceiling surface.
But now no one will want to spit on such a ceiling!