Do it yourself
Life hacks, master classes, useful tips, recipes.
home » Handicraft techniques » Decor » Decor ideas » Amazing photo panel
We all love interior photography. You can place them on walls, on shelves, bedside tables, and so on. We are already accustomed to the fact that photographs can be framed - it’s beautiful and standard. However, if you want something unusual in the interior, then I suggest you make an unusual wall panel with me. It is done quite quickly, and ordinary, available materials are used for this.

What you will need for production:
- A set of wooden clothespins. 24 pieces were enough for me, but the number of clothespins directly depends on the diameter and size of the base circle.
- Cardboard for the base of our panel.
- Scissors.
- Glue gun or any other reliable glue.
- Pencil.
- Dry glue for gluing cardboard parts.
- Plates or any other circles for marking the base.
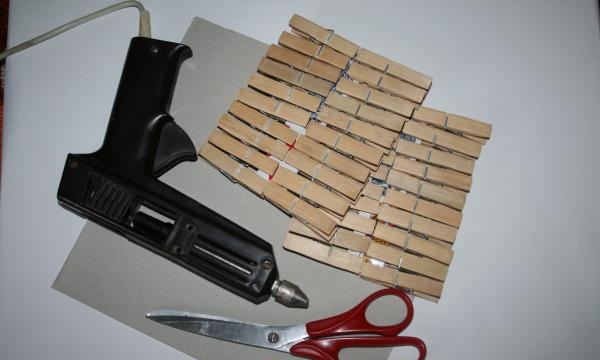

required for production


We start by making the base mold for the panel. We take a square of cardboard and attach a dish to it that is suitable in diameter. Use a pencil to outline the shape of a circle.
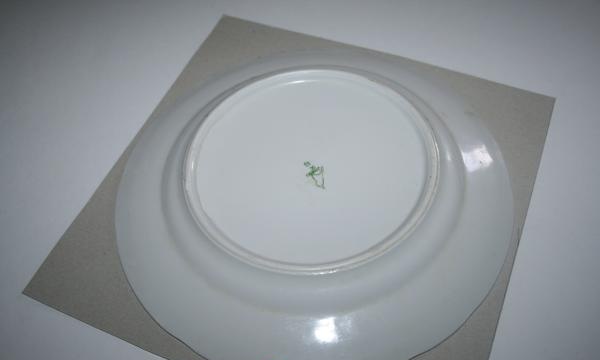
base for panels


Next, place a plate of a smaller diameter in the middle of the resulting circle and also outline it with a pencil. Carefully ensure that the small plate is exactly in the middle of the drawn circle so that the shape is even.
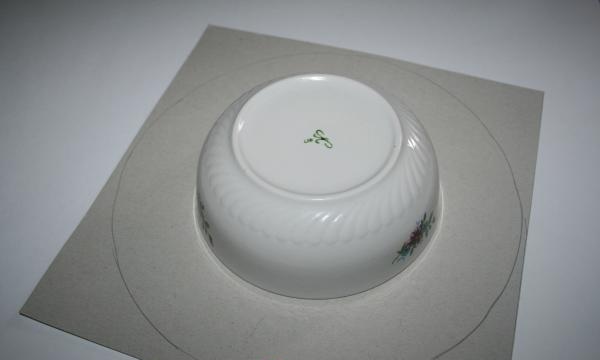
put a plate on it


Next, cut out the lined base. You need to make two identical disks. The second one is quite simple. Attach the already cut out disk to the cardboard and trace it with a pencil. When you cut, cut off the markings with a pencil so that the diameter is the same as the previous disk.
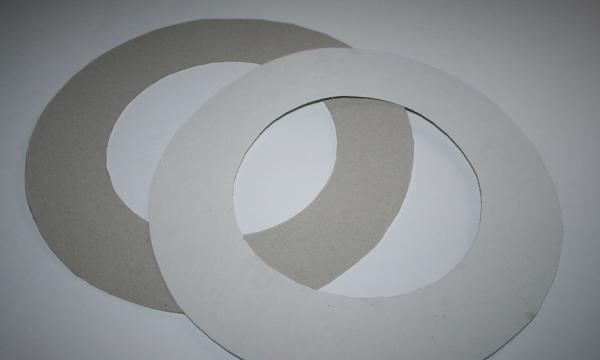
lined base


Glue two identical parts together. This is necessary so that the base form is rigid.
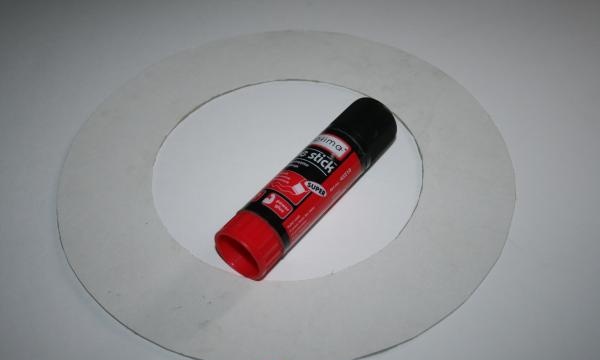
Glue two identical parts together


Let's start gluing the clothespins. We glue them with clips in the center so that the “mouth” of the clothespin looks from the center. To glue the clothespins evenly in a circle, first mark the four sides with a pencil and glue the clothespins on them.
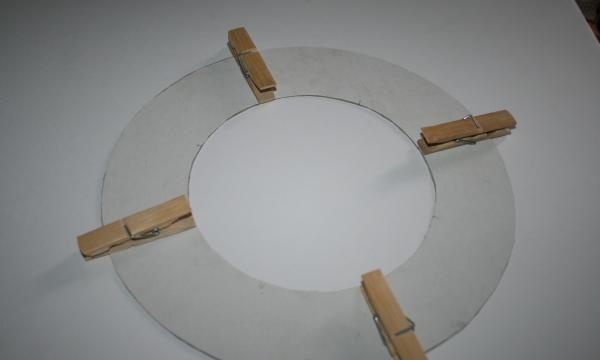
Let's start gluing clothespins


Now we make exactly the same four marks between the already glued clothespins and glue new ones.
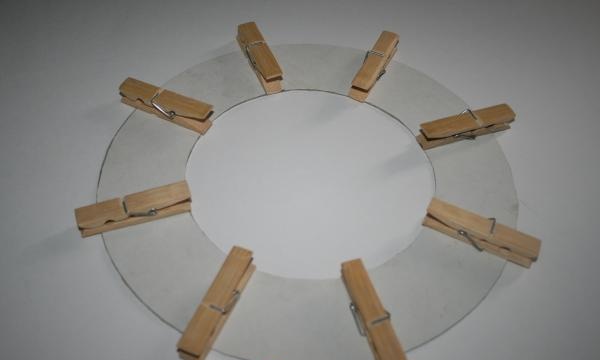
Now let's make four notes


Now distributing clothespins will not be difficult at all. It remains to glue two clothespins in the gaps. This distribution allows objects to be symmetrically placed on the surface of the base, which is quite important.
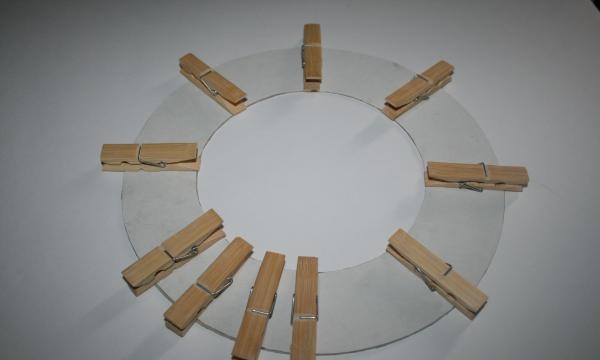
distribute clothespins


This is the basis for the photo panel.
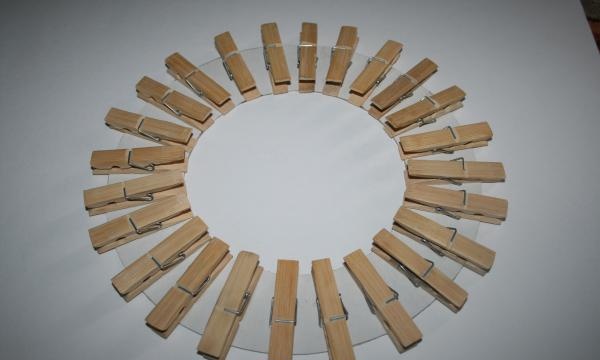
base for photo panels


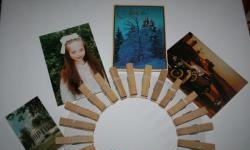
After hanging the base on the wall, you can attach your favorite photographs, postcards, thematic pictures for activities with children or love notes for your husband on clothespins. There is a lot of room for imagination.
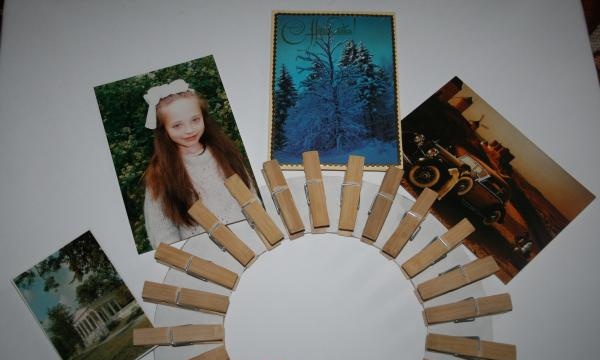
thematic pictures for classes

DIY photo pano
come back
Comment
  • bowtiesmilelaughingblushsmileyrelaxed relaxedsmirk
    heart_eyeskissing_heartkissing_closed_eyesflushedrelievedsatisfiedgrin
    winkstuck_out_tongue_winking_eyestuck_out_tongue_closed_eyesgrinningkissingstuck_out_tonguesleeping
    worriedfrowninganguishedopen_mouthgrimacingconfusedhushed
    expressionlessunamusedsweat_smilesweatdisappointed_relievedwearypassive
    disappointedconfoundedfearfulcold_sweatperseverecrysob
    joyastonishedscreamtired_faceangryragetriumph
    sleepyyummasksunglassesdizzy_faceimpsmiling_imp
    neutral_faceno_mouthinnocent
4 minus one =
Comments (0)

Eternal flashlight in kinder

How to make a renovator from an old hair clipper with your own hands

Crafts - Do it yourself, step-by-step master classes | Page 68

How to clean spark plugs without soaking yourself

«Do it yourself - with your own hands» - a site of interesting homemade products made from scrap materials and items at home. Step-by-step master classes with photos and descriptions, technologies, life hacks - everything a real master or just a craftsman needs for needlework. Crafts of any complexity, a large selection of directions and ideas for creativity.

We recommend reading

Washing machine error codes