Do it yourself
Life hacks, master classes, useful tips, recipes.
home » Workshop » Disassembling a modern iron
Despite the apparent simplicity of the iron, not all owners are able to disassemble it. It's all about the numerous fasteners hidden under the decorative trim. In order not to break anything when disassembling the iron, you need to be calm and resourceful. By completely disassembling the iron, it becomes possible to eliminate many simple problems.
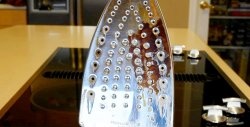
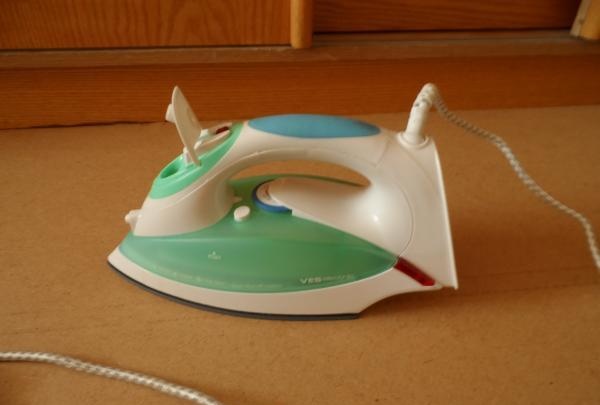
Let's look at the sequence of disassembling a modern iron using the VES 1616 model as an example. The iron should be cold and without water.

Iron


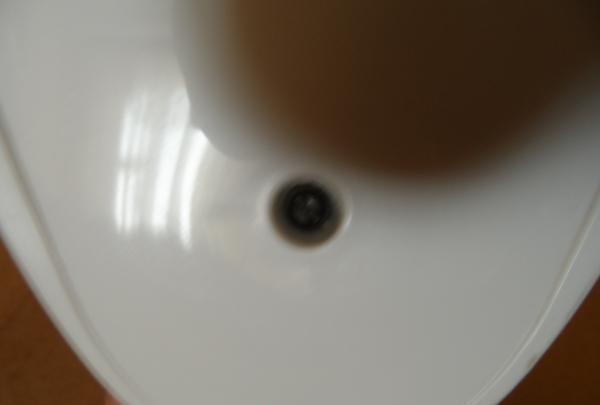
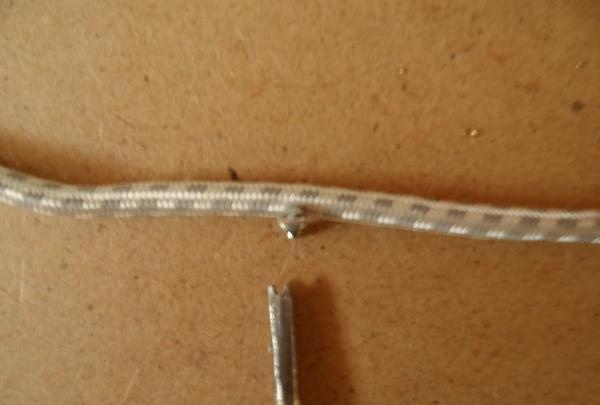
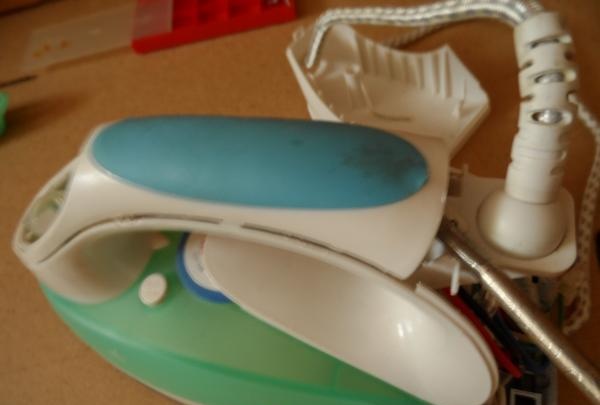
There is a “tricky” screw at the end of the iron, to unscrew it you will need a flat-head screwdriver with a slot in the middle. Such a slot can be made in a regular screwdriver using a file or grinder.

tricky screw

unscrew the bolt


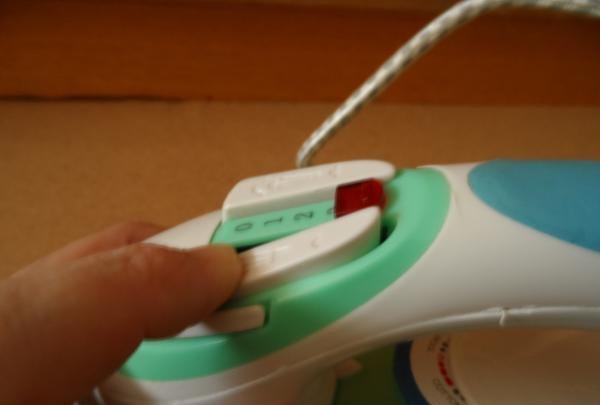
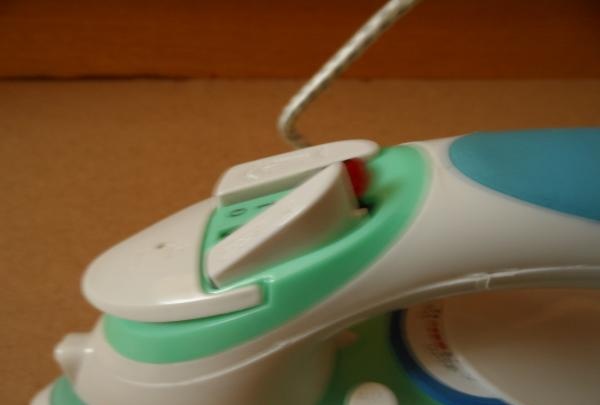
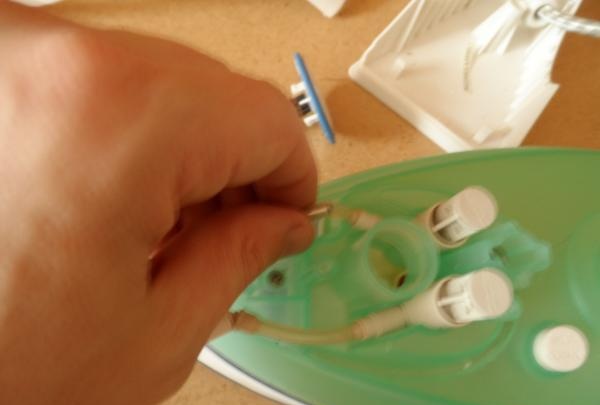
The following screws are hidden under the water supply buttons. The buttons can be easily removed by pressing on them at the front. The back of the button lifts up so you can remove it from the iron body.

iron buttons

take it out


Now you need to unscrew the top two screws and remove the top element.

without buttons

filming


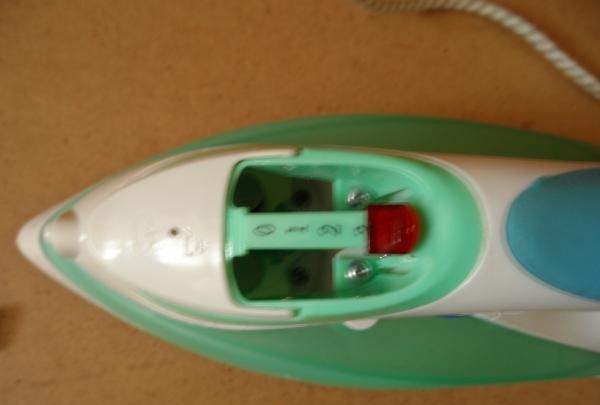
Next, unscrew 3 more screws and remove the lever that regulates the water supply.

pull out the valve


Now we remove the back cover, where the “tricky” screw has already been removed, and unscrew the 2 screws at the top of the iron.

remove the back cover

unscrew 2 screws


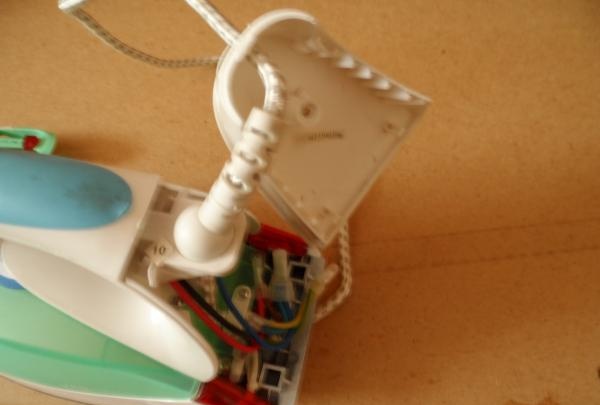
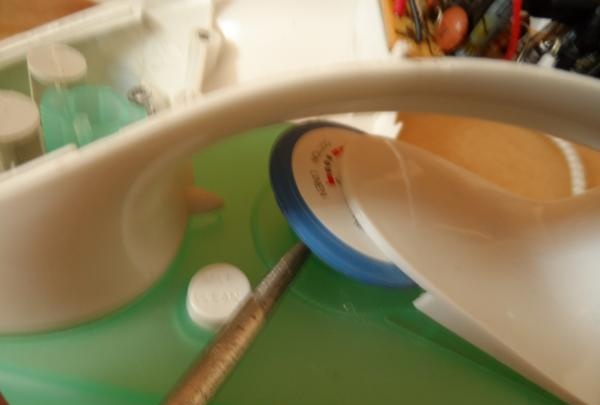
Using a screwdriver, pry up the upper part of the handle and halve it.

prying the top part with a screwdriver

halve it


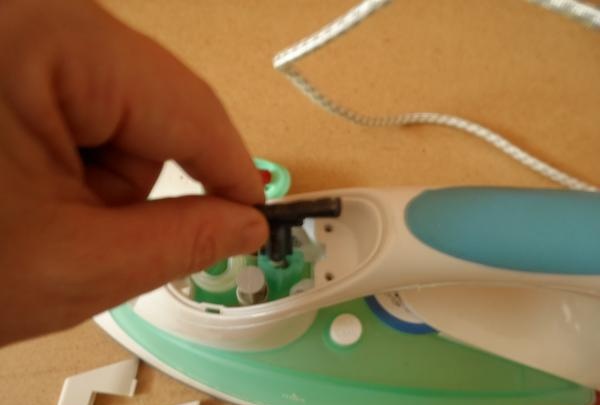
Next, we pry up the heating regulator and remove the regulator and the lower part of the handle.

dismantle the regulator

dismantle the regulator


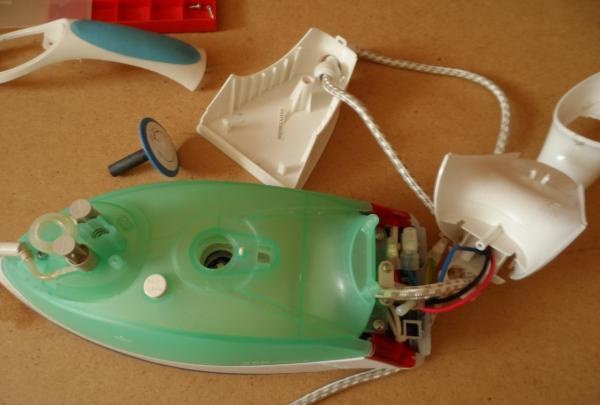
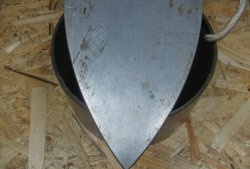
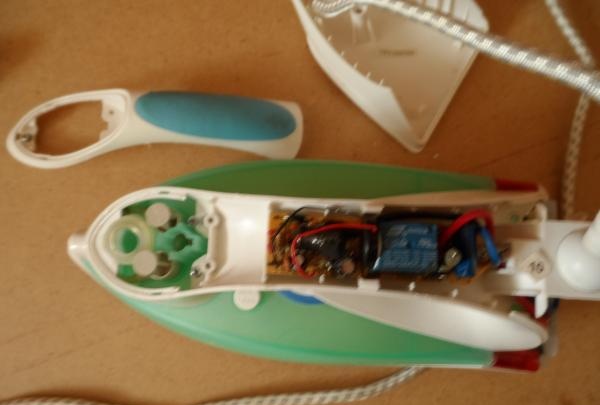
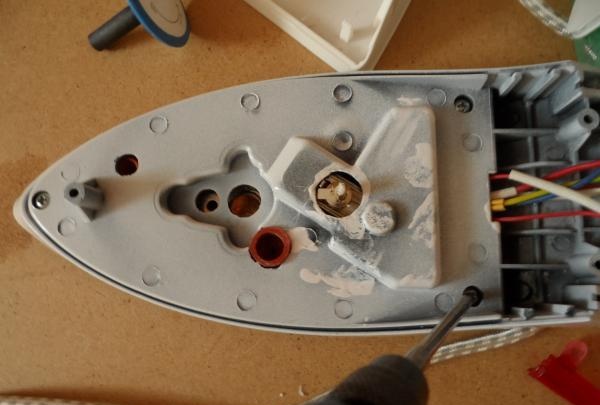
Now you can see 3 screws that secure the “aqua housing” to the platform. We unscrew them, disconnect the tube through which water is supplied to the “sole” and remove the housing for containing the water.

Unscrew

remove the body

remove the body


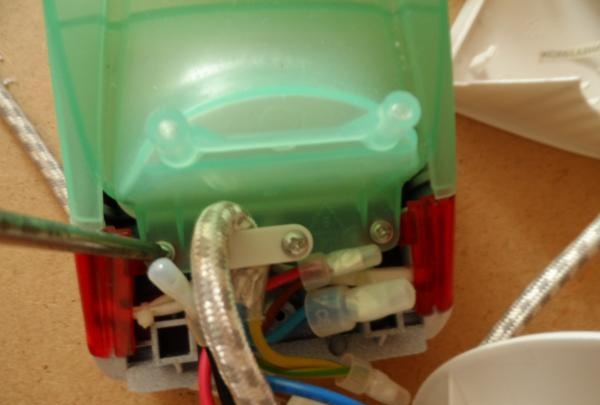
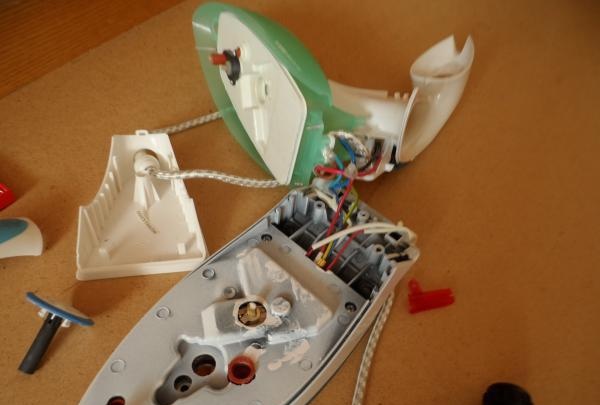
It remains to unscrew 3 more screws and perform the final dismantling of the element.

last element dismantling

last element dismantling


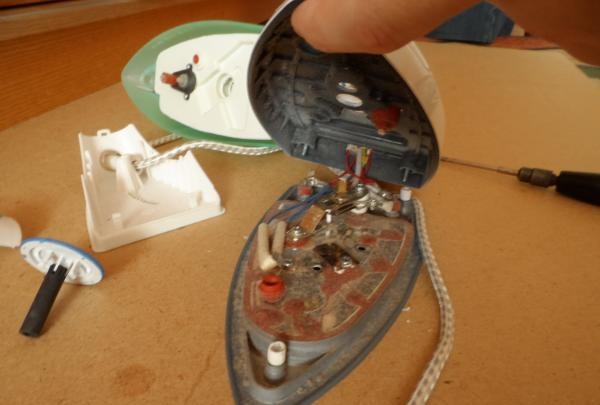
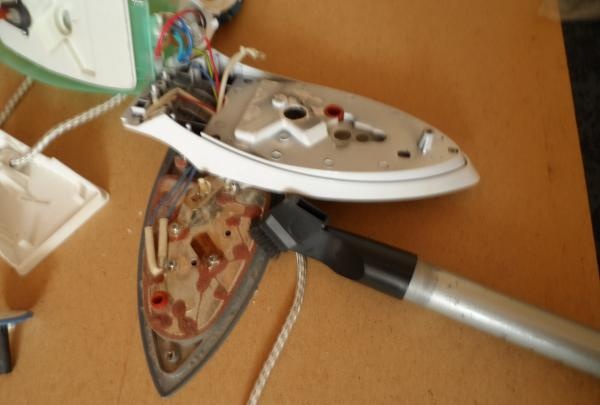
Now, using a vacuum cleaner with a narrow nozzle, we clean everything from accumulated dust.

clean from dust


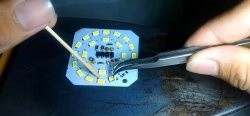
After this, some problems with the iron are eliminated. And then, armed with a tester, you can “ring” the heating element, wiring, conduct a visual inspection, etc.
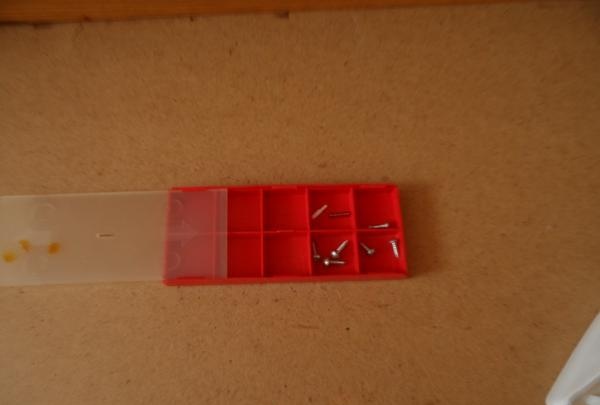
It is convenient to put all fasteners and small parts of the iron in a box.

It’s convenient to put the parts in a box


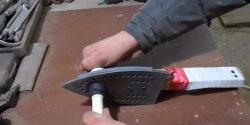
Assembling the iron is done slowly in the reverse order.
come back
Comment
  • bowtiesmilelaughingblushsmileyrelaxed relaxedsmirk
    heart_eyeskissing_heartkissing_closed_eyesflushedrelievedsatisfiedgrin
    winkstuck_out_tongue_winking_eyestuck_out_tongue_closed_eyesgrinningkissingstuck_out_tonguesleeping
    worriedfrowninganguishedopen_mouthgrimacingconfusedhushed
    expressionlessunamusedsweat_smilesweatdisappointed_relievedwearypassive
    disappointedconfoundedfearfulcold_sweatperseverecrysob
    joyastonishedscreamtired_faceangryragetriumph
    sleepyyummasksunglassesdizzy_faceimpsmiling_imp
    neutral_faceno_mouthinnocent
3+three=
Comments (1)
  1. Guest Igor
    #1 Guest Igor Guests 20 September 2018 13:09
    7
    I fiddled around for half a day and took it apart. The heating element “ringed” and saw that it had burned out.
    And the question arises: why did I spend half a day disassembling this iron?

A simple device for laying blocks that will save your time and effort

Beaded dragonfly | Do it yourself

DIY corrugated paper rose

How to get rid of window fogging with your own hands

«Do it yourself - with your own hands» - a site of interesting homemade products made from scrap materials and items at home. Step-by-step master classes with photos and descriptions, technologies, life hacks - everything a real master or just a craftsman needs for needlework. Crafts of any complexity, a large selection of directions and ideas for creativity.

We recommend reading

Washing machine error codes