Do it yourself
Life hacks, master classes, useful tips, recipes.
home » Handicraft techniques » Embroidery » Beadwork » Bead embroidery on patterned fabric
Master Class: embroidery icons with beads on fabric with a pattern.

Icon embroidered with beads

pattern on fabric


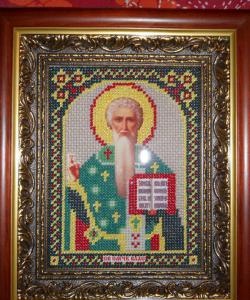
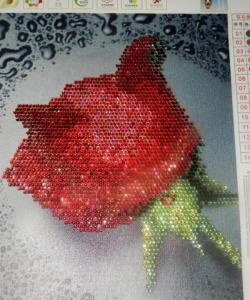
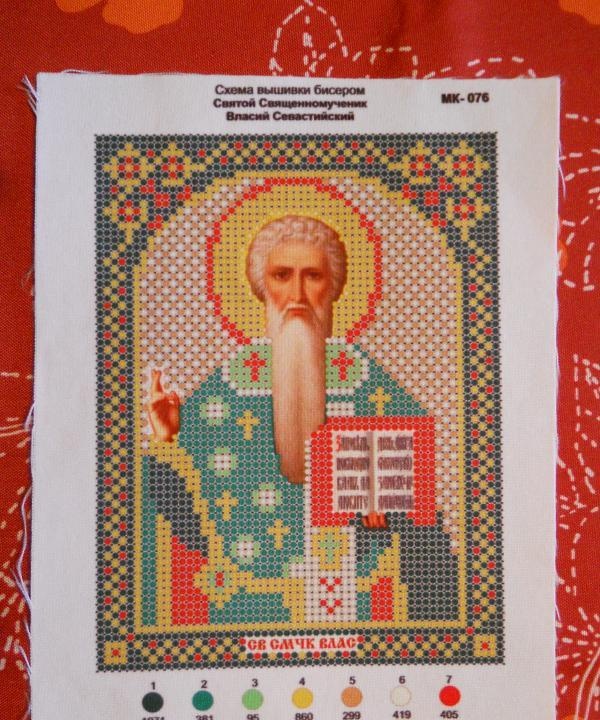
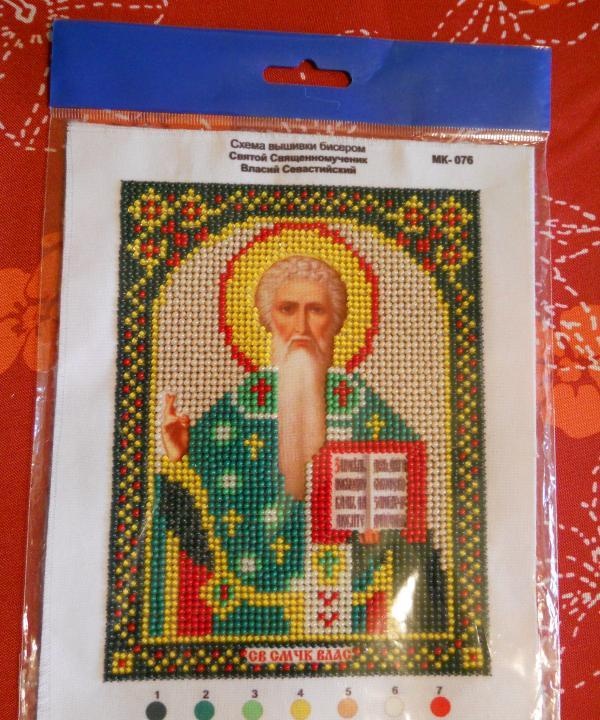
To work, you need a thick fabric with a clear image of a saint, which will ensure good fixation of the beads.

beads


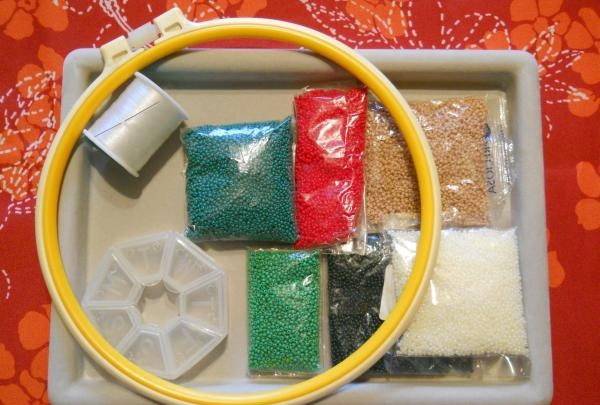
And also, selected according to the color scheme depicted on the fabric, high-quality beads, a needle for working with them, a hoop, monofilament, scissors, a plastic box and a tray with a rough coating.

attach the fabric to the hoop


Carefully secure the fabric to the hoop.

beads of the desired color


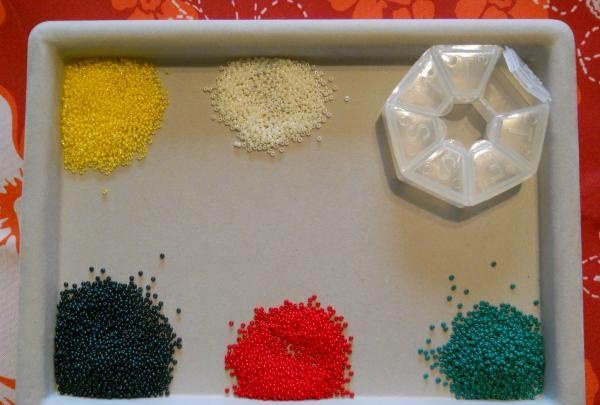
We carefully scatter the beads of the desired color on the tray and set up a box for the defective one.

fasten the monofilament


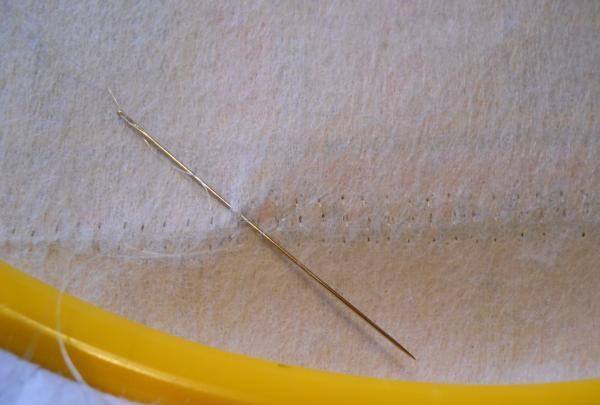
We fix the monofilament on the wrong side. You need to make a knot.

Need to make a knot


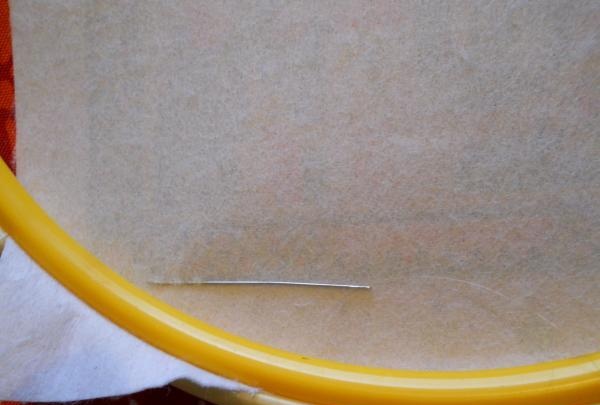
We stick the needle between the threads, without bringing it to the front side.

right point on the fabric


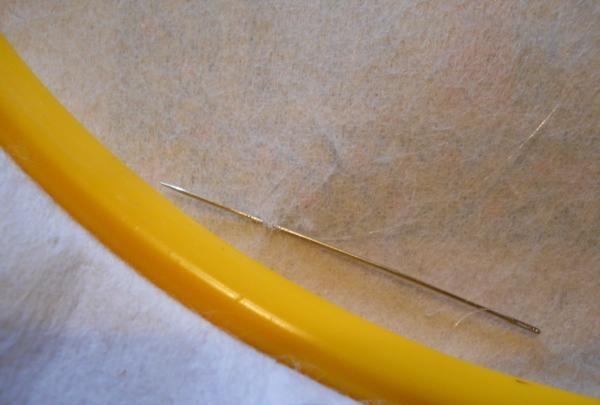
We bring the needle to the lower right point on the fabric.

string beads


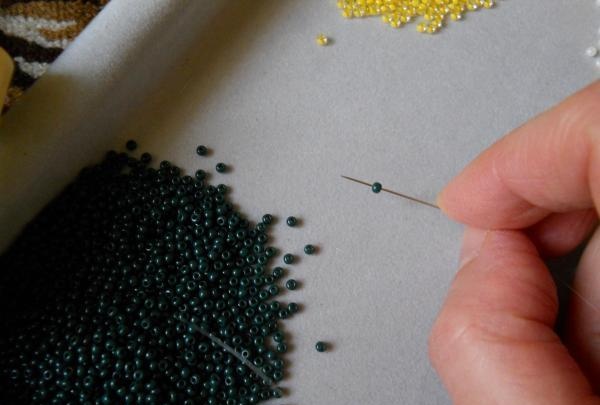
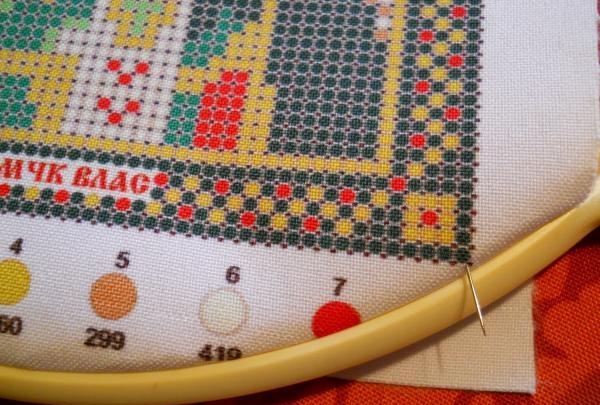
Using a needle from the tray, string beads of the desired color.

the depicted point for the next bead


We stick the needle with beads diagonally, bringing it to the wrong side. On the wrong side, make a downward vertical stitch, on the front side, at the lower right depicted point for the next bead.

embroider in reverse direction


So we gradually embroider a row horizontally.

embroider a row horizontally


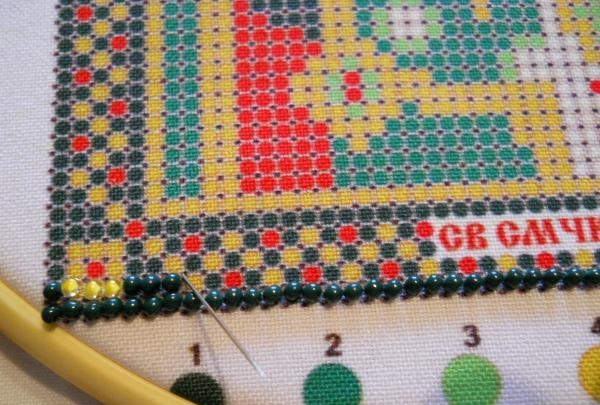
We embroider the next row in the opposite direction.

fasten it to a knot


When the monofilament runs out, we secure it to a knot.

fasten to a knot


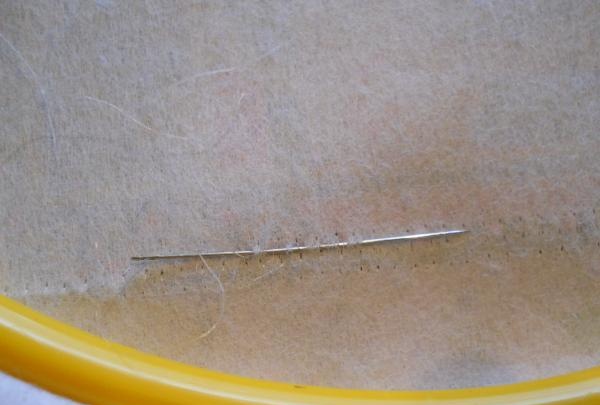
Insert the needle between the stitches.

Cutting monofilament with scissors


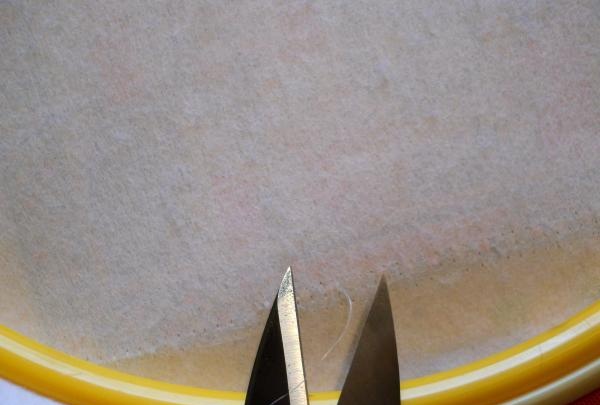
We cut the monofilament with scissors.

filling the fabric with the indicated colors


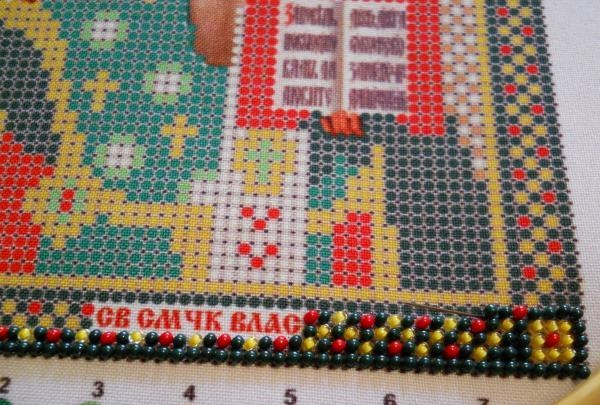
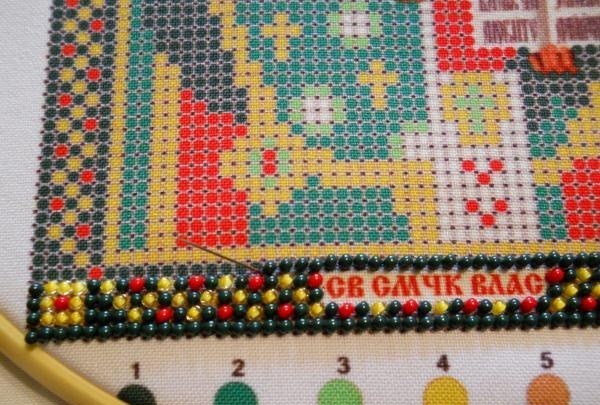
We go around the places not marked with dots on the fabric, filling the fabric with the indicated colors diagonally further.

filling the fabric with flowers


We also continue beading on the other side.

We continue to embroider

until we fill the marked places


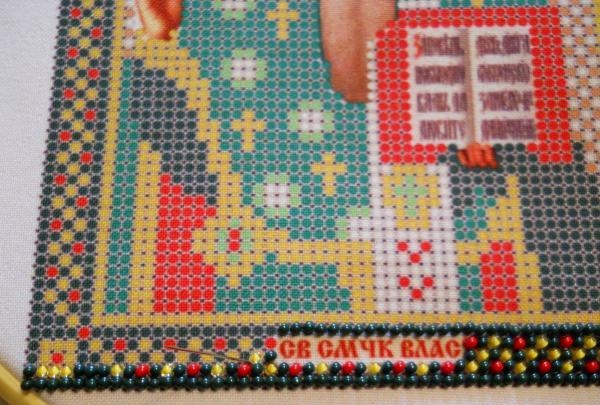
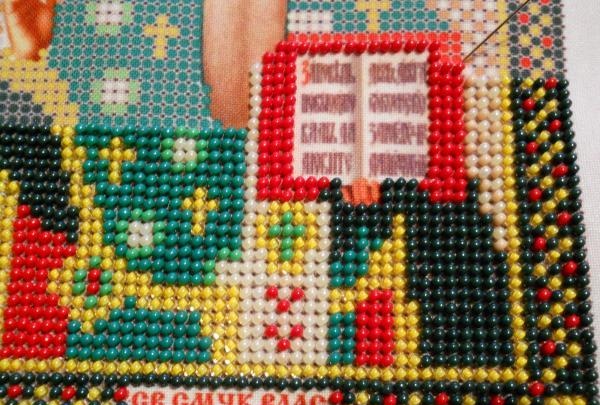
We continue to embroider until we fill all the marked places on the fabric with beads.

iron along the embroidery


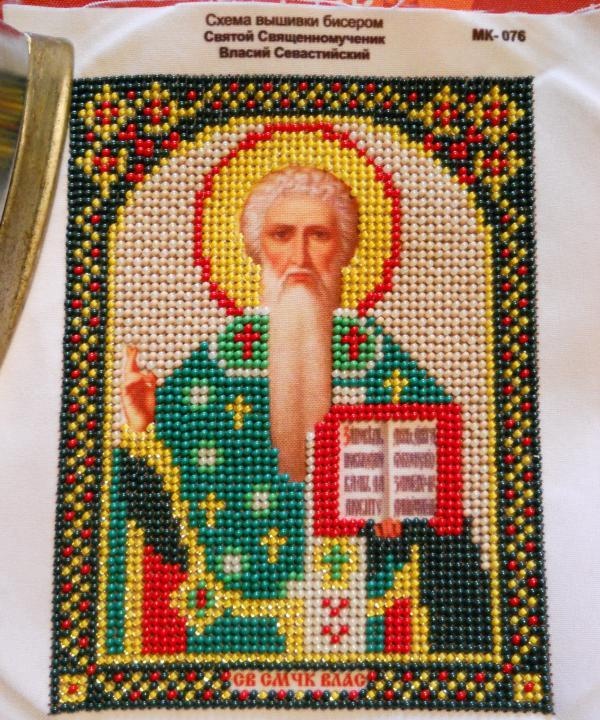
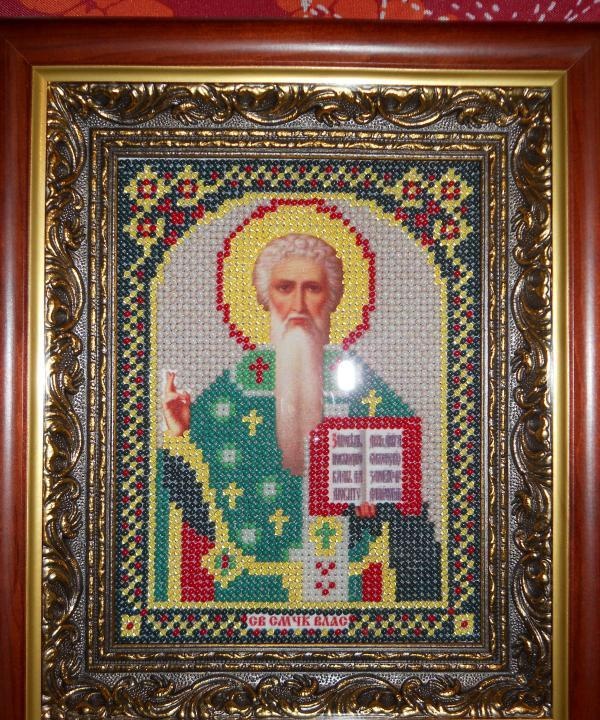
The finished product must be ironed along the embroidery.

Place the embroidery in cellophane


Place the embroidery in cellophane to avoid contamination.

Icon embroidered with beads


To decorate embroidery in a framing workshop, you need to select an icon case.
come back
Comment
  • bowtiesmilelaughingblushsmileyrelaxed relaxedsmirk
    heart_eyeskissing_heartkissing_closed_eyesflushedrelievedsatisfiedgrin
    winkstuck_out_tongue_winking_eyestuck_out_tongue_closed_eyesgrinningkissingstuck_out_tonguesleeping
    worriedfrowninganguishedopen_mouthgrimacingconfusedhushed
    expressionlessunamusedsweat_smilesweatdisappointed_relievedwearypassive
    disappointedconfoundedfearfulcold_sweatperseverecrysob
    joyastonishedscreamtired_faceangryragetriumph
    sleepyyummasksunglassesdizzy_faceimpsmiling_imp
    neutral_faceno_mouthinnocent
5+two=
Comments (0)

How to make an antifreeze with your own hands

How to make a folding chair with your own hands from plywood scraps

Do you want to get a bumper harvest next summer? Then do this | Do it yourself

DIY cards | Page 3

«Do it yourself - with your own hands» - a site of interesting homemade products made from scrap materials and items at home. Step-by-step master classes with photos and descriptions, technologies, life hacks - everything a real master or just a craftsman needs for needlework. Crafts of any complexity, a large selection of directions and ideas for creativity.

We recommend reading

Washing machine error codes