Do it yourself
Life hacks, master classes, useful tips, recipes.
home » Handicraft techniques » Quilling » Quilling cards » Postcard with quilling elements
It is customary to give postcards to your closest friends and relatives, as well as to work colleagues. It’s especially nice to give a card made by yourself. A cute postcard with a cat and a bouquet of flowers will be an appropriate gift for almost any occasion, from birthdays to housewarmings.

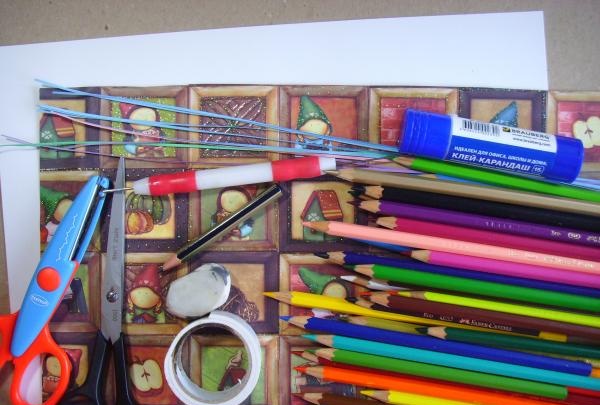
First you need to prepare everything you need:
- colour pencils;
- paper;
- scissors;
- curly scissors;
- eraser;
- a simple pencil;
- paper intended for quilling;
- double-sided tape;
- paper rolling tool;
- double-sided scrapbooking paper;
- glue stick.

pencils paper glue


Now you can start drawing:
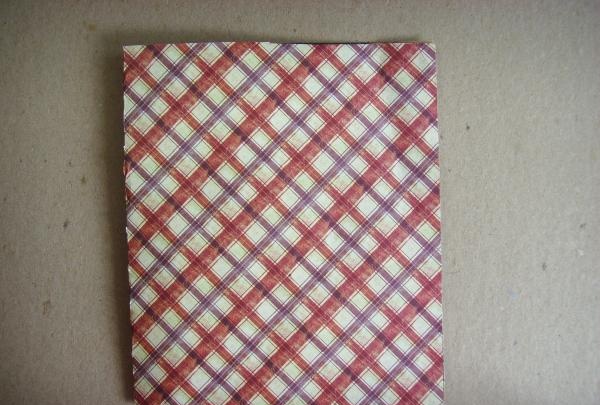
1. Carefully bend a sheet of scrapbooking paper in half;

paper


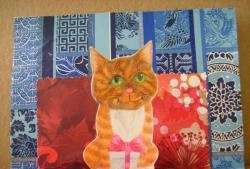
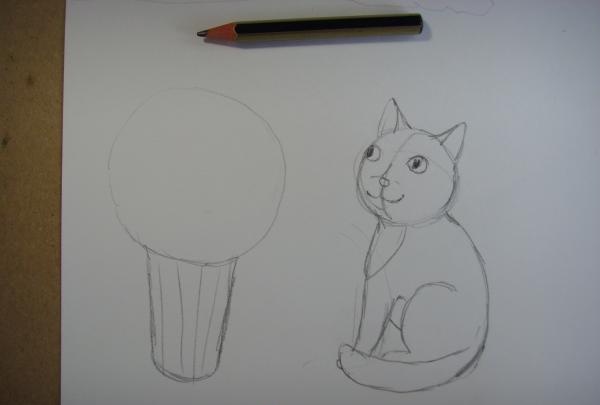
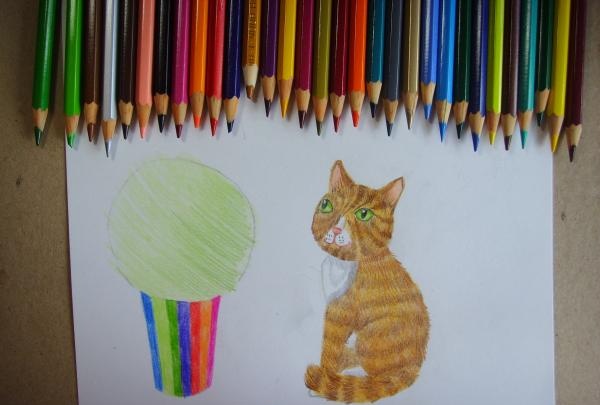
2. Using a simple pencil on one half of a sheet of paper, draw a sitting cat and a vase of flowers;

draw a cat


3. Use an eraser to erase the pencil lines and color both drawings with colored pencils;

decorate the cat


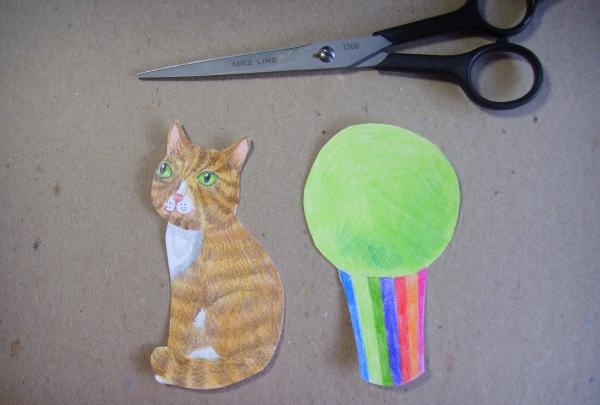
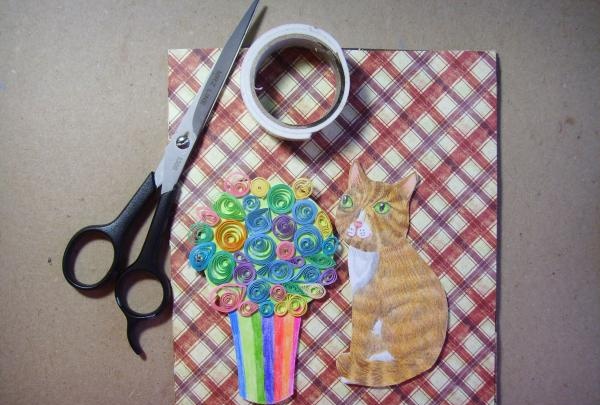
4. Use scissors to cut out the cat and vase;

cut out what you drew


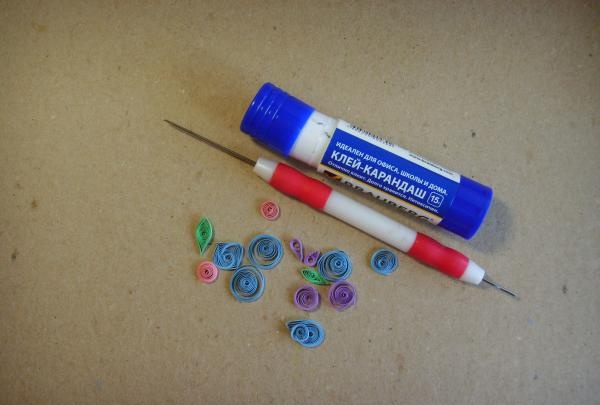
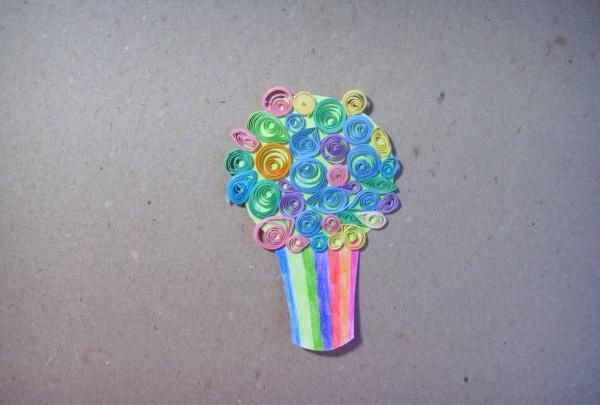
5. Using a rolling tool, make several quilling elements, securing each of them with glue;

twist quilling elements


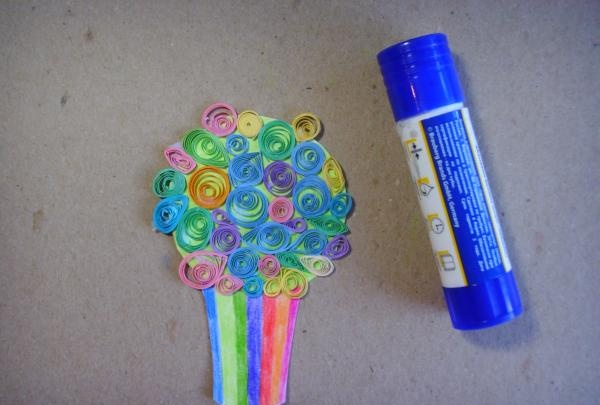
6. Apply glue to the place on one of the drawings where the flowers should be located.Glue quilling elements to this place. If there are not enough elements, make a few more pieces;

glue the curls


7. Turn both drawings over and stick a piece of double-sided tape on them. After this, glue both designs onto the front side of the card;

wait until it dries


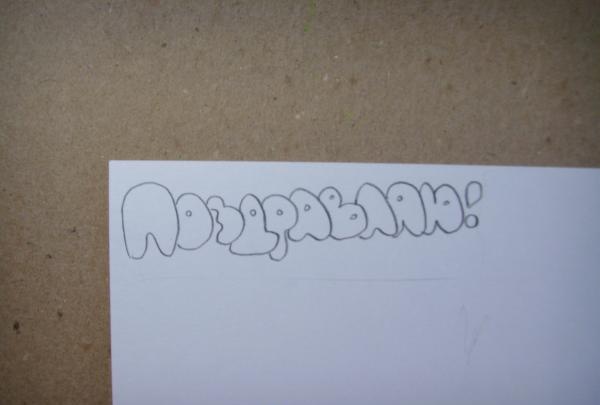
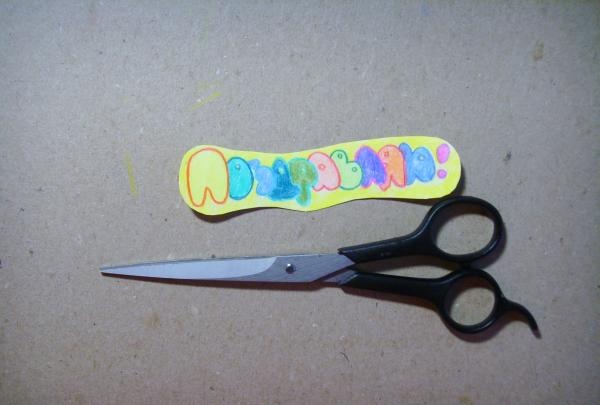
8. On the remaining half of the white sheet of paper, use a simple pencil to mark a congratulatory inscription;

glue it to the sheet


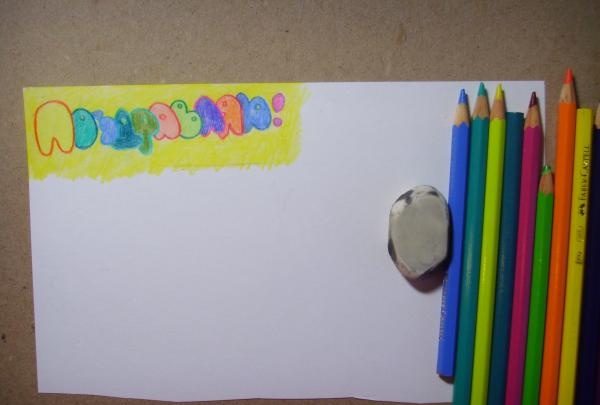
9. Erase the pencil lines and color the letters with colored pencils. Make the background yellow;

Congratulations


10. Cut out the inscription with scissors;

decorate


11. Turn the inscription over and stick several pieces of double-sided tape on its reverse side;
12. Glue the inscription above the cat and bouquet;

cut out


13. Cut a small rectangle from the remaining piece of paper using curly scissors;

glue with double sided tape


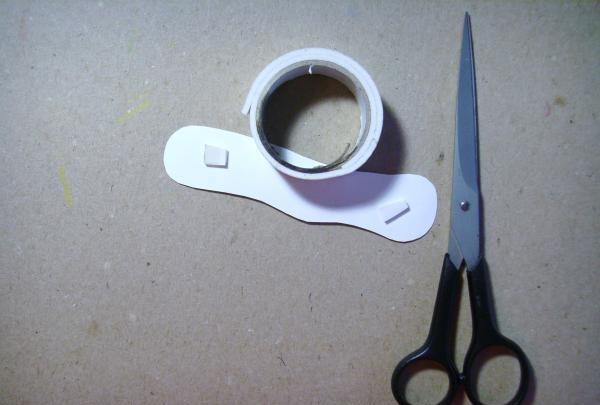
14. Using double-sided tape, stick a rectangle inside the card. You can write your wishes on it.

card with quilling elements


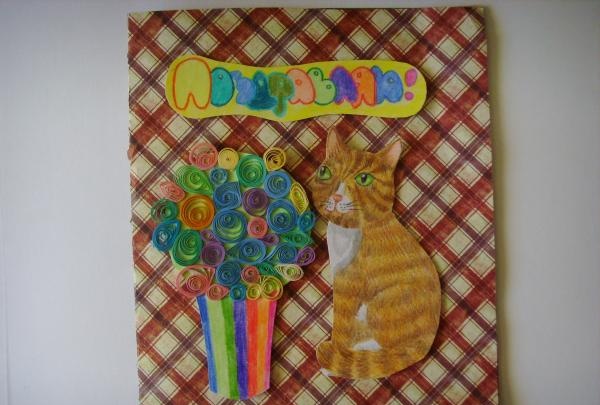
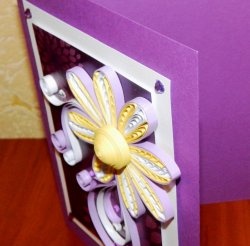
Now the original card with quilling elements is ready! It will be a wonderful gift for almost any holiday. All you have to do is write good wishes inside it.
come back
Comment
  • bowtiesmilelaughingblushsmileyrelaxed relaxedsmirk
    heart_eyeskissing_heartkissing_closed_eyesflushedrelievedsatisfiedgrin
    winkstuck_out_tongue_winking_eyestuck_out_tongue_closed_eyesgrinningkissingstuck_out_tonguesleeping
    worriedfrowninganguishedopen_mouthgrimacingconfusedhushed
    expressionlessunamusedsweat_smilesweatdisappointed_relievedwearypassive
    disappointedconfoundedfearfulcold_sweatperseverecrysob
    joyastonishedscreamtired_faceangryragetriumph
    sleepyyummasksunglassesdizzy_faceimpsmiling_imp
    neutral_faceno_mouthinnocent
4 minus one =
Comments (0)

Useful and interesting | Page 34 | Do it yourself

Wedding bottle with poppies | Do it yourself

Mittens Puppet Theater | Do it yourself

Without welding, we patch huge rusty holes in the body quickly and cheaply

«Do it yourself - with your own hands» - a site of interesting homemade products made from scrap materials and items at home. Step-by-step master classes with photos and descriptions, technologies, life hacks - everything a real master or just a craftsman needs for needlework. Crafts of any complexity, a large selection of directions and ideas for creativity.

We recommend reading

Washing machine error codes