Do it yourself
Life hacks, master classes, useful tips, recipes.
home » Different » Crafts » Origami » DIY corrugated paper Christmas tree
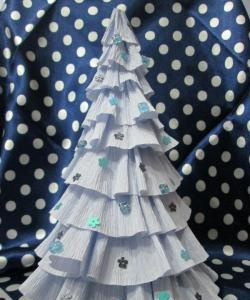
It is very easy to make such a Christmas tree; you do not need any special devices or tools. Thanks to the chosen white color, the result was a charming snow-covered Christmas tree. But if you have a desire, you can do it in the standard green color. The texture of corrugated paper and the large number of branches make it spectacular in any color.

1. We will need the following materials and tools:

• White corrugated paper.
• Double-sided tape.
• Scissors.
• A piece of thick paper. (Wallpaper in this master class)
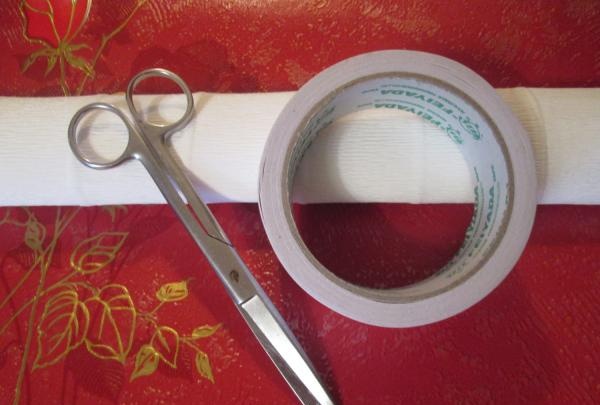
materials and tools


2. We make a cone like this from a piece of wallpaper. Don't try to fasten it tightly. In the future, it will still be wrapped in several layers of tape. Which will give strength and hardness to the base.
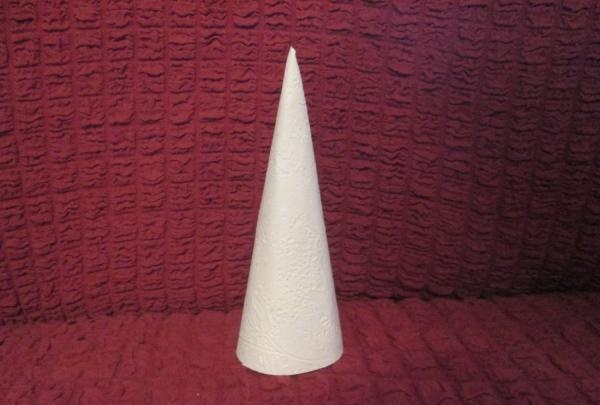
make a cone from a piece of wallpaper


3. Cut the corrugated paper as follows. We will need 3 different sizes of blanks. Since every 2-3 rows the size of the spruce branches should decrease.
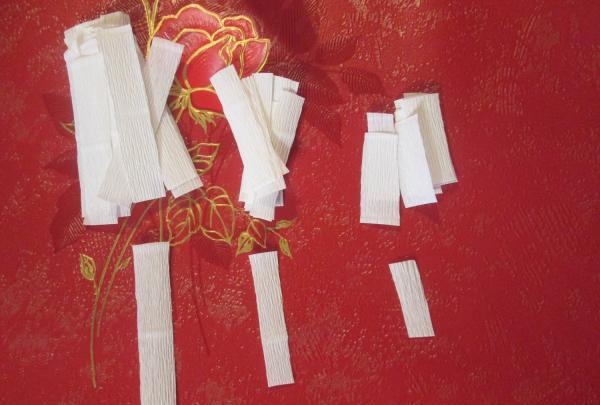
Cutting corrugated paper


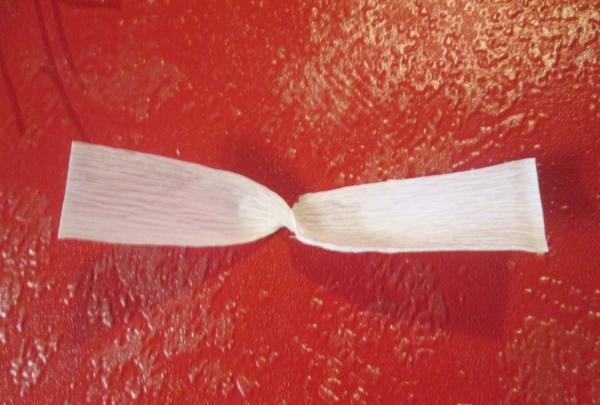
4. Twist the rectangle.

Twist it


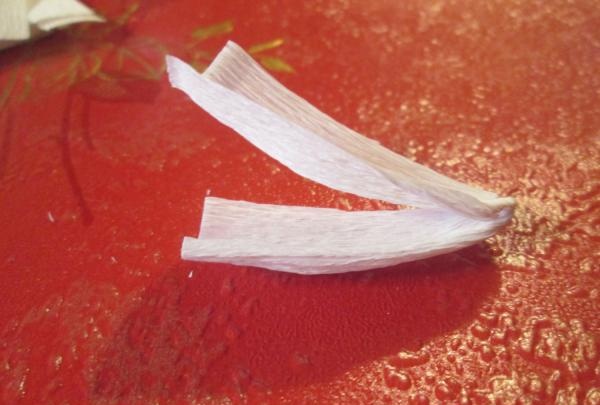
5. Fold in half.

Fold in half


6. Lightly press the fold with your finger. So that the workpiece takes on a convex shape.
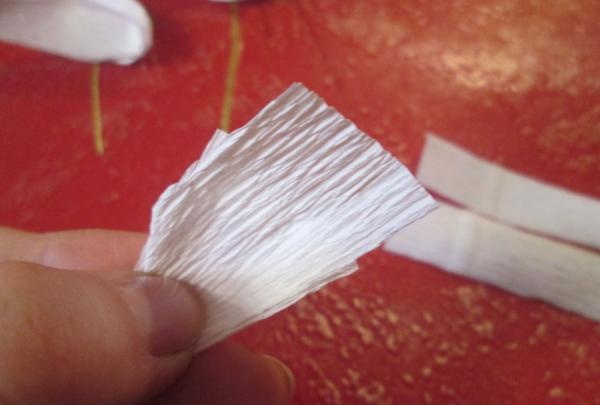
press with your finger


7.Apply double-sided tape to the cone.
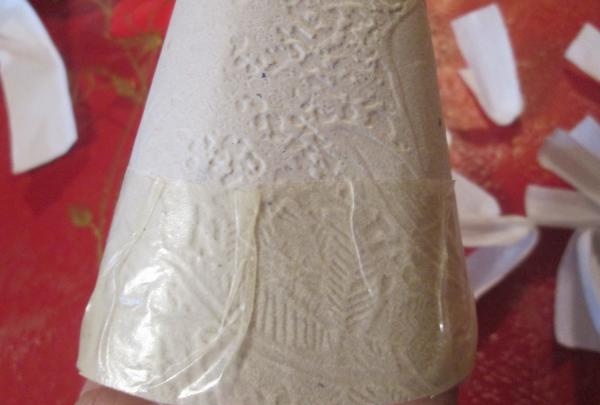
Glue the tape


8. We begin to glue our blanks one by one.
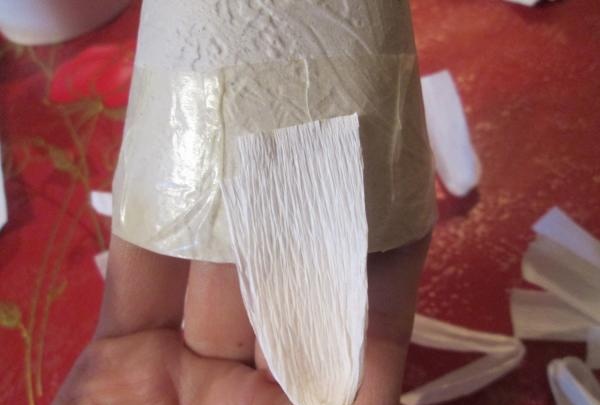
glue our blanks


9. This is what the first row of tree branches looks like.
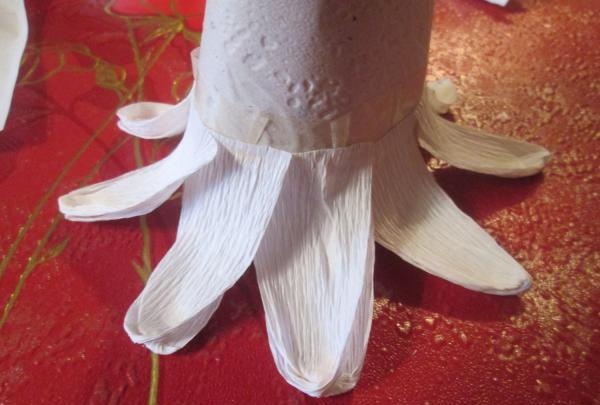
the first row looks like


10. Next, glue the second piece of tape. We do it as follows. We go a little onto the blanks of the previous row to secure them.
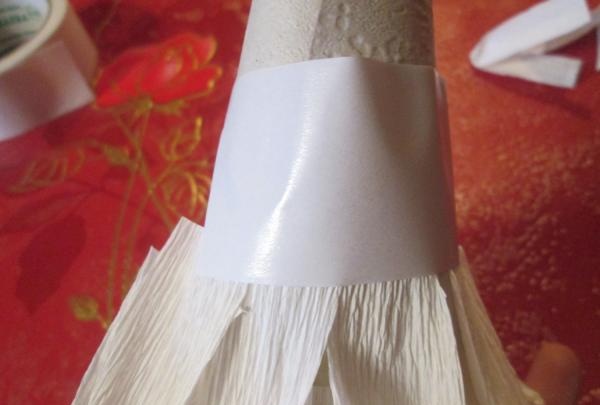
we go to the blanks of the previous row


11. We glue the second and all subsequent rows according to the following principle. Each piece must fall between the pieces of the previous row. So that the branches of the spruce look natural, and there are no empty spaces between them.
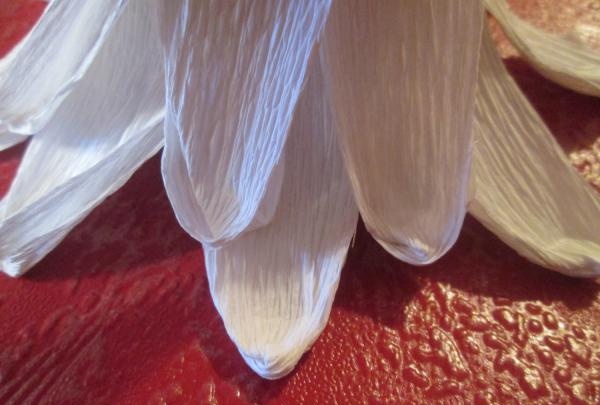
glue according to the following principle


12. We do the top like this. We take a small piece, already twisted, and cut it at an angle. Glue it directly on top of the tree. So that one part covers one side, and the other the other.
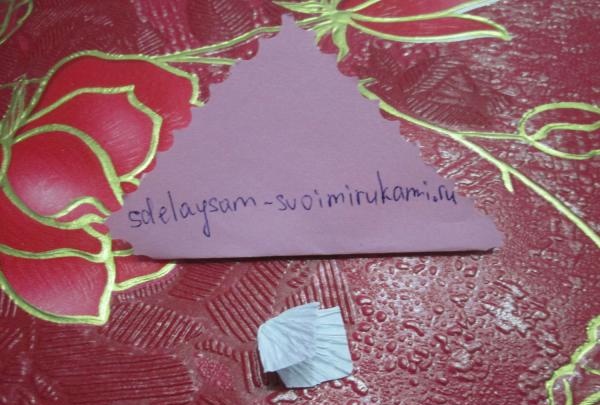
Paste it directly on top


13. So the wonderful Christmas tree is ready.
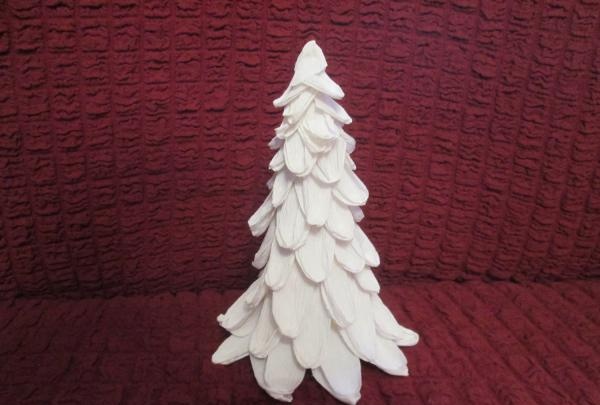
corrugated paper Christmas tree
come back
Comment
  • bowtiesmilelaughingblushsmileyrelaxed relaxedsmirk
    heart_eyeskissing_heartkissing_closed_eyesflushedrelievedsatisfiedgrin
    winkstuck_out_tongue_winking_eyestuck_out_tongue_closed_eyesgrinningkissingstuck_out_tonguesleeping
    worriedfrowninganguishedopen_mouthgrimacingconfusedhushed
    expressionlessunamusedsweat_smilesweatdisappointed_relievedwearypassive
    disappointedconfoundedfearfulcold_sweatperseverecrysob
    joyastonishedscreamtired_faceangryragetriumph
    sleepyyummasksunglassesdizzy_faceimpsmiling_imp
    neutral_faceno_mouthinnocent
3+three=
Comments (0)

How to solve the problem of fogging of plastic windows

How to make a foam sprayer from a spray gun

How to make a device for a drill for drilling holes in tiles of any diameter

Crafts - Do it yourself, step-by-step master classes | Page 64

«Do it yourself - with your own hands» - a site of interesting homemade products made from scrap materials and items at home. Step-by-step master classes with photos and descriptions, technologies, life hacks - everything a real master or just a craftsman needs for needlework. Crafts of any complexity, a large selection of directions and ideas for creativity.

We recommend reading

Washing machine error codes