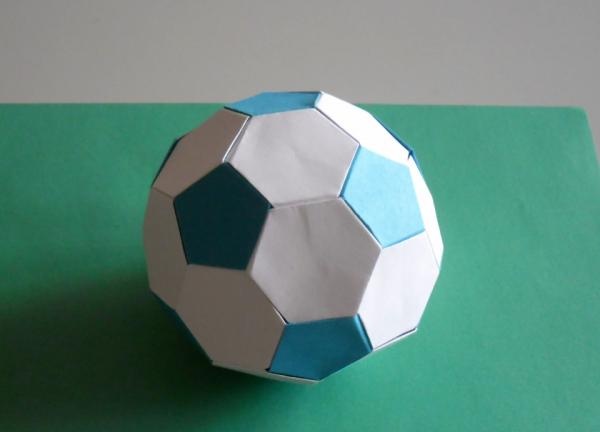
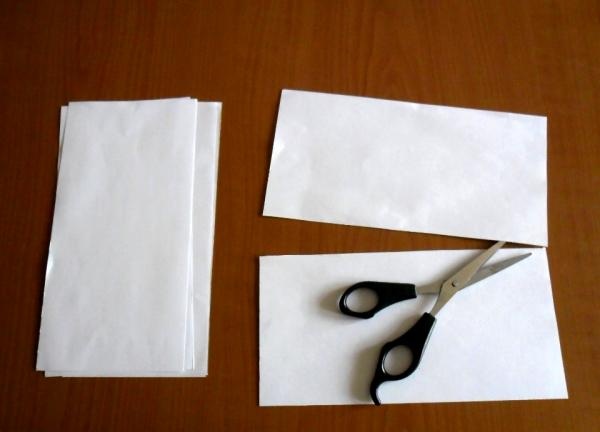
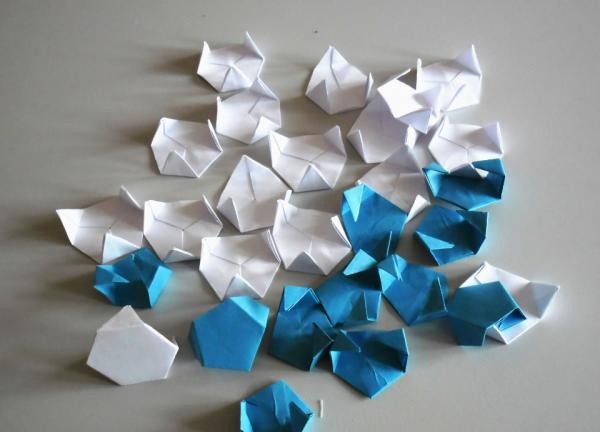
Despite the large number of modules, this voluminous ball is not difficult to assemble. The main thing is to be patient and do everything strictly according to the plan. Paper for crafts you need to take a dense one, then the ball will keep its shape well. To make this ball, you will need 5 square sheets of white paper and 2 square sheets of colored paper. The square can be made from landscape paper. For the craft you will need 20 modules of white color and 12 modules of any other color. First prepare the white modules. Each module is an equilateral hexagon with three fasteners. To make the hexagon blanks, take all the white squares and fold them in half. Cut along the fold. You will get 10 rectangles.
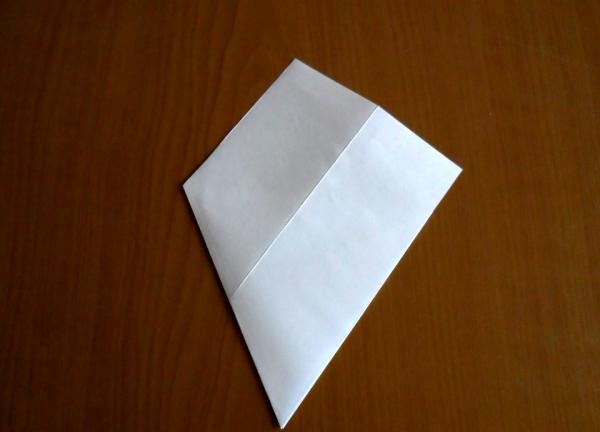
Take a rectangle.
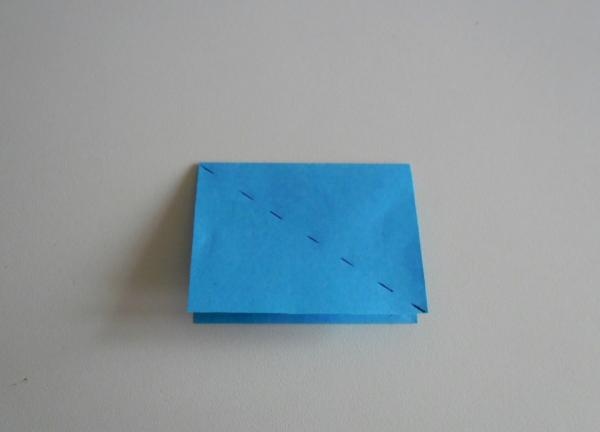
Fold it in half lengthwise.
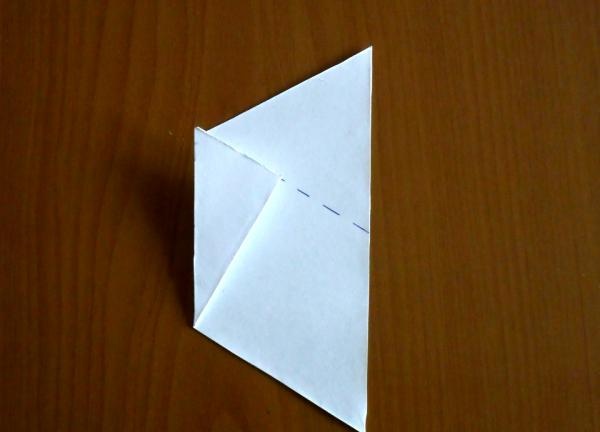
Expand. Fold the right side so that the bottom corner coincides with the central fold (where the mark is).
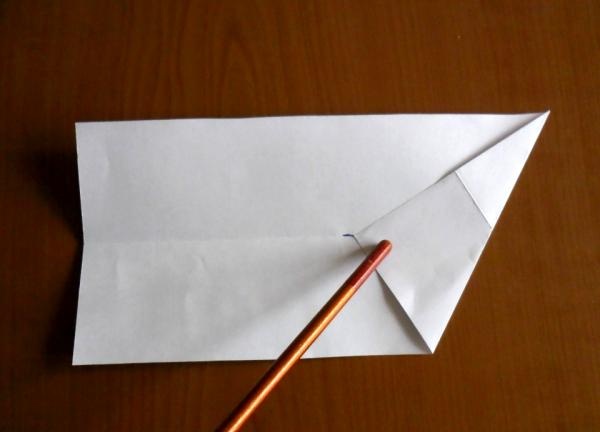
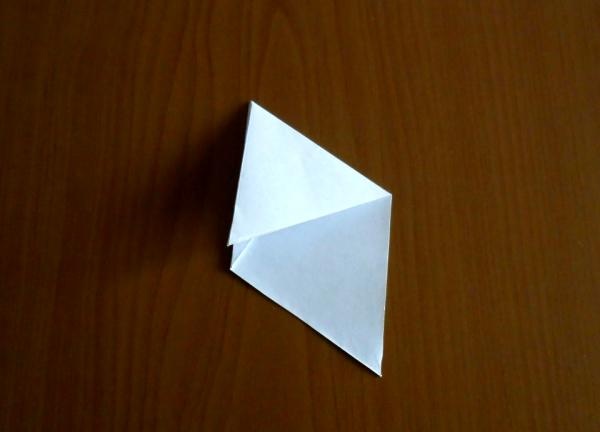
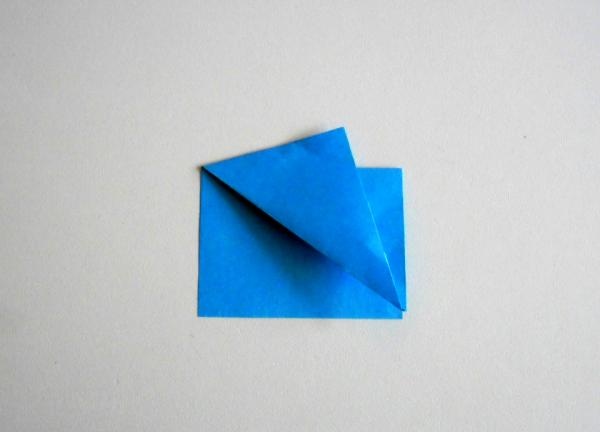
Bend the left side of the rectangle, making a corner at the bottom, aligning its lower part with the fold.
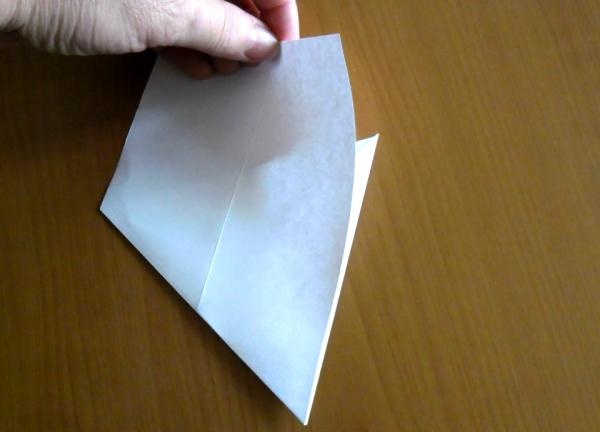
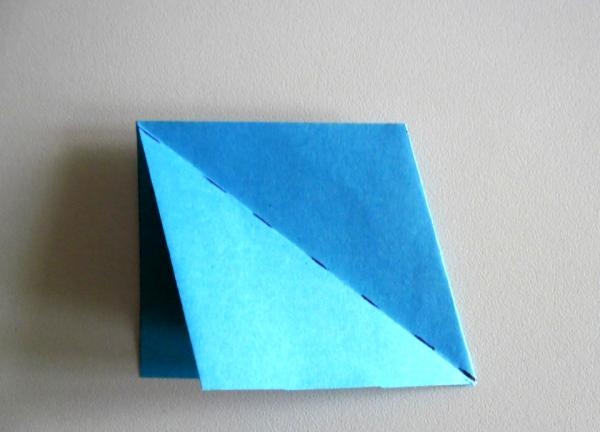
Turn the workpiece over to the other side.
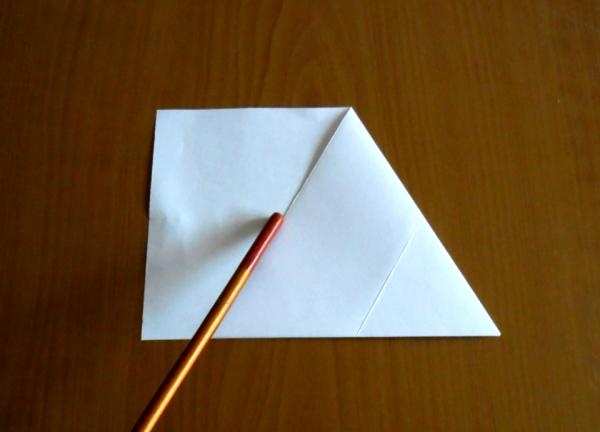
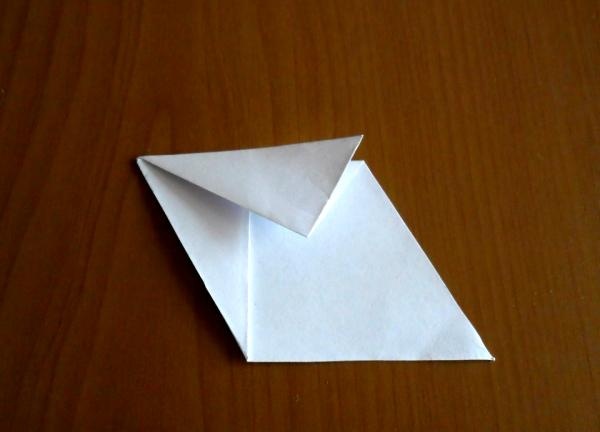
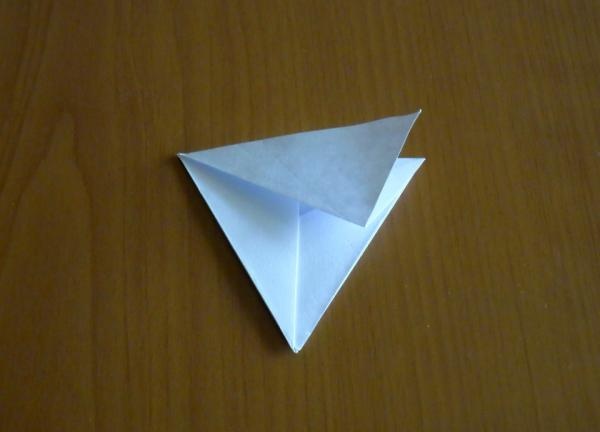
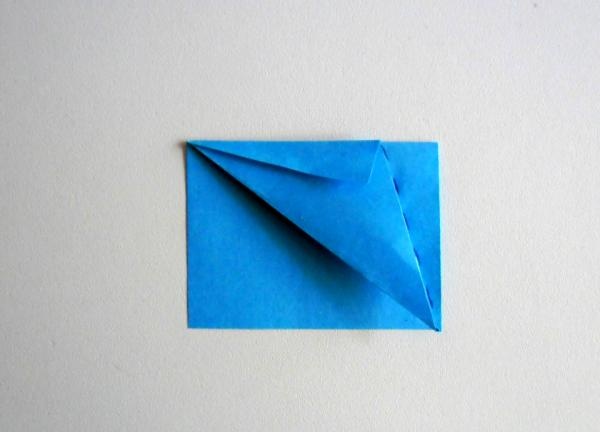
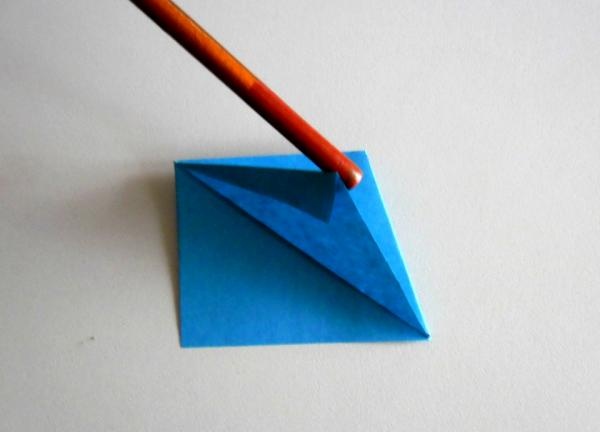
Bend the left side of the craft to the right along the edge of the triangle (where the pointer is) that was created on the workpiece.
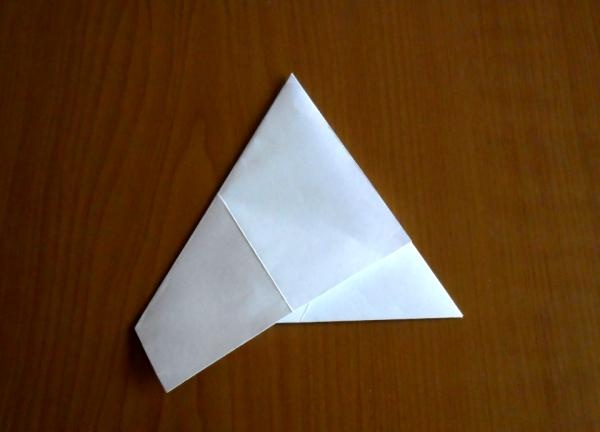
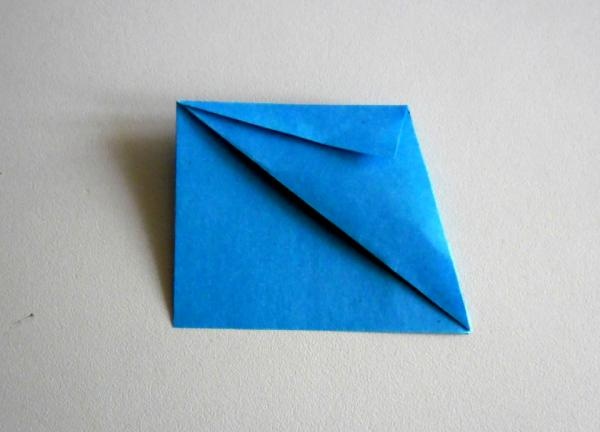
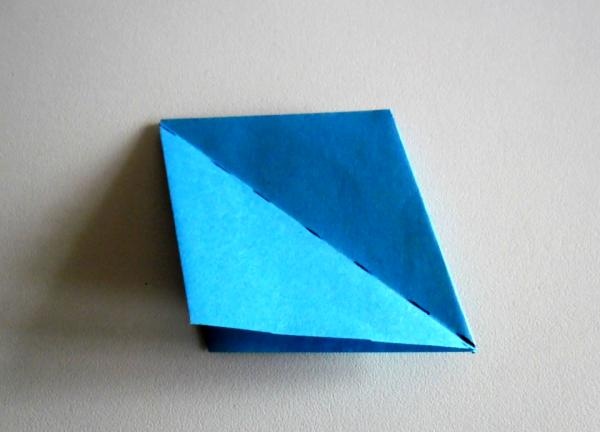
Like this.
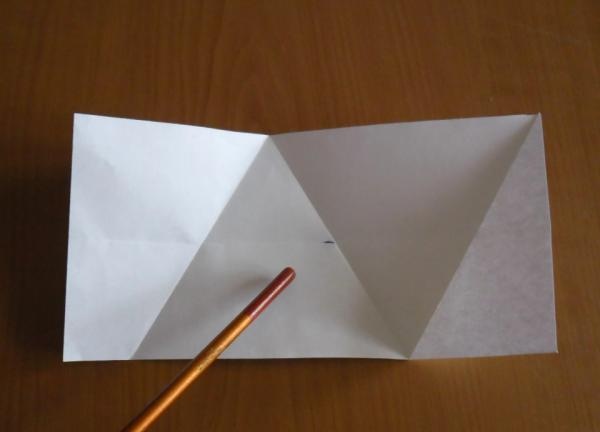
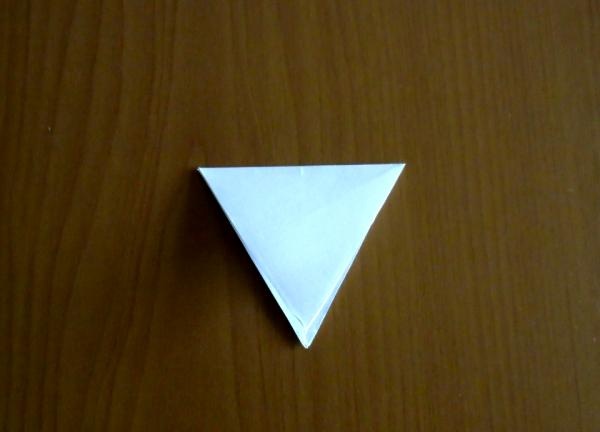
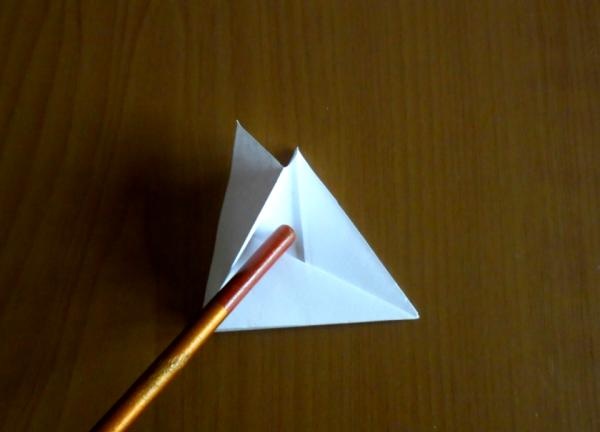
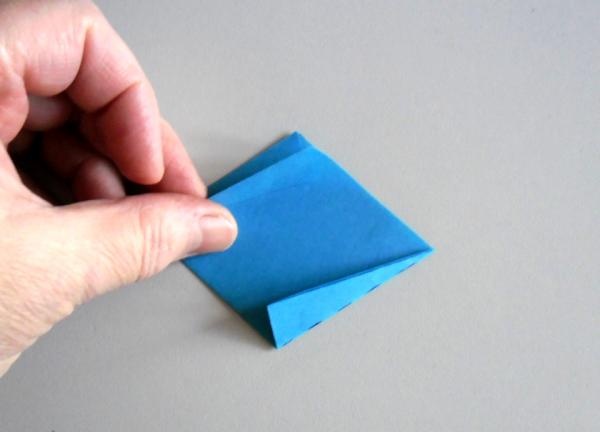
Unfold the sheet.There should be two triangles in the middle.
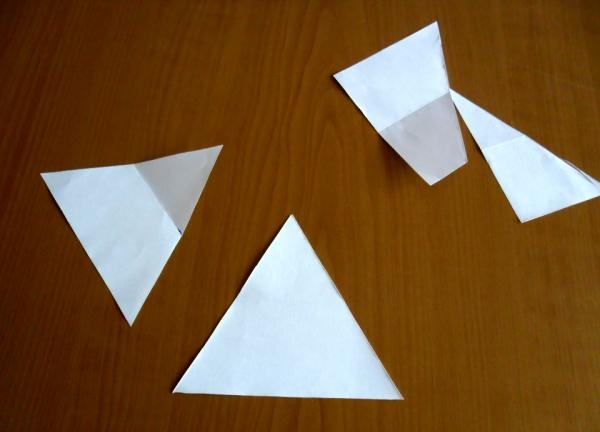
Cut along the folds. You won't need the edges of the paper, and set the triangles aside. Cut out triangles from the remaining squares in the same way. You will get 20 triangles.
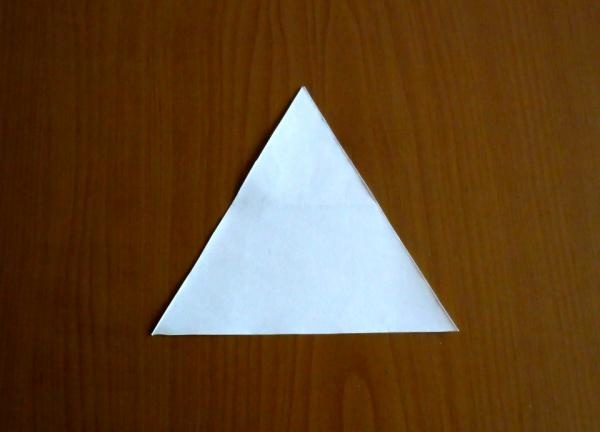
Take one triangle.
Fold it in half along the fold.
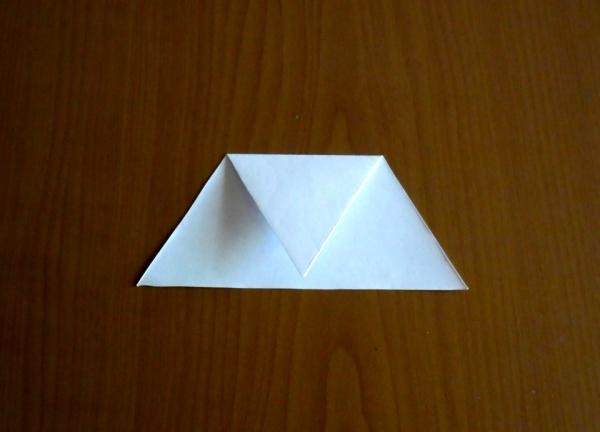
Fold the top movable part in half.
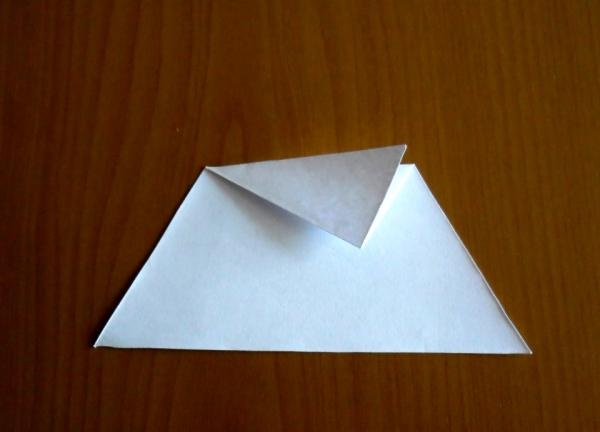
Turn the part 90° to the left. Fold the top corner along the dotted line.
Fold the top in half.

Turn the craft to the left 90° again and bend it down along the dotted line.
Fold the folded part in half.
There is a pocket in the middle of the workpiece. Hide the lid of the triangle inside.
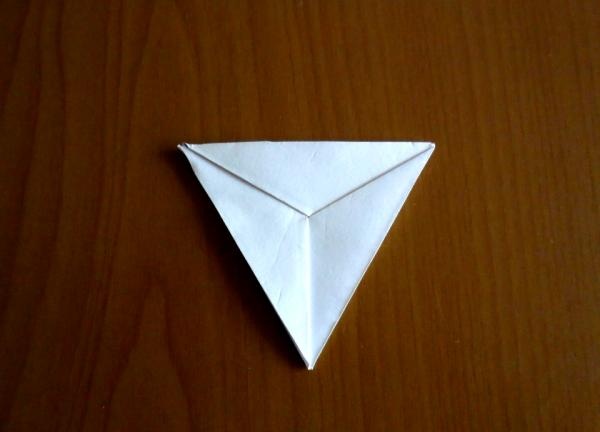
Bend the corners of the triangle towards the center. These are module mounts.

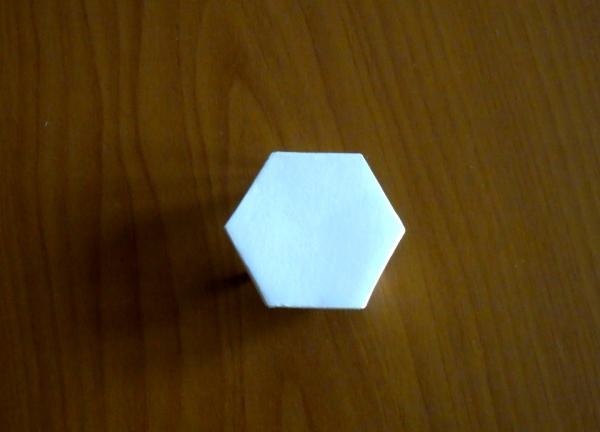
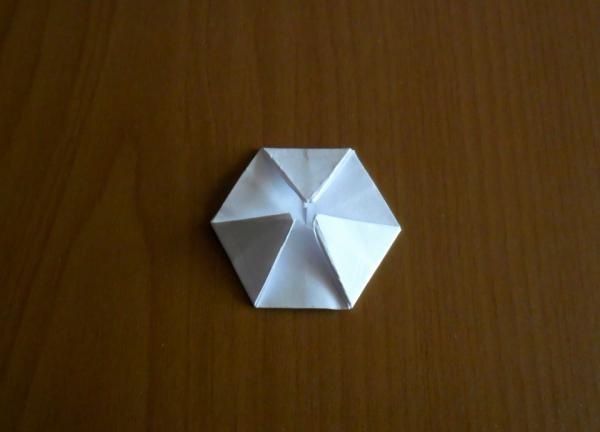
Turn the module over. You have a hexagon.
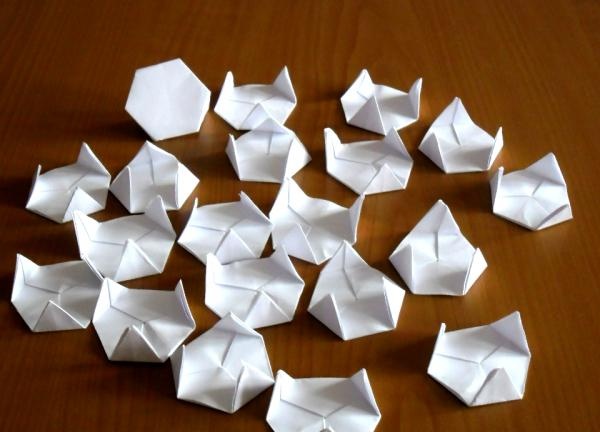
Make the remaining hexagon modules.
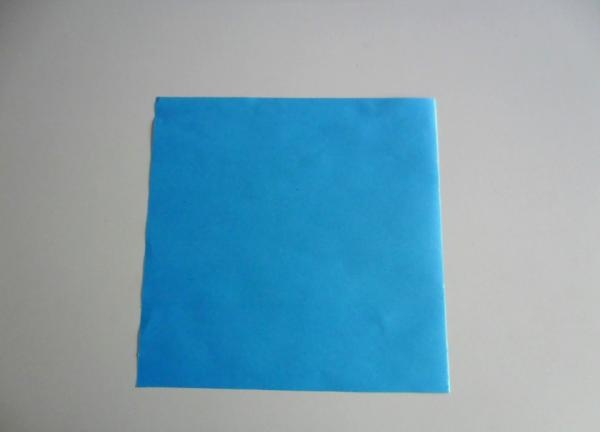
Take a square sheet of colored paper.
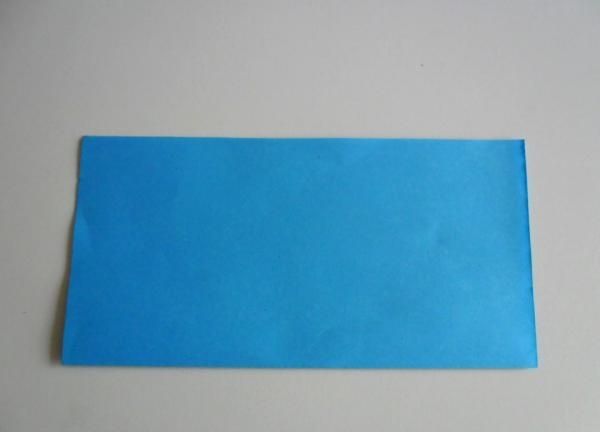
Fold in half.
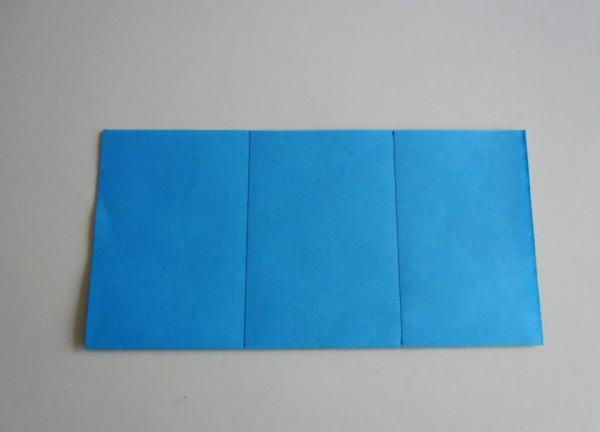
Divide into three equal parts.
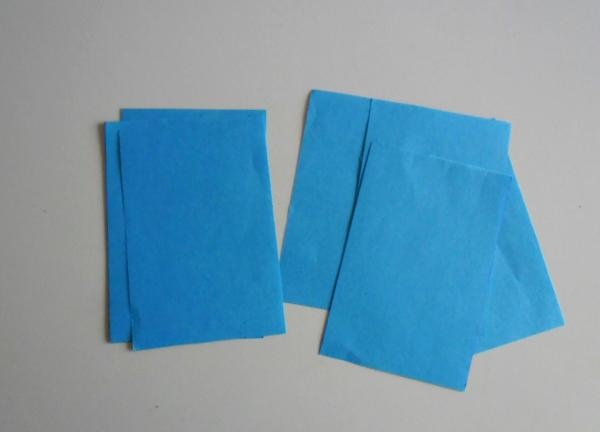
Cut it. Do the same with another square sheet. You will get 12 rectangles.
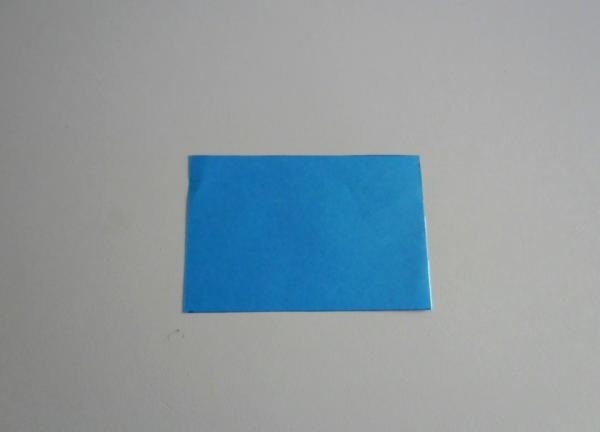
Take one rectangle.
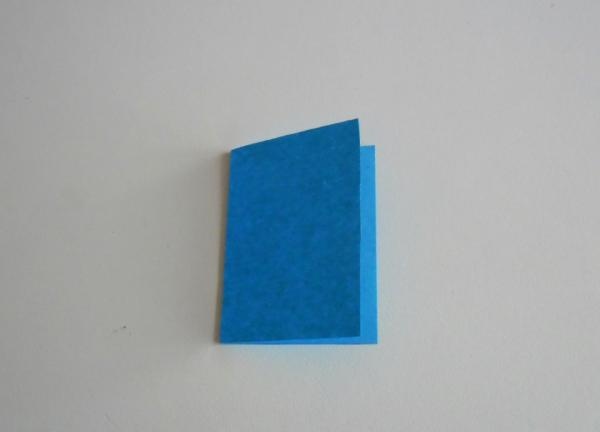
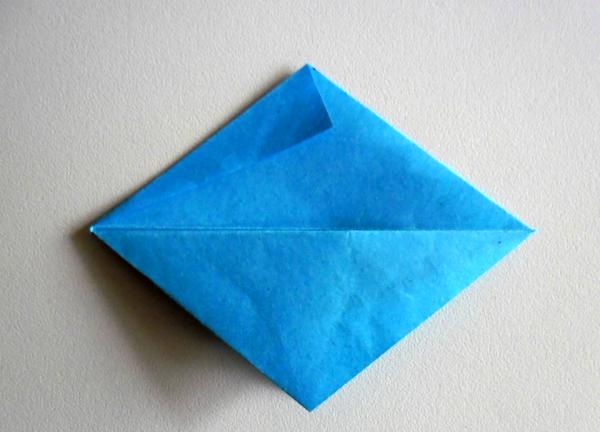
Fold in half.
Turn so that the fold is on top. Fold the top of the piece in half along the dotted line.
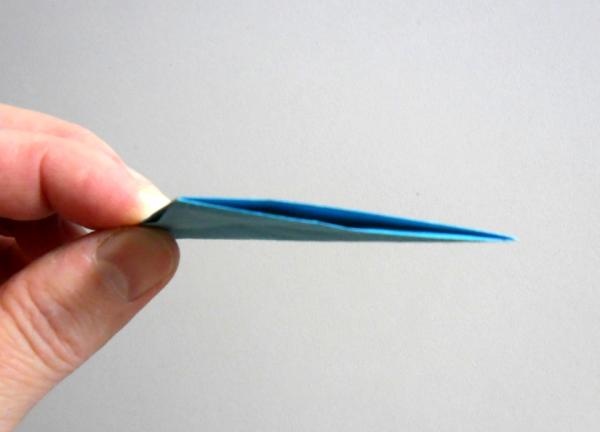
Bend the protruding part of the sheet downwards so that both folds coincide.
Fold the craft on the right side along the dotted line downwards. Then both folds will be equal here too.
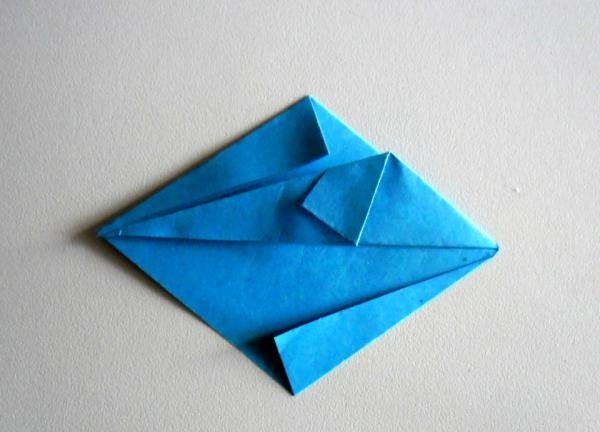
Lower the top single triangle (like a page) down.
On the left you will see the protruding lower part of the workpiece.
Fold it down, aligning the edges.
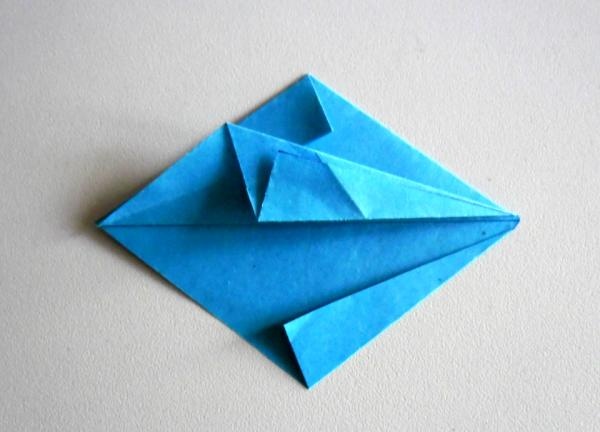
Turn the workpiece over to the other side so that there are two leaves on top that are not connected to each other. Bend the top leaf down, aligning the corners.
Rotate 180°. Fold the top sheet in half.
Unfold and fold it again, but on the other side.
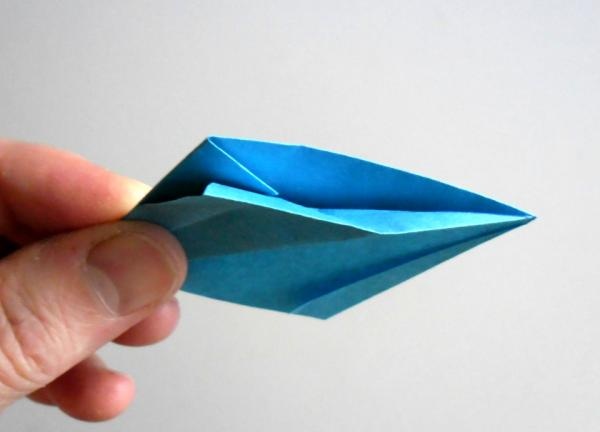
Unfold the folded piece of paper again and hide its upper edge in the pocket.
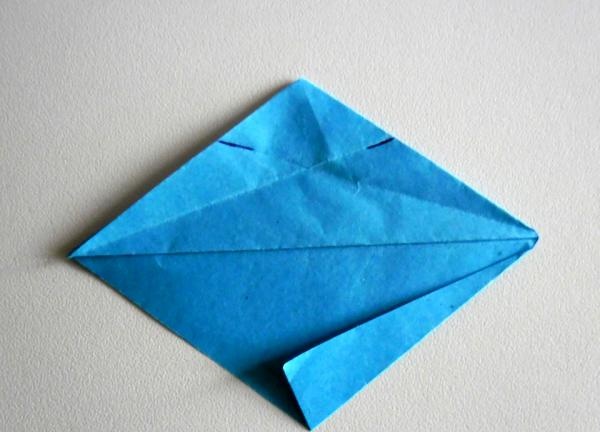
The edges of the folds are marked on the craft. Connect the right corner of the diamond with the left mark. Iron the fold.
Unbend. Now connect the left corner of the diamond with the right mark and also iron the fold.
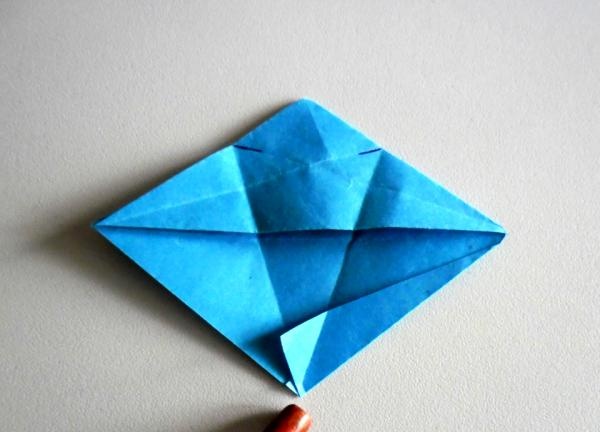
You have such a figure with outlined lines. Now you should hide the bottom corner inside the pocket. You will get a triangle.
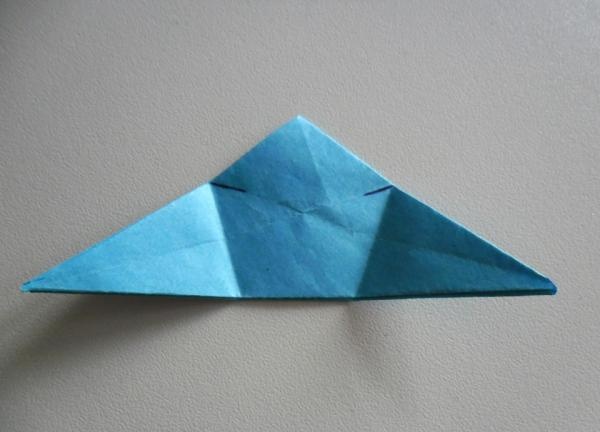
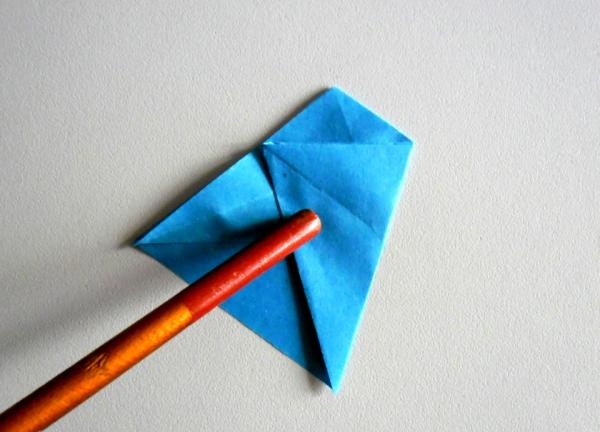
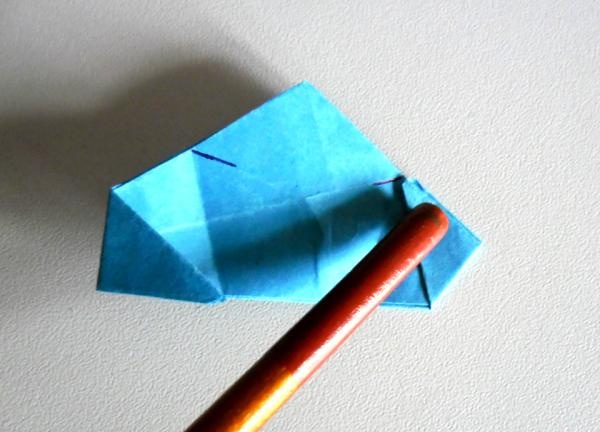
Connect the right corner with the mark. Bend the left corner down to the fold.
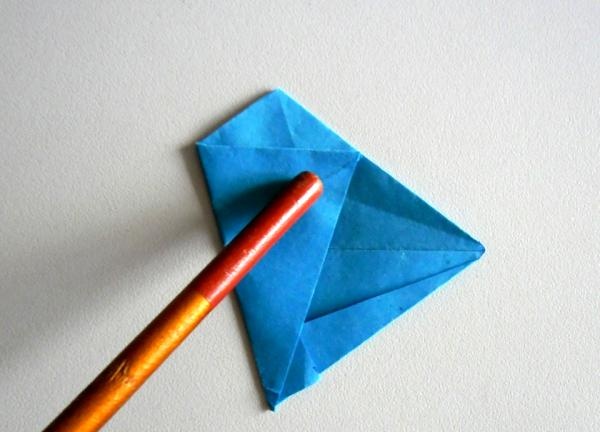
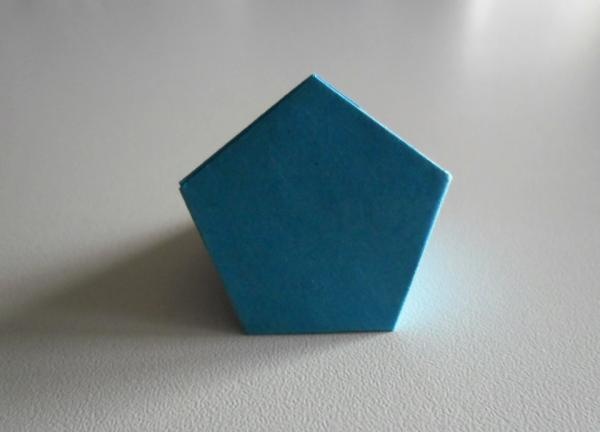
Turn over to the other side. You should end up with a pentagon. Make the remaining modules.

Start assembling like a mosaic, sticking a white module into a colored one. The color module, in this case blue, should be in the center.
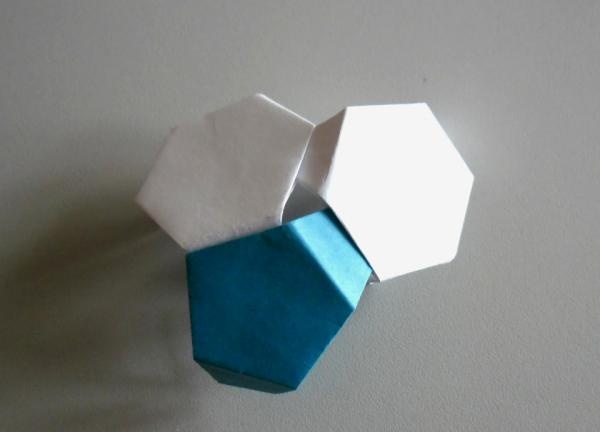
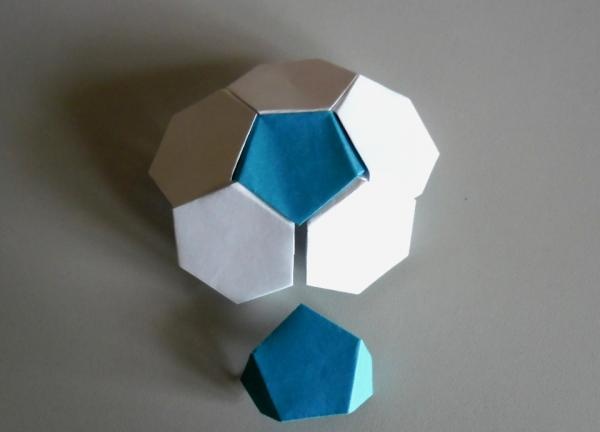
Around the blue module there should be 5 white ones, fastened together. Only the first and fifth modules will not be connected. They should be held together using the blue module.
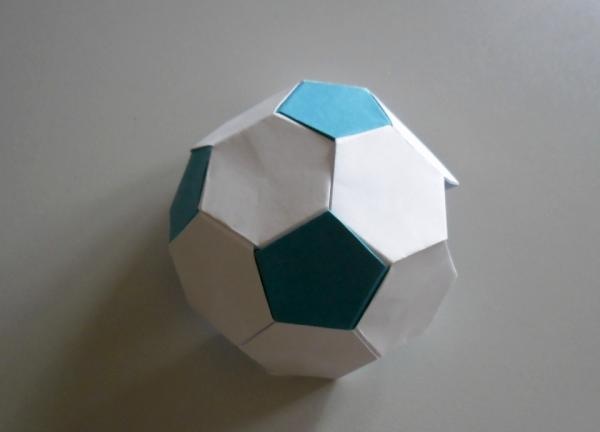
Place it so that the top of the pentagon faces the connector and its wings face to the sides. This is a mandatory condition, otherwise the assembly process will fail and you will not be able to assemble the ball. Then proceed according to the same principle: fasten 5 white modules around the blue one, and fasten the first and fifth white modules with blue.
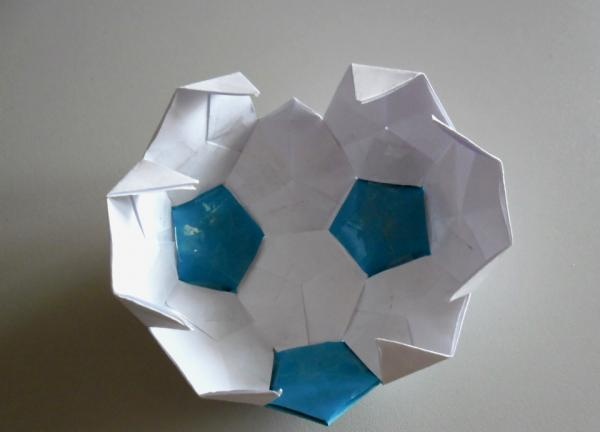
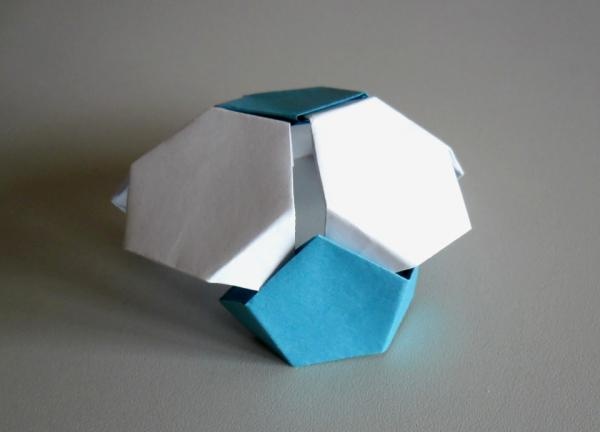
To prevent parts from coming out of the pockets, each fastener can be glued from the inside out using tape.
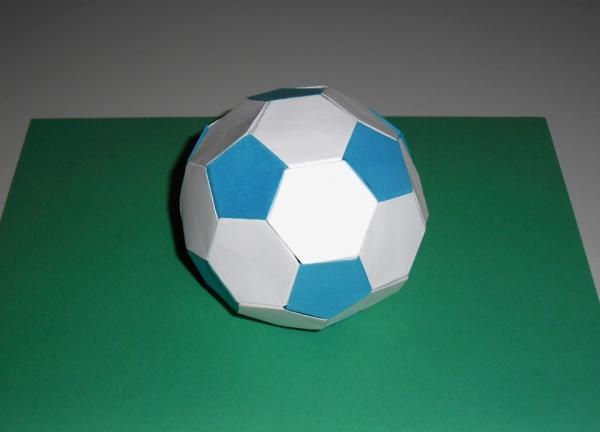
The hardest part is finishing the craft. Carefully fasten the remaining modules together. The last modules can be covered with tape on top, making the ball stronger. This is such a beautiful ball you will get.