Do it yourself
Life hacks, master classes, useful tips, recipes.
home » Handicraft techniques » Decoupage » Decoupage master class » Decoupage of Christmas balls
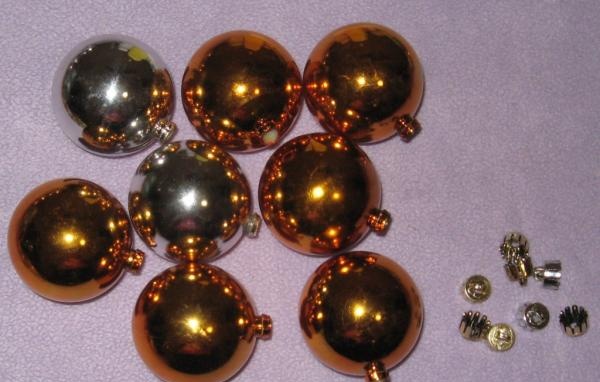
Materials that we will need to decorate the balloons ourselves:

• Eight plastic balls;
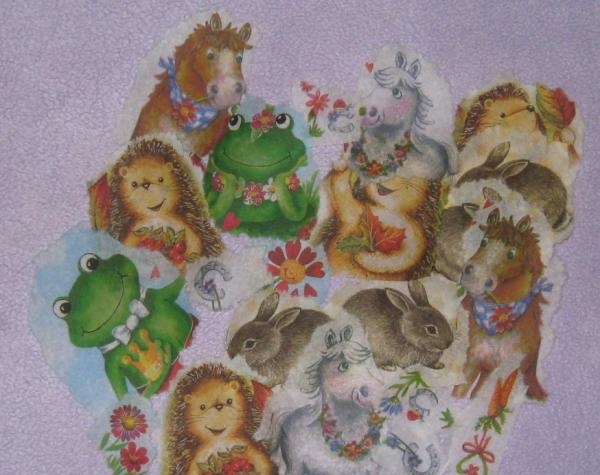
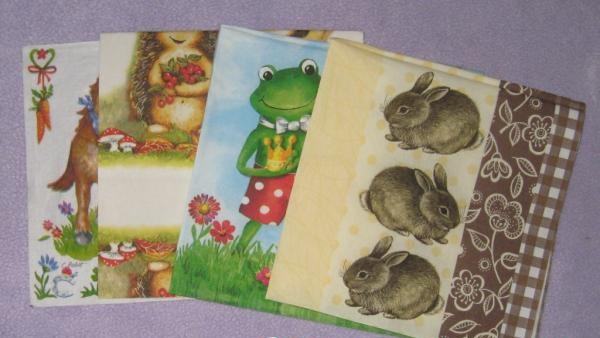
• Several napkins for decoupage with images of animals;
• PVA glue;
• White acrylic paint;
• Acrylic varnish for decoupage;
• Dry glitter of different colors, gold liquid glitter;
• Satin ribbons 0.5 cm wide;
• Brush for decoupage;
• Paint bowl and kitchen sponge.
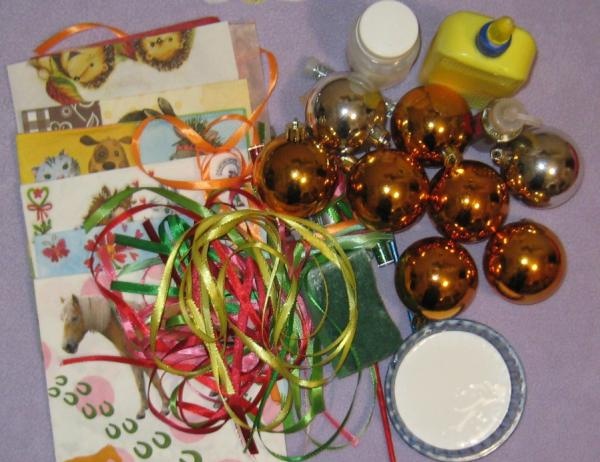
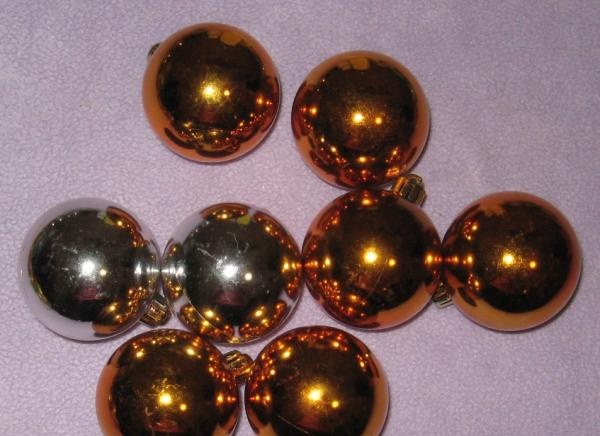
Materials for work

Christmas balls


Remove the caps from all the balls.
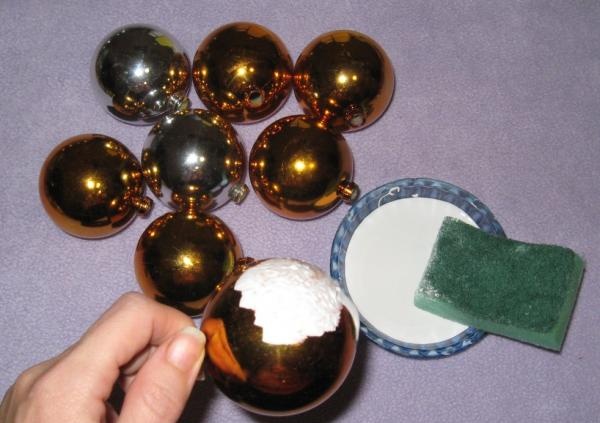
Taking off our hats

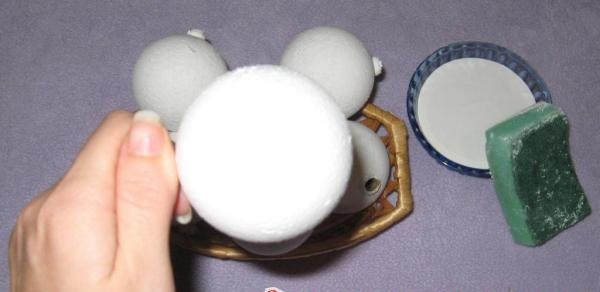
pour paint into a container


We carefully take the ball by the cap in our hands, pour paint into the container, dip a sponge into it and apply the first layer of paint. So we color all eight balls.
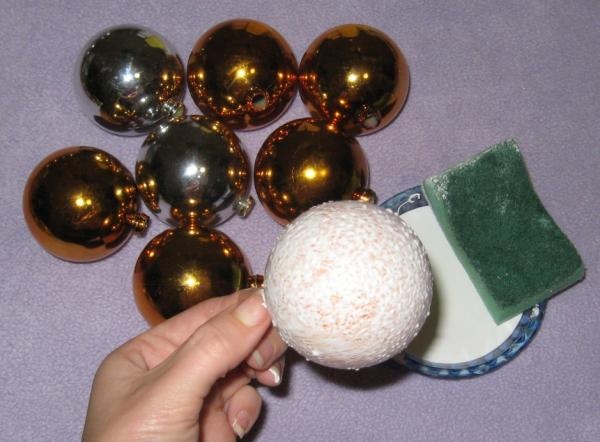
apply a coat of paint

preparing napkins


While the balls are drying, prepare the napkins. We tear off animal designs from each napkin so that they fit the size of the balls.
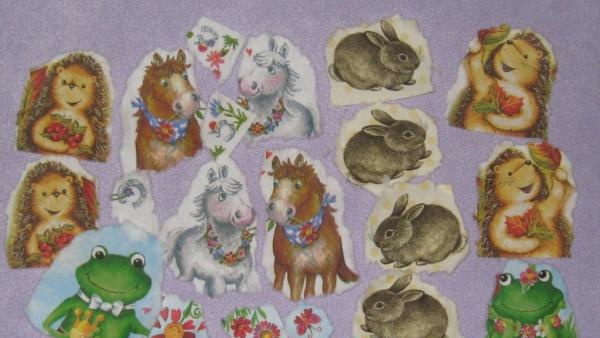
Cutting off the drawings


Carefully remove the top layer of napkin from each piece.
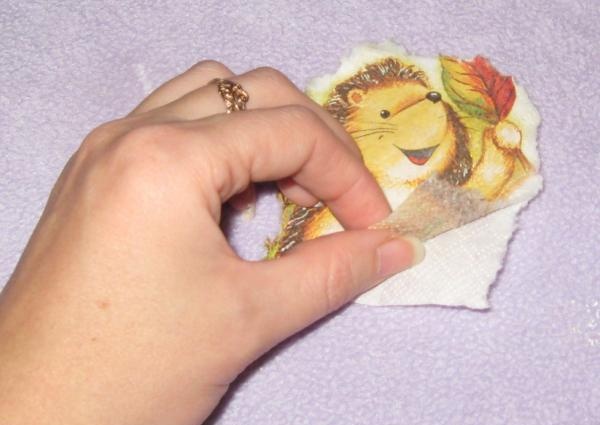
Remove the napkin layer

pictures of napkins


The first layer has dried, now apply the second layer of white paint.
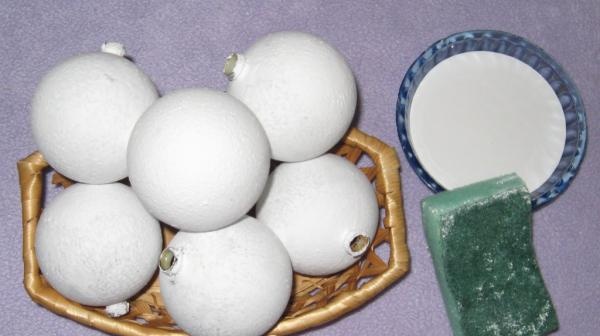
The first layer has dried

apply the second layer


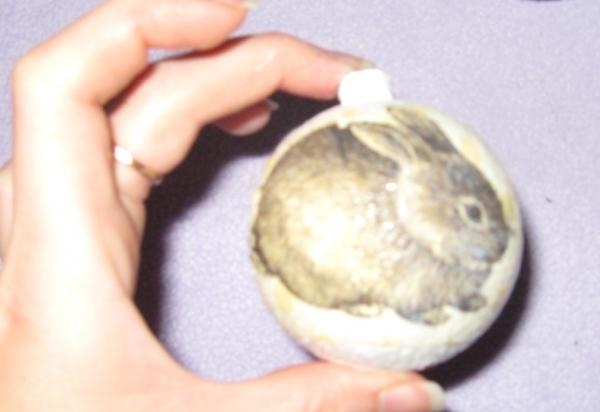
Leave the balls until completely dry. Now we take the fragment with the rabbit, apply it to the ball and glue it with adhesive mass using a decoupage brush, start gluing from the middle. The adhesive mass is prepared in advance at a ratio of 1:1 water and PVA glue, stir well and you’re done.
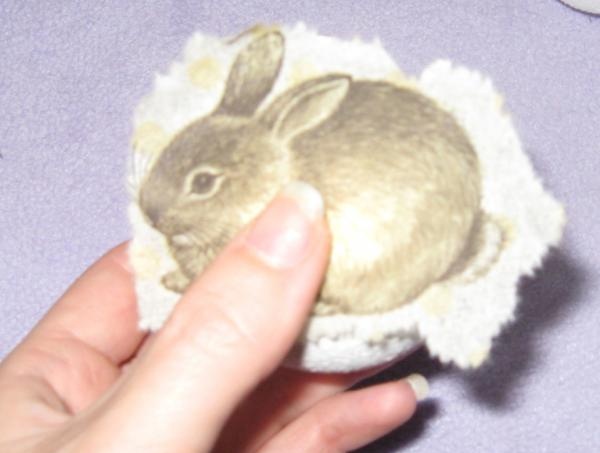
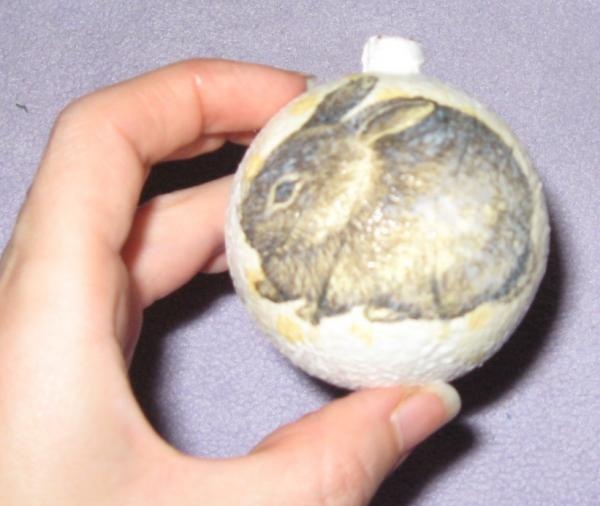
fragment with a rabbit

using a decoupage brush


Now we take the second fragment with the rabbit and glue it, as if towards the first rabbit.
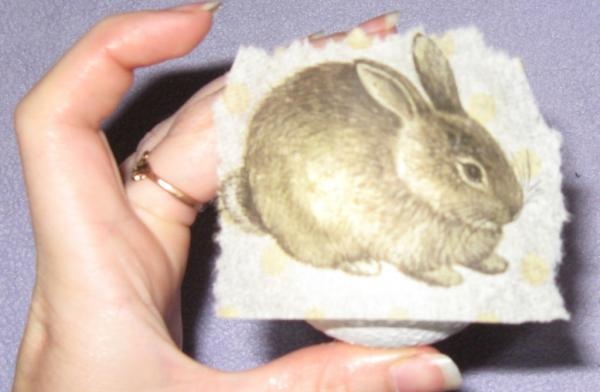
glue with adhesive mixture

waiting for it to dry


Where there was not enough design, we tear off pieces of the yellowish background from the napkin and decorate the remaining space with balls. We decorate all the balls in this order.
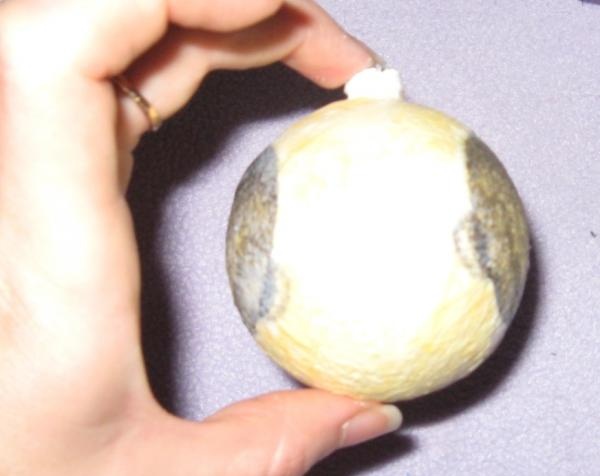
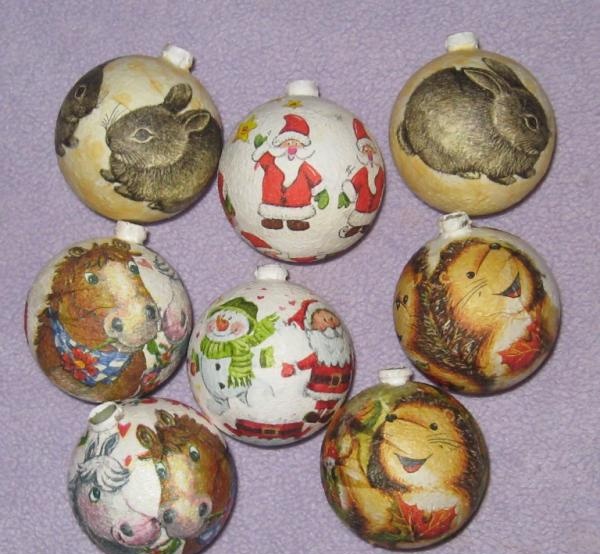
side view

decorate all the balls


Let the balls dry for about two hours. We prepare the ribbons by cutting off approximately 25-30 cm of each color. When the balls are already dry, put hats on them, then thread ribbons and tie bows at the base, as in the photo below.
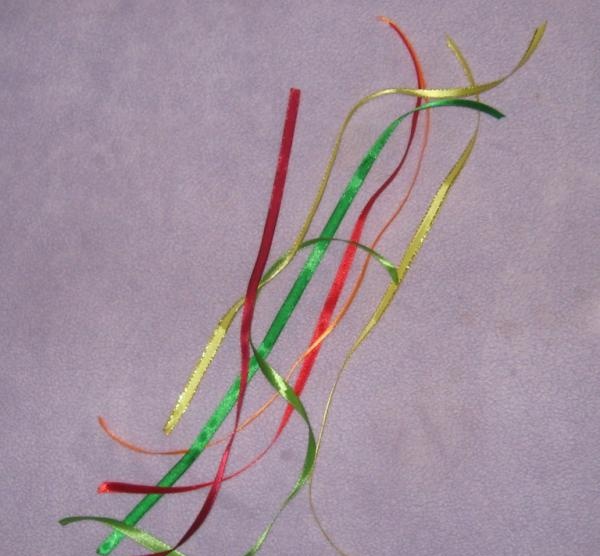
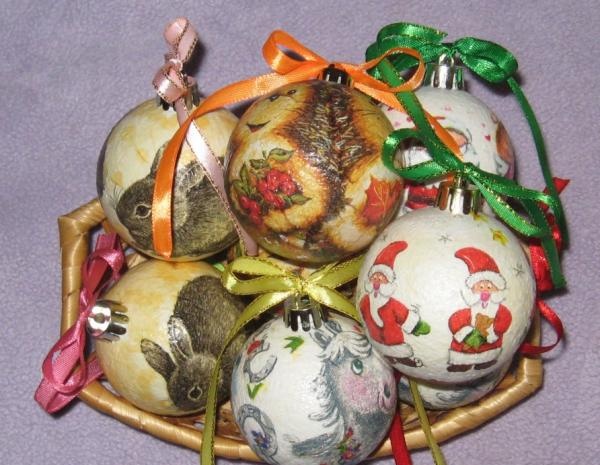
Preparing the ribbons

tie bows


Now we cover the balls with two or three layers of acrylic varnish at intervals to allow each layer to dry, and finally sprinkle with dry glitter. Balls for the New Year's beauty are ready! Happy creativity!
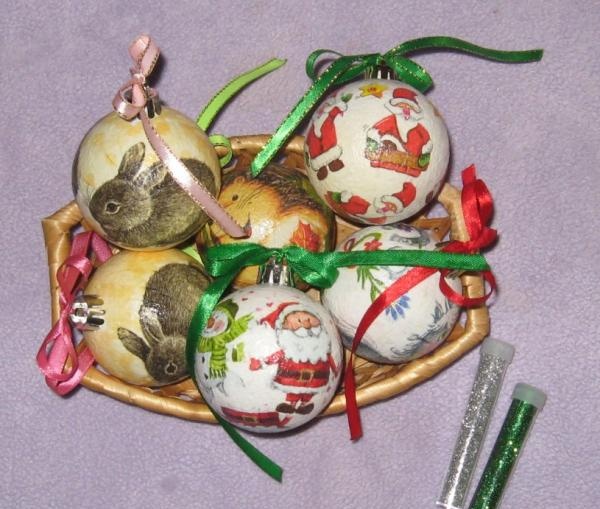
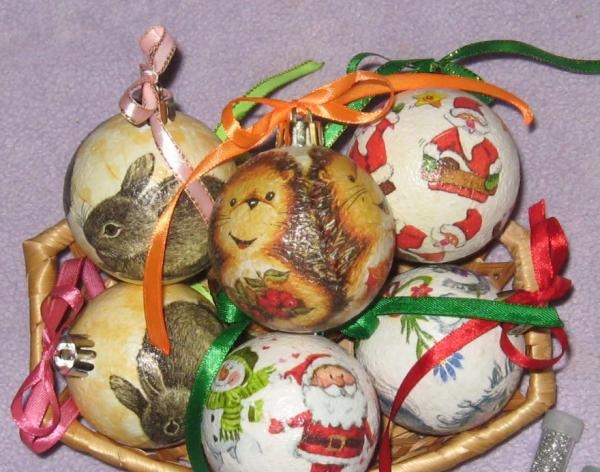
cover the balls with layers of varnish

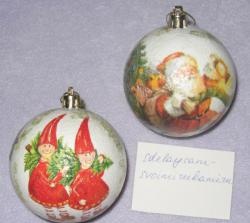
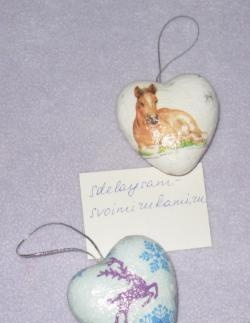
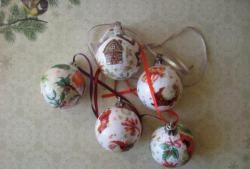
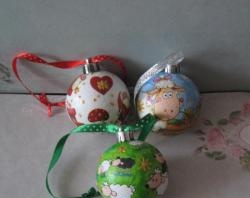
Decoupage of Christmas balls
come back
Comment
  • bowtiesmilelaughingblushsmileyrelaxed relaxedsmirk
    heart_eyeskissing_heartkissing_closed_eyesflushedrelievedsatisfiedgrin
    winkstuck_out_tongue_winking_eyestuck_out_tongue_closed_eyesgrinningkissingstuck_out_tonguesleeping
    worriedfrowninganguishedopen_mouthgrimacingconfusedhushed
    expressionlessunamusedsweat_smilesweatdisappointed_relievedwearypassive
    disappointedconfoundedfearfulcold_sweatperseverecrysob
    joyastonishedscreamtired_faceangryragetriumph
    sleepyyummasksunglassesdizzy_faceimpsmiling_imp
    neutral_faceno_mouthinnocent
4 minus one =
Comments (0)

How to make a greenhouse cheaply from available materials

Christmas tree toy “Snow Maiden” made of papier-mâché | Do it yourself

Paper Santa Claus | Do it yourself

How to clean a car tank so it looks like new

«Do it yourself - with your own hands» - a site of interesting homemade products made from scrap materials and items at home. Step-by-step master classes with photos and descriptions, technologies, life hacks - everything a real master or just a craftsman needs for needlework. Crafts of any complexity, a large selection of directions and ideas for creativity.

We recommend reading

Washing machine error codes