Do it yourself
Life hacks, master classes, useful tips, recipes.
home » Handicraft techniques » Decor » Bottle decor » Chest made of plastic bottles
There are always a couple of empty plastic bottles in the house, especially in summer. A minimum of skill, a little perseverance and diligence, a little imagination, available materials, a couple of hours of time, a lot of desire and... a wonderful chest made from plastic bottles, made with your own hands, will delight you, and the work done will bring a lot of pleasure.

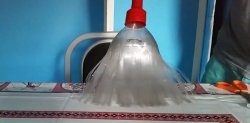
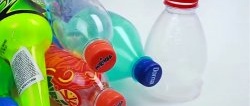
To make a chest we will need:
• plastic bottles;
• scissors;
• threads for tying;
• hole puncher;
• needle;
• hook;
• glue;
• alcohol;
• napkins for decoupage.

To make a chest


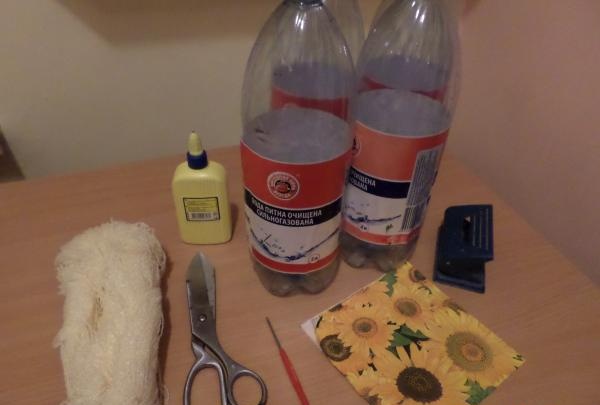
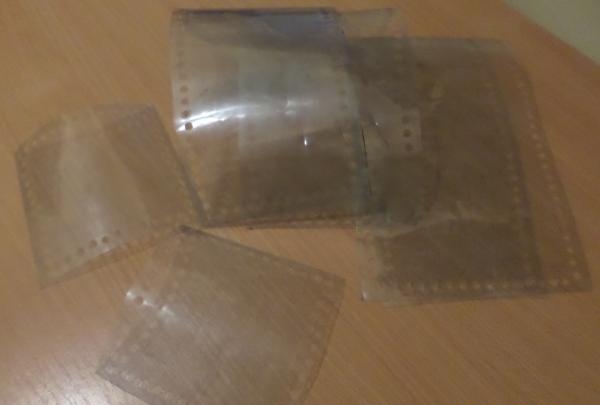
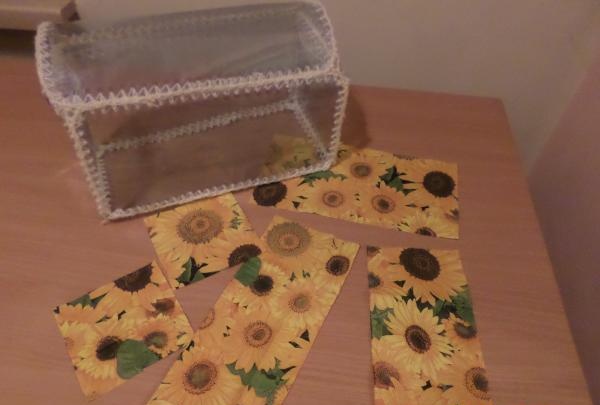
We clear the bottles of labels and cut out the plates of the required sizes:
- 4 plates – 25 by 18, 2 plates – 18 by 18, 1 plate – 25 by 22, 2 figured plates (sizes can be changed).

cut out the plates


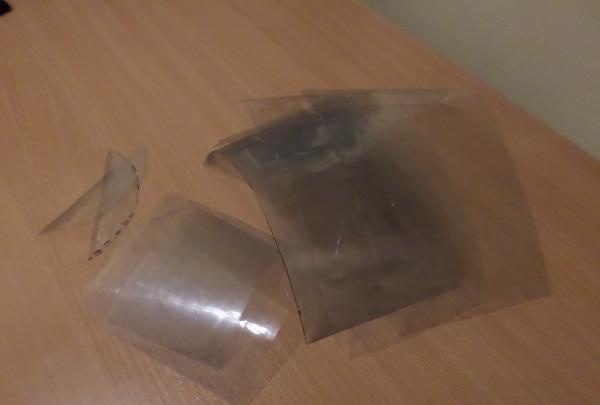
To prevent the workpieces from twisting, you need to walk over them with something hard and flat (you can use scissors).
Using a hole punch, we make holes at the same distance around the perimeter in each part.

hole punch parts


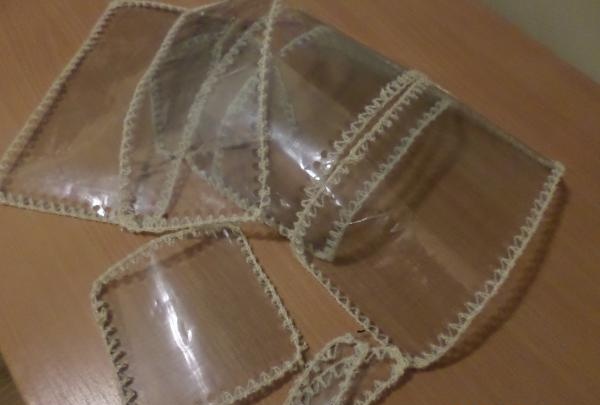
Armed with a hook, we tie each plate.

tie each plate


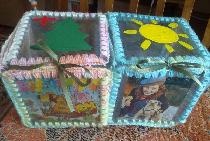
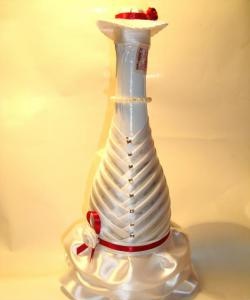
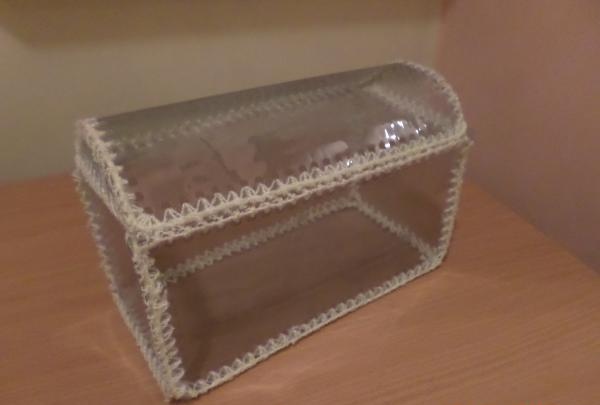
Next, we collect the chest. We sew the parts to each other so that we get a box. Separately, we sew the lid of the chest from the plates. Sew the box and lid together.

Sewing the boxes


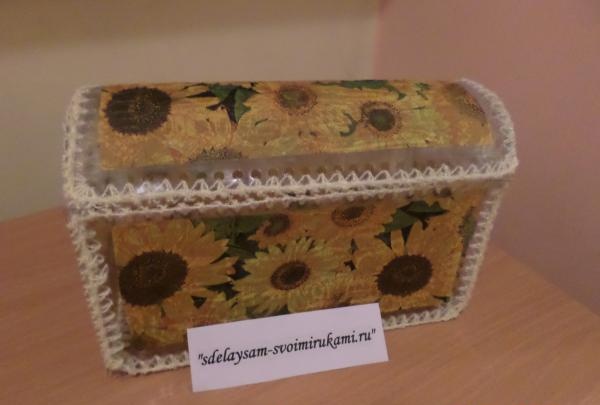
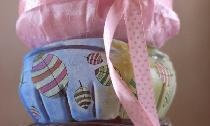
Since the chest turned out to be transparent and all the contents will be clearly visible, we will use the technique decoupage. Thus, we will not only decorate the product, but also hide everything inside. In order for the decoration to fit better on the surface, it must be degreased. To do this, wipe all sides of the chest with alcohol.

needs to be degreased


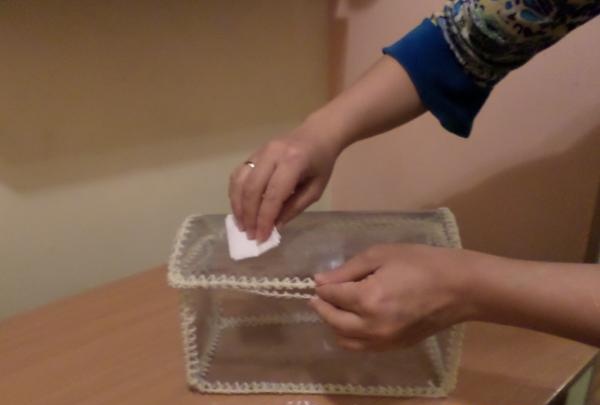
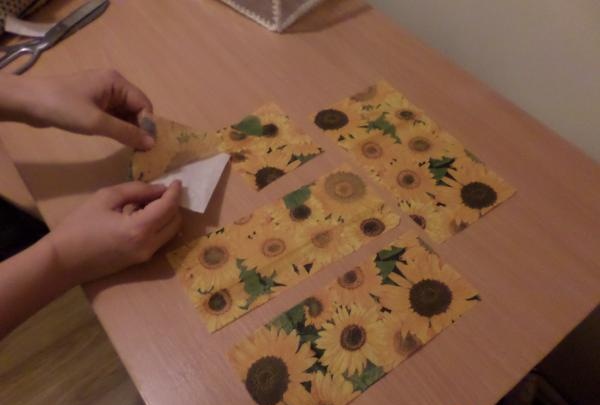
Cut the napkin to the size of the plate.

Cutting out a napkin


Carefully, so as not to tear, separate the top layer from the napkin.

trim the layer


Lubricate all sides of the chest one by one and apply a napkin. We try to smooth out the wrinkles. We cover all the walls of the product with napkins. Let it dry for some time. For strength, you can apply another layer of glue to the drawing.

Cover with napkins


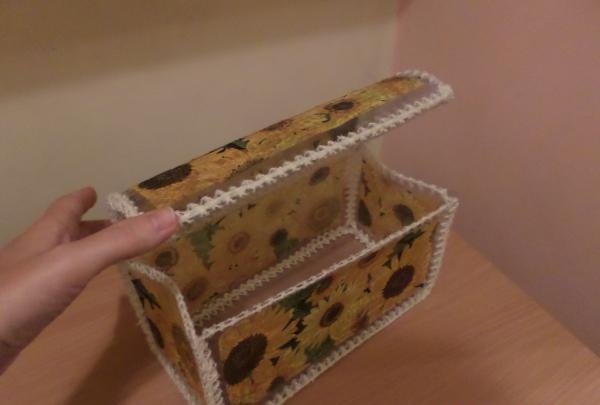
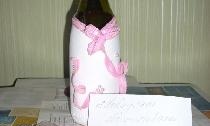
To add shine, we open the picture with varnish. The chest for the necessary small items is ready.

Chest made of plastic bottles
come back
Comment
  • bowtiesmilelaughingblushsmileyrelaxed relaxedsmirk
    heart_eyeskissing_heartkissing_closed_eyesflushedrelievedsatisfiedgrin
    winkstuck_out_tongue_winking_eyestuck_out_tongue_closed_eyesgrinningkissingstuck_out_tonguesleeping
    worriedfrowninganguishedopen_mouthgrimacingconfusedhushed
    expressionlessunamusedsweat_smilesweatdisappointed_relievedwearypassive
    disappointedconfoundedfearfulcold_sweatperseverecrysob
    joyastonishedscreamtired_faceangryragetriumph
    sleepyyummasksunglassesdizzy_faceimpsmiling_imp
    neutral_faceno_mouthinnocent
3+three=
Comments (0)

customs | Do it yourself

How to increase the operating time of a Bluetooth speaker

Elastic bands “Anemones” | Do it yourself

Do it yourself - crafts and master classes | Page 42

«Do it yourself - with your own hands» - a site of interesting homemade products made from scrap materials and items at home. Step-by-step master classes with photos and descriptions, technologies, life hacks - everything a real master or just a craftsman needs for needlework. Crafts of any complexity, a large selection of directions and ideas for creativity.

We recommend reading

Washing machine error codes