When buying a Chinese Bluetooth speaker from an online store, you should be prepared for any surprises in terms of the technical condition of the device. In general, this applies to any gadgets made by brothers from the Middle Kingdom. Although, in general, the quality of their products has recently improved markedly, devices and instruments operate more stably and longer than before. But they still continue to save on some things. We are talking about lithium batteries if the device has a battery-powered function. Good lithium batteries have recently risen in price, and the manufacturer does not want to install a battery in a cheap device that costs more than the device itself. Not profitable. So if you like the gadget, its functions and appearance, then you need to take care of its battery life yourself.

Will need
- Phillips screwdriver.
- Knife.
- Wire cutters.
- Soldering iron, with solder and flux.
- A capacious battery that can fit into the device body.

Replacing the battery in a Bluetooth speaker
There is nothing overly complicated in the upcoming work.Anyone can do it! Even if a person’s hands do not grow from exactly where they are supposed to, even he can easily cope with such simple actions. You just need to replace the low-power battery in the device with your own tried and tested high-capacity energy storage device. To do this, you need to disassemble the device. All music speakers, although they have a different appearance, are made according to the same principle - the screws or screws holding the case together are usually located under a protective grille, which protects the speakers from external mechanical influence. This lattice mesh can be removed very simply: you need to grab one of the cells with something sharp and pull it up. A regular knife will do the job.

Next, using a screwdriver, unscrew the mounting screws.


Carefully, so as not to damage the wiring, remove the top part with the speakers and place it next to the body, as far as the length of the wires allows.

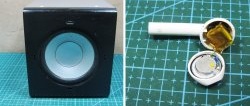
When I first saw what was inside the speaker as a battery, my eyes widened in surprise and indignation! And there was a 14500 3.7 volt lithium battery, identical in size to a AA battery.

Although it was unmarked, it is not difficult to guess its capacity. Batteries of this type do not exceed 600 mAh. This is VERY small for such a device. Not surprisingly, it worked for me in offline mode for only 50 minutes. And this was in radio mode, the most economical! In TF or USB mode, no more than half an hour. So, using wire cutters, we cut off this useless thing from the power wires and remove it from the case.

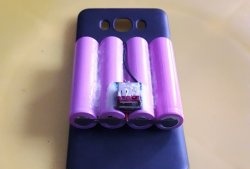
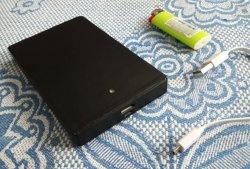
The battery is usually attached to the case with double tape. Carefully remove the battery from the case and remove it.Instead, I will install a new and proven 18650 battery, which has a capacity of 2600 mAh. I personally tested these batteries using a powerbank and am absolutely confident in them. Using a soldering iron, flux and solder, we tin the contacts of the new battery.

Then we clean and tin the same way the wires that we cut off from the original battery.

Carefully, without damaging the battery braid, solder the wires to the tinned contacts of the new battery.

Don't forget about polarity! The black wire is negative, the red wire is positive. If you are not sure about the correct location of the contacts, then it is better to check with a voltmeter or, as a last resort, a three-volt light bulb. Next, we place the new battery in place of the old one, using double tape.

If the tape has become unusable, you can seat the battery on hot glue. The main thing is to measure in advance so that the new battery fits freely inside the case and does not affect the other working elements of the speaker, such as the speakers, for example. Now you can put the body back together. We attach the upper part to the lower part, carefully making sure that no wires are pinched or crushed anywhere, and screw in the mounting screws.


Then we install the protective grille in place.

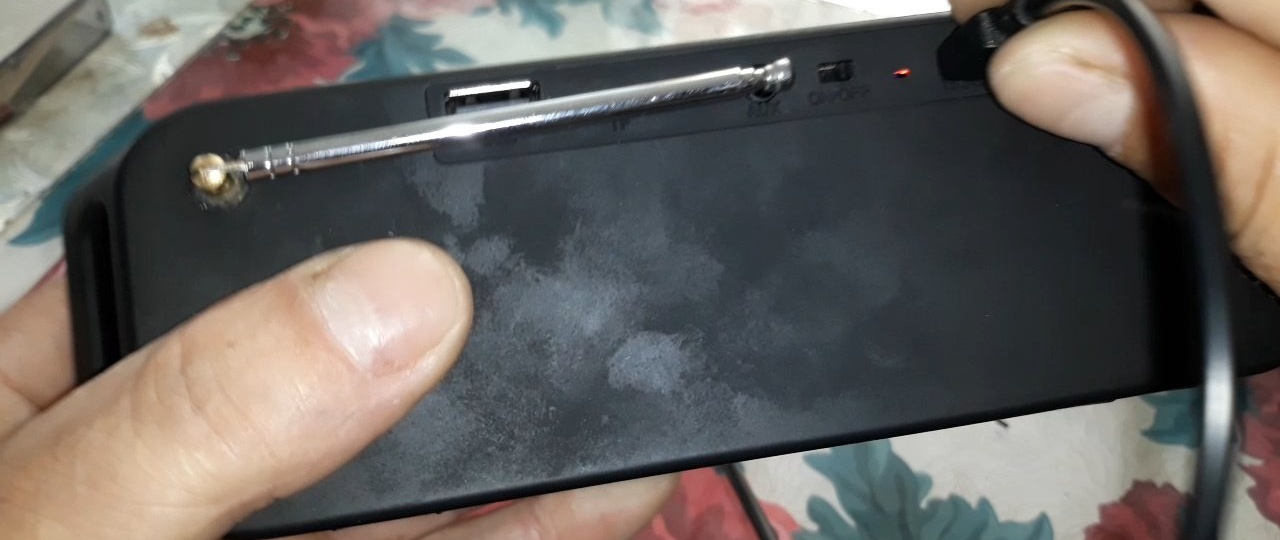
It remains to check the work. We connect the charger cable that came with the device to the power connector. If the charging indicator lights up, it means everything worked out as it should!
We turn on the device and check that all available modes work. In this simple way, we have modernized a quite good thing. We've worked it out, so to speak. With a new, powerful battery, this speaker worked for me in radio mode from the moment it was replaced until the morning of the next day.That is, approximately 12-plus hours. And I didn’t think about sitting down. And this is despite the fact that the new battery has not been fully charged since installation. You can safely take such a speaker with you on an outdoor holiday or, for example, fishing, or to the country.
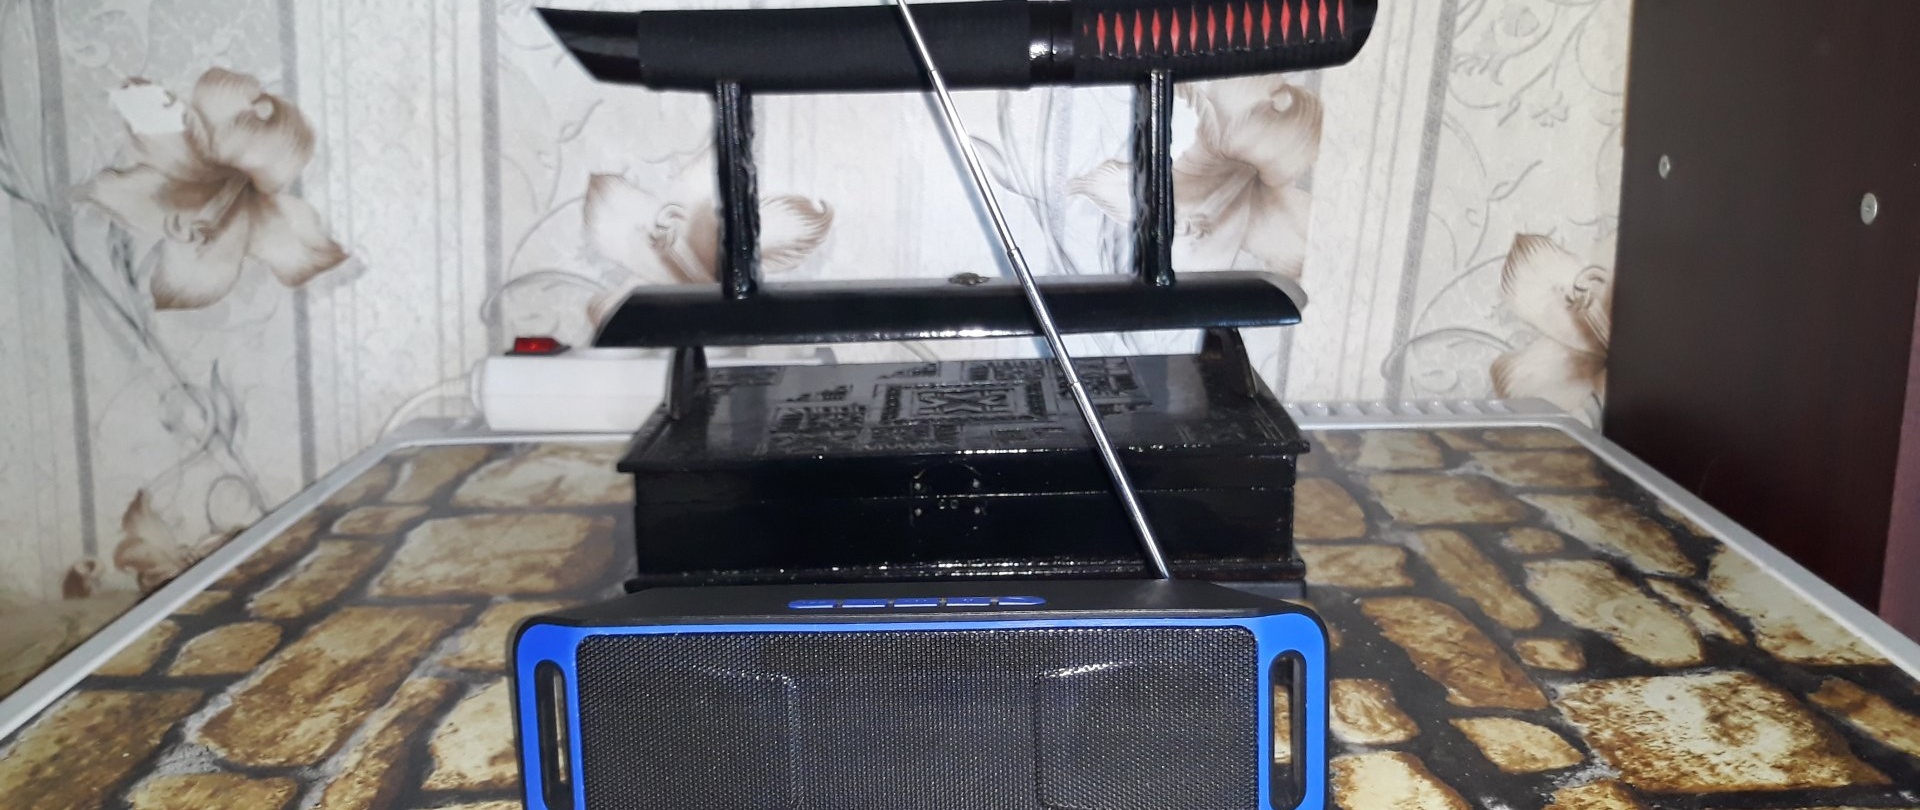
Wherever there are problems with electricity, and the car had to be left far away, by the road.