Do it yourself
Life hacks, master classes, useful tips, recipes.
home » Cozy home » Luxurious picture frame
Everyone knows how the environment changes, all you have to do is hang a few paintings on the wall. Especially those, you know, solid, luxurious ones, in a heavy gilded frame. But, as soon as you ask the price for such frames for a picture in framing workshops, you feel sadness and sadness - the desire to own such works slowly but surely flows into the category of dreams, postponed for a bright, distant future.
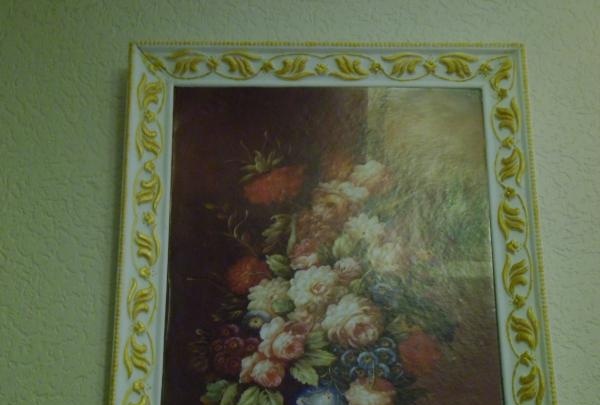
Don't rush to part with your desires. You can create a stunning decoration for your home in just a few hours and with minimal investment. This master class will tell you step by step how to create such a picture with your own hands.

Picture frame


We will need:
• several ceiling curb plates
• wood putty
• black or dark brown acrylic paint
• gold acrylic paint
• acrylic lacquer
• glue moment
• an unnecessary piece of cardboard or an old box
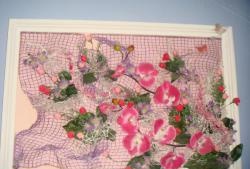
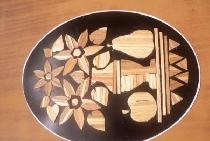
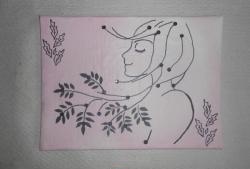
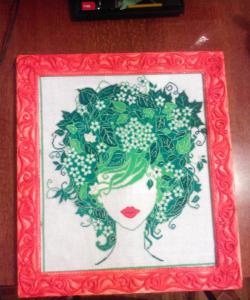
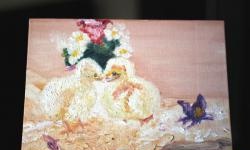
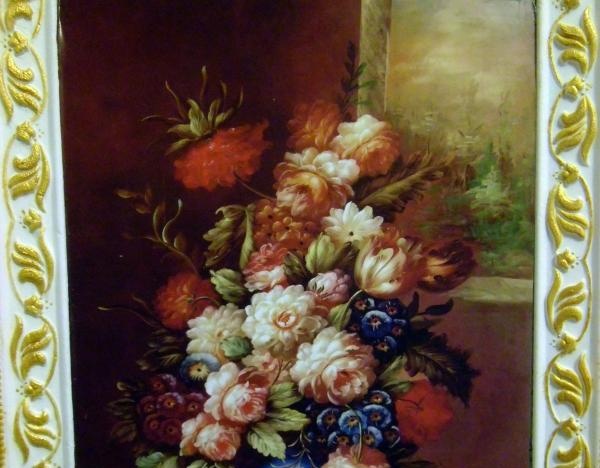
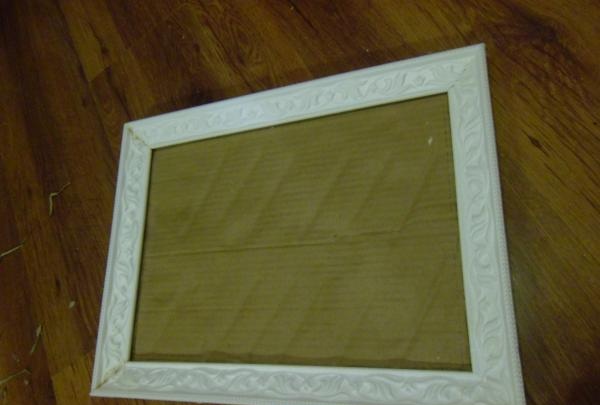
• picture

The front side of a chocolate box can serve as the basis for the picture.
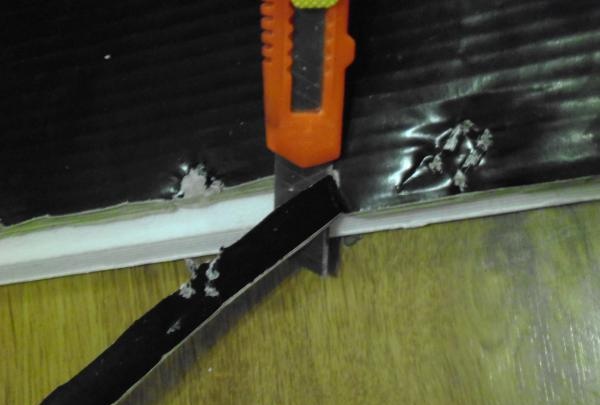
Mark the work surface. To do this, carefully cut the drawing, place it on the box and trace it on all sides with a marker, measuring the dimensions of our future baguette. Top and side.

measuring the dimensions of the baguette


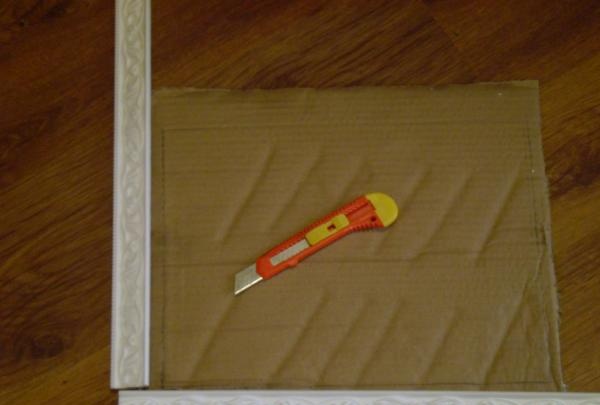
We cut the border, making sure that the joint angle is smooth and neat.

cut at an angle

all four sides


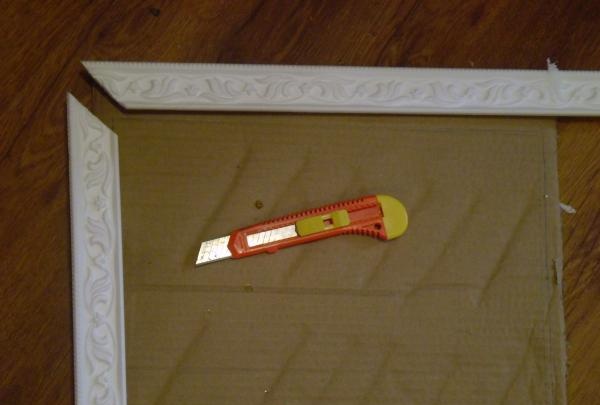
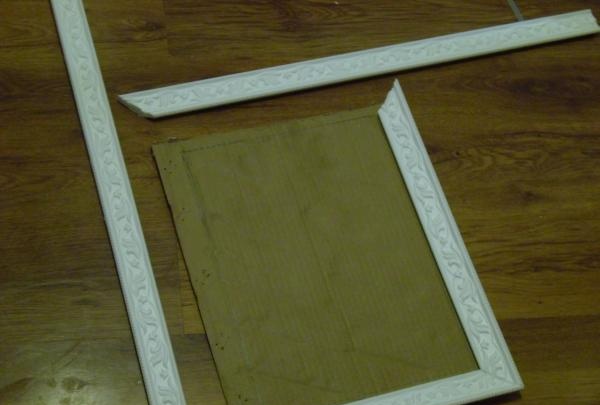
Carefully glue the frame strips prepared from the ceiling plinth to the cardboard.

connecting the sides


Cut off excess cardboard.

Cut off excess cardboard


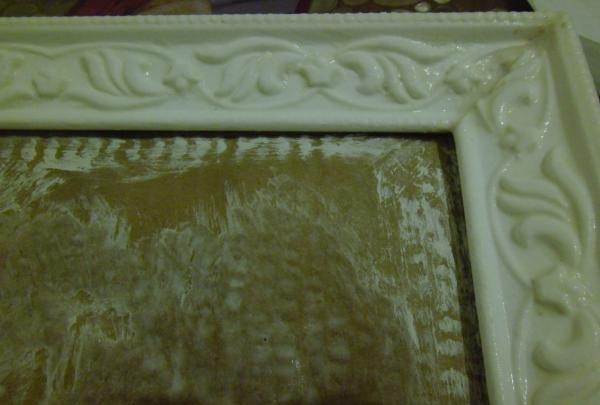
The most creative part begins.
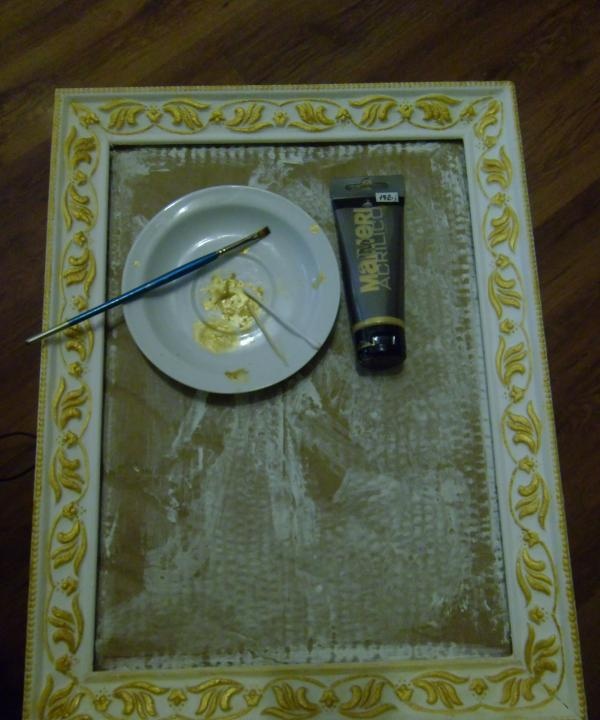
Carefully cover the plinth with putty, thoroughly coating every depression and recess. Let it dry.

cover the baseboard with putty


Using a thin paint brush, paint the frame twice, each time letting it dry thoroughly.

dry well


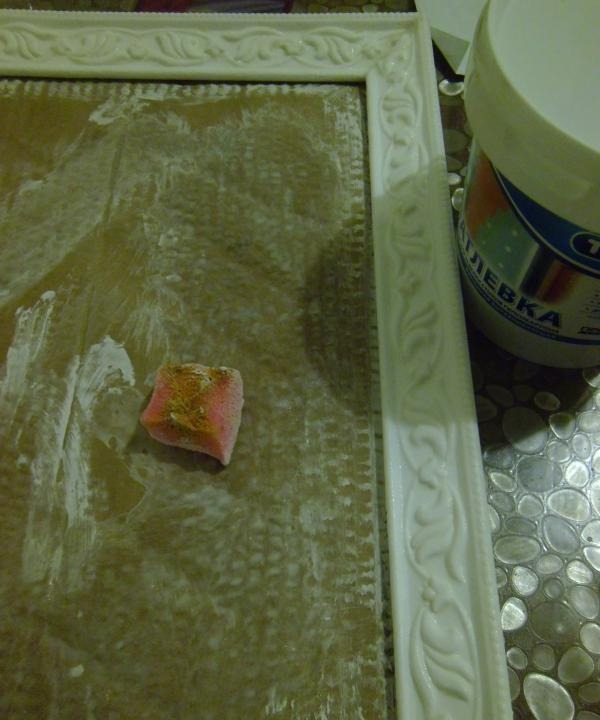
Squeeze the gold paint out of the tube onto a horizontal surface.

take gold paint


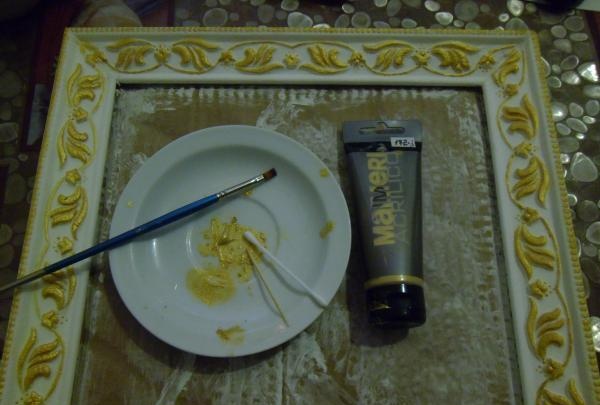
Using a dry sponge, take a very small amount of gold. We begin gilding our product. Movements should be light, sliding, almost weightless. The frame should be lightly “rubbed” with gold. The movements should be as if you were wiping dust from the surface. Clearly protruding, large parts of the picture are painted over with a thin artistic brush. After a little effort you should get this result:

painting the baseboard


All that remains is to paste our picture in place and hang the composition on the wall.

paste our picture in place


I wish you pleasant emotions and comfort in your home.
come back
Comment
  • bowtiesmilelaughingblushsmileyrelaxed relaxedsmirk
    heart_eyeskissing_heartkissing_closed_eyesflushedrelievedsatisfiedgrin
    winkstuck_out_tongue_winking_eyestuck_out_tongue_closed_eyesgrinningkissingstuck_out_tonguesleeping
    worriedfrowninganguishedopen_mouthgrimacingconfusedhushed
    expressionlessunamusedsweat_smilesweatdisappointed_relievedwearypassive
    disappointedconfoundedfearfulcold_sweatperseverecrysob
    joyastonishedscreamtired_faceangryragetriumph
    sleepyyummasksunglassesdizzy_faceimpsmiling_imp
    neutral_faceno_mouthinnocent
3+three=
Comments (6)
  1. Tatiana
    #1 Tatiana Guests 25 May 2014 14:49
    2
    Very practical and effective, I considered this option myself, but there wasn’t enough glass. Without glass, the painting will quickly get dirty, especially in the kitchen, especially if it is charcoal or watercolor.
  2. Victoria
    #2 Victoria Guests 20 November 2014 21:08
    1
    Cool frame! And not difficult. And instead of glass, you can insert plastic, such as on toy packaging, but where can you get such sheets? Maybe you can find something similar in office supply stores.
  3. Vadim
    #3 Vadim Guests 7 March 2015 13:02
    4
    Baguette from a ceiling border? Nonsense.
  4. Olya
    #4 Olya Guests January 7, 2016 11:45
    0
    Cool idea) Instead of glass, you can use plexiglass up to 2mm thick (acrylic glass sheet 1x1.5m)
  5. Victoria
    #5 Victoria Guests 14 April 2016 05:54
    2
    I really liked it, I’ll definitely do it. Thank you very much.
  6. Alexander
    #6 Alexander Guests 24 April 2016 23:17
    1
    I wonder what it looks like in real life?

Cross stitch from photo | Do it yourself

Crocheted socks | Do it yourself

Real mouse for computer | Do it yourself

Protecting wooden poles with PET bottles for pennies

«Do it yourself - with your own hands» - a site of interesting homemade products made from scrap materials and items at home. Step-by-step master classes with photos and descriptions, technologies, life hacks - everything a real master or just a craftsman needs for needlework. Crafts of any complexity, a large selection of directions and ideas for creativity.

We recommend reading

Washing machine error codes