To make the task of moving furniture and other devices easier, I propose a small modernization. We mount the wheels on two supports. Why two and not all? For stability during use. Leaning or sitting on furniture with four wheels will allow us to move it, but with two wheels it will remain in place, and moving it is much more convenient. In addition to convenience, “rolling” furniture preserves carpets and flooring from abrasion. A table, especially an extendable one, is protected from destruction: by grasping the lid, and not the table frame, the lid can be torn off when lifted sharply. It was these considerations that prompted the modernization of the table.
Let's describe the main points step by step.
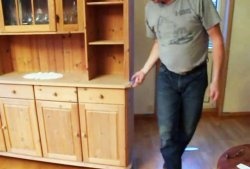
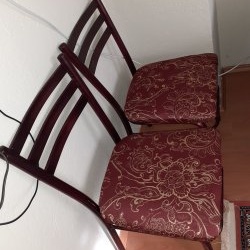
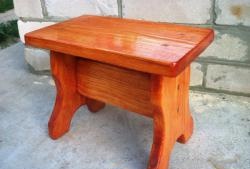
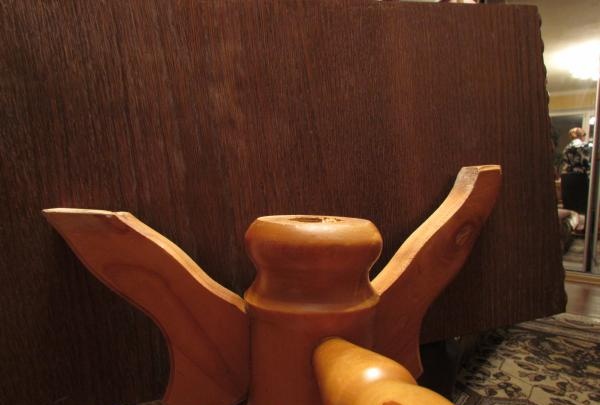
1. First we have a table.
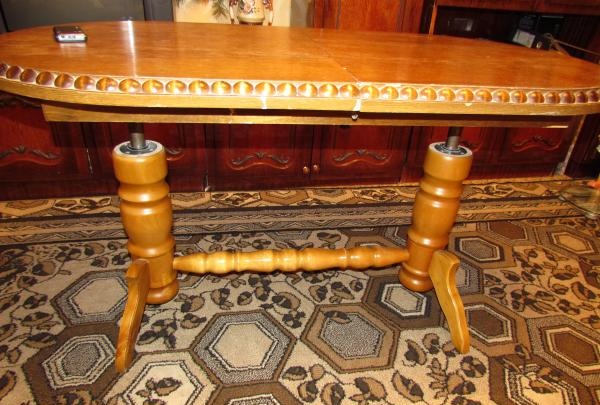
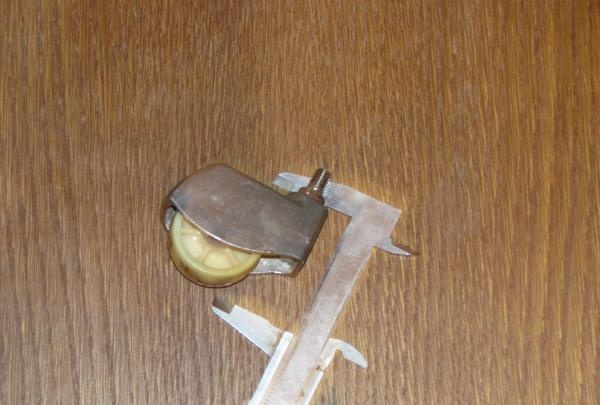
You need to choose a pair of identical wheels; they are best suited for a chair; they can be easily bought at a flea market or a specialty store.
2. Turn the table over. We measure the height of the wheel to the mounting shelf.
We cut off the table legs on one side to the measured height, + 3mm.
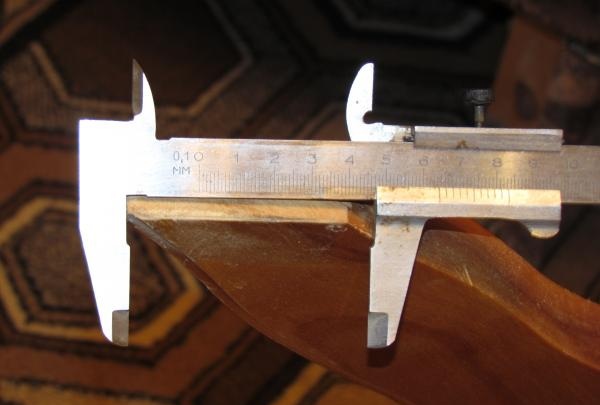
3. Measure the width and length of the support at the cut point.
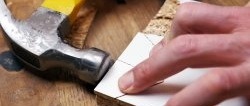
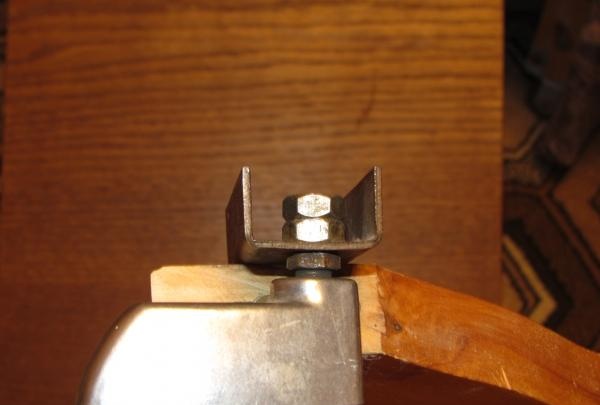
4. We make a fastening bracket from 2-3 mm steel, completely covering the leg, sufficient for fastening the wheel.
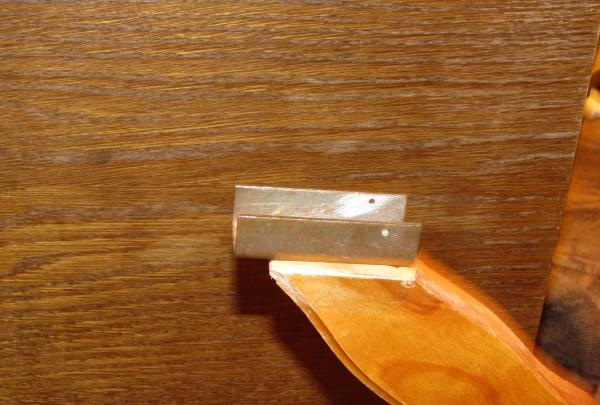
We drill holes in it for fastening to the leg, the diameter is no more than 4 mm, and a mounting hole for the wheel.
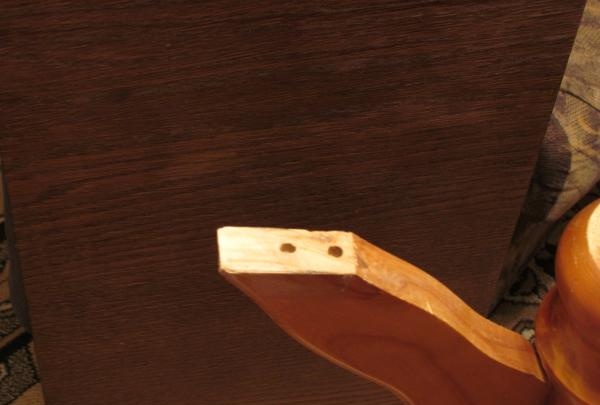
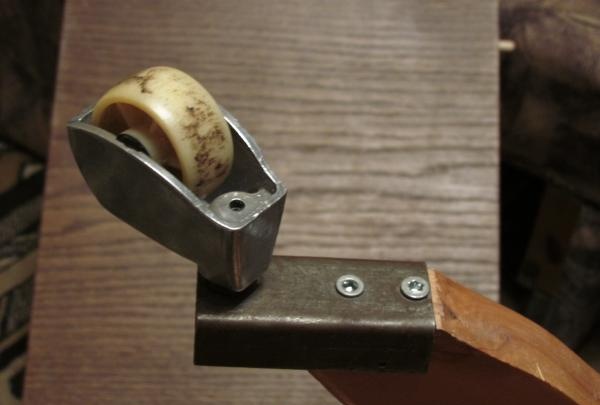
5. The table leg is quite durable wood. However, you should not risk splitting the wood when tightening the screws. Place the bracket with the attached wheel on the seat, mark the centers of the mounting holes. Measure the appropriate length and cut the screws if necessary.
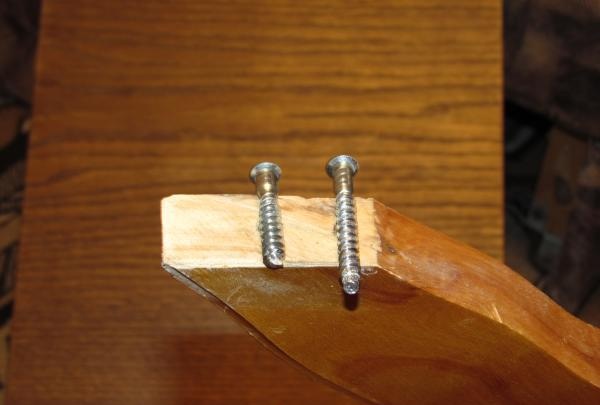
Drill holes with a diameter of 3/4 screws according to the markings for the length of the screw.
6. We process the cut areas with a file, remove burrs on the wood, and round the edges for a tighter fit of the bracket.
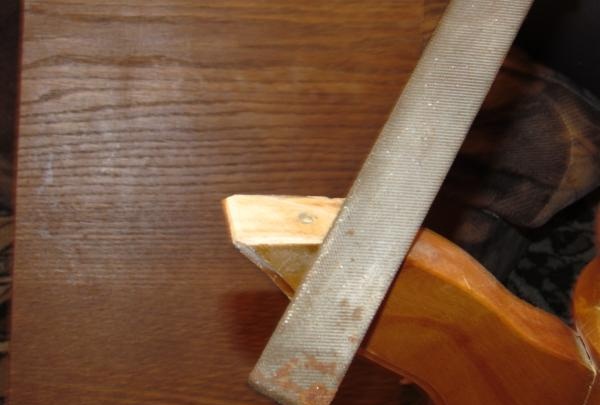
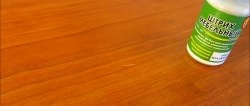
7. Once again, check the tight fit of the bracket assembly; if everything is fine, we proceed to treat the cut area with any varnish or paint. Attention! Do not allow varnish or paint to drip below the cut surface.
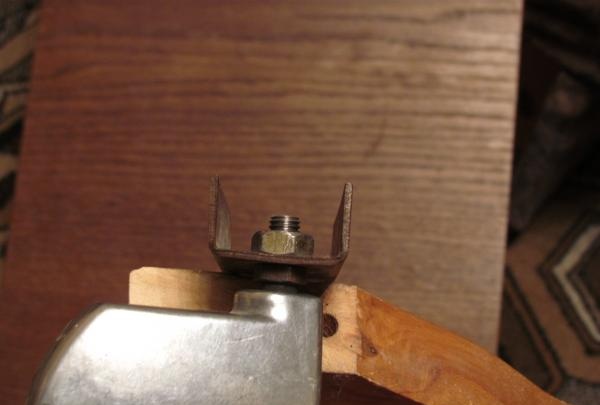
8. Finally secure the wheel with a nut and tighten it for security.
9. We screw all the brackets to the prepared legs and carry out “sea tests”.
When using modernized furniture, a significant drawback will be revealed - the risk of injury from the metal bracket and its sharp corners. The problem can be solved by giving rounded shapes to the protruding parts. It’s easy to make it with a grinder, if not, take the trouble with a file.The problem is not completely solved; the protruding part of the metal remains dangerous. It is better to put a plastic profile on a rectangular bracket, cut it out of a children's toy, and bend it onto a piece of sheet plastic using an industrial hair dryer.