Today we will weave a craft basket from paper tubes.
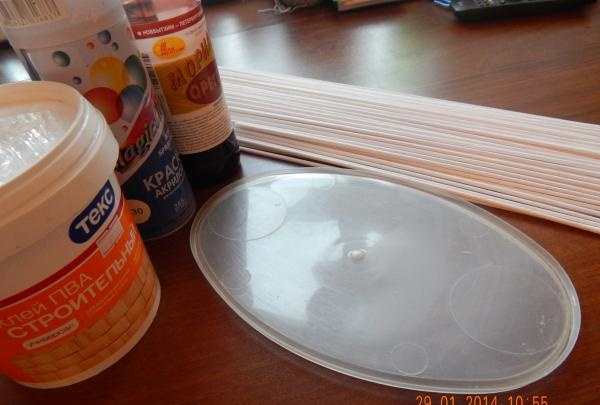
We will need:
- plastic lid from any container;
- tubes twisted from receipt tape (can be from newspaper or any paper);
- PVA glue;
- non-aqueous stain;
- brushes for glue and stain;
- acrylic white aerosol paint;
- cotton fabric (any will do) for the textile insert in the basket;
- lace or sewing to decorate the insert.
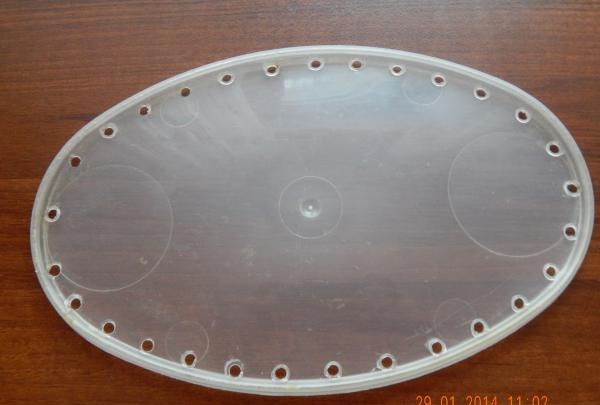
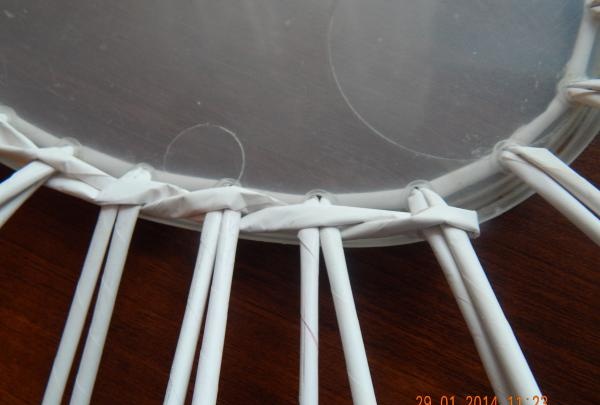
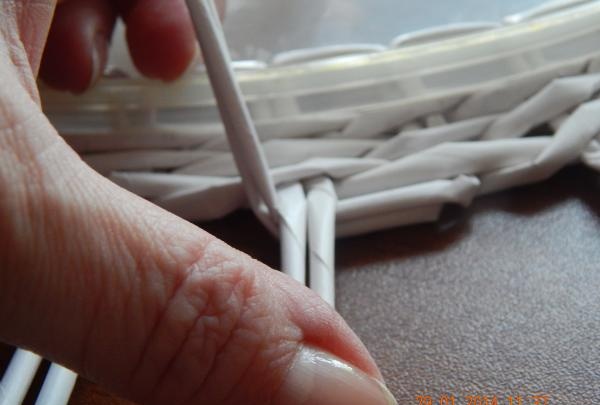
Let's make a simplified version of the basket: we won't weave the bottom, a plastic lid from the container will serve as it. Using a thick knitting needle heated over a fire, we pierce holes around the perimeter at intervals of 1.5 - 2 cm. Photo.
We insert tubes into these holes, so that there are 2 of them in each hole.
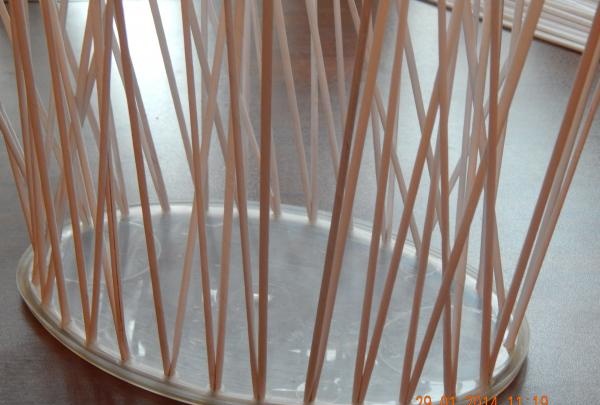
Let's bend them.
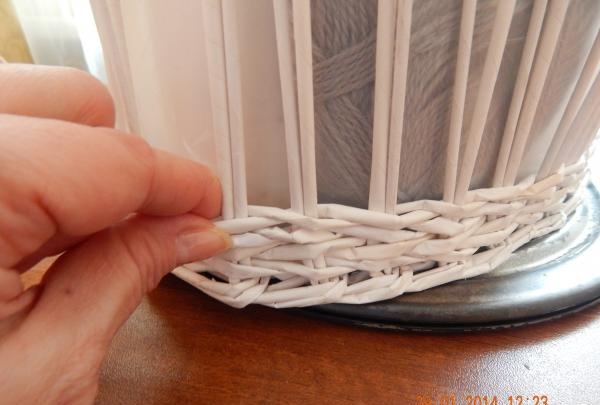
You need to weave 3 rows, continuing from the bottom. We braid using the “rope” method.
We braid and get this picture.
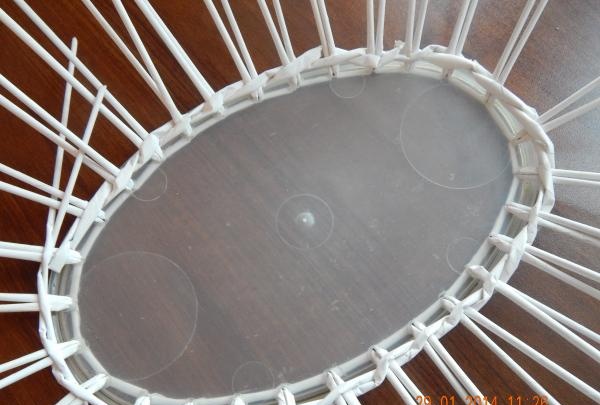
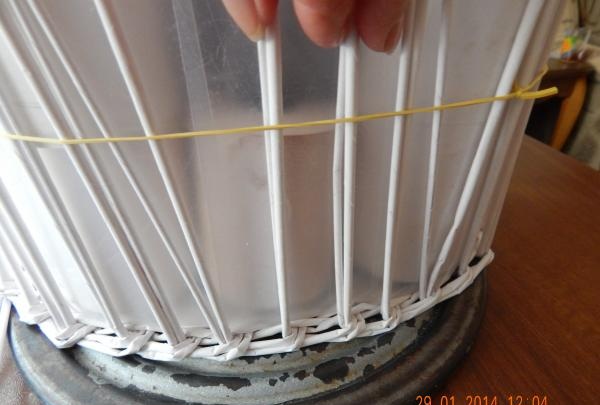
After we have finished braiding the bottom (3 rows of braiding), we raise the racks.This is a common technique: we place the right post (don’t forget 1 post – 2 tubes) under the one closest to the left and bend it perpendicular to the bottom.

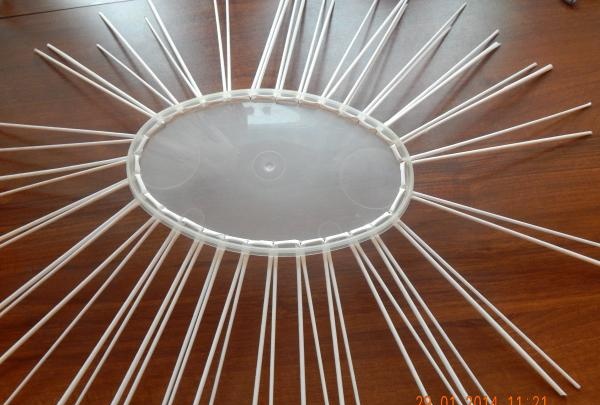
We fix the racks around the seal installed on the bottom of our future basket, as in the photo.
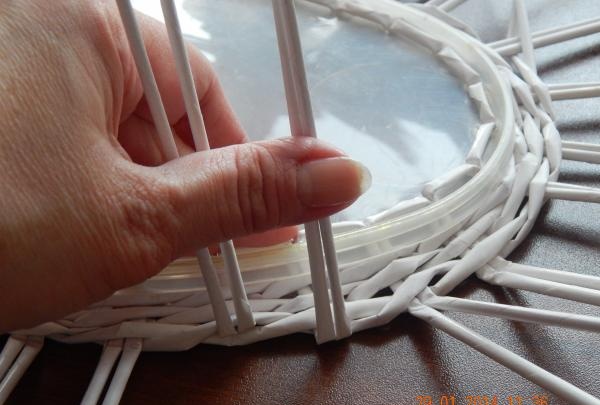
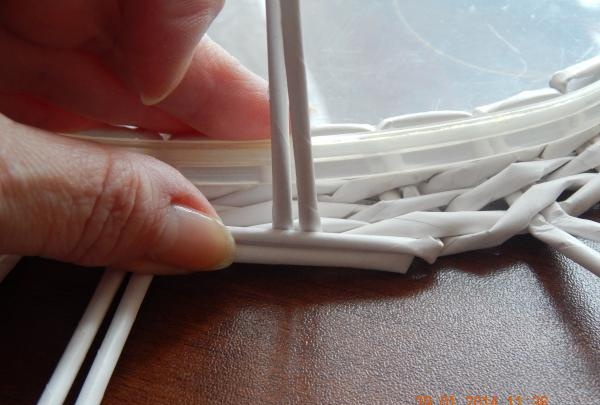
We begin to weave a basket, constantly making sure that the stands do not deviate to the sides. We weave with a rope - the simplest weaving.
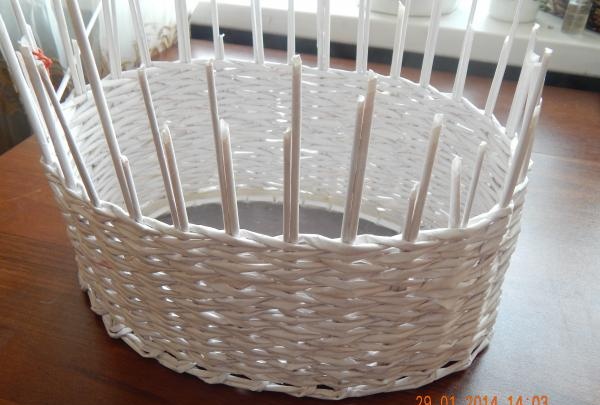
We reach the desired height, then we cut the posts to the level of the woven basket, i.e. we don’t make a bend, the textile liner will cover its absence.
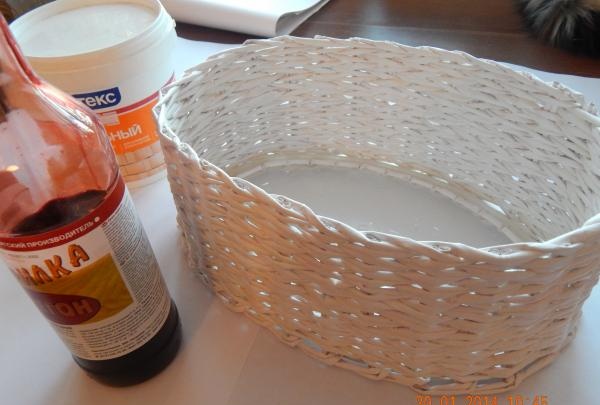
The next stage is to glue the resulting workpiece with PVA glue. We coat it well, don’t skimp on the glue. Now we wait for the glue to dry. As soon as the workpiece begins to dry out, you can remove defects by adjusting the shape of the basket. Then it will harden, and nothing can be done to fix it.
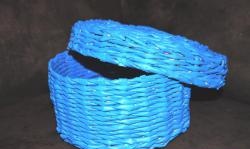
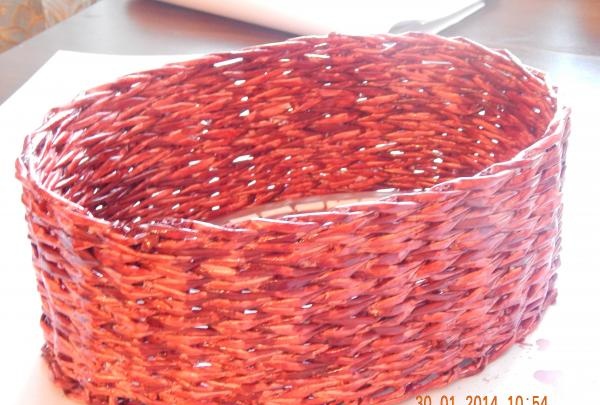
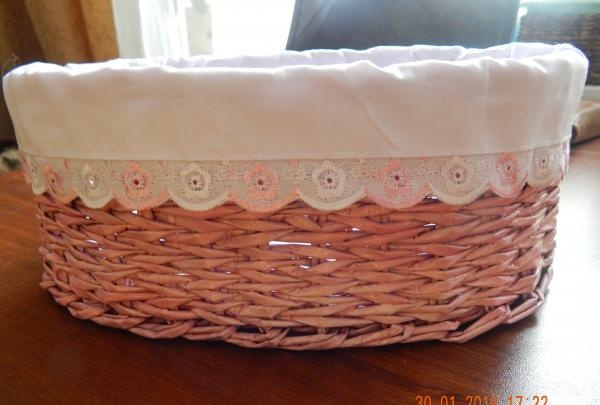
After drying, paint the basket with stain. Our sample uses the Oregon tone. The output will be pink.
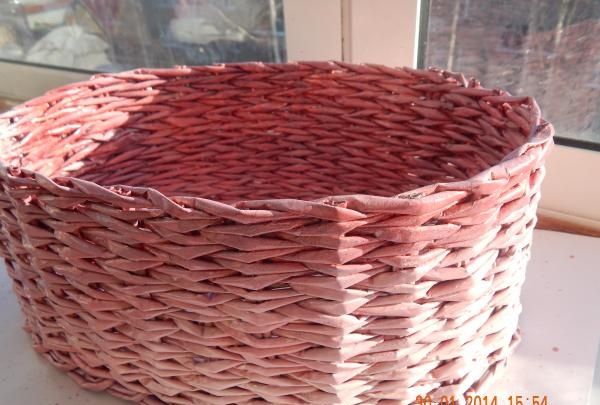
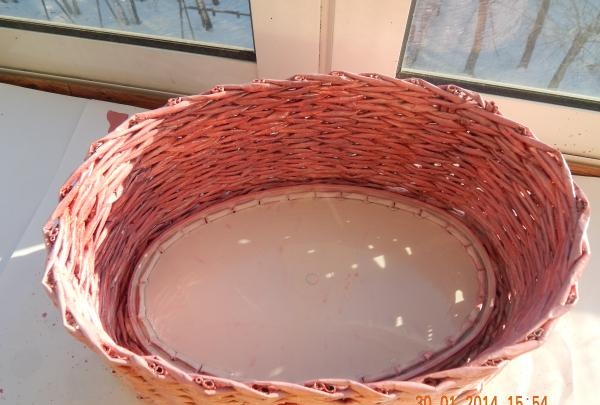
The stain dries quite quickly. After 20-30 minutes, we cover the basket with acrylic paint from a can, more tinting the lower part of the workpiece and the bottom (it is still transparent). The color of the basket is pink, more intense at the top and light pink at the bottom. The bottom of the basket is white.
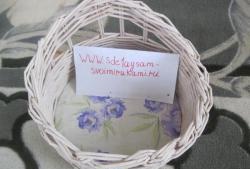
Now we start decorating, cut out the bottom of the liner from the fabric (we trace it with a pencil along the outline of the basket and cut it out), the sides of the desired height and length equal to the length of the circle or oval of the bottom pattern. We make seam allowances only at the sides; we do not increase the size of the bottom, since we traced the outline of the basket from the outside.
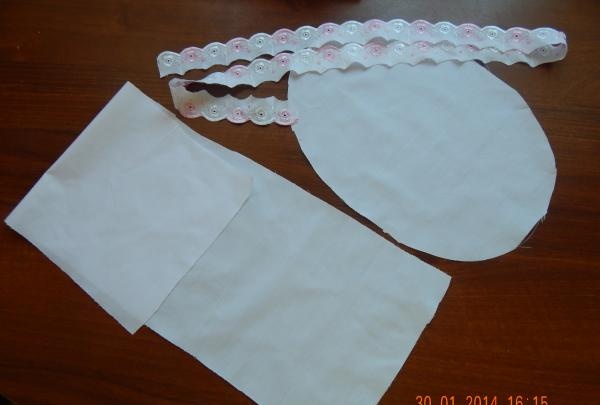
We sew the sides to the bottom of the liner and decorate with lace (in our basket - cotton sewing).
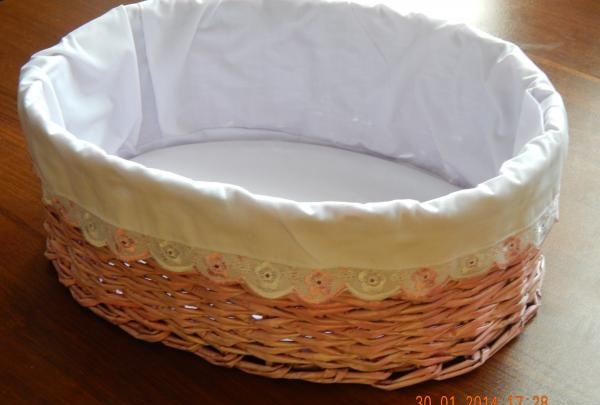
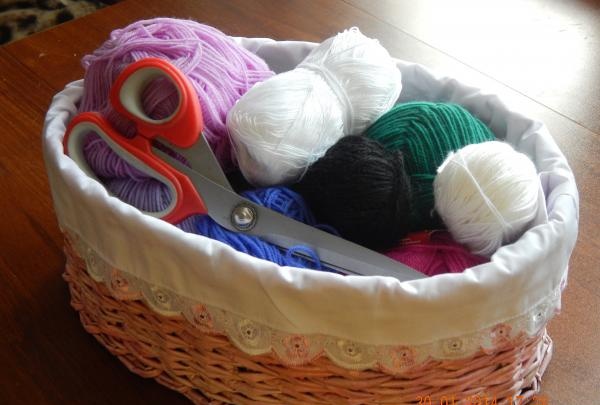
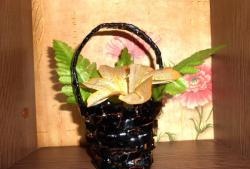
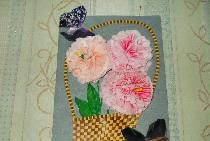
That's it, our craft basket is ready. Such a product can, of course, be used not only for handicrafts. Also suitable as a gift idea. And any woman can find a use for such a thing in the house.