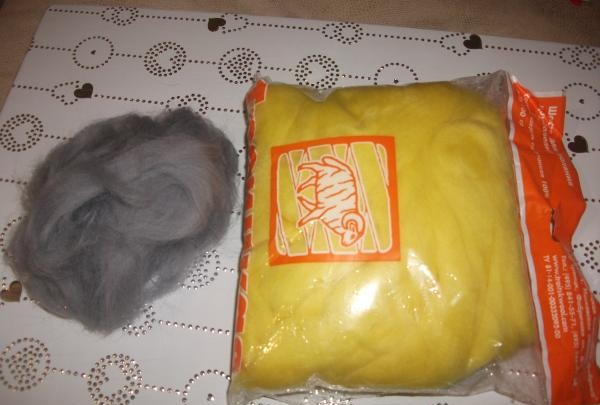
Needles No. 60 and No. 45 were used in the felting process.
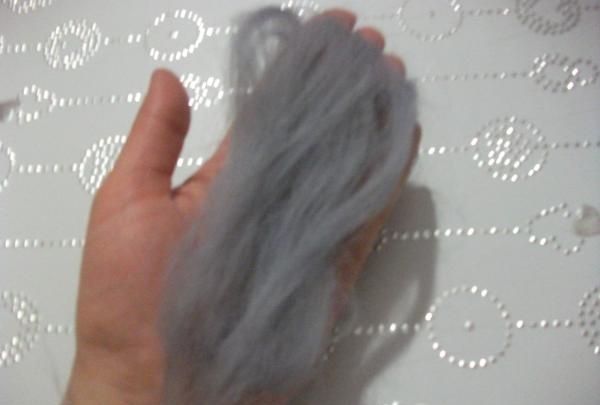
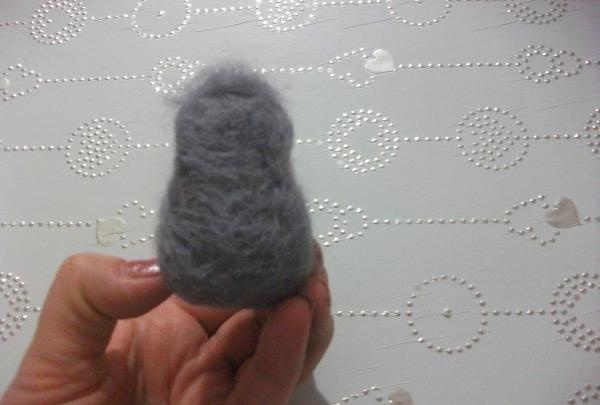
To create a head, take the amount of wool that fits in the palm of your hand.
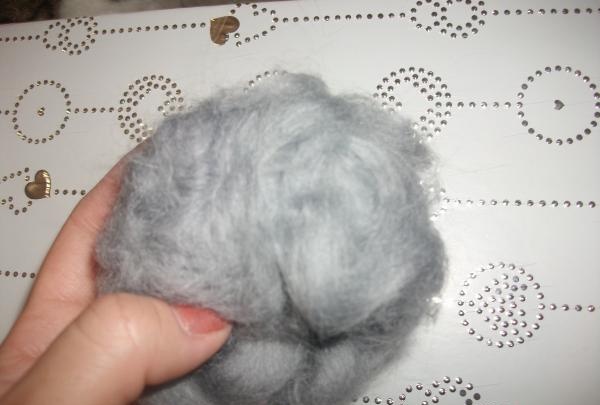
Then a #60 barbed needle is stuck into the wool a large number of times until a tight ball is formed. The process of repeatedly piercing the wool with a needle is called felting or felting. In order for the ball to be round and even, it must be rotated evenly in your hands.
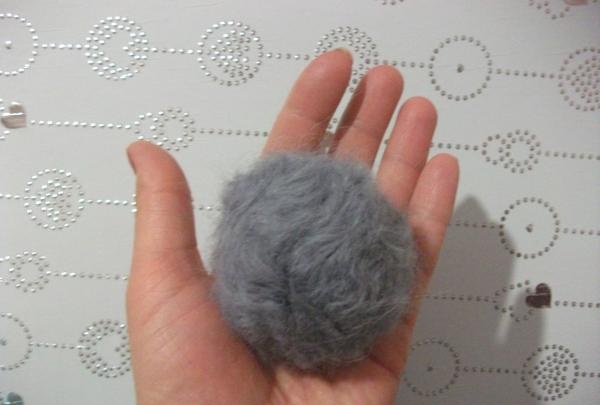
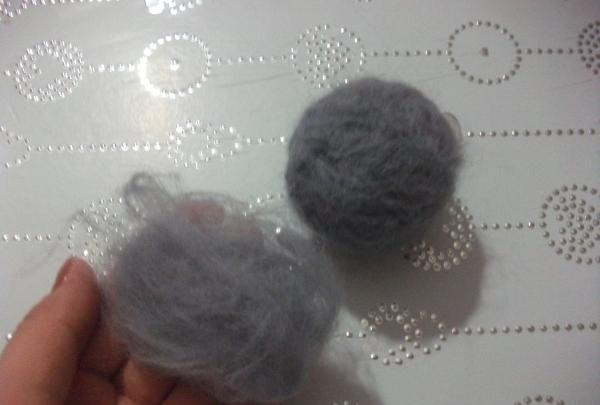
If there is an unevenness in some place, it can be corrected by applying more wool there.
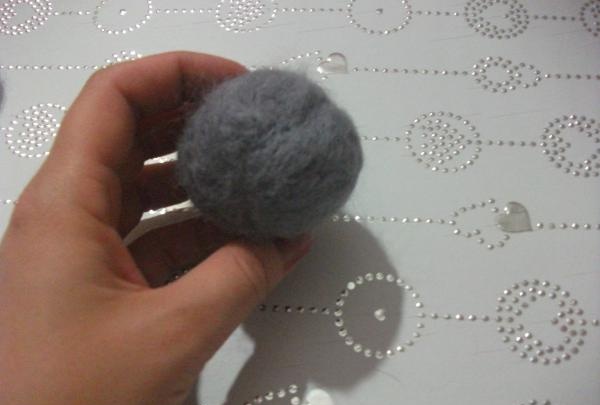
On the head in the area of the future face, apply a small amount of wool and roll it down, giving it shape. We make small indentations for the nose and eyes.
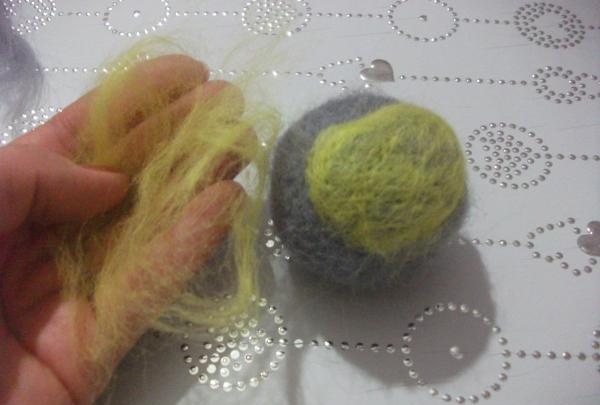
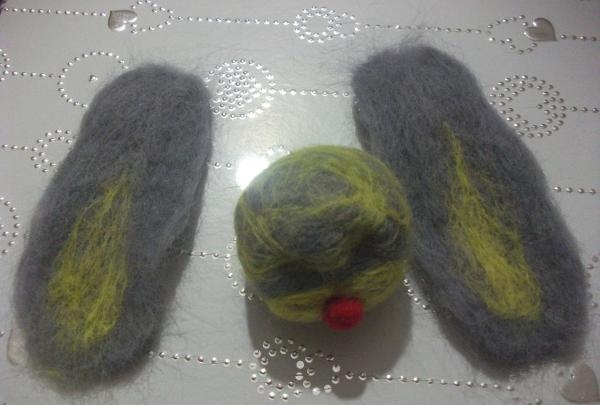
We roll yellow wool on top of the head and face to decorate the hare.
Then we form a pink wool nose on a special sponge.
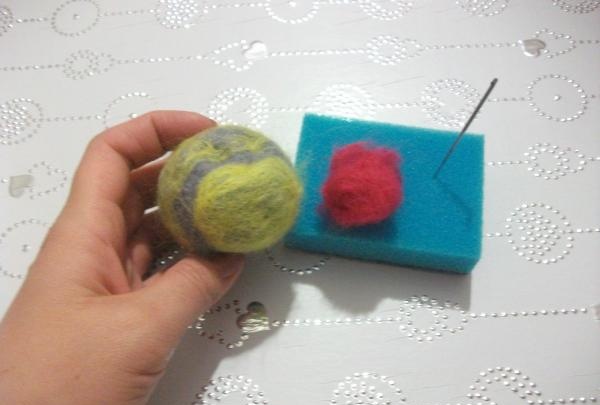
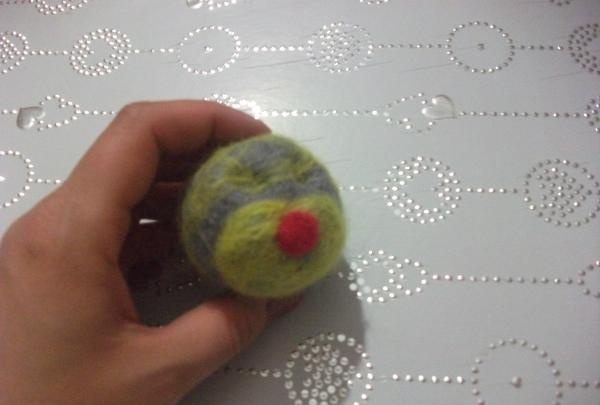
The sponge is needed to protect your fingers from needle pricks. On one side of the pink ball-nose we leave a tuft of wool, which we will use to roll it to the face.
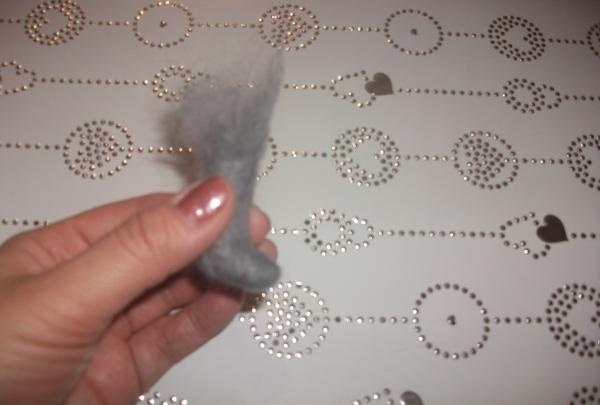
The next step will be felting the ears on a sponge. An oval ear is formed from a small amount of wool.

If the ear turns out to be large or uneven, the excess can be trimmed with scissors. We also leave wool on the upper side of the ear for felting with the head, and decorate the lower part with yellow wool so that they turn out in the same style as the head.
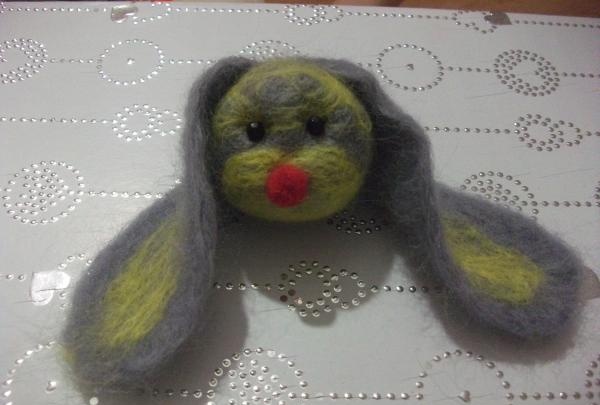
Glue beads in the recesses for the eyes.
Then we take the same amount of wool as for the head and felt the body, giving it shape with our hands. We also provide two recesses for handles. The next step is felting the arms and legs. We give our hands a full shape, because... we will sew them to the body with threads. And at the legs, in the places of the feet, add the required amount of wool.
In addition, we leave wool at the thigh in order to felt the legs with the body.
Let's start assembling the toy. There are two ways to fasten the head and torso. The first way is to felt them together, in the same way as all the parts. In this case, the head will be fixed. The second way is to sew a button to the head and through it fasten the head and body together with threads. This way the head can turn. In this case, a small depression is made in the lower part of the head into which the button will be hidden.
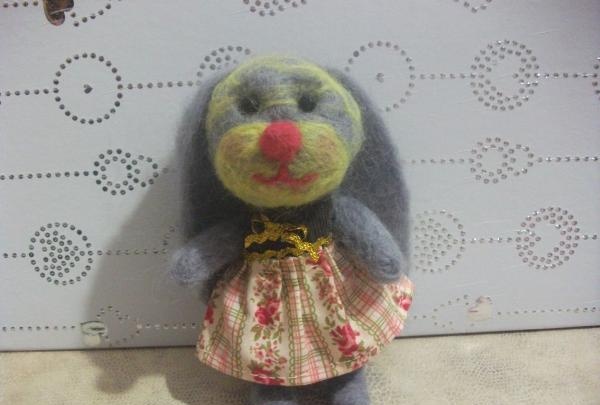
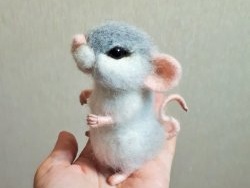
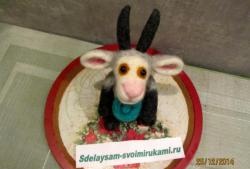
So that the toy’s arms can move, we sew them through the body with ordinary thread. And we process the places where the thread is visible with a needle No. 45. This needle fluffs up the toy, pulling out the fur from it. Then we give the final expression of the face, forming a mouth. To do this, take a thin flagellum of wool and carefully roll it down. Then we add a blush to the cheeks with a thin pink layer of wool and apply paint to the eyebrows.Although they can be made, like the mouth, from wool. The end result is a toy like this.
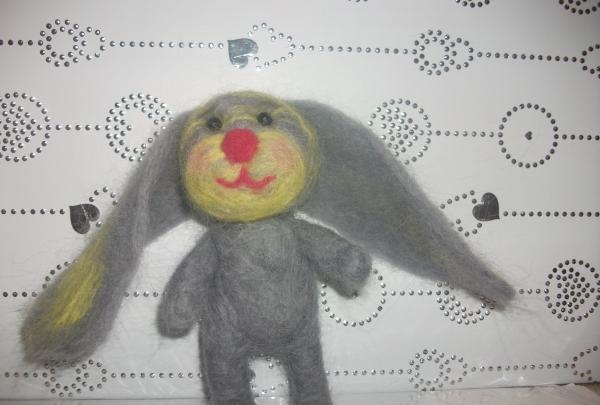
Additionally, you can sew or knit a set of clothes for the hare, thus assigning it a gender. The child and I decided that it would be a girl bunny and sewed her a vest and skirt.