You will need:
1 mm thread: 2 pieces of 1.5 m each and 1 piece of 1.3 m.
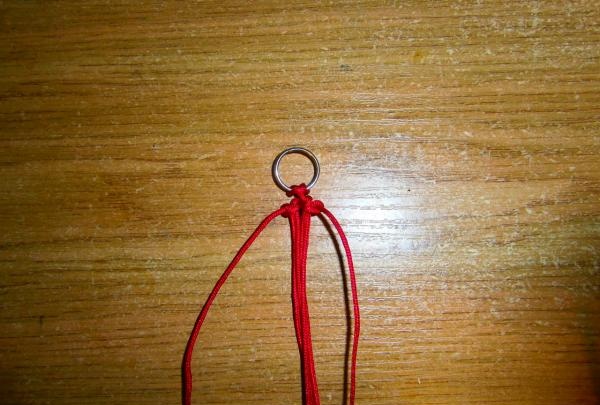
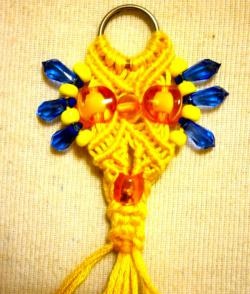
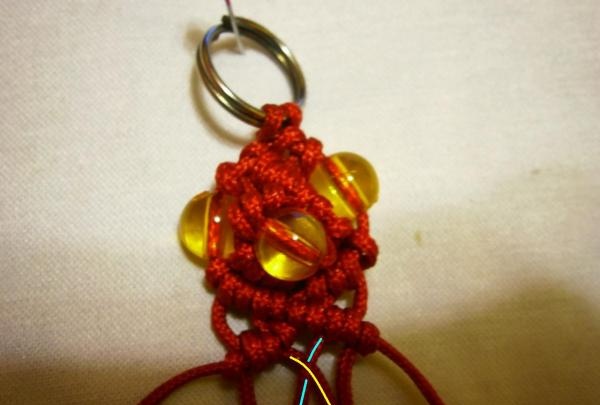
Let's make a single canopy on a 1.3m segment ring. I had a ring with a diameter of 1 cm.
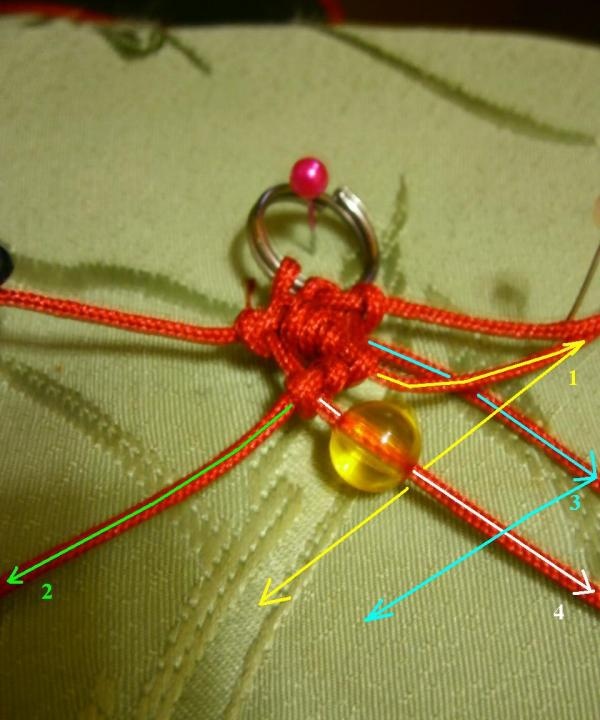
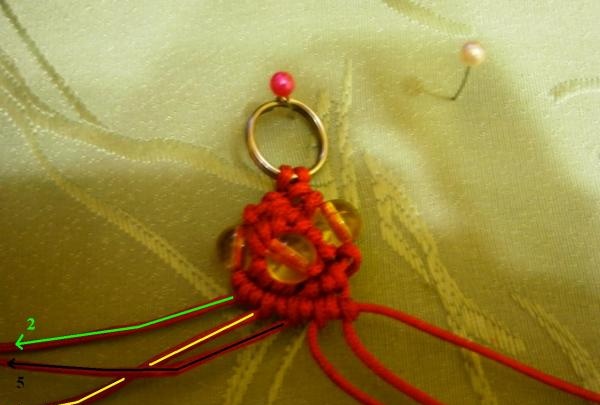
Then we will also make a single canopy of a 1.5 m piece of thread on the edges of the thread. 2. We will form a knot from right to left. The photo shows that a knot is wound around the 1st yellow thread with the 2nd green thread.
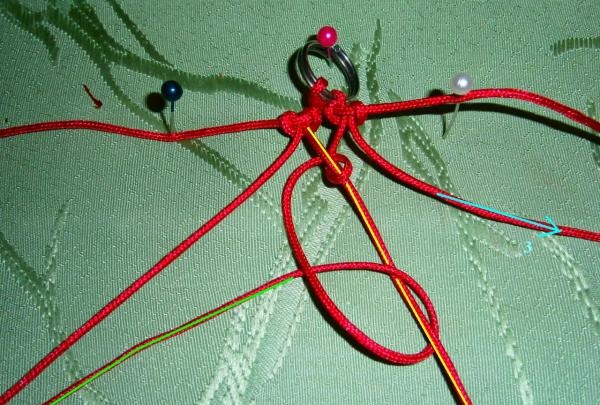
3. Similarly, we make a knot with the 3rd blue thread around the 1st yellow thread;
4th white thread around 2nd green thread;
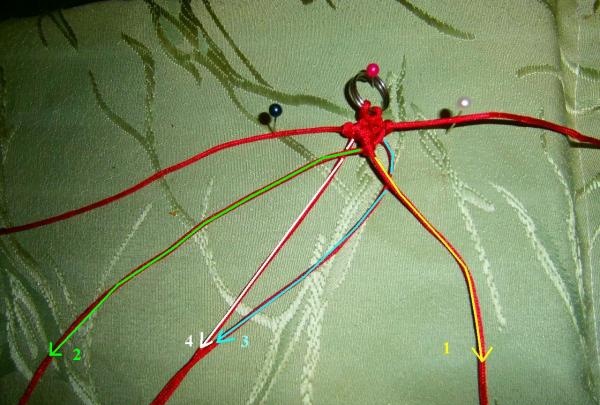
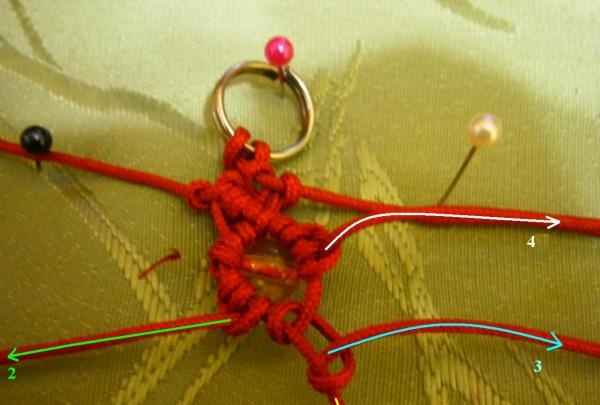
Here's what came out in the end:
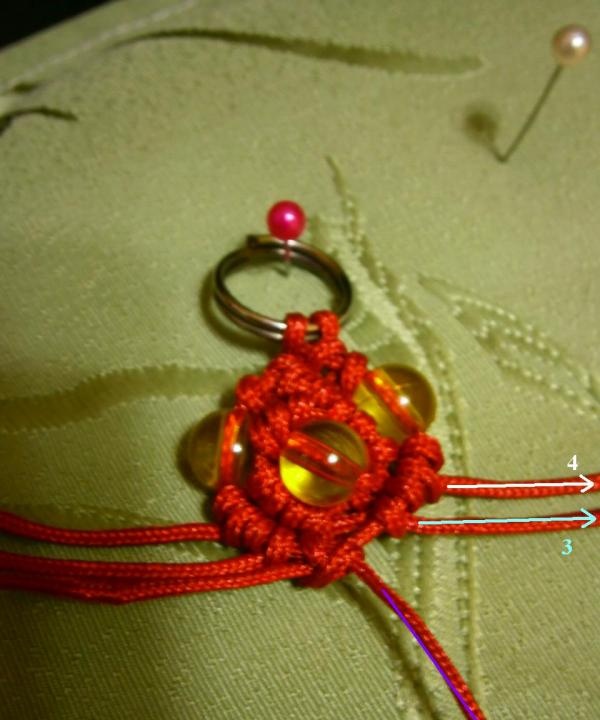
4. It’s the bead’s turn. A 7 mm diameter bead (yellow in the photo, but green is better) is strung on thread No. 4, marked in white. The yellow thread goes under the bead to the left - this is important! The blue one lies on top of the white one.
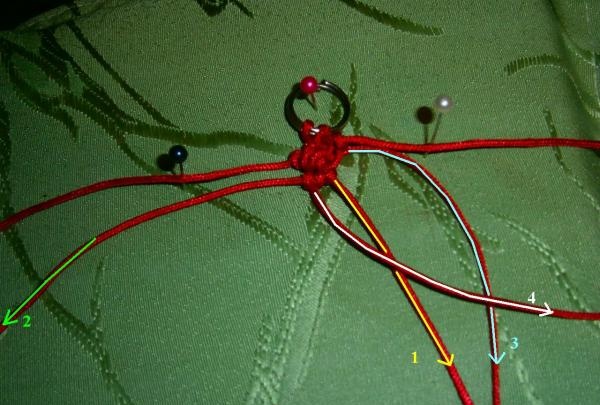
5. A knot is made around the blue thread with white thread from left to right. It is similar to a right to left knot, only the direction of the threads is reversed. The photo shows what happened.
Further in the photo you can see that a knot is made around the yellow thread with green thread from right to left.
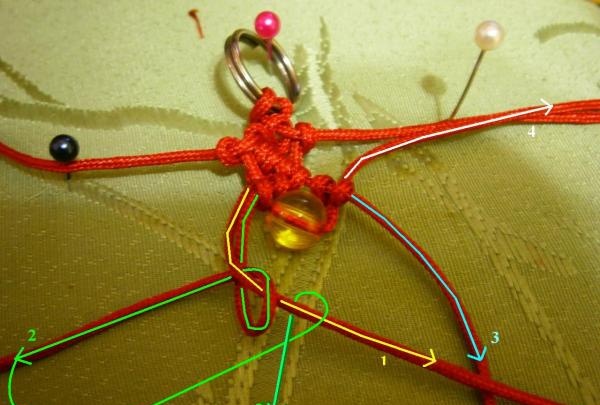
6. Around the yellow thread we form a knot with blue thread from right to left.
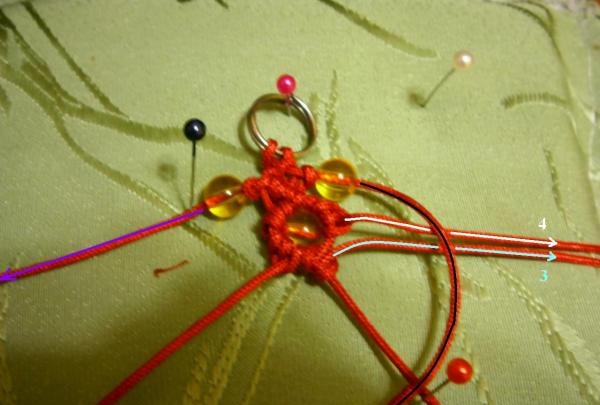
7.We string orange beads onto the outer threads (marked in purple and black). We bring the black thread to the center, and around it we tie knots with the 4th white and 3rd blue thread.
8. This is what happened. As a result, there were 2 side threads left in the center: purple and black. Around the purple one we tie a knot with black thread from right to left.

9. This is what happened. Now around the purple thread we make knots first with the 3rd blue one, then with the 4th white one.
10. We do the same on the other side. We make a knot around the black thread with yellow and green thread.
11. This is what happened. Now we finish the bracelet element: we make a blue knot around the yellow thread.
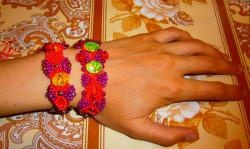
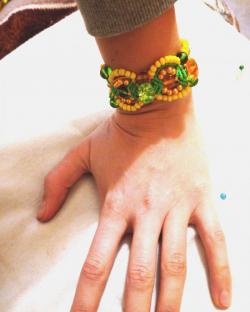
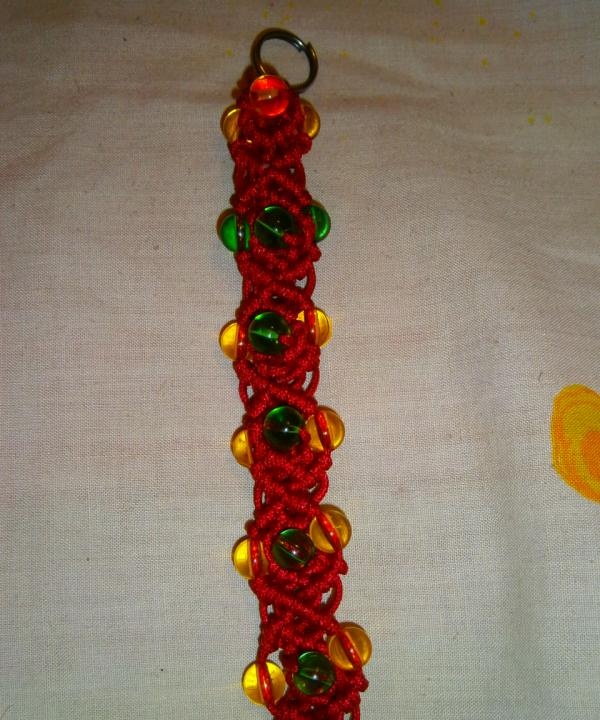
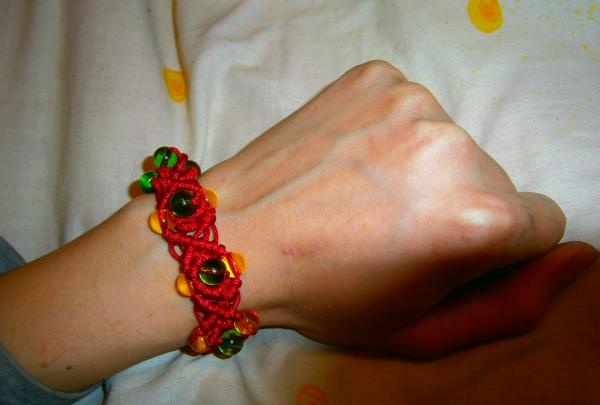
12. Next, we form the bracelet, repeating the steps from point 2. Next we attach the fastener.
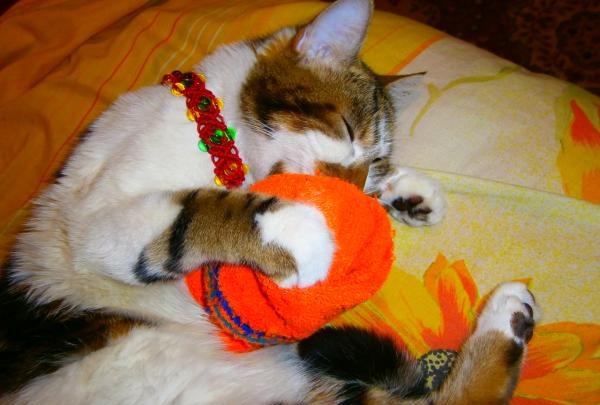
You can also use this bracelet as a cat collar.