In order to make a headband, we will need the following materials:
1. Yellow fabric;
2. turquoise fabric;
3. paper;
4. compass;
5. threads;
6. needle;
7. partner pins;
8. yellow knitting threads;
9. candle.
The making of the headband is based on the idea of burning fabric on a candle. Therefore, the result of the work will depend on the correct choice of fabric. It is very important to choose a fabric that can be fired well - these are thin fabrics containing artificial fibers. When fired, the edge of the fabric should curl up and form plastic balls or a crust. Also, if you are using two fabrics, their colors should complement each other well with your outfit and look.
Let's divide our work into several steps.
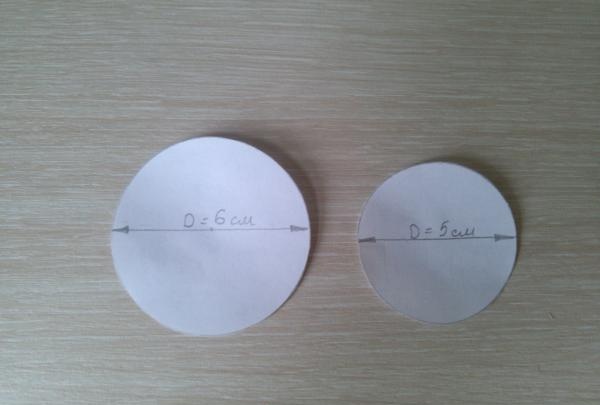
Step 1. Preparing templates.
Using a compass, draw two circles with a diameter of 6 and 5 cm on thick paper. Cut them out. If you don't have a compass, you can circle any round object. The size of the future flower depends on the size of the circles.
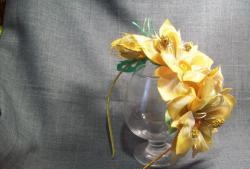
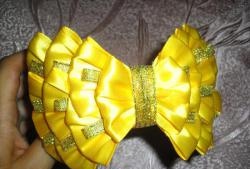
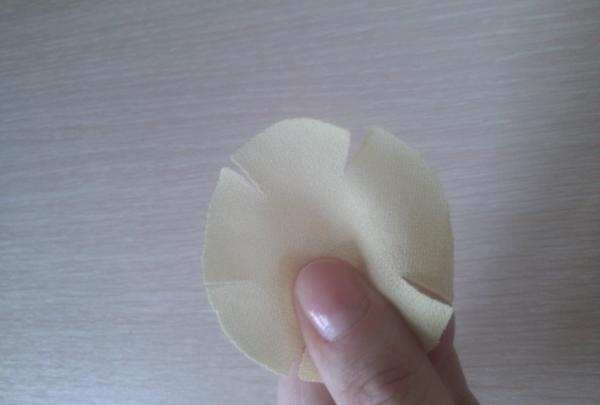
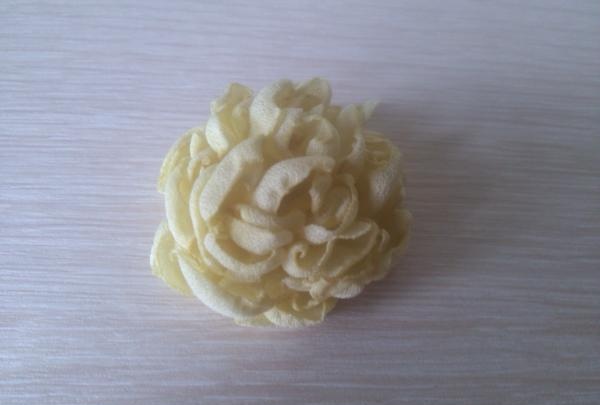
Step 2. Preparing flower petals.
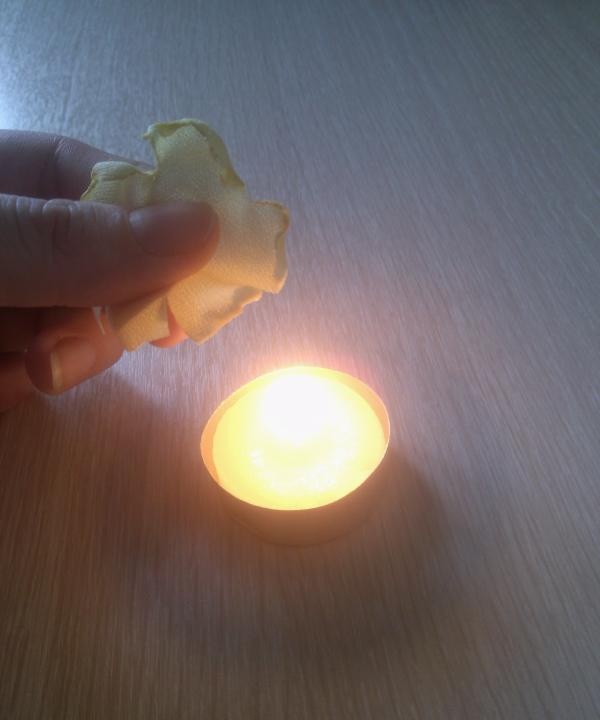
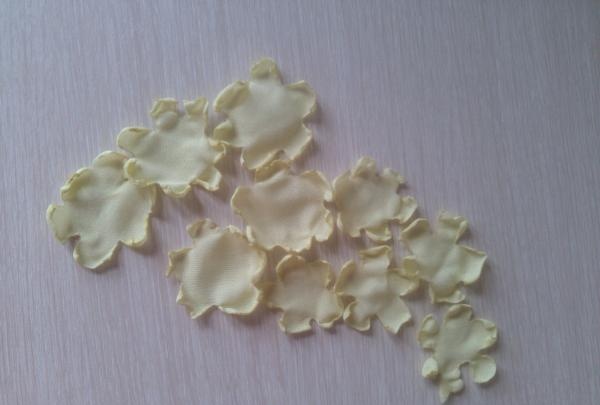
Using the prepared templates, we cut out: five petals with a diameter of 5 and 6 cm from yellow fabric, ten petals with a diameter of 5 and 6 cm from turquoise fabric. On each petal we make cuts of 5 - 7 pieces with a depth of 0.7 - 1.0 cm. try to make identical cuts on the petals; the more bizarre their shape, the more beautiful the flower. We burn each petal on a candle. When firing, direct the petals inward; if you overexposed the edge of the petal and a black burn formed on it, you can cut it off and singe the petal again. If you are not very comfortable working with candles, you can replace it with a lighter.
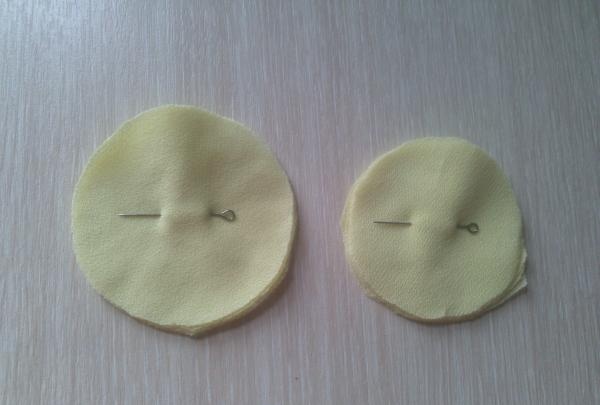
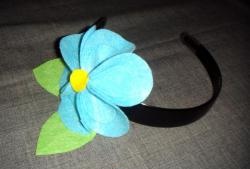
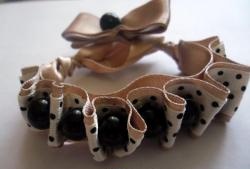
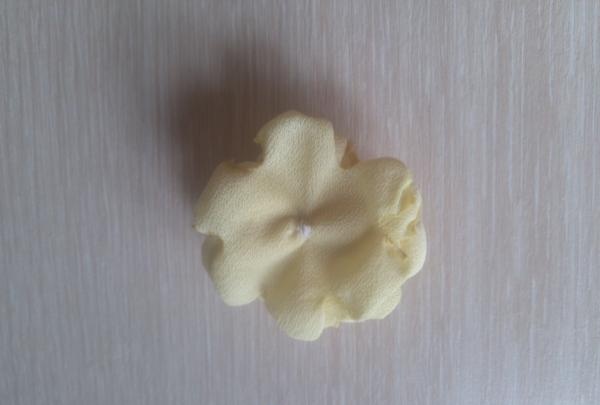
Step 3. Assembling the petals.
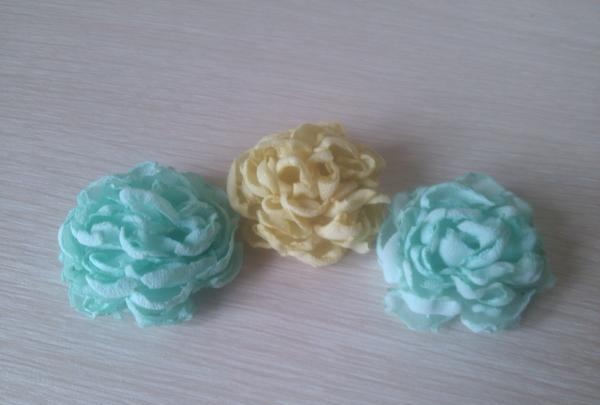
We arrange the petals by color and size from largest to smallest. Sew in the middle. In order for the flower petals to fit more tightly to each other and the flower to look more magnificent, we fold it in half with the petals inward and stitch it through with several stitches, forming a tuck. In this way we prepare three flowers: one yellow and two turquoise.
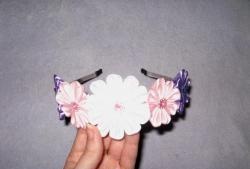
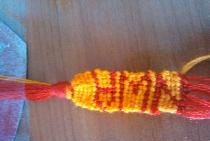
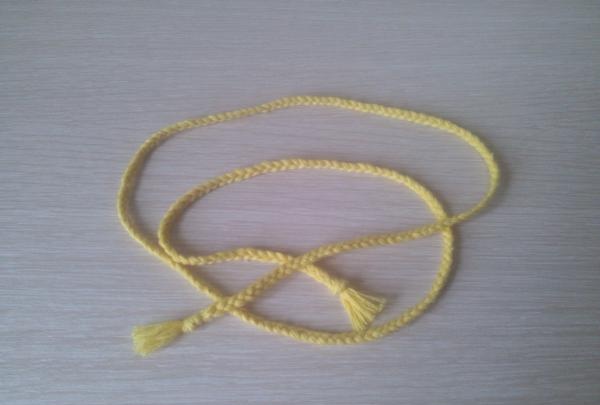
Step 4. The final stage is assembling the rim.
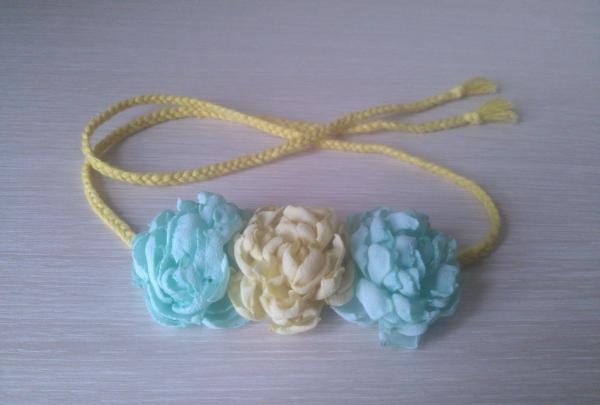
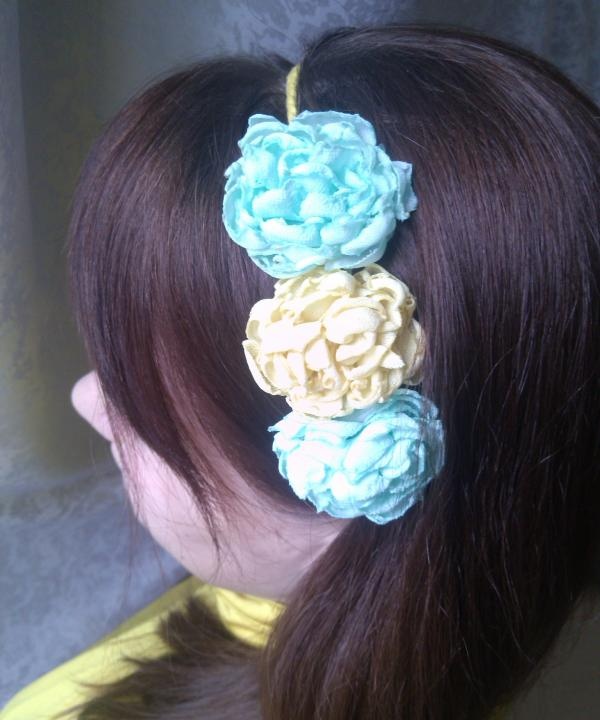
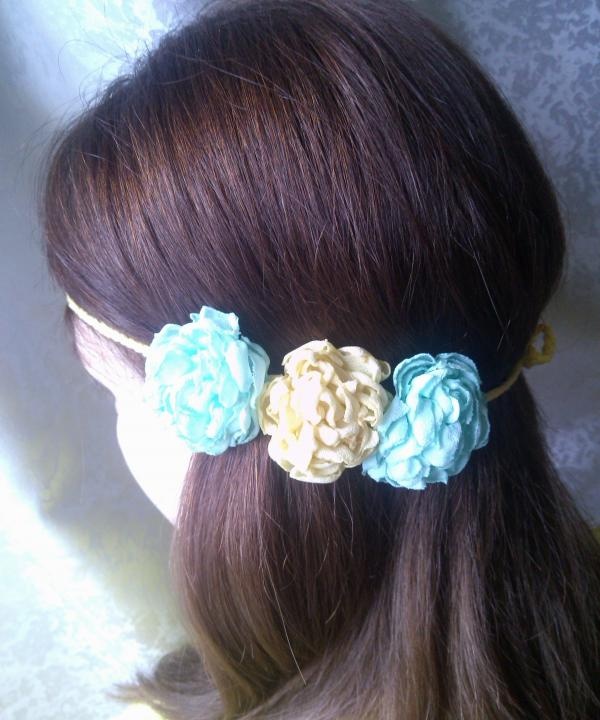
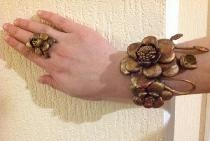
The headband will be attached to the head using a braided cord. To do this, we weave a braid from yellow knitting threads. The thickness of the weaving should be approximately 0.5 - 0.7 cm. If the threads are thin, then they can be folded in several rows. It is better to take the length with a margin of 90 - 95 cm; when weaving it will decrease. We try on the woven cord, determine the required length and location of the flowers, usually it is shifted to the left or right of the center.We sew the flowers tightly to each other, yellow in the center, turquoise along the edges.
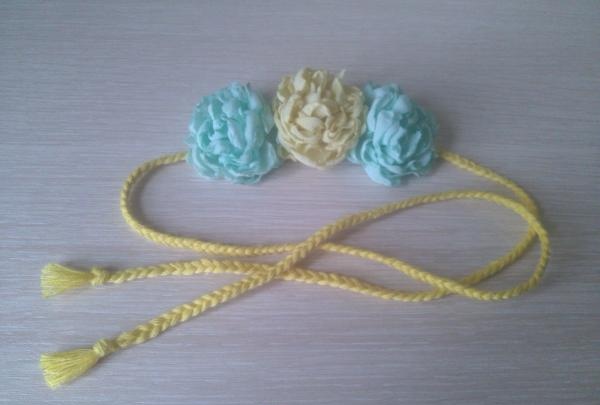
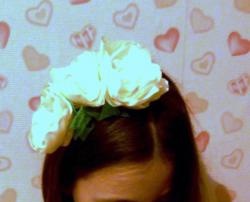
The headband is ready.