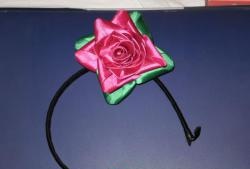
To make this decoration you will need:
- an electrical device for burning fabric.
- red synthetic fabric and golden veil.
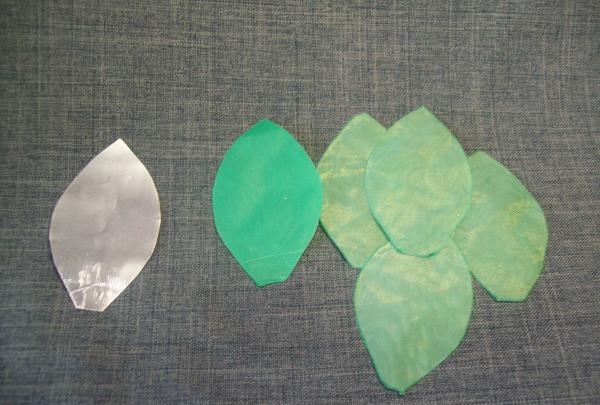
- templates for petals and leaves from a tin can.
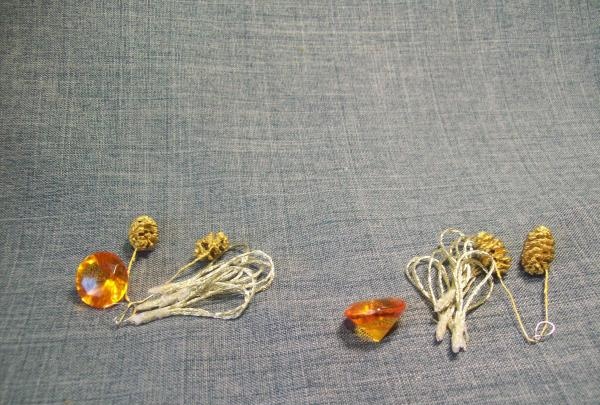
- a small piece of glass.
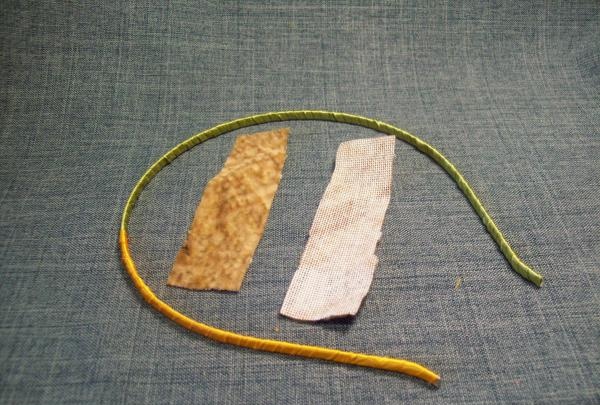
- some green fabric in two shades.
- wire.
- a small foam base in the shape of an egg.
- “Moment” glue.
- any small decorations for the middle of the flowers.
- hair band.
- thin ribbon for the headband.
- a strip of thick fabric for the base.
- scissors.
- iron ruler.
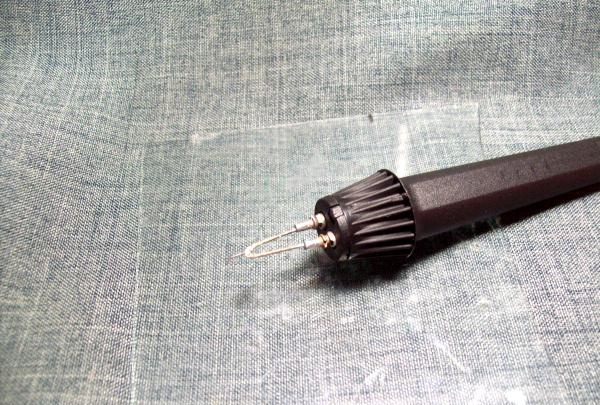
Now let's prepare the main tool for work. We take a guilloche machine with a fabric needle and glass.
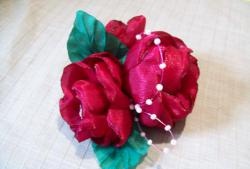
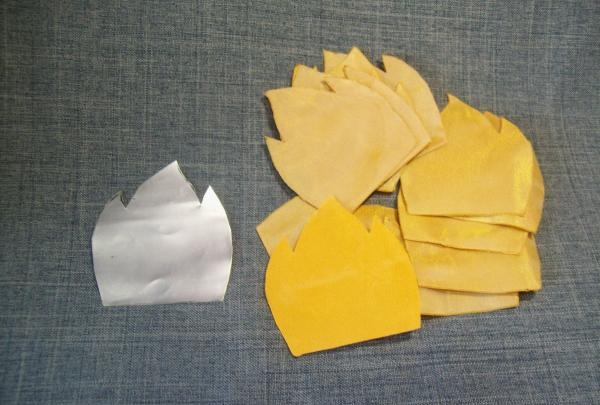
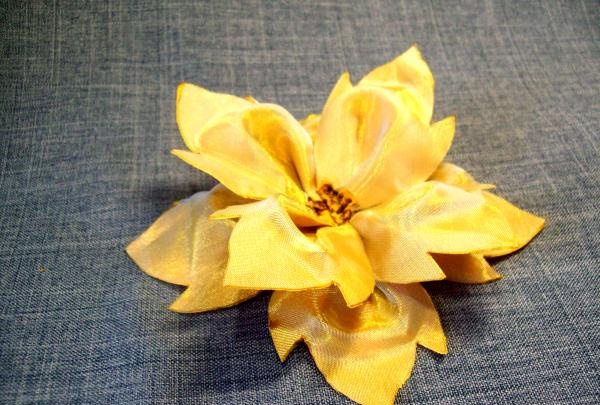
For the flowers, we chose a opaque, red-colored fabric and a thin golden-colored veil. From any tin can we cut out a template for the petals. The base will be a square with a side of 6 cm. On one side we cut out a figure similar to a flame with 3 tongues, and on the opposite side we make small narrowings from the bottom. Then we fold both fabrics together and use a hot needle to trace 19 blanks according to the template.
And for the leaves, the template is 5 cm high and 3 cm wide, boat-shaped with a blunt end on one side. The leaves will also be made of double fabric, and you will need to cut 5 pieces.
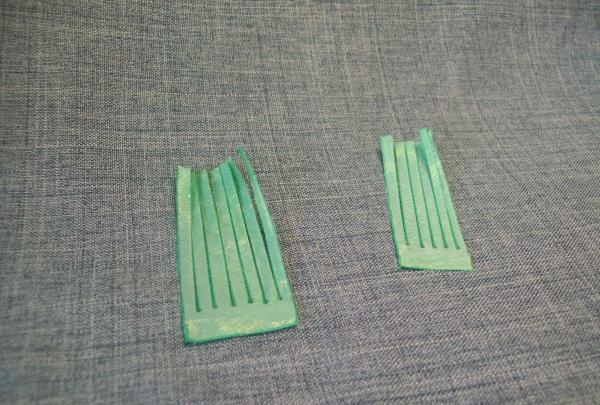
From the same fabric we cut out two rectangles with a needle, no longer than 5 cm and of different widths. We cut the fringe on them using a ruler.
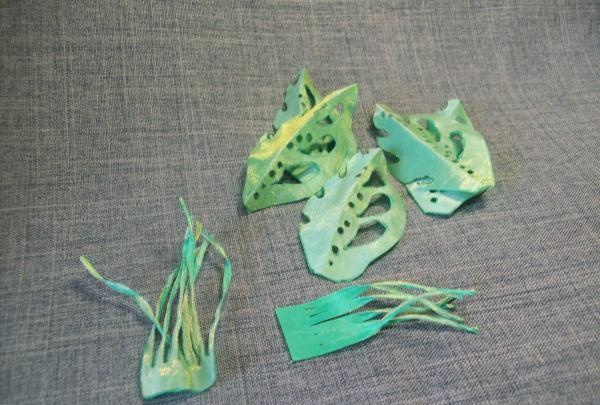
And then the green blanks need to be given a new shape. You need to put two pieces with fringe together and just roll the cut side a little with your fingers. You can burn simple patterns on the leaves. On one side of the sheet we will make teeth along the edge, and on the second half we will cut out several holes in the shape of drops and dots. Finally, fold the leaves in half, making a fold.
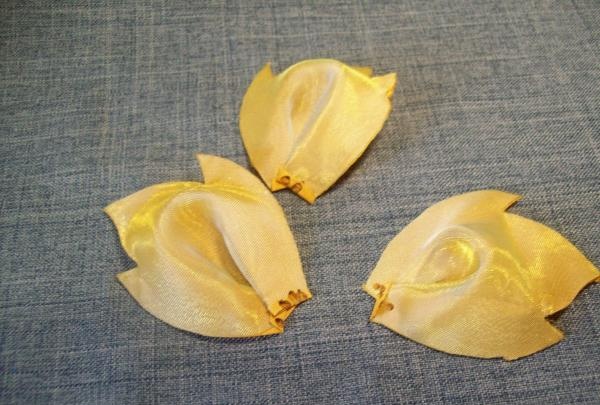
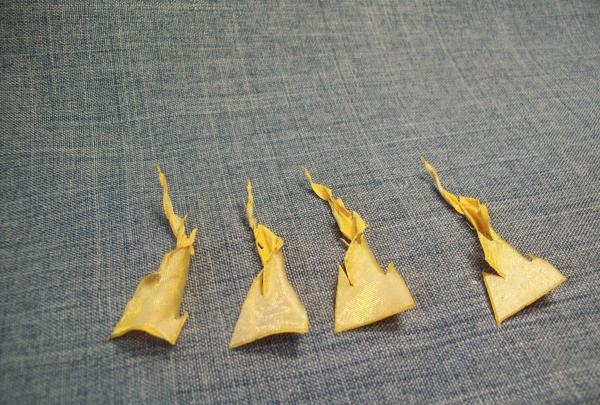
And now we move on to the flower petals, which need to be given additional volume. You need to make counter folds on the base of the blanks and solder them together with a needle. We process all petals the same way.
Additionally, we cut out two strips measuring 5 x 2 cm from the fabric for the petals. And divide them diagonally in half. And along the edges of the resulting triangles we make small notches.
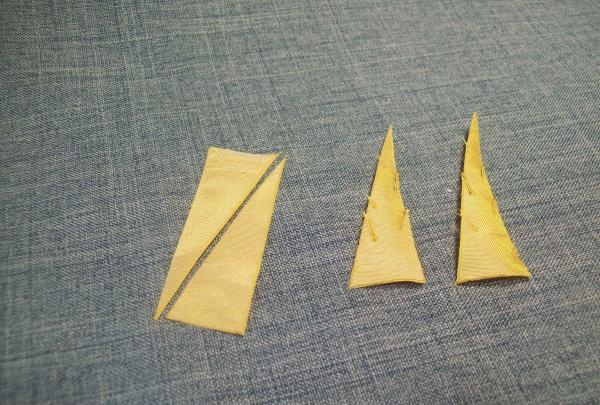
Because when twisted it creates an interesting shape.
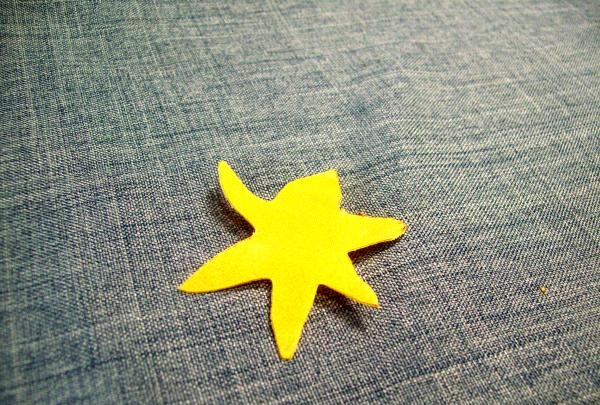
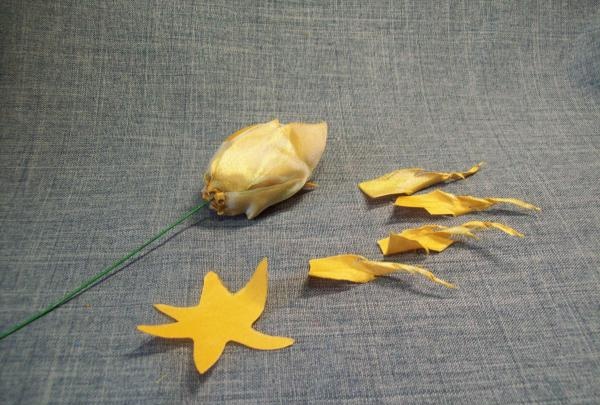
And you will also need a sepal in the shape of an irregular star with 6 corners.
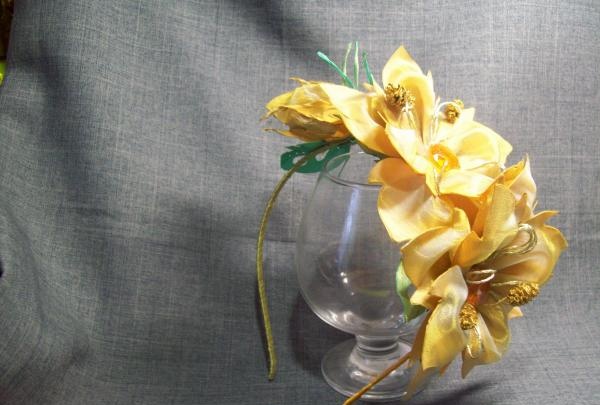
Cut out 2 circles with a diameter of 3 cm, which will serve as the basis for the flowers. Now let's start assembling. For one flower we take 8 petals and a circle. We will attach it to the base using a needle. The first row will consist of 4 blanks located along the outer edge of the circle.
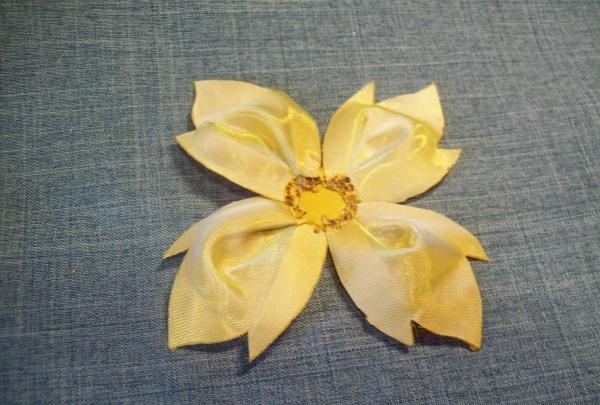
We solder the remaining 4 petals in a checkerboard pattern, closer to the middle of the circle. The center remains vacant.
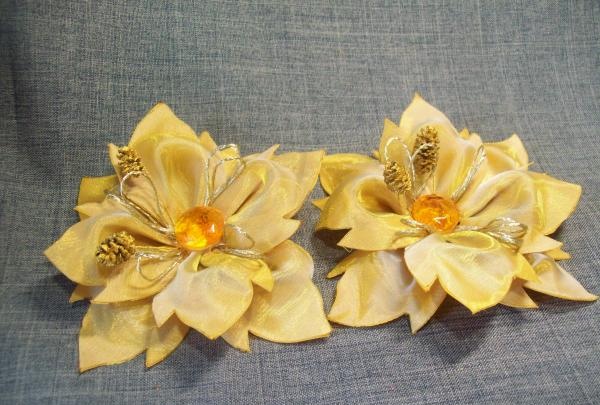
Both flowers are made in the same way.

Now all that remains is to choose decorations for the centers in colors. Take 2 large beads, stamens, balls or cones. Everything can be chosen according to your wishes.
And glue it in the middle, placing it beautifully on the flower.
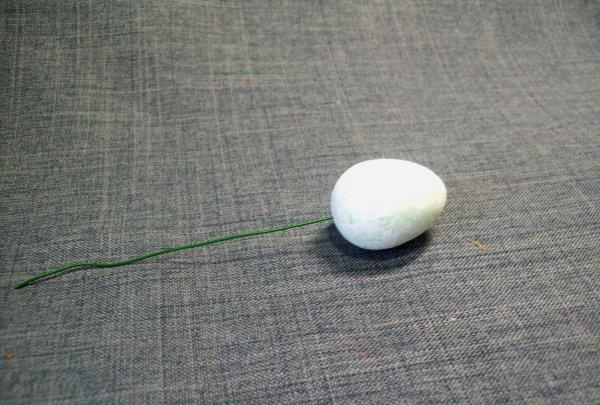
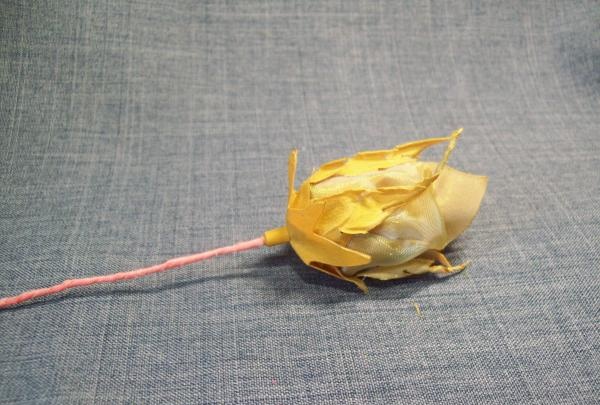
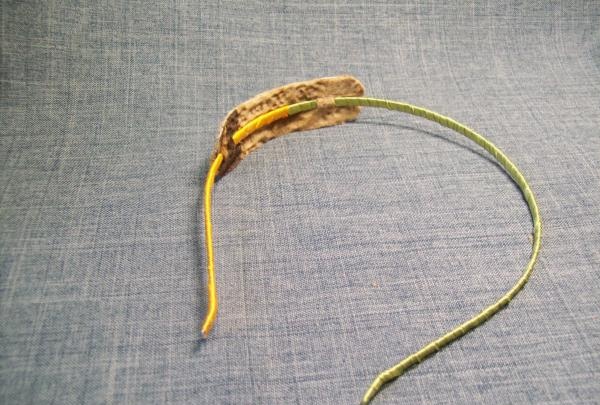
But we also need a bud and for this we take a wire 10 cm long.We take a foam base in the shape of a quail egg, although it can be replaced with a foil blank, and glue it well onto the wire.
From the remaining 3 petals we will assemble a dense flower bud. Use the first blank to completely cover the base, and the rest can be coated with glue on half of the petal. The top edges will be free.
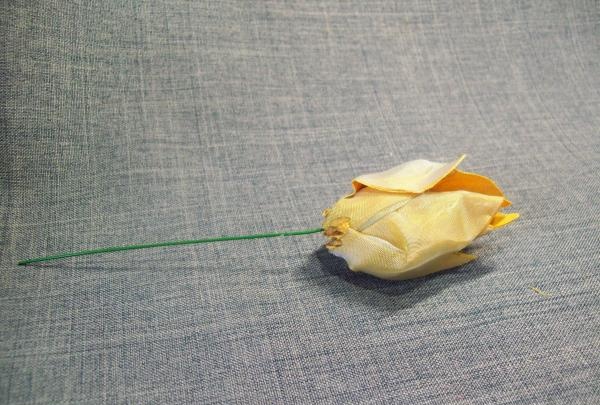
Then you need to attach 4 sharp blanks in a circle from below and glue the sepals on top of everything.
All that remains is to cover the wire with a thin tape, the bud is ready.
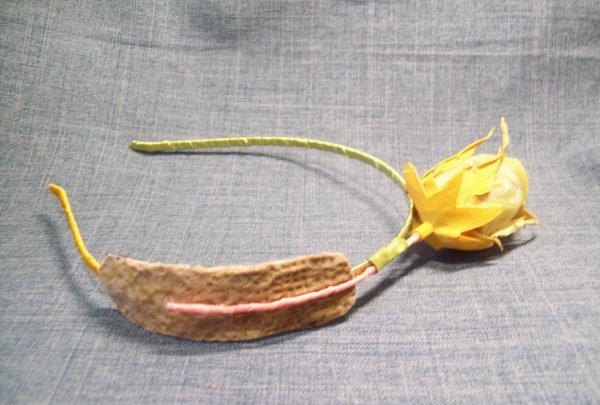
Now we move on to processing the rim, which will serve as the basis for the entire composition. We cover the headband itself with ribbons of two colors to match the entire composition, but you can also use one ribbon. Then cut out 2 rectangles measuring 8 x 2.5 cm from a strip of thick fabric.
We round the edges, fold one piece in half lengthwise and make cuts on the fold. 2 notches each, with an interval of 1 cm, closer to the edges. Then we thread the headband through these holes. Next we glue the second part onto the first. It is necessary to take into account that this blank is located no lower than 10 cm from the edge of the rim.
Now you should start assembling the entire composition. Let's start with the bud. We retreat 4 cm from the top of the base on the rim and attach the bud itself with glue. And we attach the wire to the rim with a thin tape. The rest of the wire is glued to the base.
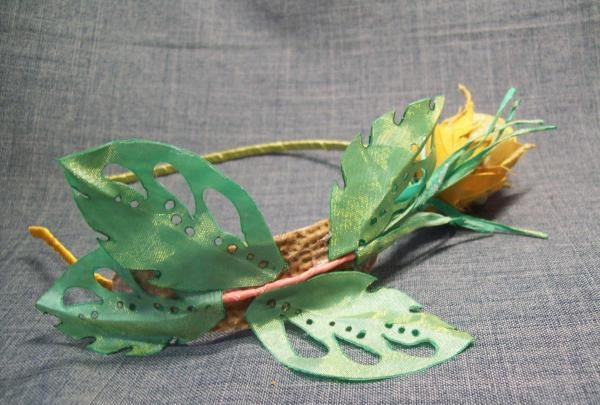
Next we place the green leaves, 4 will be on the base, and one in front of the bud. Then we glue the wide fringe onto the wire in front of the bud, and a small piece will be on the other side of the base between the leaves.
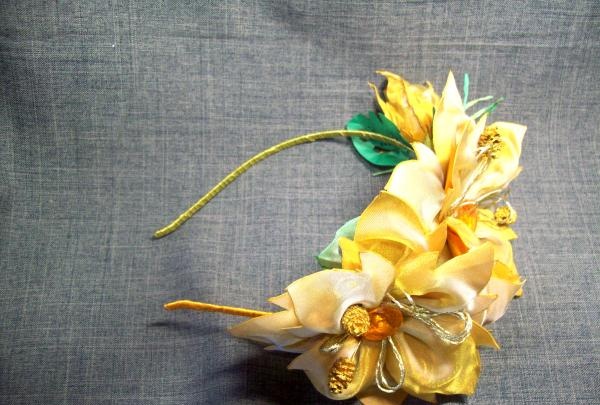
All that remains is to place two large flowers. They should be well secured along the edges of the base on the rim.
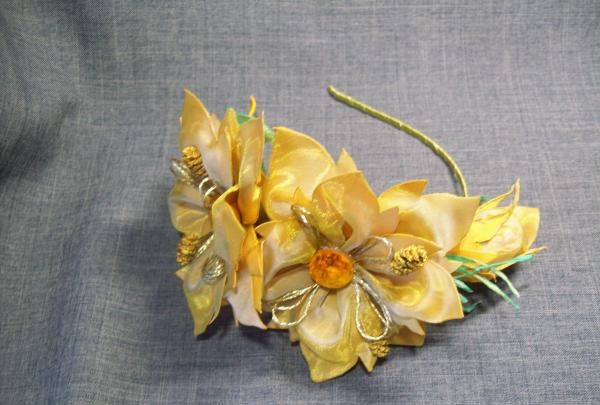
Now you need to check the wrong side and carefully correct everything.
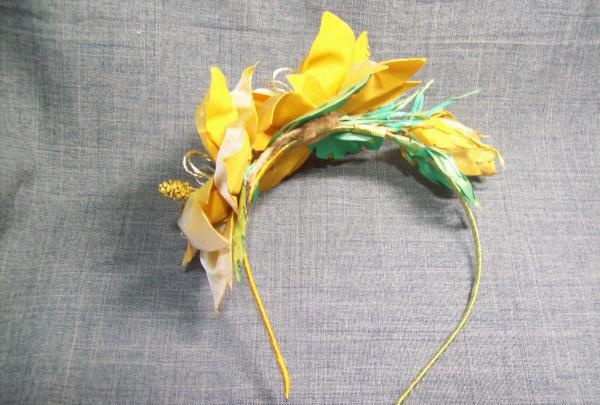
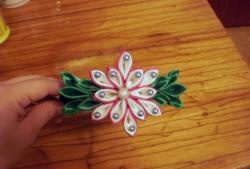
The headband is ready.
Good luck to all!