To make the headband you will need the following materials:
- wide orange rim.
- glue gun.
- scissors.
- satin yellow ribbon.
- golden crepe ribbon, no more than 0.5 cm wide.
- lighter.
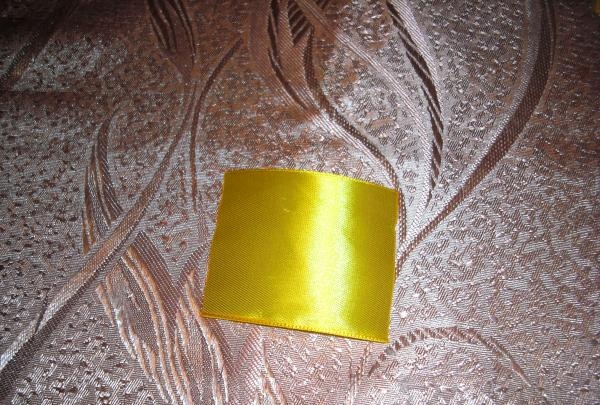
Sequence of creating a rim. Cut a yellow ribbon at least 5 cm wide into elongated sections. In total, 18 pieces should be prepared, the size of which is 7x5 cm.
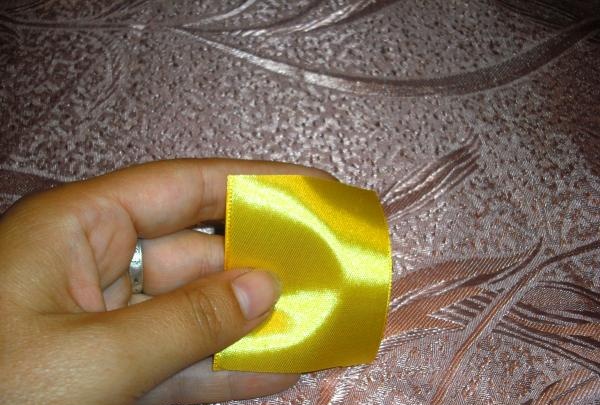
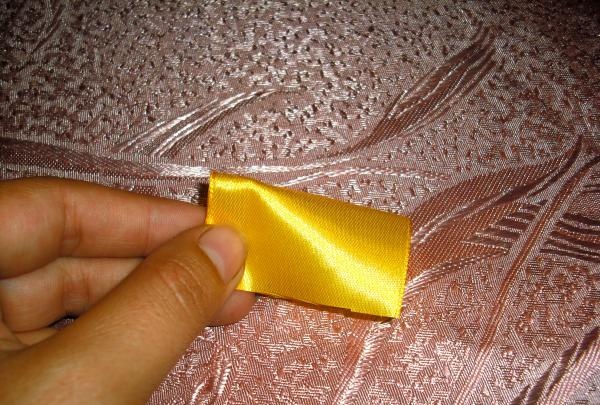
Now from each part we create petals for the rim. We divide the long side of the rectangle in half and fold it in half along this line, combining both cuts together.
Holding the part with the finger of your left hand, carefully make several small folds along the raw cuts. We fix the completed folds in this position by scorching the edges with fire, while simultaneously soldering the layers of tape and burning the cut.
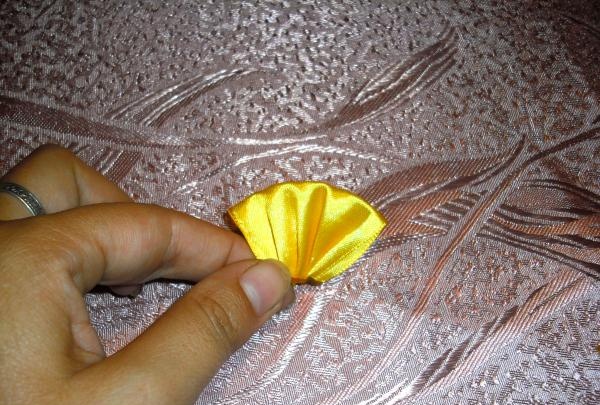
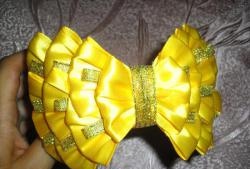
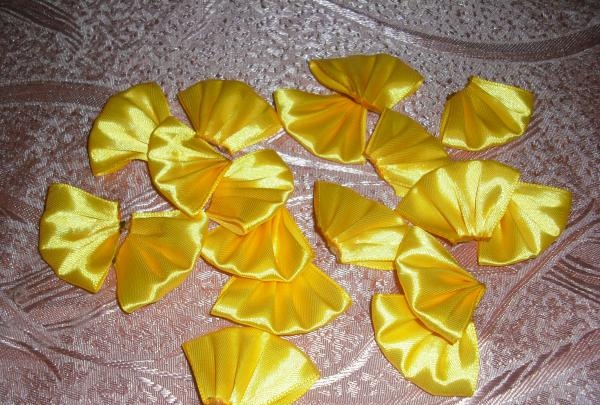
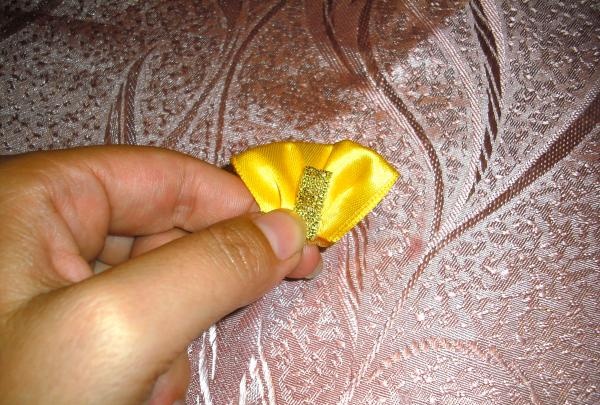
We get such a lush petal, now we create the same details from the remaining rectangles.
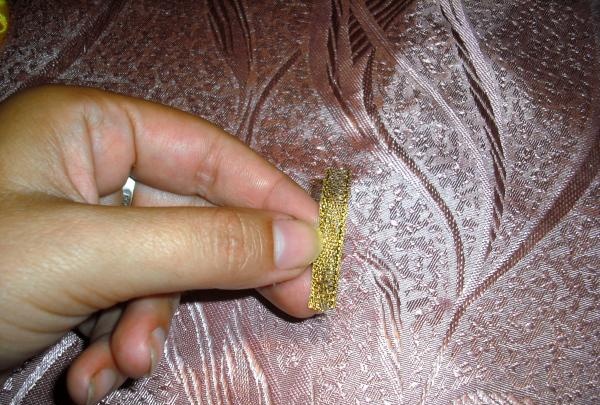
Now you will need a grosgrain ribbon with golden threads. We cut it into small pieces, 4 cm long each. We prepare 16 of them in total.
Next, fold the piece in half and glue the narrow edges together, simultaneously fixing the fold.
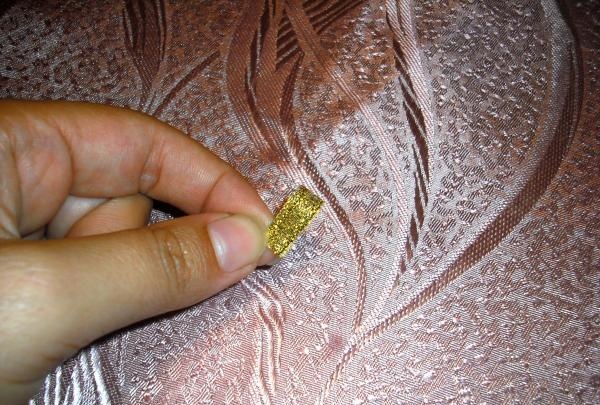
As a result, we get a small loop. Now we glue it on top of the prepared yellow petal.
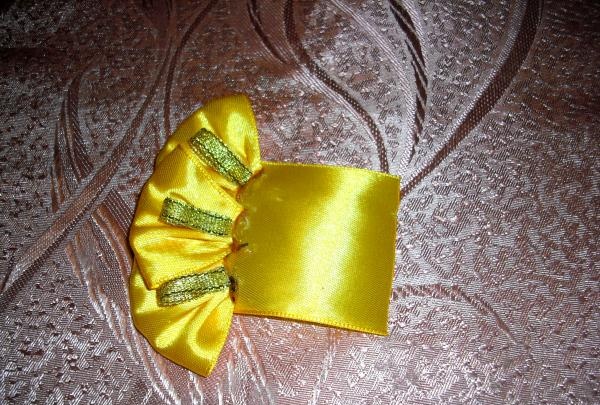
Repeat this action with the remaining petals. But at the end of the work, two parts made from yellow ribbon will remain without adding a golden loop. Now we begin to connect the two halves of the bow. To do this, we prepare two parts from yellow tape, the sides of which are 6.5x5 cm.
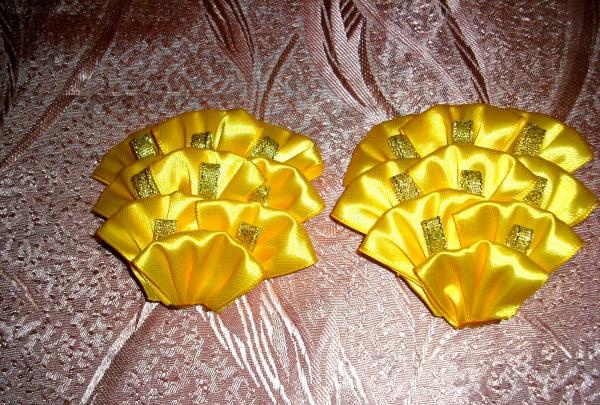
We singe all the cuts with the flame of a lighter. Next, we glue three yellow petals onto the front side of this part, placing them in an even row, slightly overlapping the edges.
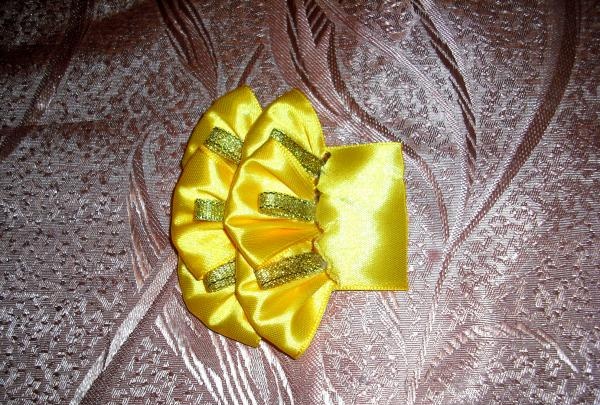
Then we glue the second row of yellow parts, securing them like the previous ones.
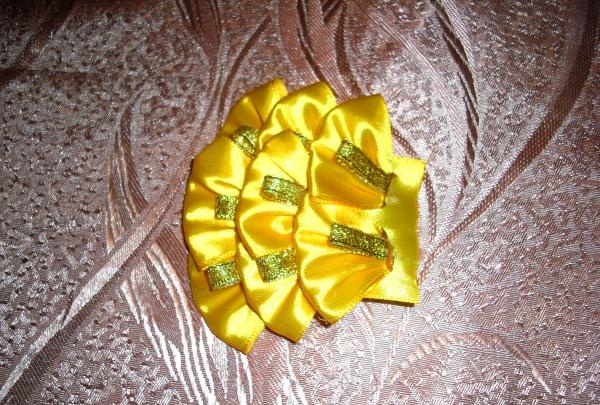
In the third row we attach only two petals, so that only their upper corners overlap.
Now we take the petal without adding a golden ribbon and attach it to the remaining space of the base part.
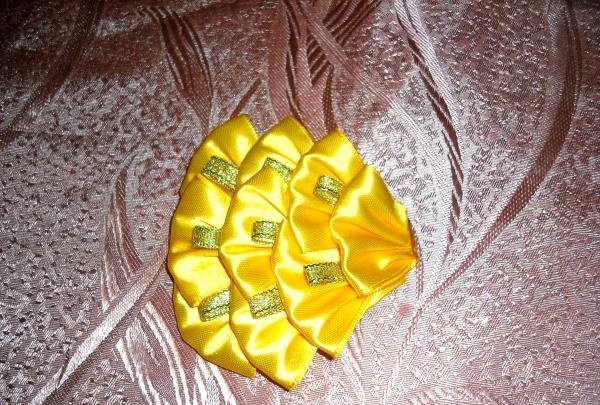
The first half of the bow is ready, let's start creating the second, the same, following the entire sequence.
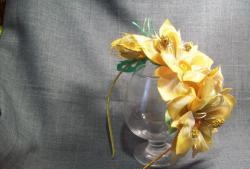
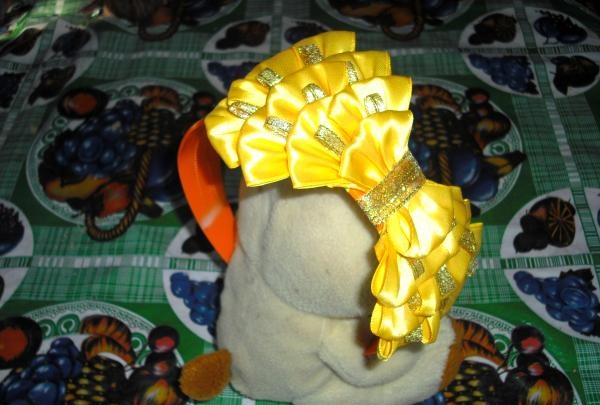
Next, take a wide hairband, step back 5 cm from one edge and carefully attach the first half of the bow. We place its wide side towards the edge of the rim. Then we attach the second half of the bow, matching their narrow sides.
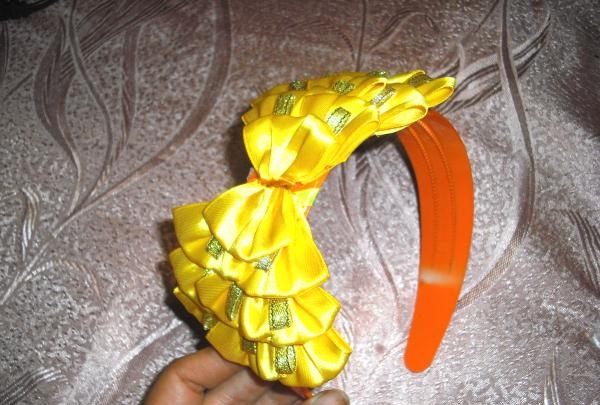
We wrap a thin golden ribbon around the rim in the middle of the bow.

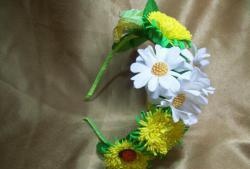
Carefully straighten the petals. The headband is ready!