Indeed, the sound of this instrument, made from dried cactus and filled with various grains, resembles the sound when heavy drops of heavenly moisture fall on the ground, roofs of houses, and drum on glass.
Later, this instrument began to be used in music, giving songs a special flavor.
There is a belief that if such a flute is filled not just with cereal, but with a few coins, then its owner will always be showered with “money rain” and will never know the need.
You can easily make such an interesting artifact yourself.
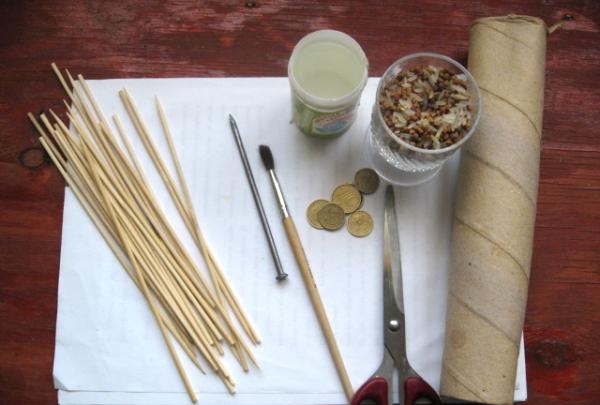
Here's what you'll need for this:
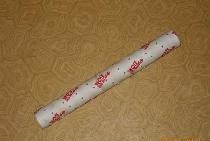
- A tube from plastic bags or 2-3 such toilet paper tubes
- A couple of sheets of paper
- Skewers
- PVA glue
- Scissors
- Nail
- Brush
- Filling: a mixture of rice, buckwheat, lentils
- A few coins
- Wire cutters
To decorate the flute:
- Plaster or wood putty
- Wood varnish
- Sandpaper
- Leg-split
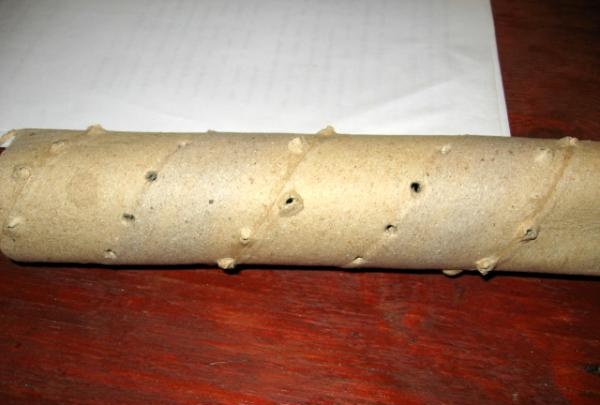
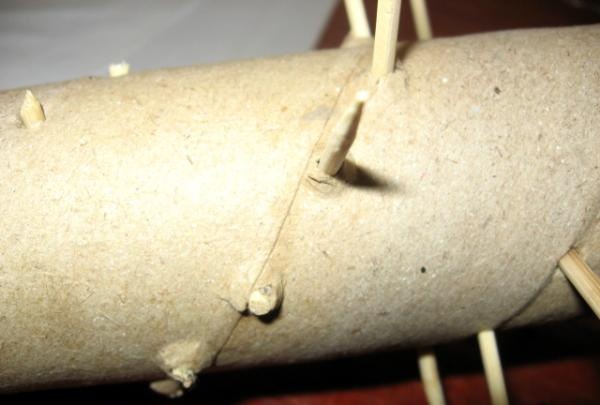
The oblique line is clearly visible on the tube.Along it, at a distance of about 2 cm from each other, we make through holes with a nail.

Always keep the nail perpendicular to the tube, then the second line of holes will be even.
This is what the tube should look like after you finish working with the nail.
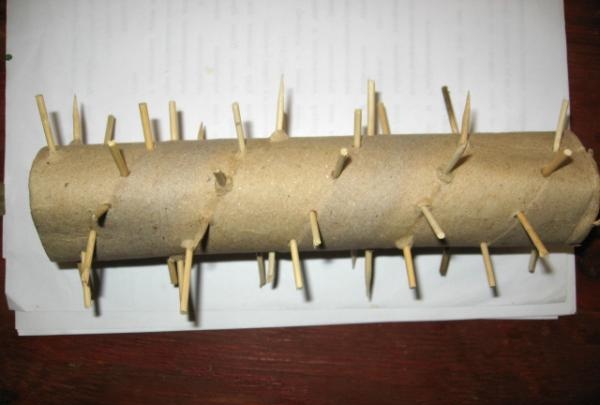
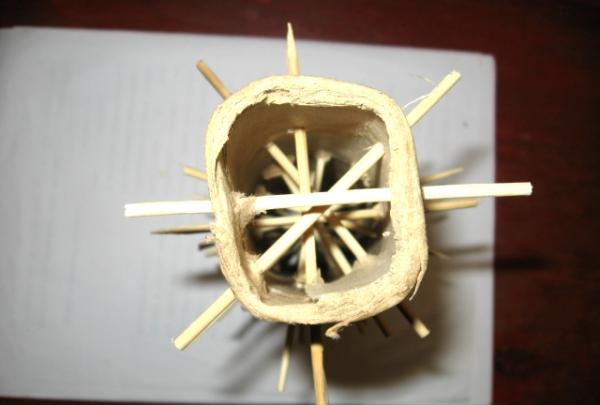
Now it's the turn of the skewers. Each skewer can be broken in half and passed through two holes, piercing the tube right through.
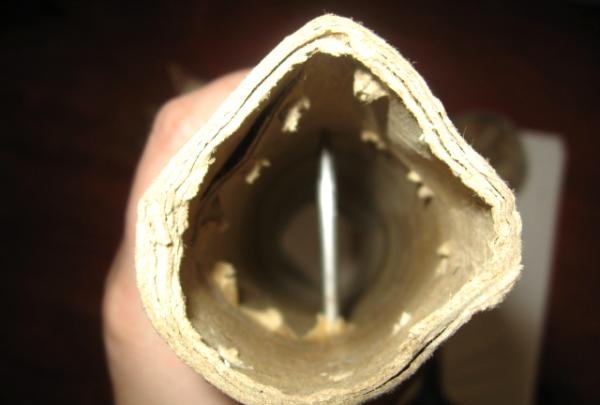
This is what it looks like from the side: the threaded skewers form a sort of spiral inside the tube.
Using pliers, cut off the tips of the skewers protruding from the outside.
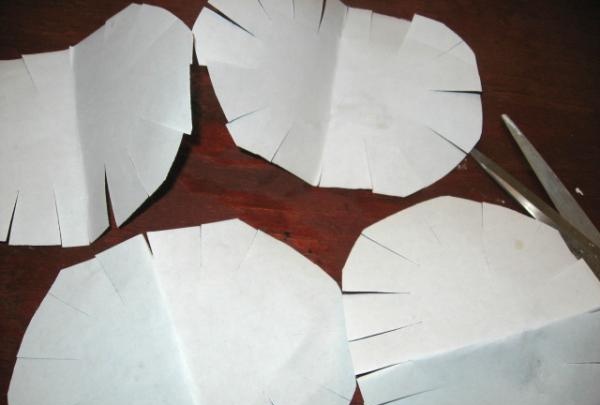
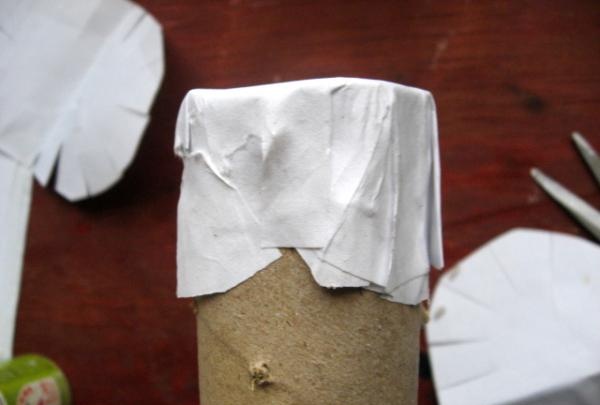
We cut out four circles from paper, about 10 cm in diameter. We cut the edges so that we get “suns” with rays.
We coat two “suns” with PVA glue and glue them on top of each other on one end of the flute.
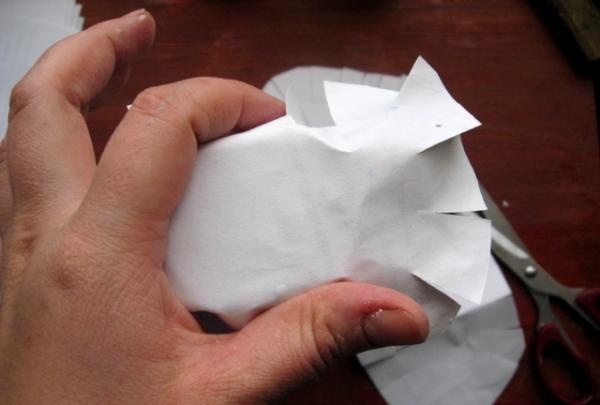
The rays should fit tightly to each other. Now let the flute dry for 1-2 hours. After the paper has dried, add cereal filler inside. It is difficult to name the exact amount of cereal - it all depends on the diameter and length of the tube and the cereal itself.
You can try to do this: pour a couple of spoons of filler, cover the second hole with your palm and tilt the flute; if the sound produced by the grains is faintly similar to the sound of rain, then you can add more or, on the contrary, remove the excess.
Don't forget to throw in a few coins and check if their ringing is lost among the general sound.
After the filler has been measured, seal the second hole and again leave the flute to dry. Just don’t turn it over right away, otherwise the cereal will stick to the paper and the whole sound effect will be lost.
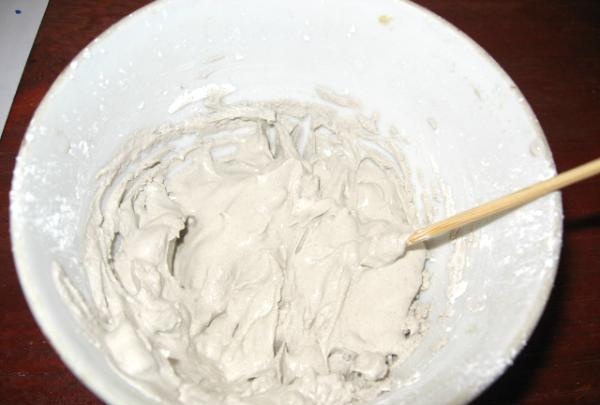
The next step is to mask the parts of the skewers protruding from the outside. This can be done with wood putty or plaster. If you are working with gypsum, dilute a small amount to the consistency of thick sour cream.
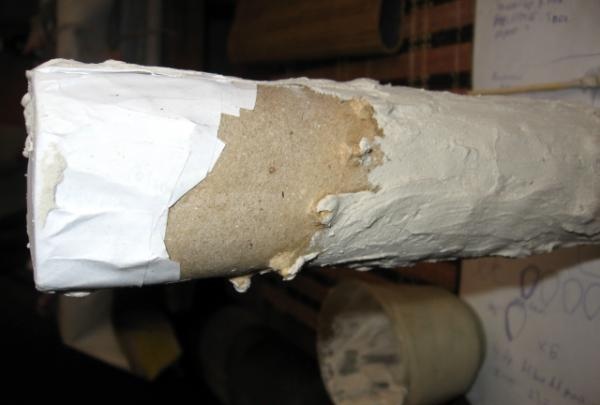
Using your fingers, apply the plaster along the entire length of the flute, paying special attention to the sharp spots.
Leave the flute to dry for one hour.
After hardening, there were many sharp “burrs” on the plaster. They can be easily removed with sandpaper.
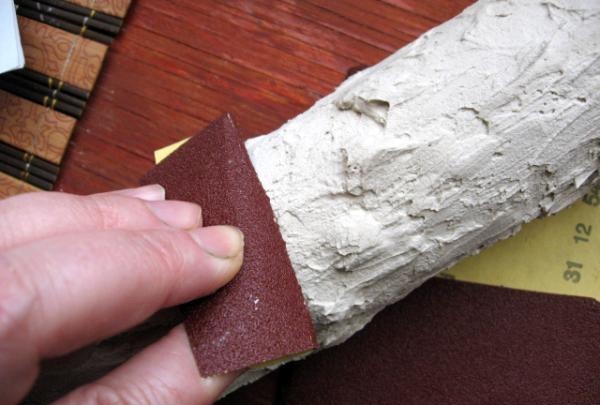
We coat the smooth flute with wood varnish. It adheres very easily to the plaster.
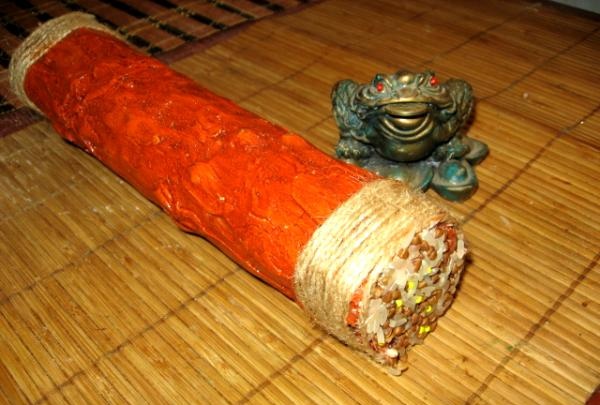
We coat the end walls with PVA glue and decorate with the remaining grain. We wrap the edges of the flute with twine.

After drying, it seems that the flute is made of wood - it looks so natural.