Do it yourself
Life hacks, master classes, useful tips, recipes.
home » Electronics » Electronics from China » Converting a multimeter to Li-Ion with charging
Converting a multimeter to li-ion with charging

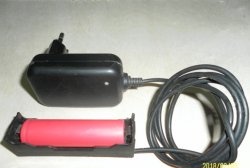
Most radio amateurs, including me, have encountered such a problem as leaving it on for a while multimeter and forget about it, which ultimately leads to frequent replacement of the crown due to low discharge. In this case, solving this nutrition problem will not be difficult.

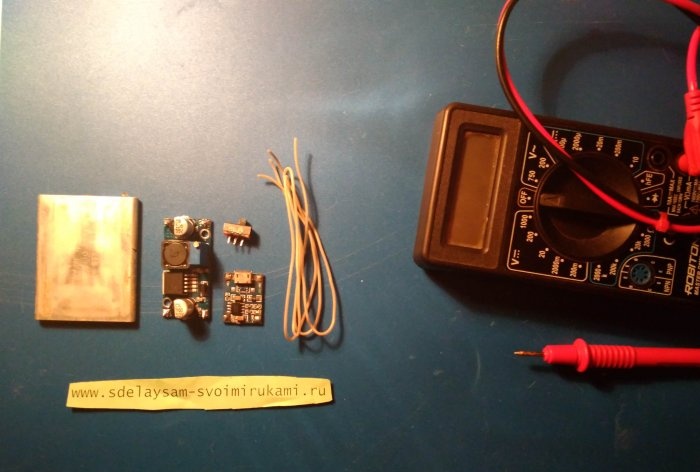
Materials and tools


Materials:

Converting a multimeter to li-ion with charging

Tools:
  • Soldering iron (solder, flux).
  • Glue.
  • Knife.


Multimeter conversion


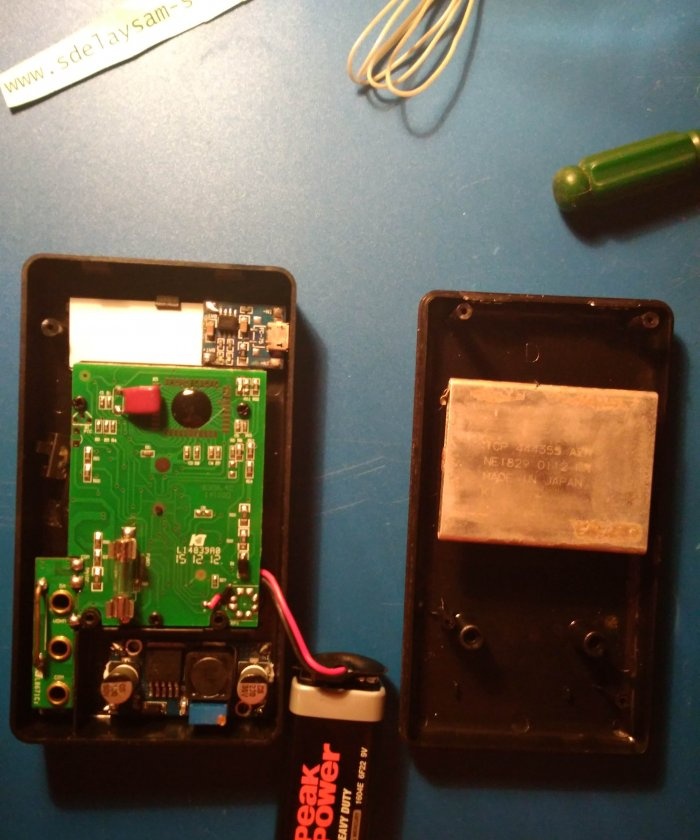
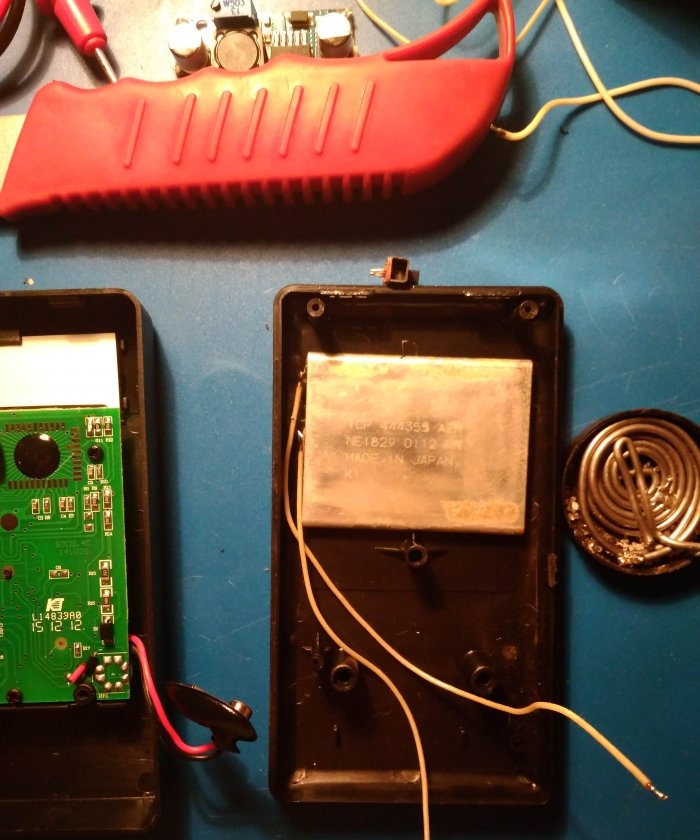
To begin with, I disassembled multimeter, and decided on the location of the components in the case.
Converting a multimeter to li-ion with charging

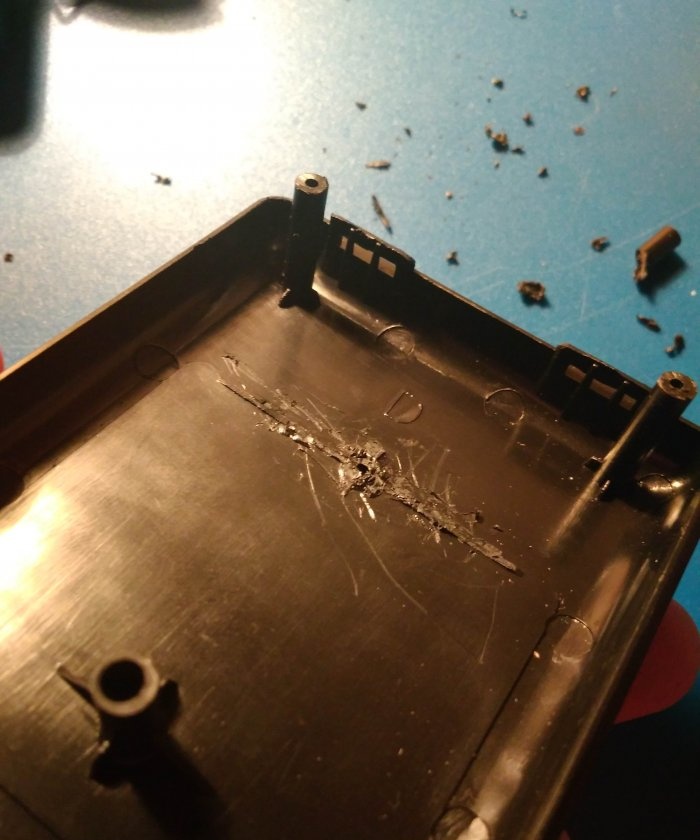
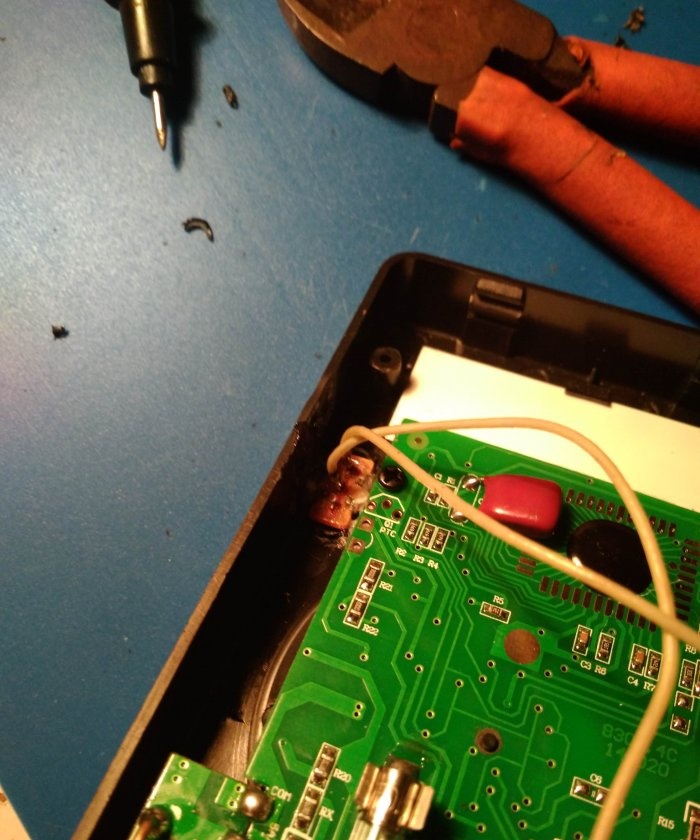
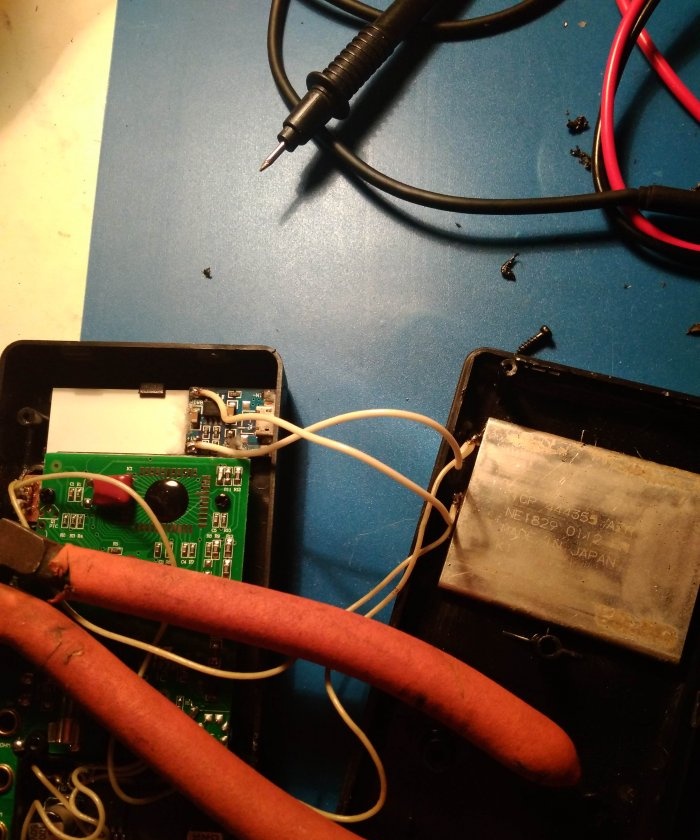
On the cover itself, using side cutters, I cut off the protruding part on which the battery will later be attached.
Converting a multimeter to li-ion with charging

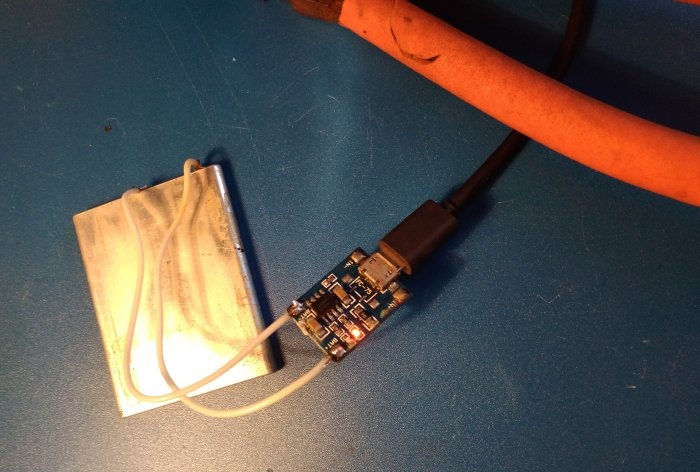
The battery must first be charged until fully charged; I did this using the same controller.
Converting a multimeter to li-ion with charging

The voltage on a charged battery should be about 4.2 volts. It is advisable to take a battery with good capacity, in my case it is 1100 mah.
Converting a multimeter to li-ion with charging

I soldered the “+” and “-” wires to the battery; I need to solder it very quickly, since the batteries cannot be overheated.
Converting a multimeter to li-ion with charging

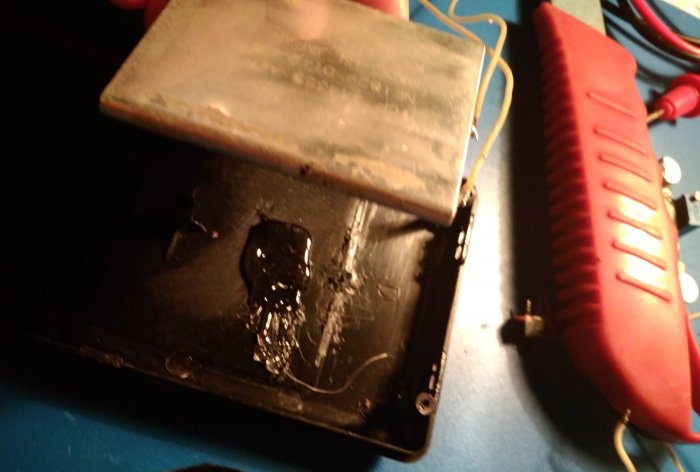
Then I cleaned the cover and glued the battery to it with hot glue.
Converting a multimeter to li-ion with charging

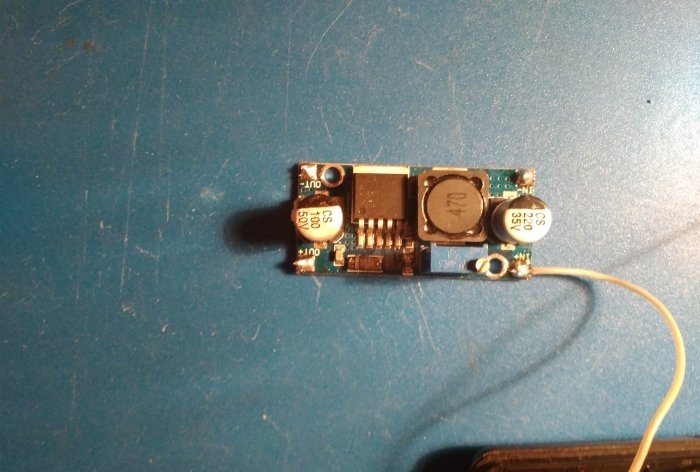
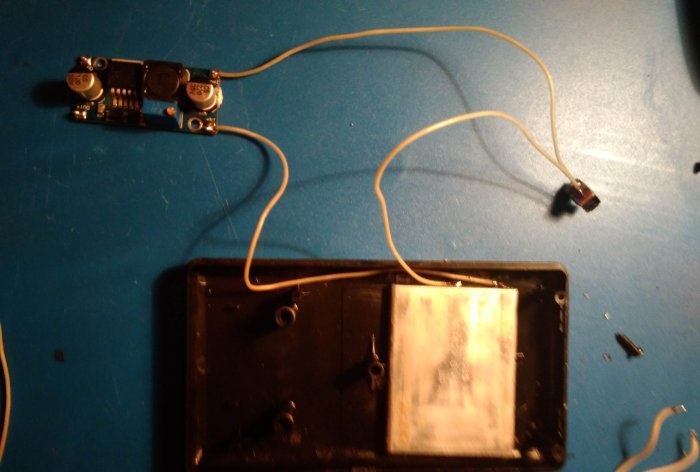
I soldered the positive or negative wire to the input of the converter.
Converting a multimeter to li-ion with charging

And I soldered any of the remaining wires to one of the contacts of the switch, and from the switch I already soldered it to the battery. The switch is needed so that the converter does not operate in idle mode.
Converting a multimeter to li-ion with charging

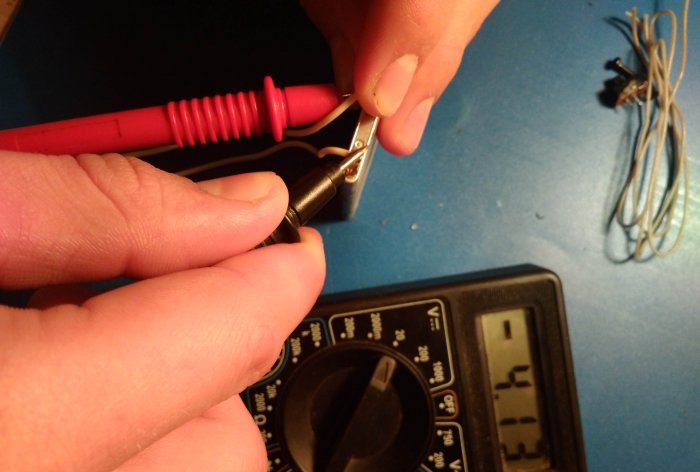
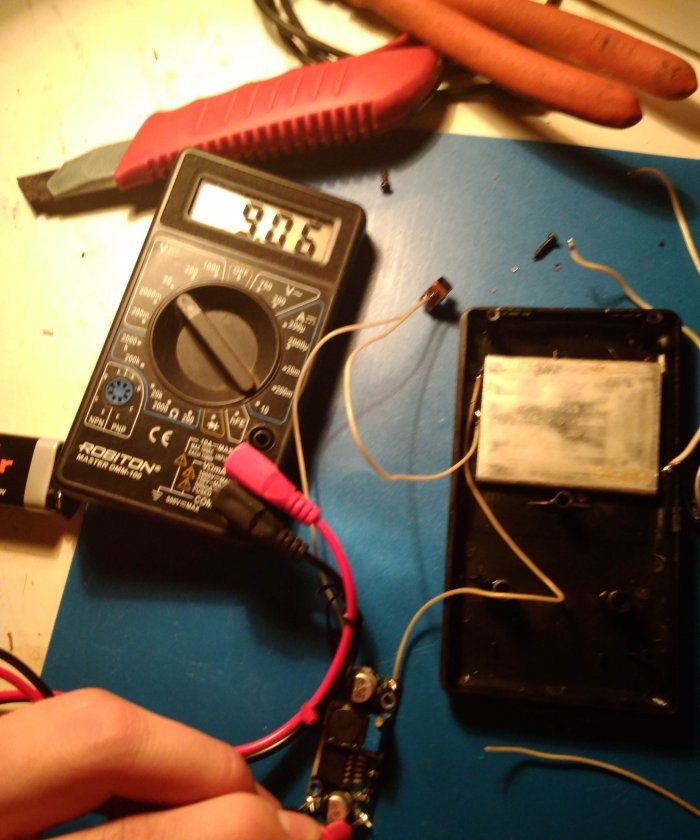
Next, I adjusted the voltage on the converter, which should be at least 9 volts.
Converting a multimeter to li-ion with charging

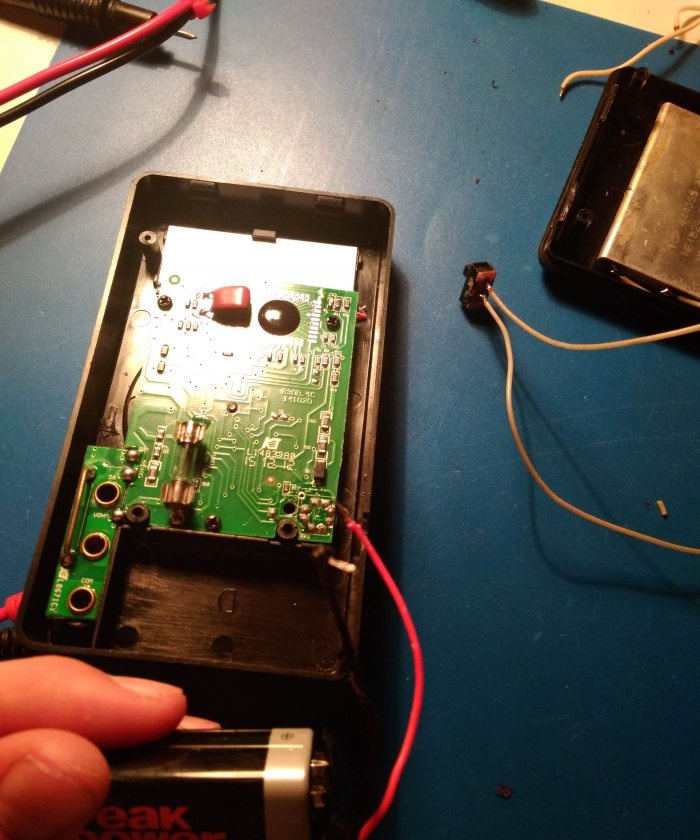
Then I unsoldered the standard power wires from the board.
Converting a multimeter to li-ion with charging

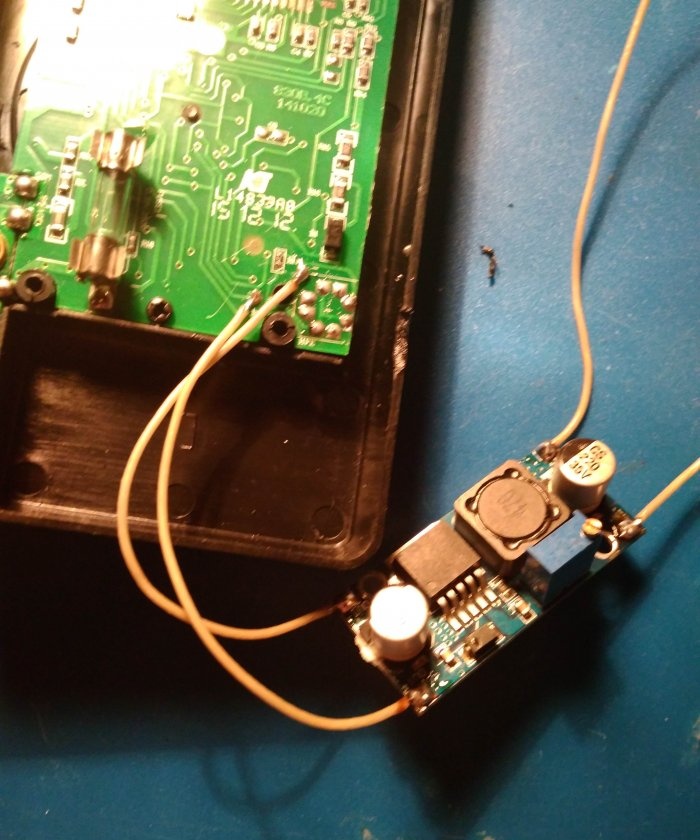
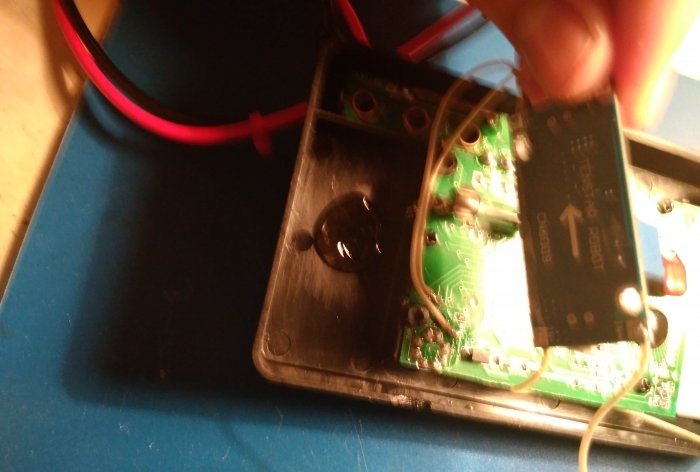
Instead of standard wiring, I soldered the output of the converter, observing the polarity.
Converting a multimeter to li-ion with charging

Then I glued the converter to the place where the crown was previously.
Converting a multimeter to li-ion with charging

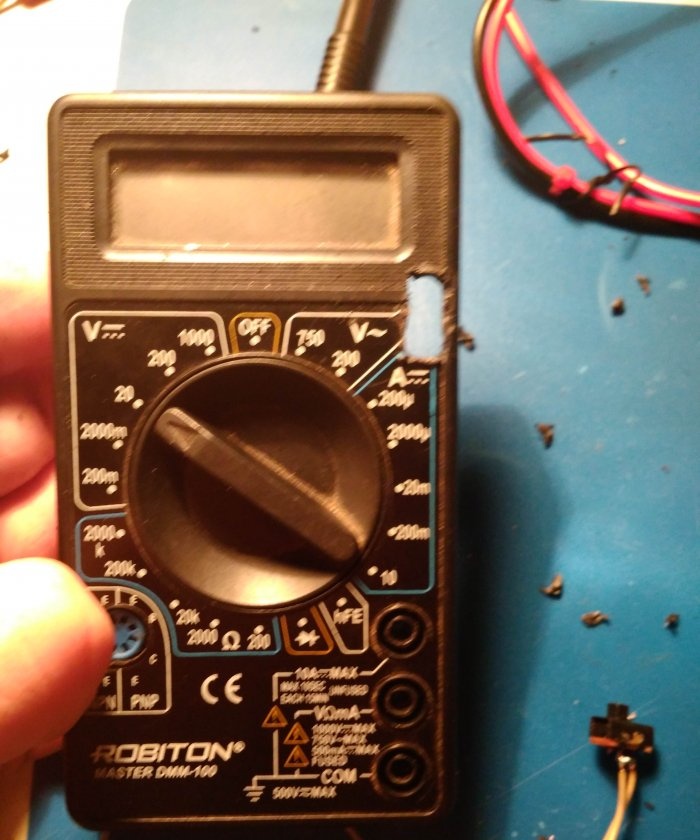
I will install a switch on the front panel; for it I cut out a window like this. The switch can be installed on the side, but this will not be convenient.
Converting a multimeter to li-ion with charging

Next, I glued it on with instant glue.
Converting a multimeter to li-ion with charging

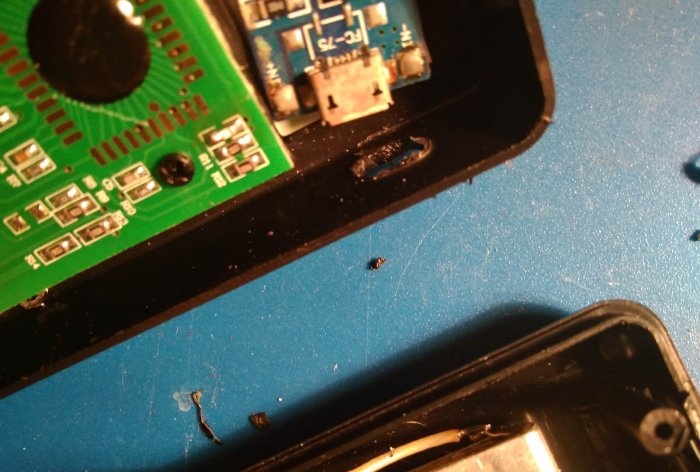
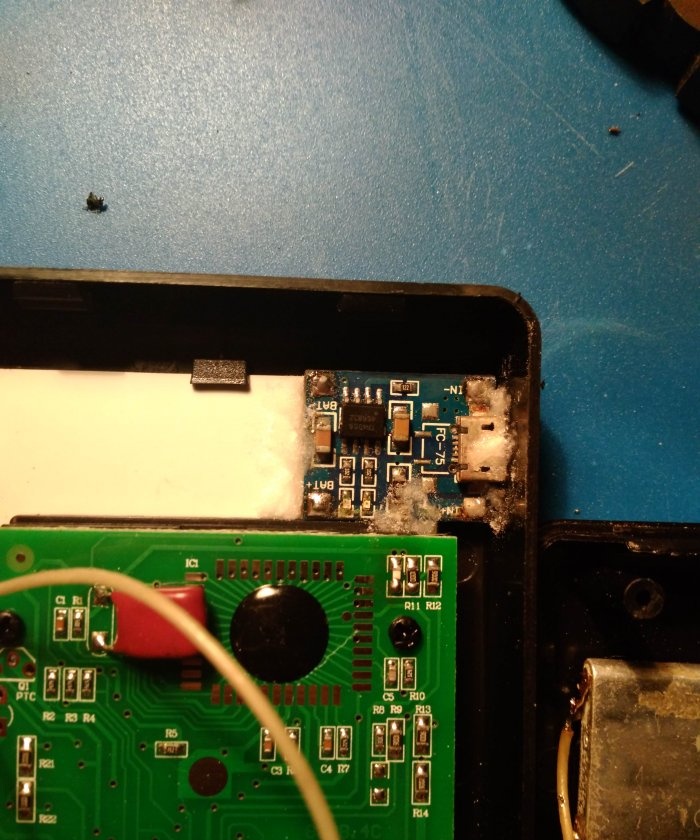
Next to the display I made a hole for the battery charging board, and it would be even better to make a hole for the display.
Converting a multimeter to li-ion with charging

I also glued the controller using second glue with the addition of soda.
Converting a multimeter to li-ion with charging

In parallel, I soldered wires from the controller to the battery.
Converting a multimeter to li-ion with charging

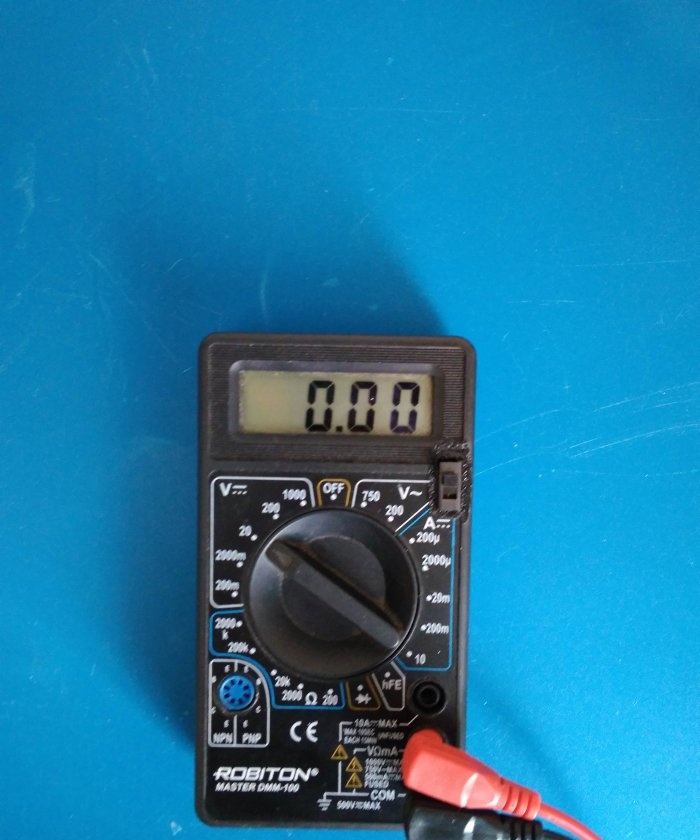
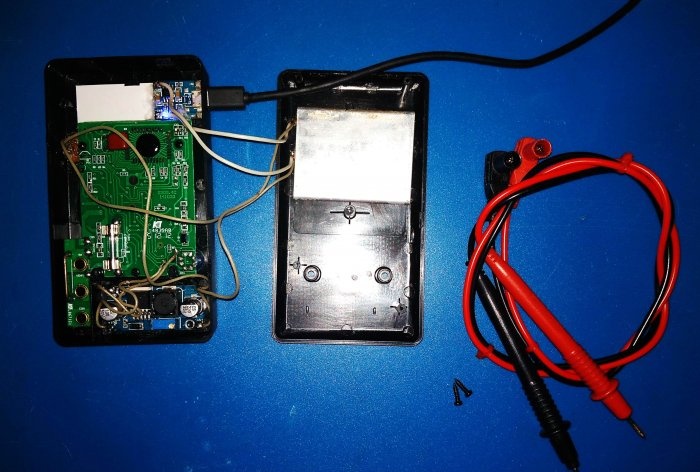
That's all multimeter with the installed battery it is ready, and now you will no longer have such a problem as replacing the crown. And another big plus is that if, for example, you measure only one voltage, then you do not need to switch to off mode, since there is already a built-in switch.
Converting a multimeter to li-ion with charging
come back
Comment
  • bowtiesmilelaughingblushsmileyrelaxed relaxedsmirk
    heart_eyeskissing_heartkissing_closed_eyesflushedrelievedsatisfiedgrin
    winkstuck_out_tongue_winking_eyestuck_out_tongue_closed_eyesgrinningkissingstuck_out_tonguesleeping
    worriedfrowninganguishedopen_mouthgrimacingconfusedhushed
    expressionlessunamusedsweat_smilesweatdisappointed_relievedwearypassive
    disappointedconfoundedfearfulcold_sweatperseverecrysob
    joyastonishedscreamtired_faceangryragetriumph
    sleepyyummasksunglassesdizzy_faceimpsmiling_imp
    neutral_faceno_mouthinnocent
3+three=
Comments (6)
  1. Guest Sergey
    #1 Guest Sergey Guests 20 February 2018 18:09
    0
    normal operation, according to this scheme I powered Mega 328 modules MT3608, charging module with protection and battery from an old phone, well done, the Chinese make cheap modules, all we have to do is solder them
  2. FQHXZ
    #2 FQHXZ Guests May 8, 2018 09:40
    1
    This is good, but you can also do it Original Palo 9V Battery Charger for Rechargeable 6F22 9V Lithium Ni-MH Ni-CD Battery 4 pcs. 9V 600mAh Li-ion batteries
  3. guest
    #3 guest Guests May 10, 2018 00:34
    1
    hot melt glue, instant glue, some kind of “garage service” turns out
  4. Guest Mikhail
    #4 Guest Mikhail Guests 7 March 2019 19:57
    0
    thank you. I will do it
  5. Guest Mikhail
    #5 Guest Mikhail Guests 7 March 2019 20:17
    0
    question . how to control if the battery is discharging to zero?
  6. voka
    #6 voka Guests 22 August 2019 21:02
    1
    Charging must be used with discharge control, but it must be set to 3 V by selecting a diode instead of 100 Ohm resistance, otherwise the discharge will reach 2.4 V.

A simple greenhouse made of PVC pipes with your own hands

With this tool, you no longer need a hammer when hammering in posts.

How to make an original screwdriver from Soviet coins

Popsicle Stick Vase | Do it yourself

«Do it yourself - with your own hands» - a site of interesting homemade products made from scrap materials and items at home. Step-by-step master classes with photos and descriptions, technologies, life hacks - everything a real master or just a craftsman needs for needlework. Crafts of any complexity, a large selection of directions and ideas for creativity.

We recommend reading

Washing machine error codes