1. Profiled pipe with dimensions 20*40 mm.
2. Anchor bolts in the amount of 4 pcs.
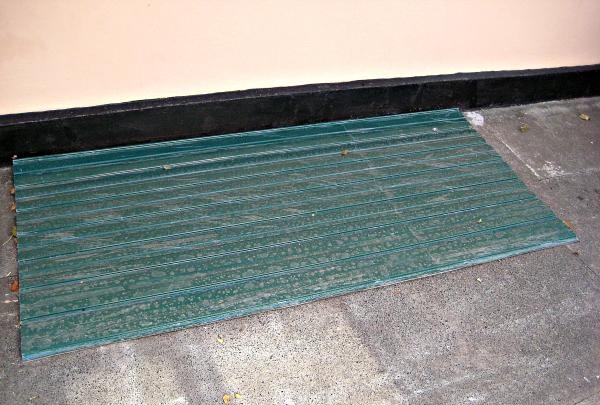
3. Profiled sheet measuring 93 cm * 2 m.
4. Board – 3 pcs.
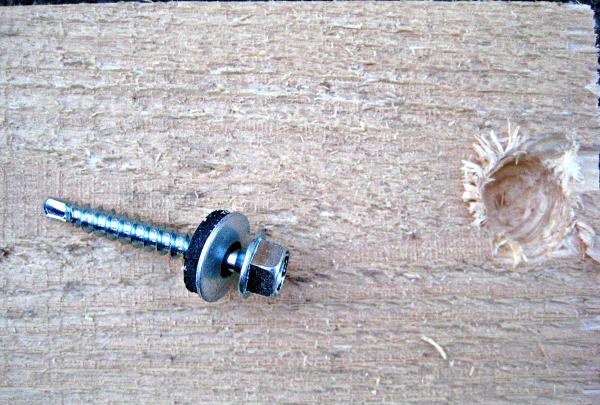
5. Self-tapping screws with sealing washers for attaching corrugated sheets.
The process of making a canopy.
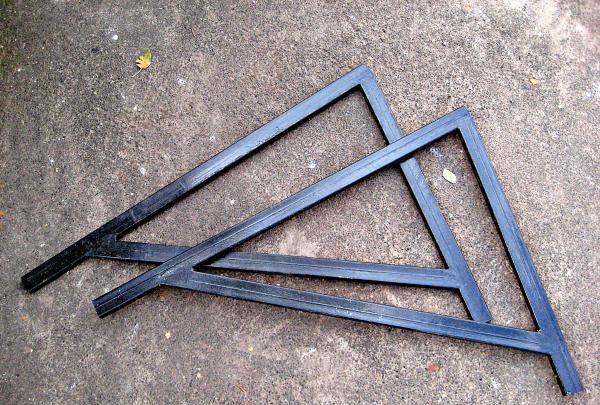
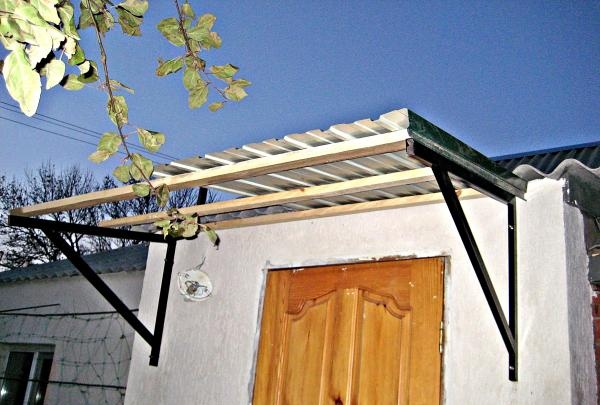
1. We make “kerchiefs” of the required size from corrugated pipe. Then we prime the “kerchiefs” and paint them.
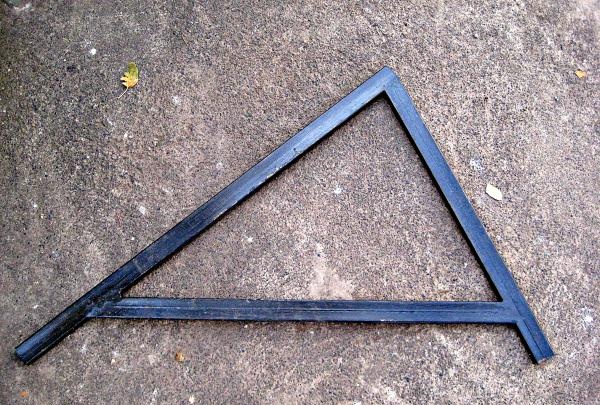
2. Drill holes in the places where they are attached to the wall, in the gussets. The "kerchiefs" are ready.
3. Using anchor bolts measuring 10*900 mm, we secure the gussets.
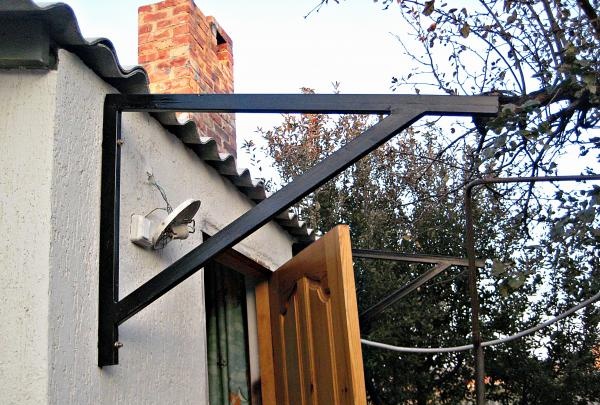
4. We fasten it in two places - above and below.
5. The next step is to measure the board. The size of the board should be as follows: width – 100 mm; thickness – 25 mm; length – 168 cm. A total of 3 boards will be needed.
6. Using a drill, we make holes in the board for the “sunk hole”.
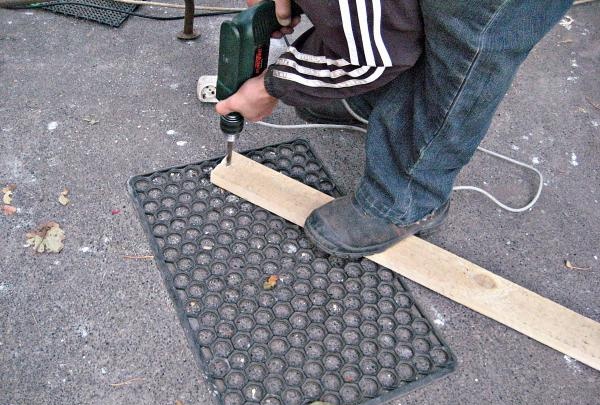
7. The resulting holes must fully correspond to the diameter of the screw head.
8. The holes are drilled and you can start attaching the boards to the gussets.First of all, we attach the board that will be located closer to the wall. Using the first fixed board, the “kerchiefs” are fixed together.
9. Then you need to install the second board. We fix this board on the edge of the “kerchiefs”. In this way we finally fix the “kerchiefs”.
10. Finally, you need to install the third board. We attach it in the middle. This design will allow you to securely fasten the corrugated sheet.

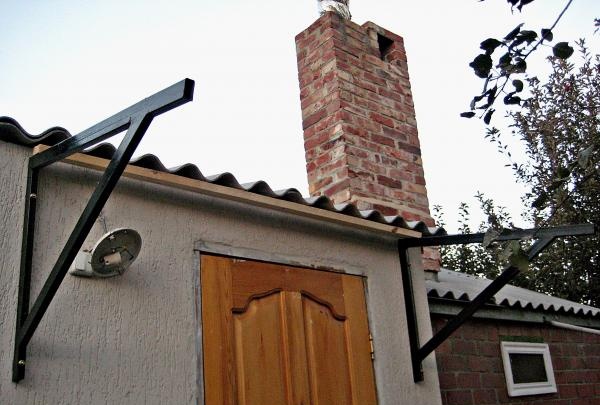
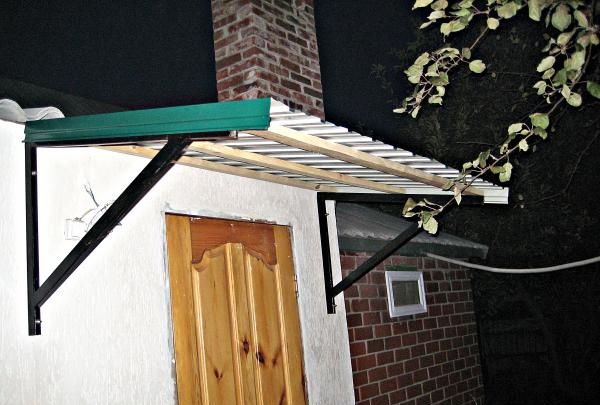
11. The base for the canopy is ready. As a covering material, you can use a profiled sheet of NS grade (load-bearing - wall).
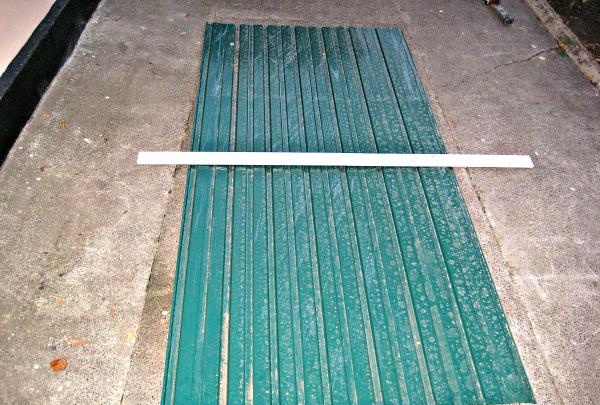
12. For this canopy design, the corrugated sheet must be cut in half. First, let's mark the sheet.
13. Then cut the sheet using a grinder.
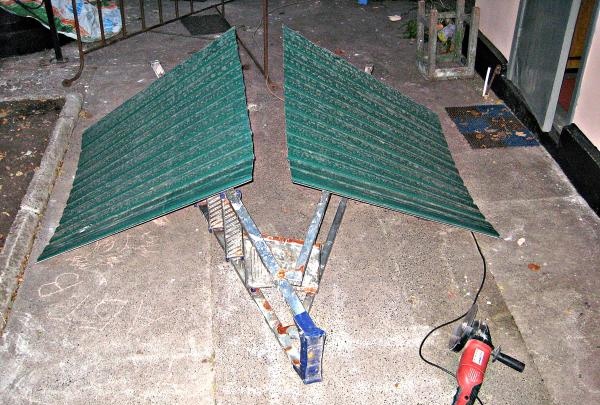
14. To protect the “kerchiefs” from water getting on them, it is necessary to bend the edges of the corrugated sheet. We carry out this work on both sides of the canopy.

15. Remove the protective film from the corrugated sheets and attach them to the prepared base. For convenience, we place the sheets one by one on the frame.
16. We fasten the sheets together.
17. Finally, paint the boards - the base.
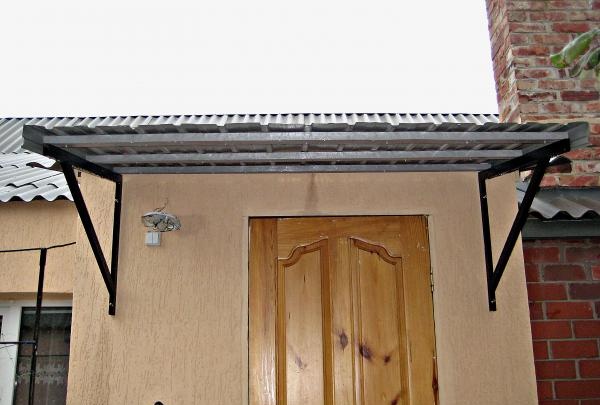
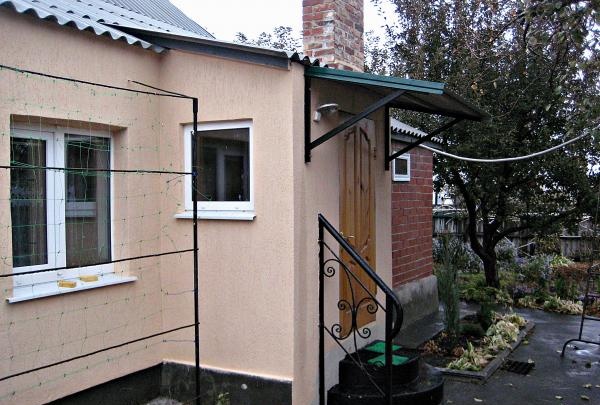
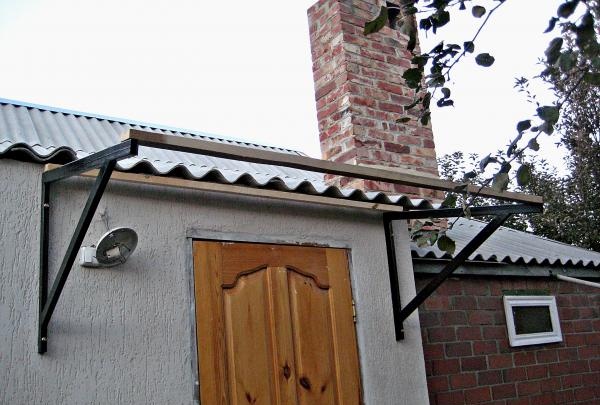
The finished canopy has a neat appearance.
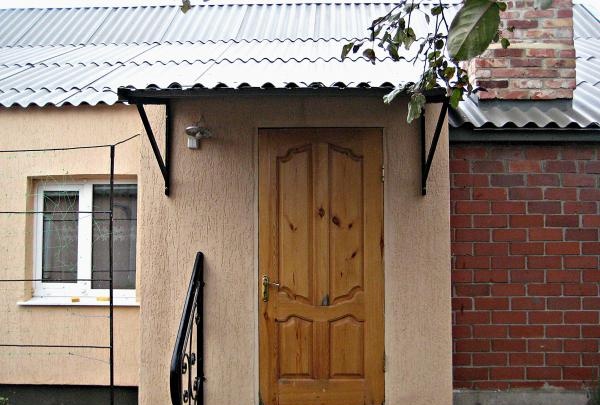
This canopy design will last for many years and protect from bad weather.