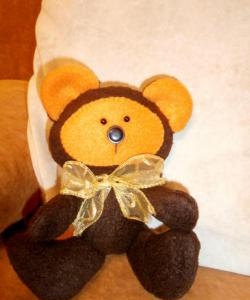
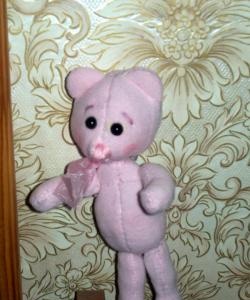
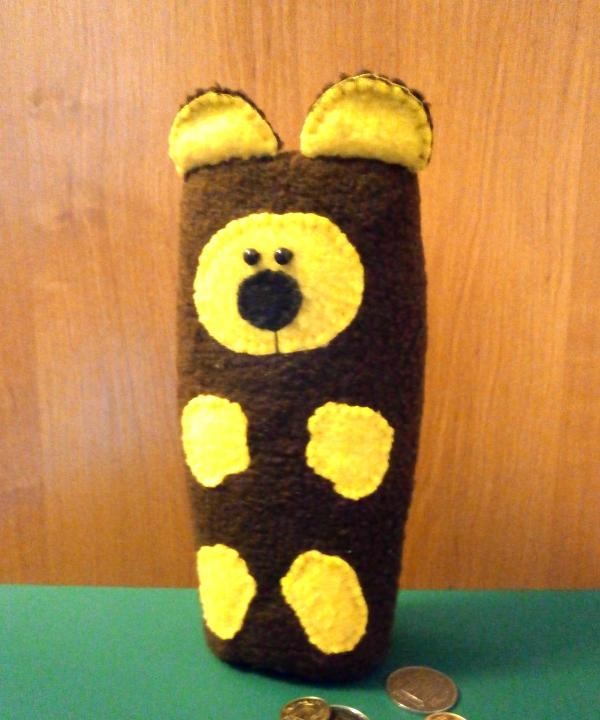
Looking at this funny little bear, you won’t immediately guess that this is not a toy, but a real piggy bank.
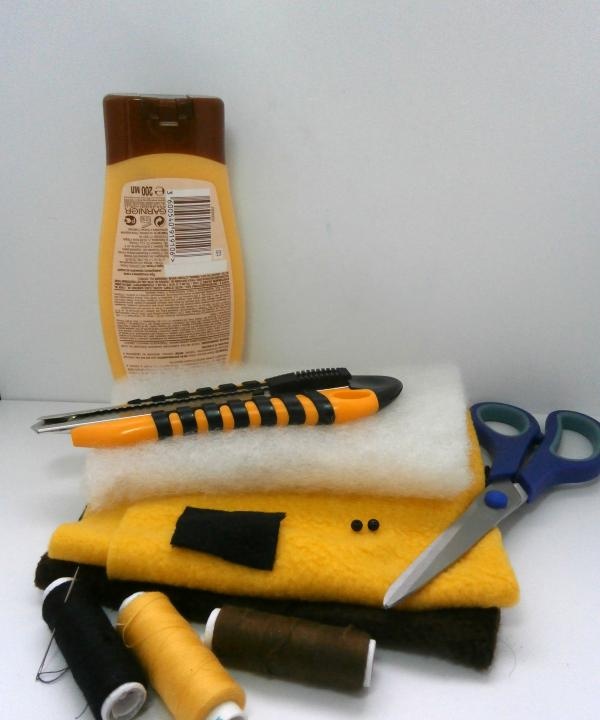
To make a bear piggy bank you will need: brown, yellow and black fleece, an empty plastic bottle of shampoo or conditioner, padding poly, scissors, a sharp stationery knife, yellow, brown and black threads, a needle, two black beads, double-sided tape.
Operating procedure.
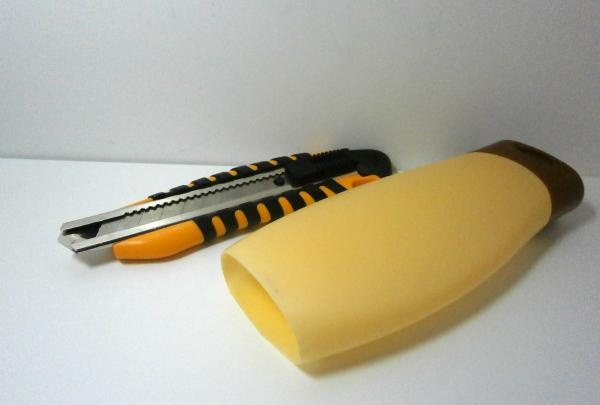
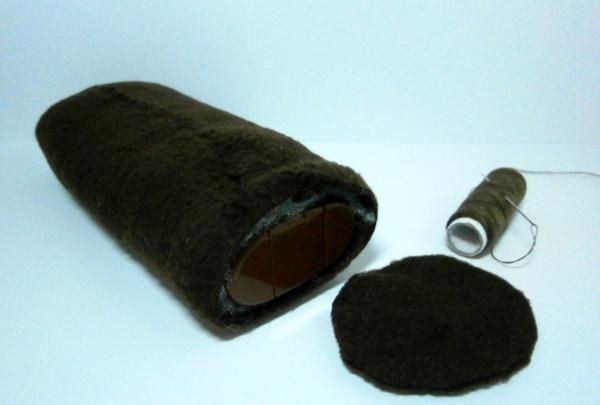
1. First you need to prepare the bottle. To do this, you should thoroughly wash it from shampoo, then carefully cut off the bottom with a sharp stationery knife and dry it well. You can use a hairdryer to dry. If the bottle is not dried, the coins and bills that you throw into the piggy bank may turn green.
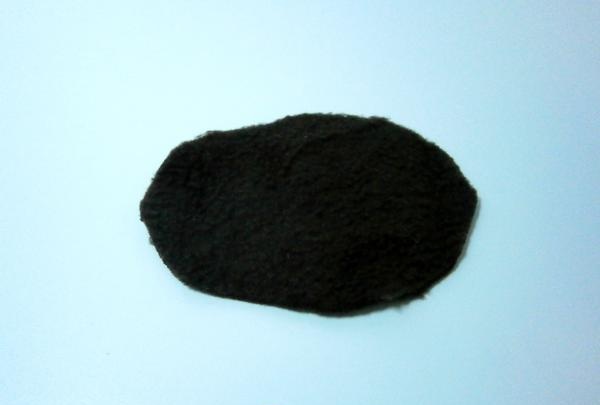
2. From brown fleece you need to cut an oval of such a size that it is about 1.5 centimeters wider and longer than the bottom of the bottle.
3. Cover the edge of the bottle with a strip of double-sided tape.
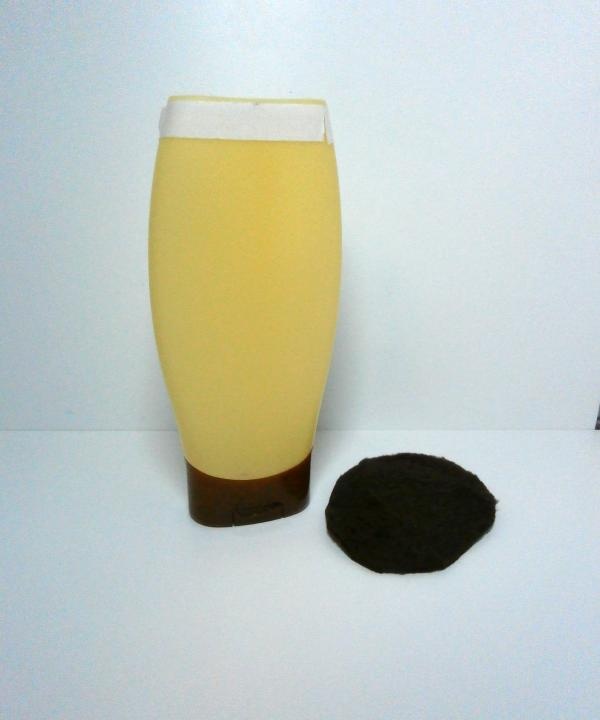
4.Remove the protective strip from the tape and glue the fleece oval.
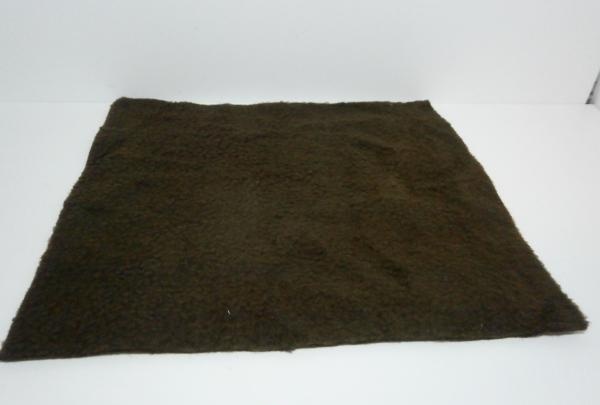
5. Cut out a rectangle from brown fleece, the height of which is equal to the height of the bottle, and the width is equal to the circumference of the bottle plus 3 centimeters.
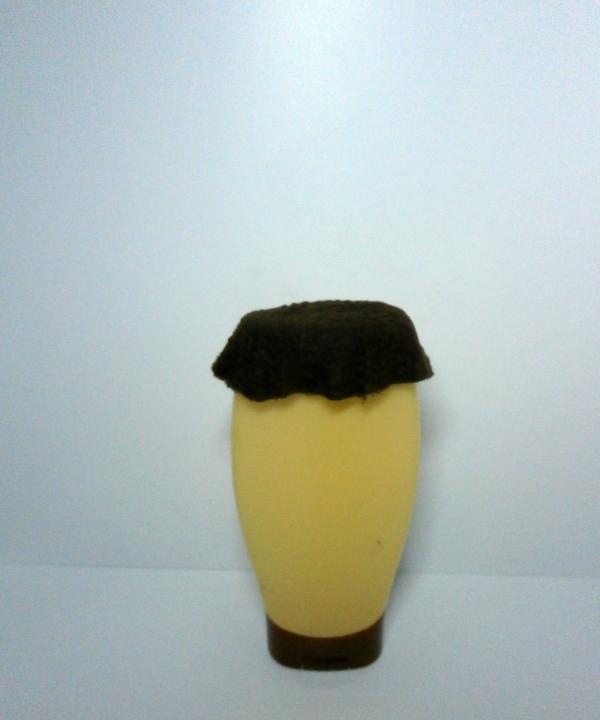
6. Wrap the bottle with a layer of padding polyester.
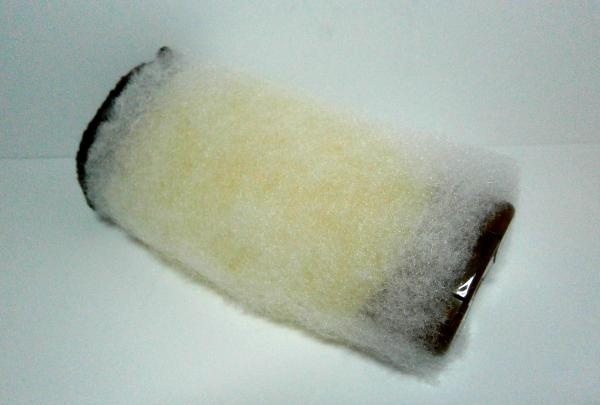
7. Wrap the top with a rectangle of brown fleece and sew the edges with a hidden seam so that the bottle is covered with fabric. The fleece bottom is also sewn to the fabric covering the sides of the bottle.
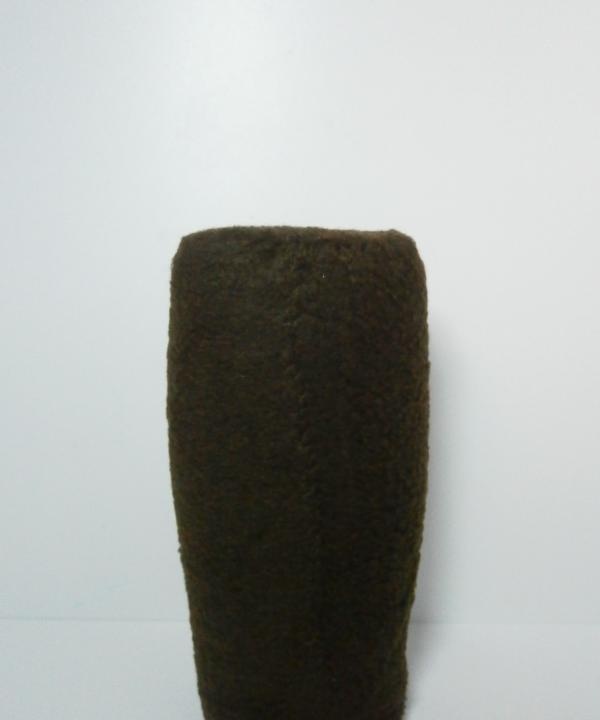
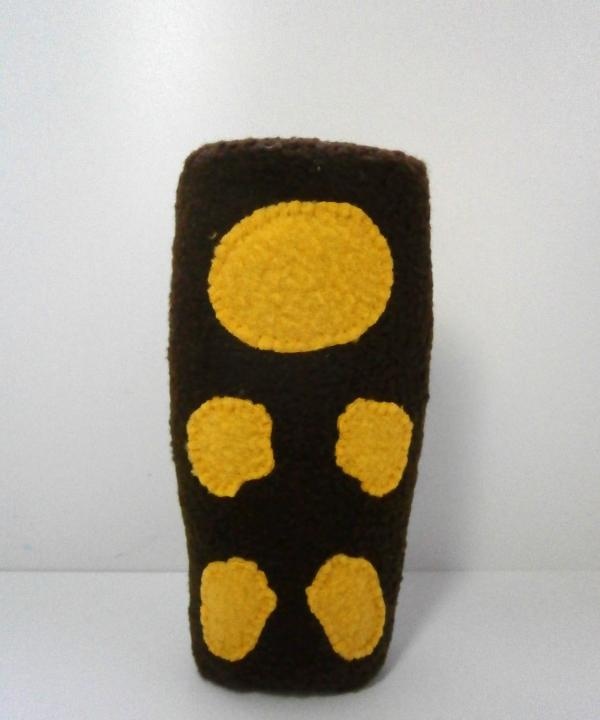
8. Cut an oval out of brown fleece and sew on it.
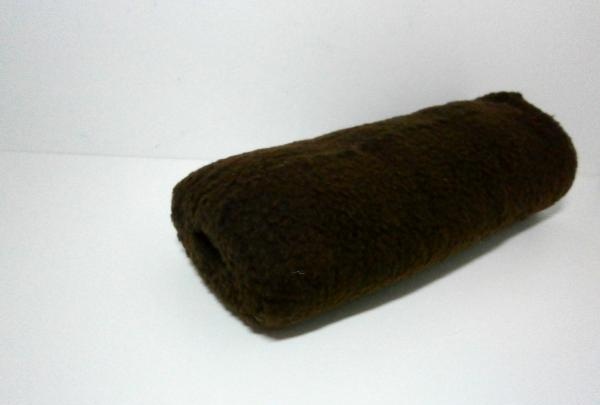
9. Cut a hole in the bottom for coins and bills. Sew the hole with a buttonhole stitch.
10. From yellow fleece, cut out an oval muzzle, front and back legs. Sew all the details with a buttonhole stitch to the front of the piggy bank.
11. Cut two pieces of ears from brown and yellow fleece.
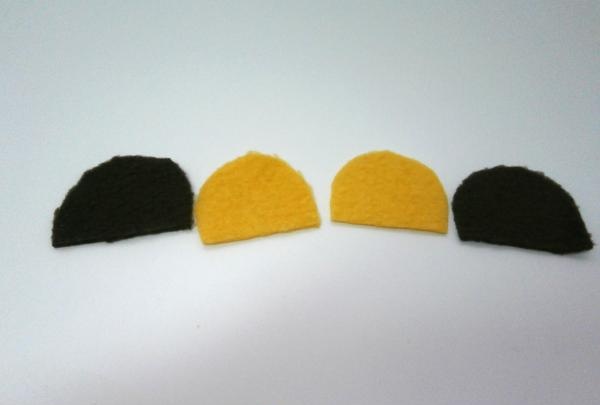
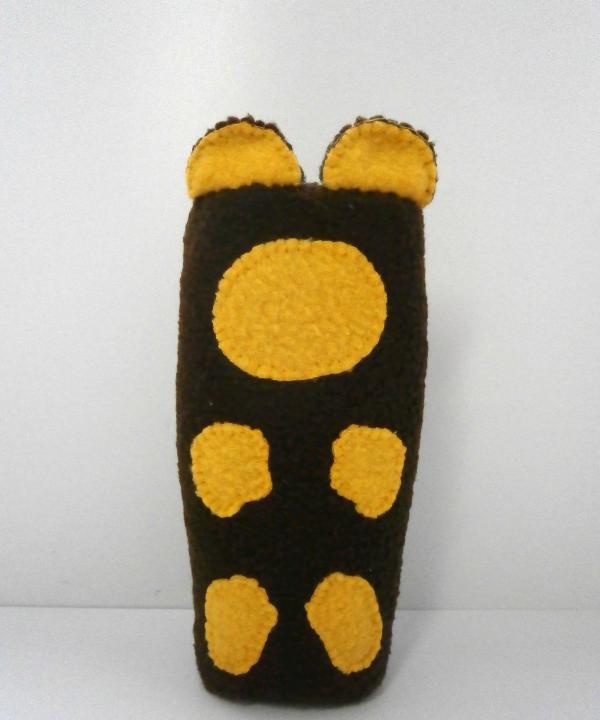
12. Sew the yellow and brown parts of the ears using a buttonhole stitch and sew them at the top of the piggy bank.
13. Cut a small oval nose from black fleece and sew it to the muzzle using a loop stitch.
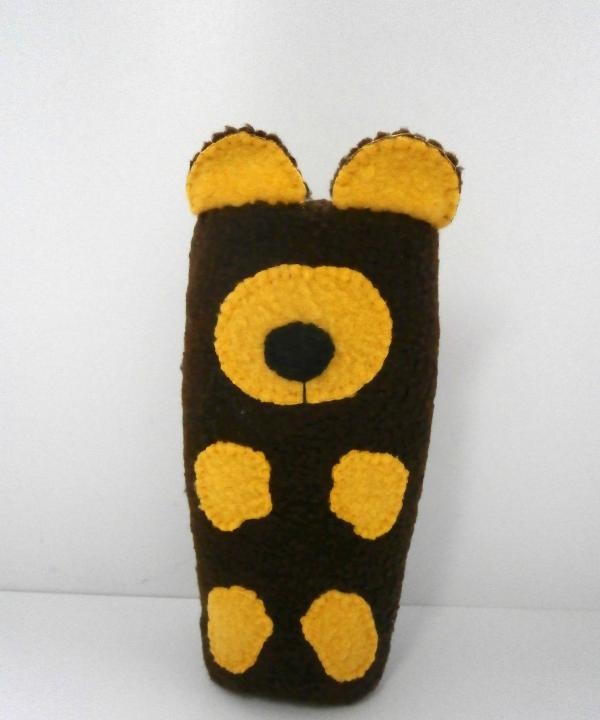
14. Make eyes. To do this, sew two black beads to the muzzle.
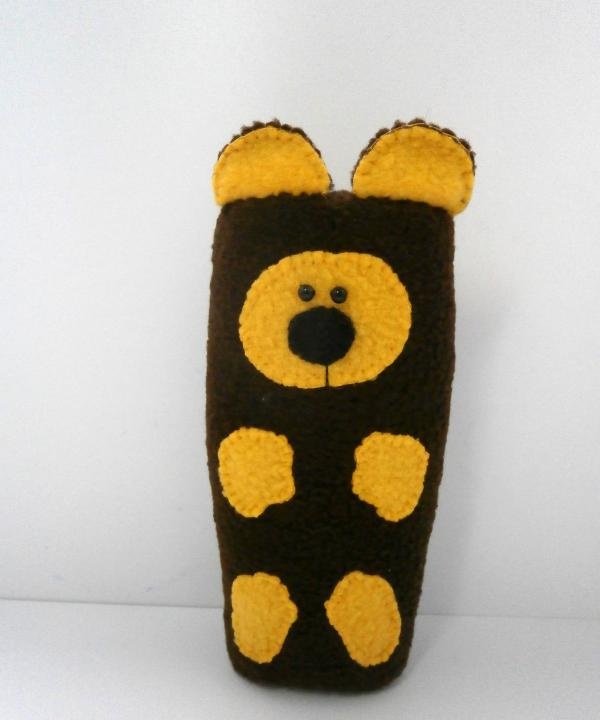
The little piggy bank is ready. This teddy bear will faithfully guard your savings and help some dream come true. To get money out of a piggy bank, just cut the hole wider and shake out the bills and coins. The piggy bank can be reused; to do this, you should slightly sew up the hole through which you removed the bills.
Such a piggy bank can be made in present to your family and friends. Children will be especially happy with this gift. After all, it is both a toy and a necessary thing.
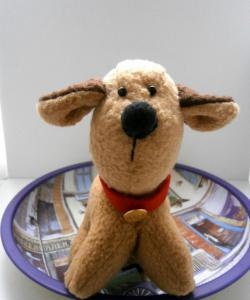
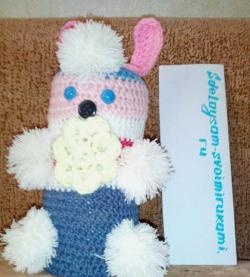
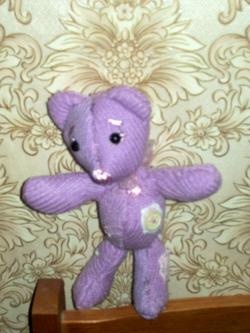
Using the same principle, you can make a piggy bank in the shape of a bunny, kitten or puppy.