Do it yourself
Life hacks, master classes, useful tips, recipes.
home » Useful and interesting " Case for the camera
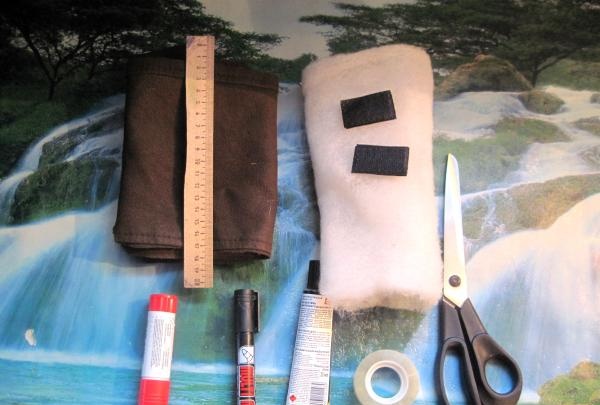
To make the cover, we will need some fur velor from an old sheepskin coat, thin padding polyester and Velcro, as well as any sewing machine, scissors, ruler, marker, tape, Moment glue and a glue stick.

materials for the case


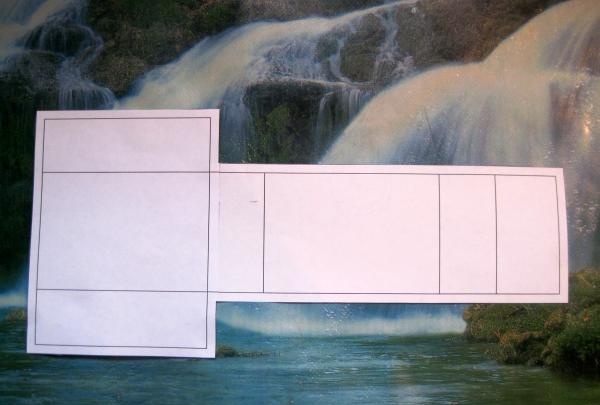
The pattern was designed using FrontDesigner 3.0. To do this, I measured the length, width and height of the camera and added 0.5 cm on each side for the seam. I also decided to make a pocket for spare batteries.
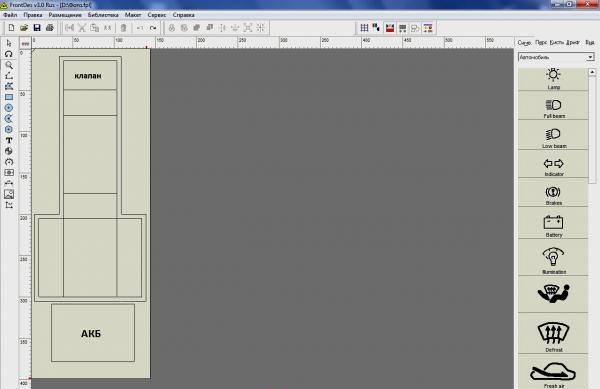
draw a pattern


I printed out the pattern and glued it together.
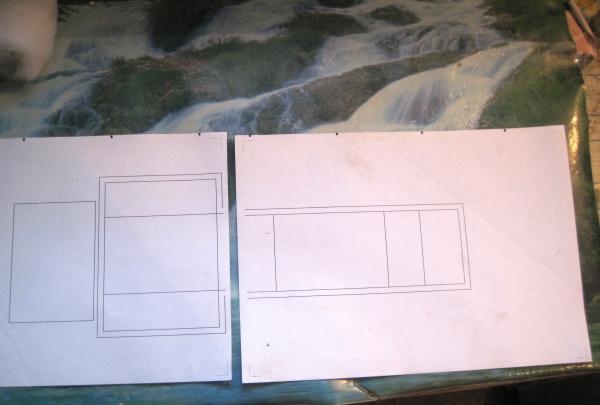
print it out

cut out


To check the correctness of the pattern design, I sewed a mock-up of the cover from thick fabric.
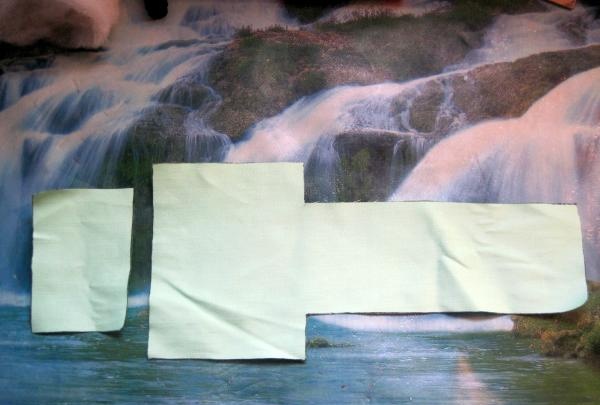
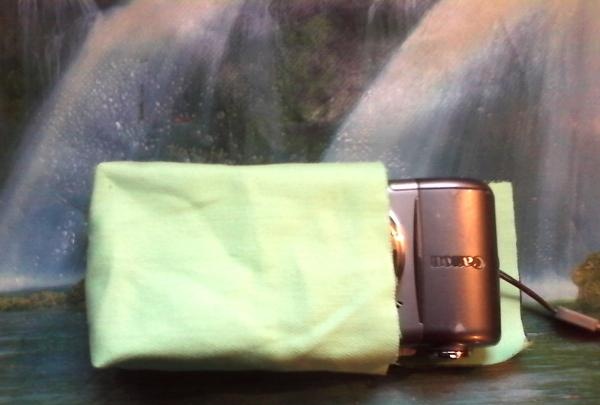
sewed a mock-up of the cover

check for correctness


Next, I glued the pattern to the wrong side of the fabric, traced it with a marker and cut it out.
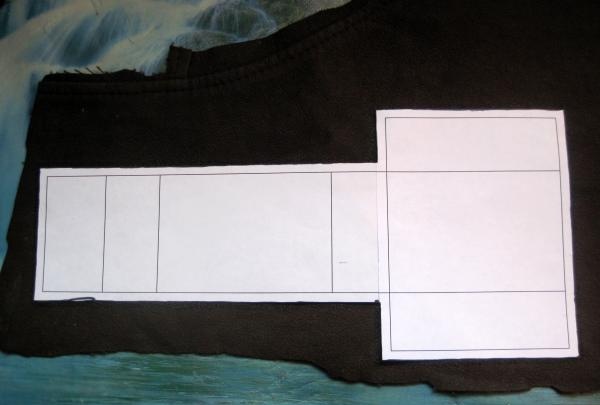
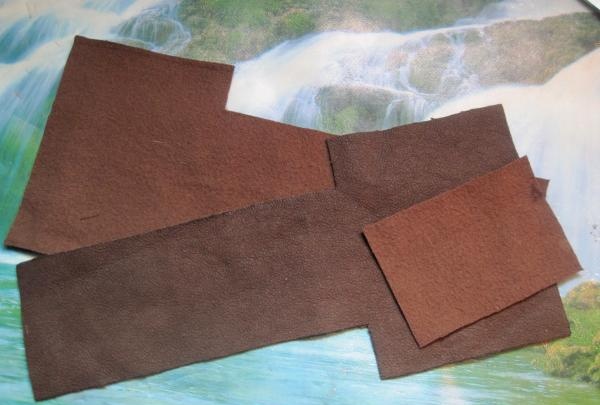
pasted the pattern

lined with marker and cut out


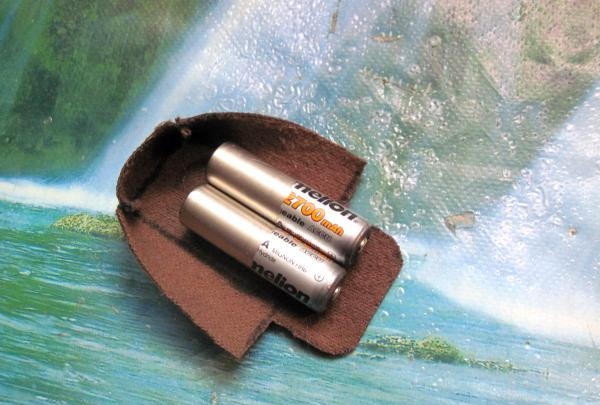
Let's start making a pocket for batteries. We make markings, cut out the corners and flap and sew the corners together using a sewing machine.
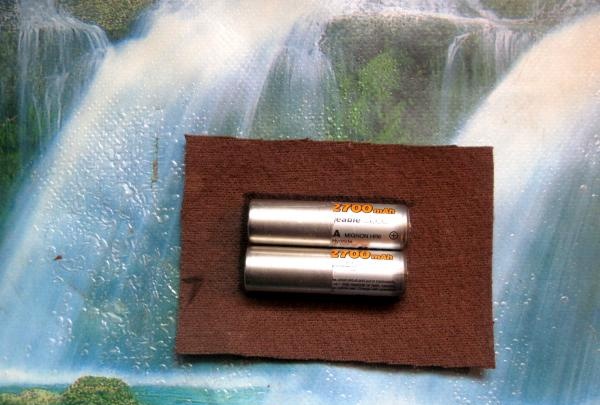
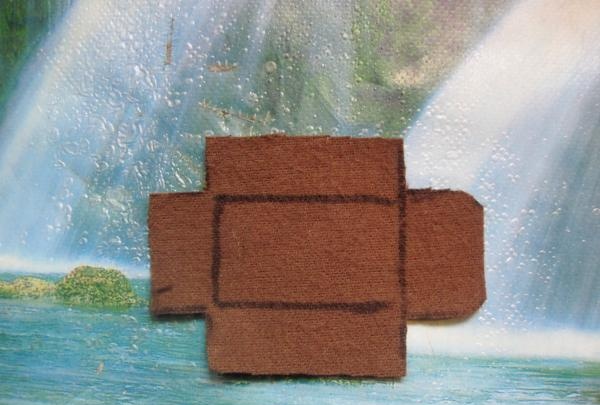
pocket for batteries

cut out the corners and flap

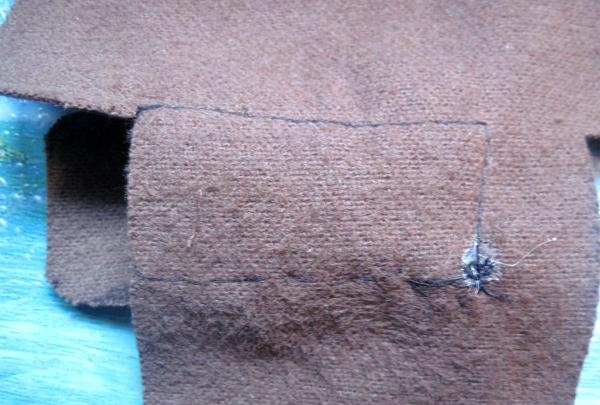
Marking the place


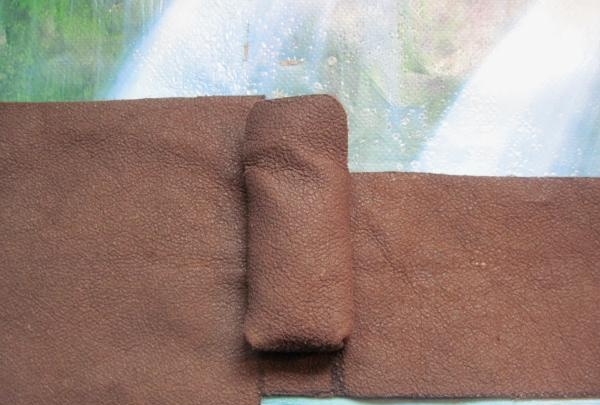
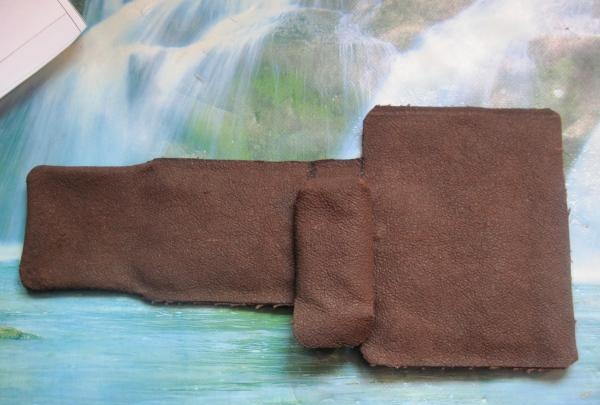
We mark the place where the pocket will be located and sew it on.
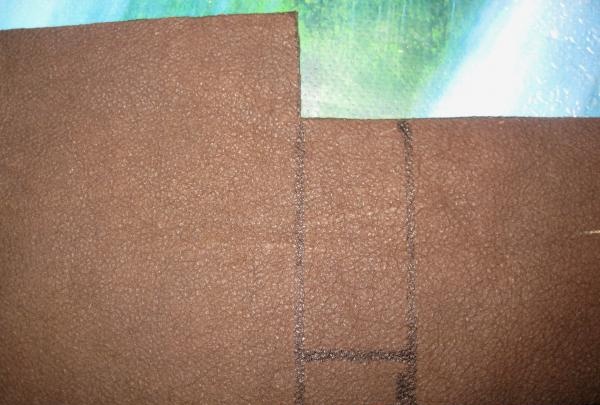
there is a pocket

sew on the pocket

stitch the cover valve


Next, we sew the cover flap from the wrong side and turn it inside out.
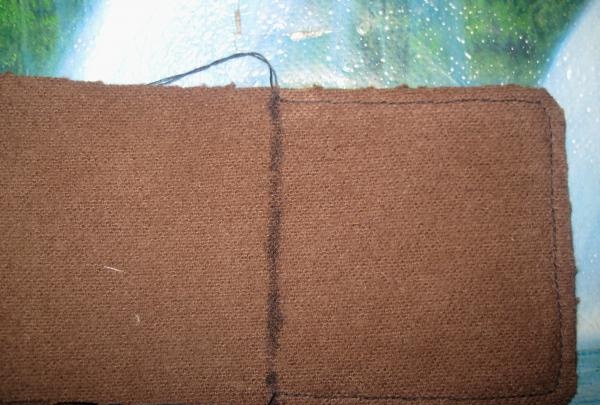
stitch the cover valve

turn it inside out


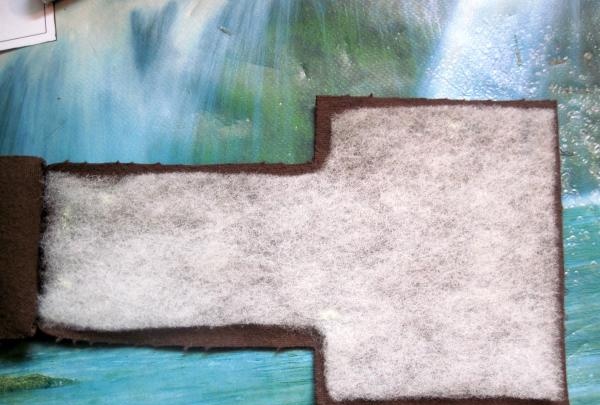
We cut out the padding polyester, coat the workpiece with Moment glue and glue the padding polyester to the workpiece.
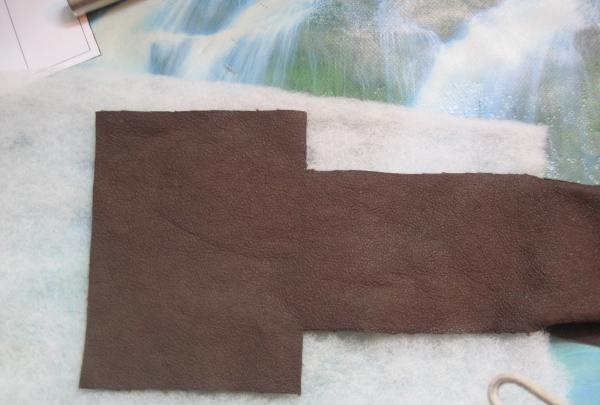
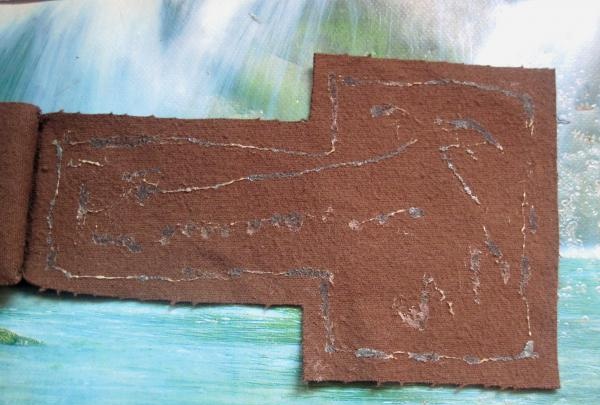
Cutting out the padding polyester

coat the workpiece with glue

glue the padding polyester to the workpiece


We coat the edges of the workpiece with glue and glue our “sandwich”.
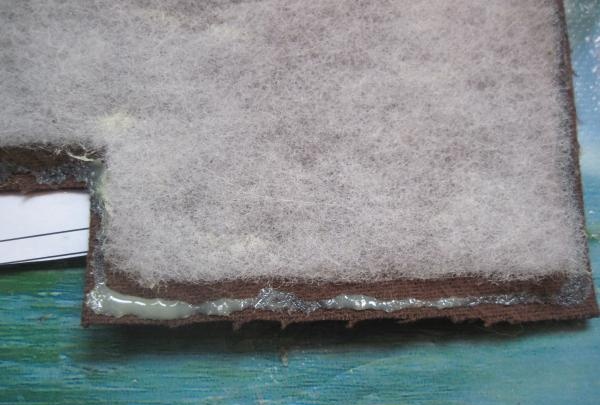
coat with glue and glue

coat with glue and glue


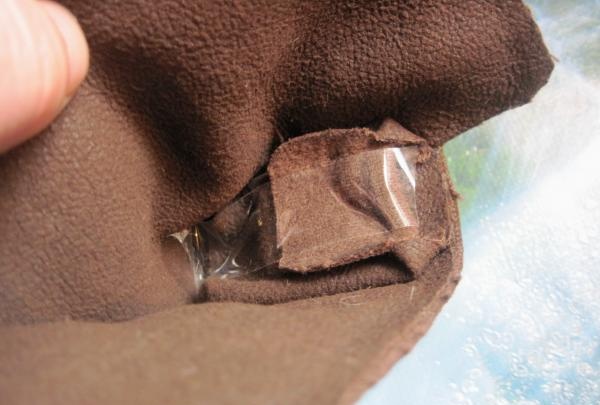
All that remains is to sew both sides on the sewing machine. We do this from the wrong side. To prevent the pocket flap from getting in the way, we glue it with tape.
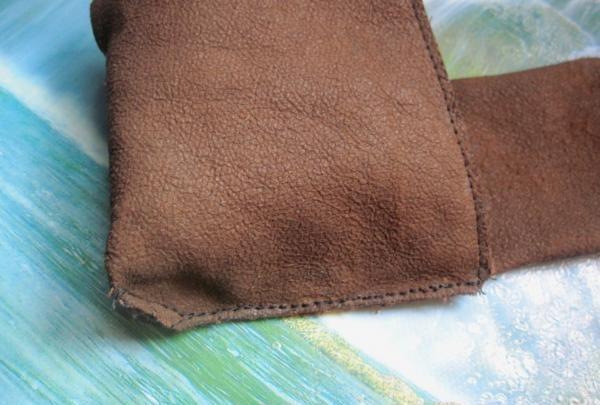
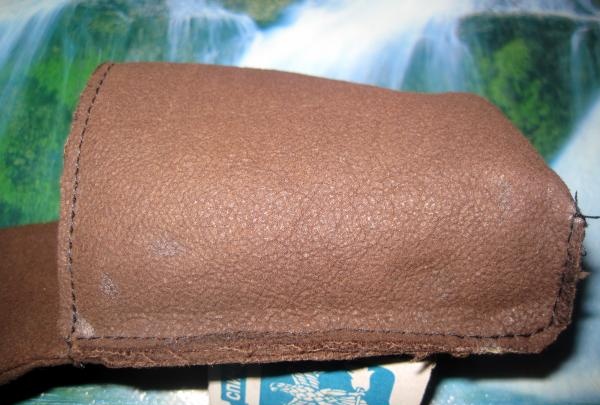
stitch both sides

sew on a sewing machine

glue it with tape


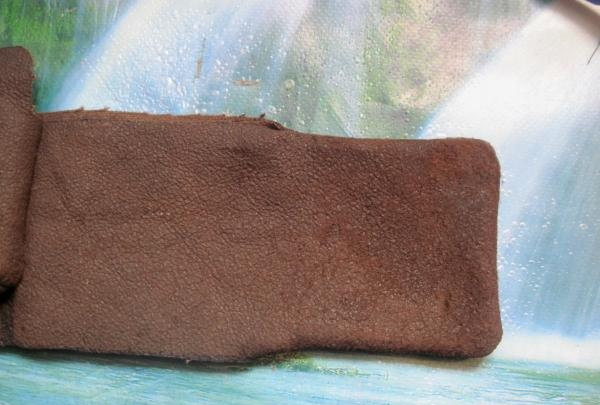
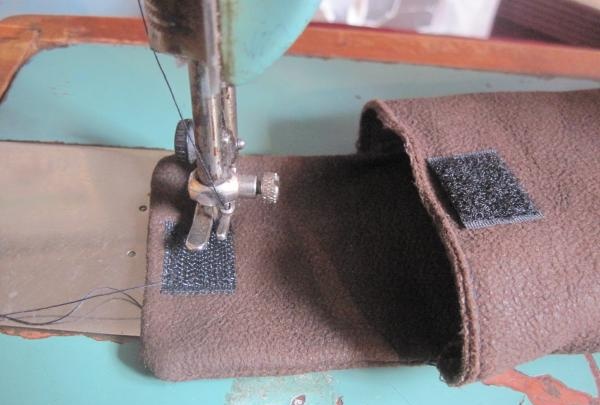
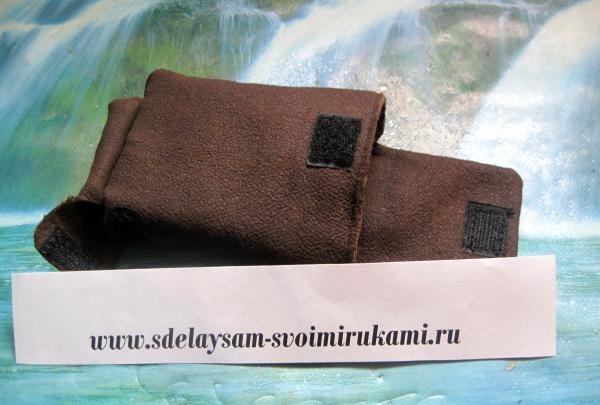
Turn the cover right side out and sew Velcro onto the flaps.
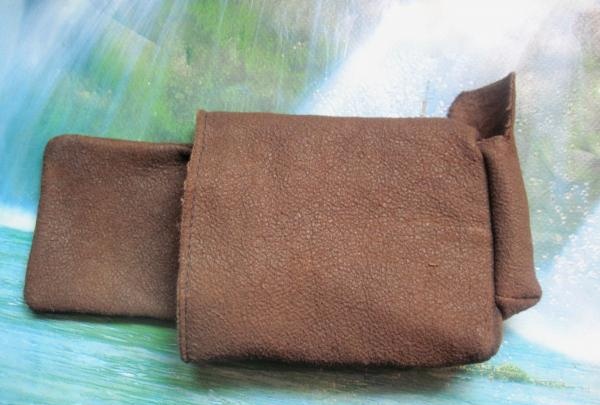
Turn the cover inside out

sew Velcro onto the valves


The camera case is ready.

Case for the camera

DIY camera case
come back
Comment
  • bowtiesmilelaughingblushsmileyrelaxed relaxedsmirk
    heart_eyeskissing_heartkissing_closed_eyesflushedrelievedsatisfiedgrin
    winkstuck_out_tongue_winking_eyestuck_out_tongue_closed_eyesgrinningkissingstuck_out_tonguesleeping
    worriedfrowninganguishedopen_mouthgrimacingconfusedhushed
    expressionlessunamusedsweat_smilesweatdisappointed_relievedwearypassive
    disappointedconfoundedfearfulcold_sweatperseverecrysob
    joyastonishedscreamtired_faceangryragetriumph
    sleepyyummasksunglassesdizzy_faceimpsmiling_imp
    neutral_faceno_mouthinnocent
4 minus one =
Comments (0)

How to cheaply wash a gun from polyurethane foam

Decorative jute box | Do it yourself

Automatically turn on and off from your computer | Do it yourself

Do-it-yourself quick-salted mackerel

«Do it yourself - with your own hands» - a site of interesting homemade products made from scrap materials and items at home. Step-by-step master classes with photos and descriptions, technologies, life hacks - everything a real master or just a craftsman needs for needlework. Crafts of any complexity, a large selection of directions and ideas for creativity.

We recommend reading

Washing machine error codes