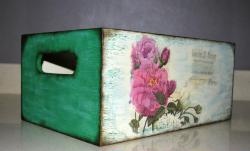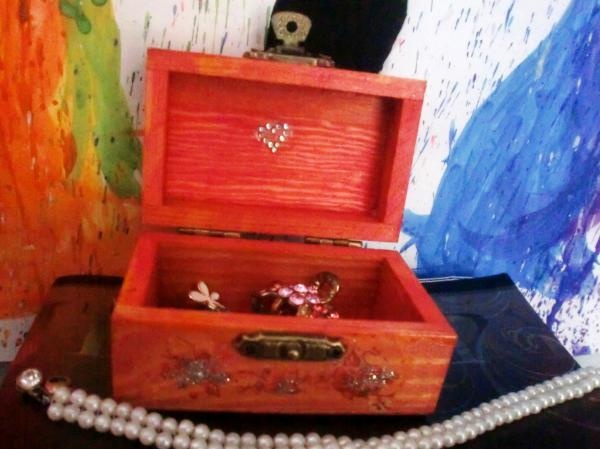
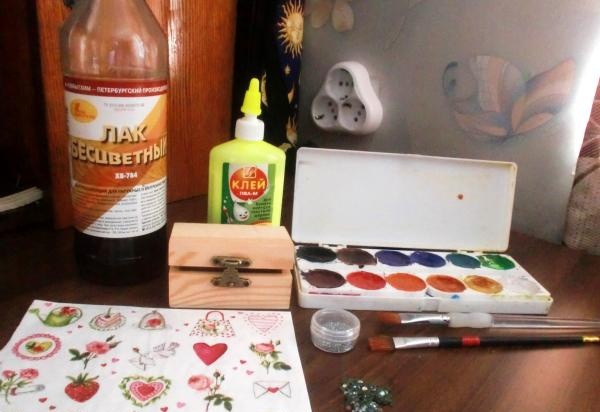
To decorate the chest you will need the following materials and tools:
-Wooden chest;
-Watercolor paints;
-Colorless varnish;
- Brushes with artificial hair (2 pcs.);
-Dry glitter;
-Small rhinestones;
-PVA glue;
-Napkins with small patterns.
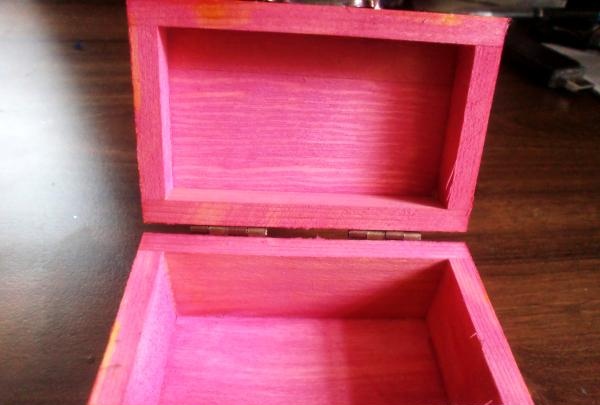
First, paint the chest with watercolors in the color you like best. Try to use a minimum of water for this; the tree still does not accept large quantities of it.
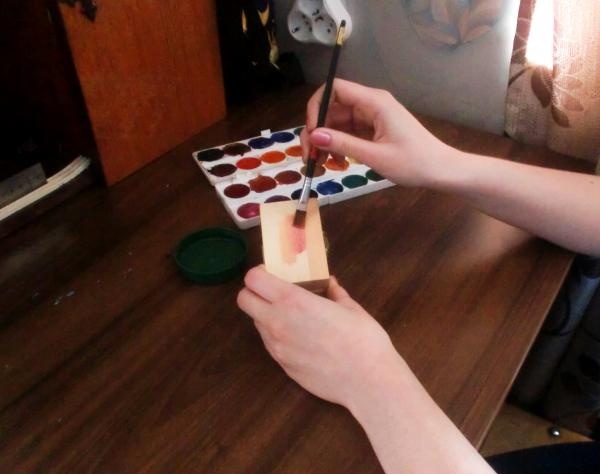
Don't forget about the sides and inner edges - they should be the same color as the top of the chest. Let the chest dry.
Now proceed to the most difficult and painstaking stage - tearing off the drawing along the contour. In order for the design to fit neatly to the surface of the chest, it needs to be torn off and not cut out, so this can take you a lot of time.For those with long nails, this will be much easier. Leave a contour of no more than two mm.
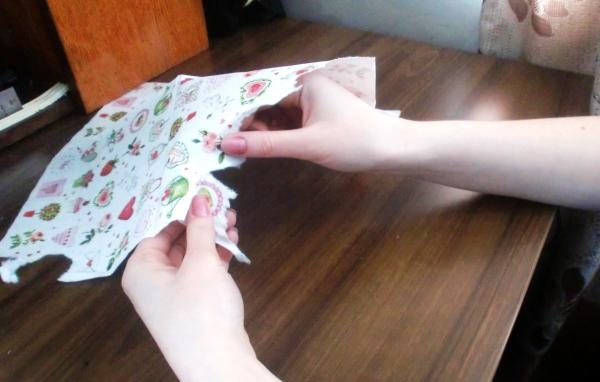
Napkins usually consist of several layers, and for crafts the layer should be as thin as possible. Peel off the excess layers with your fingers (usually there are two of them) and set aside the thinnest layer with the pattern. These napkins are made in Germany and are often sold at decorative arts shows. Sometimes you can see them in industrial stores.
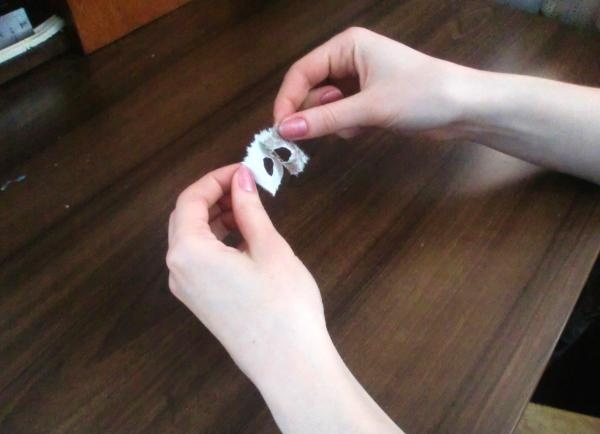
Do the same procedure with other napkins. The more drawings there are on the chest, the more beautiful it is, so you will need several elements of napkins.
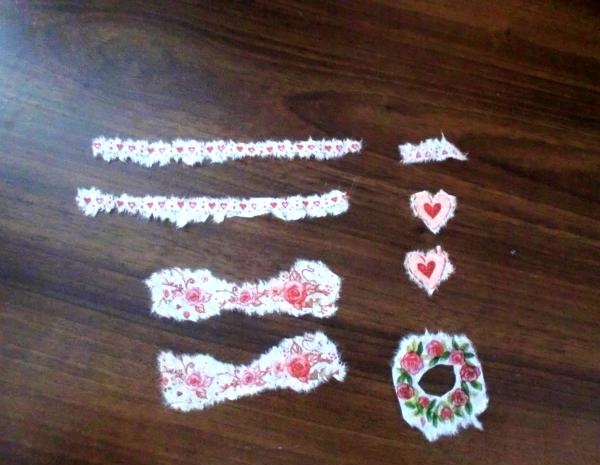
Now start gluing the designs onto the napkins. Do this very carefully so that the thin napkin does not tear under the pressure of the brush.
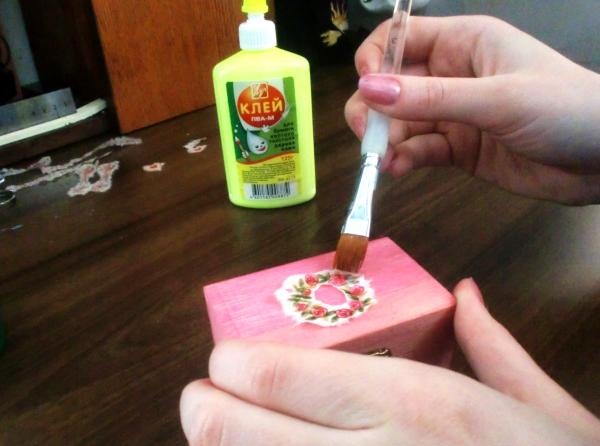
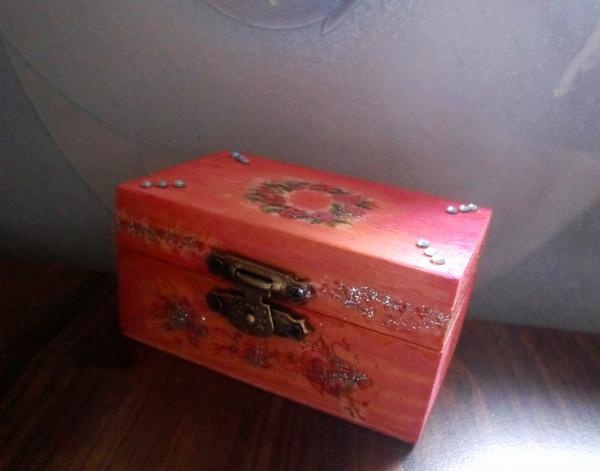
While the PVA glue is still wet, apply dry glitter with another brush. There should not be too much glitter, otherwise it will block the design.
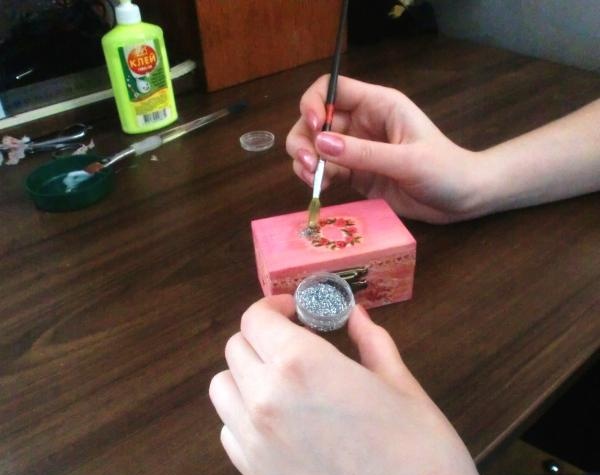
Pay attention to all the side edges of the chest and apply glitter with a pattern wherever possible - on the sides and back, because it will be much more beautiful.
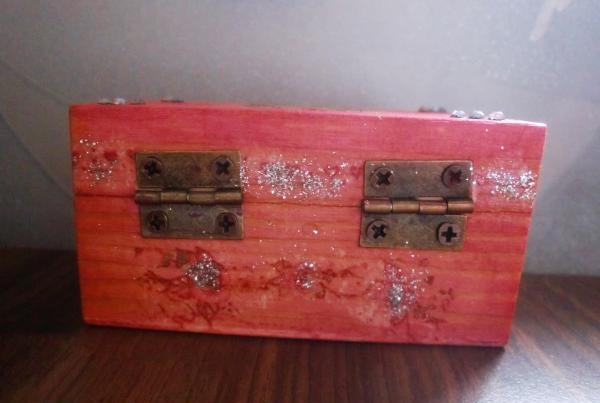
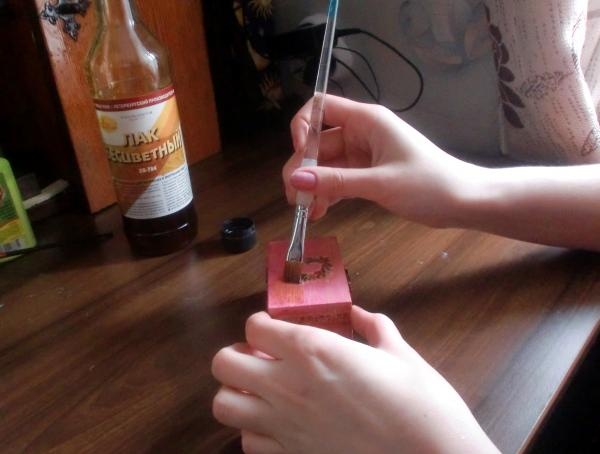
Now coat the surface of the chest with colorless varnish. One coat won't be enough, so once the first coat is dry, apply two or three more.
Now place the rhinestones on the free surface of the chest. They can be attached to wet varnish, or they can be attached with ordinary glue or colorless nail polish - whichever is more convenient for you.
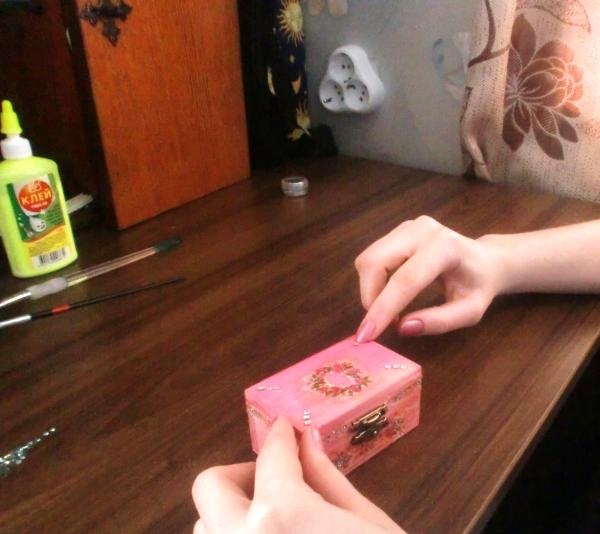
Don’t forget about the inside of the chest and make a beautiful ornament out of small rhinestones. As soon as you open the lid of your treasury, the effect will be magnificent.
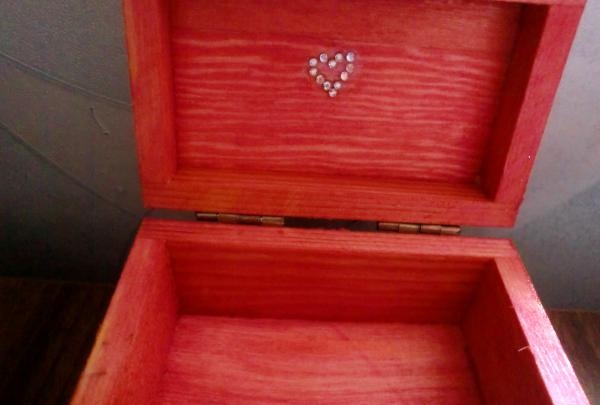
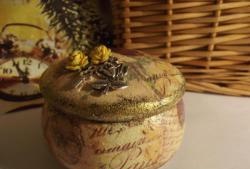
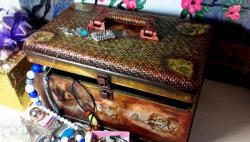
A wonderful chest is ready! The whole process takes very little time; you spend the most time processing the napkins.As you can see, making such a craft is not at all difficult, and all materials are available. If you wish, you can use the decoupage technique to decorate other hard surfaces, not just wooden ones.
