The toy presented in this master class cannot be found in any store. However, it enjoys great love and interest among young children.
This board is mainly intended for boys, as it includes all sorts of iron gizmos. However, I made my own educational panel for my daughter. After she learned to walk, all sockets, switches and doors “live her life.” Noticing an interest in such things, I decided to collect everything that causes her wild delight in one place - on the board.
So, what do you need to create a development panel?
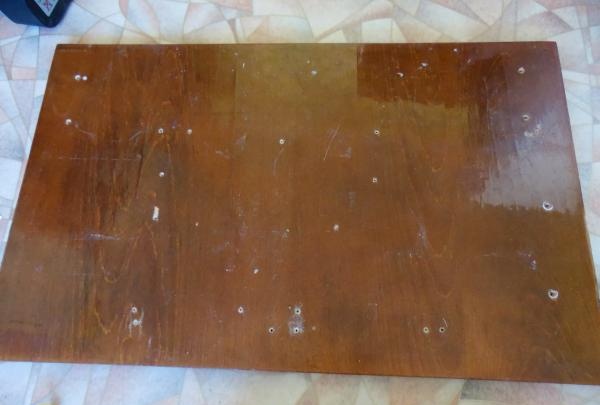
First, of course, the basis, i.e. a board on which everything will be attached. Everyone can choose its sizes themselves. I picked up the one I found from an old wall. It is varnished on one side.
Secondly, all kinds of accessories: hooks, bells, buttons, switches, handles, chains, loops, latches, etc. When you go to a hardware store, you will choose what your eye catches. I also advise you to search around the house. Surely something that can be fixed will catch your eye, for example, a non-working watch or key fobs.

Thirdly, small rectangular planks that will be used for small doors.

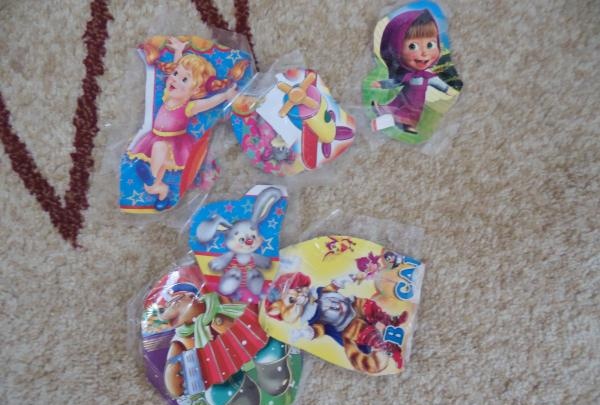
Fourthly, various decorations, stickers and pictures. Everything to make the panel colorful and cheerful (after all, it is for children).
So, armed with everything we need, let's begin.
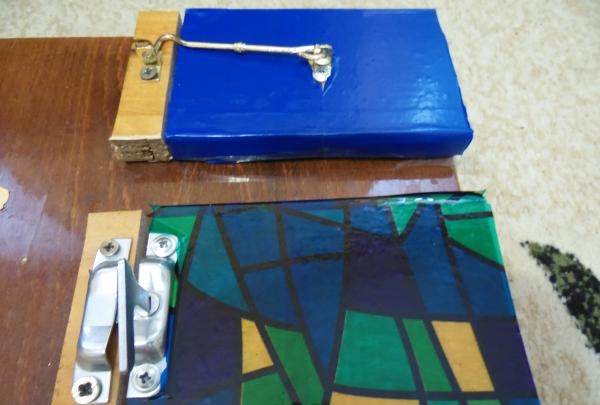
1) We cover small boards with self-adhesive colored film. We screw the latch and hook to them. I asked my husband to do this, since I don’t know how to hold a screwdriver in my hands. Next I screw the hinges onto the corner of the base and secure these doors. Now they open and close.
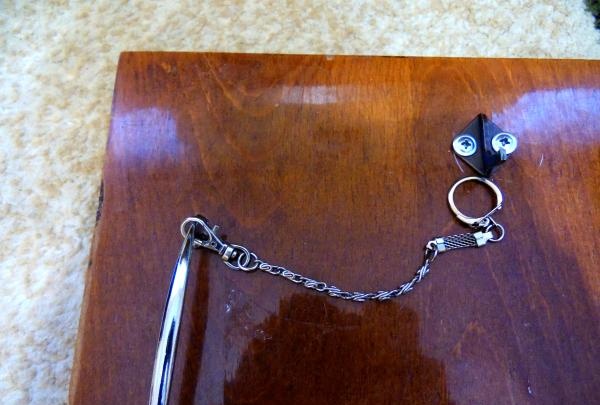
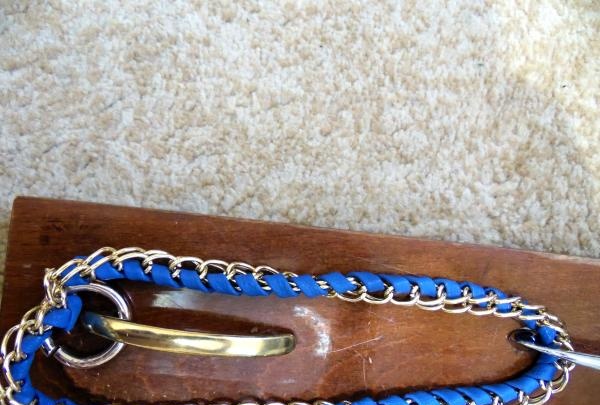
2) I screw on another latch, a hook, and three handles. On the handles I attach chains from an old bag that I was sorry to throw away. (But how useful it was in time). To the other handle I attach a chain from a keychain lying around the house. The ring at the end can be threaded onto a hook.
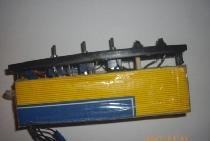
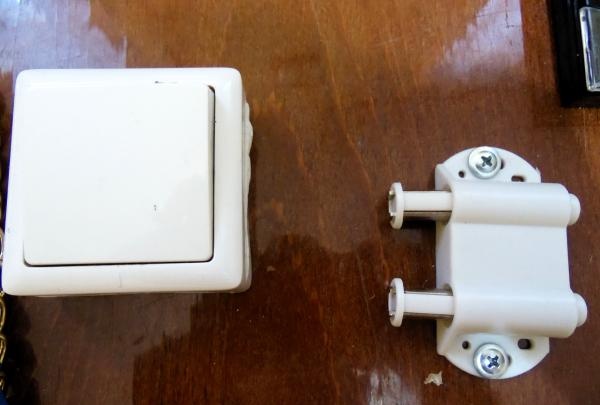
3) I found fittings from the same old wall in the barn, which I also attached to the panel (you can press the buttons on the side, they click).
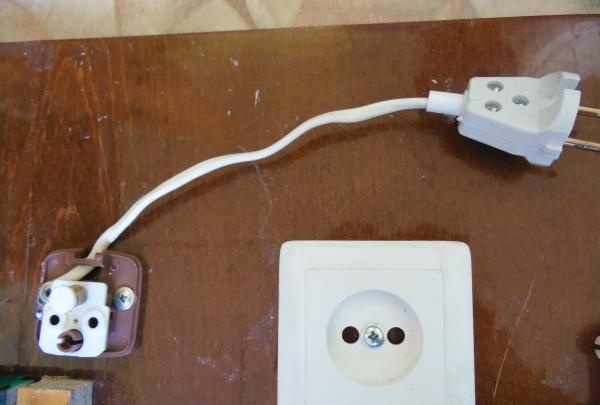
4) Separately, I had to tinker with the bell, the cord from the outlet and the plug. The thing is that the cord was too thick, so I had to secure it with supermoment glue. According to my idea, the plug should be inserted into the socket.
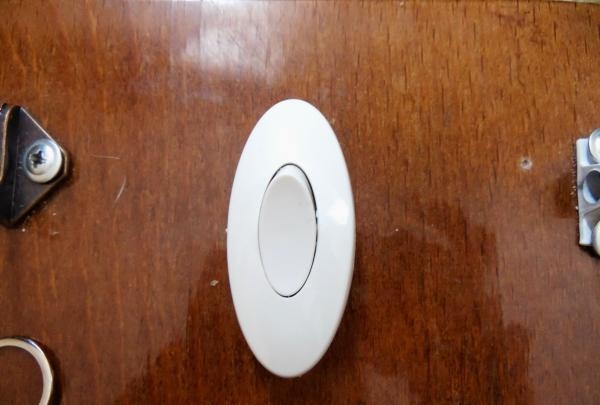
5) Also on the “super moment” we paste a bell button, a switch, and an old non-working clock.

6) Having installed everything, we move on to the final stage: decoration. Having collected various pictures and postcards, we paste them on the board in the free spaces.I cut out numbers from double-sided tape and pasted them on. Voila, now the board becomes a lot more fun!
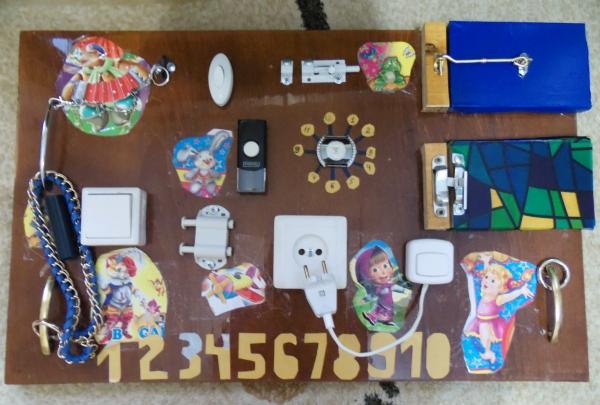
Our development panel is ready. My daughter loves playing it!