For this you will need:
- 1. Cardboard or thick paper.
- 2. Pen or pencil.
- 3. Scissors.
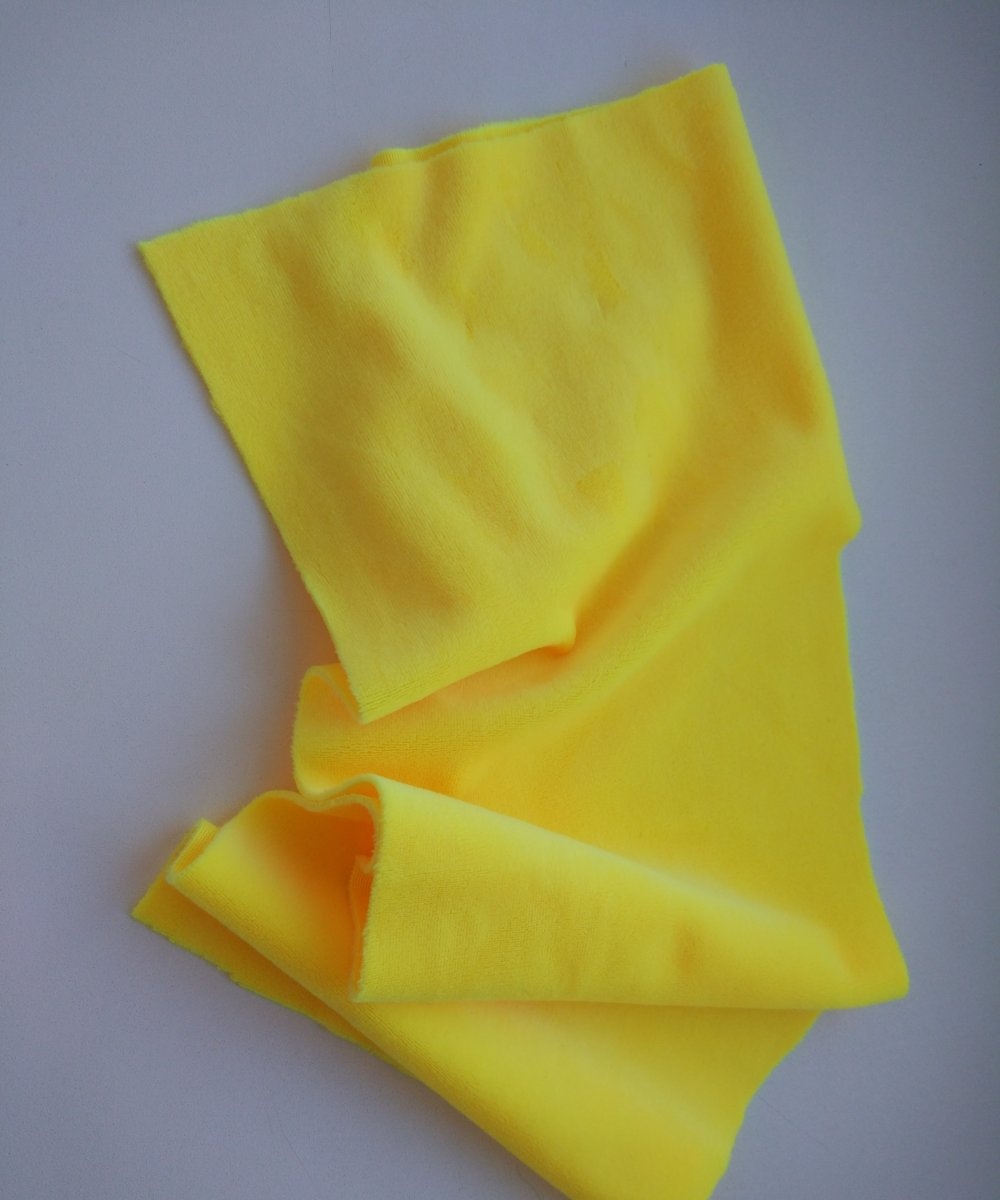
- 4. Plush or regular fabric.
- 5. Felt.
- 6. Hot glue.
- 7. Needle and thread.
- 8. Sintepon.
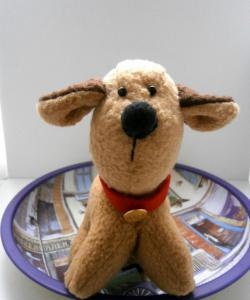
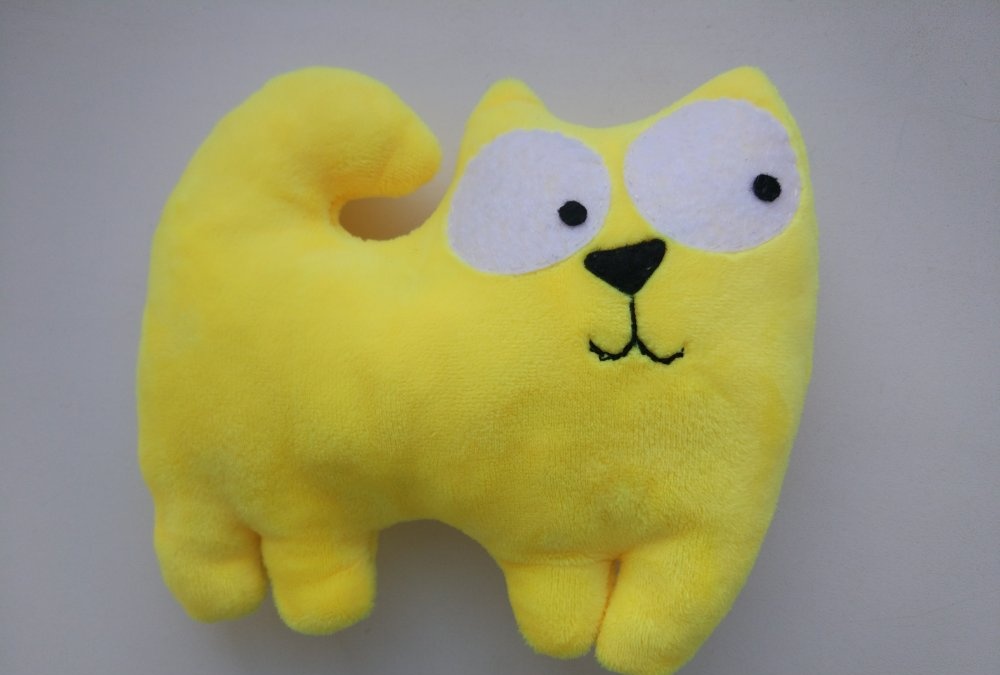
Any fabric can be used as the main material for the toy. The classic option is plush. Such products are very beautiful and pleasant to the touch.
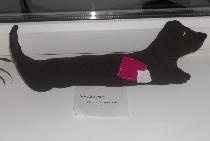
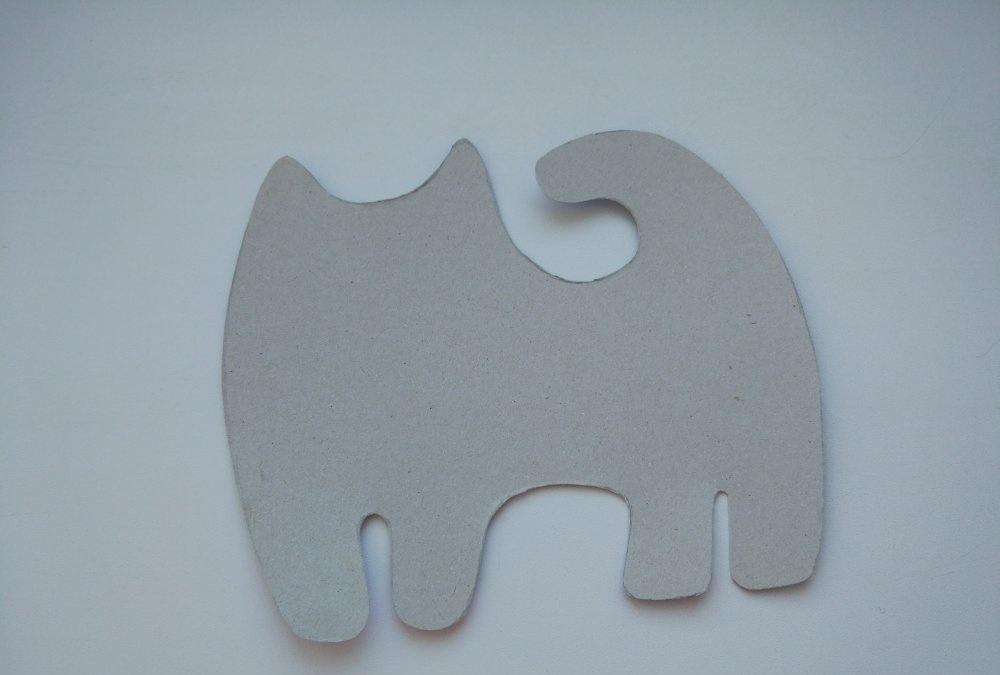
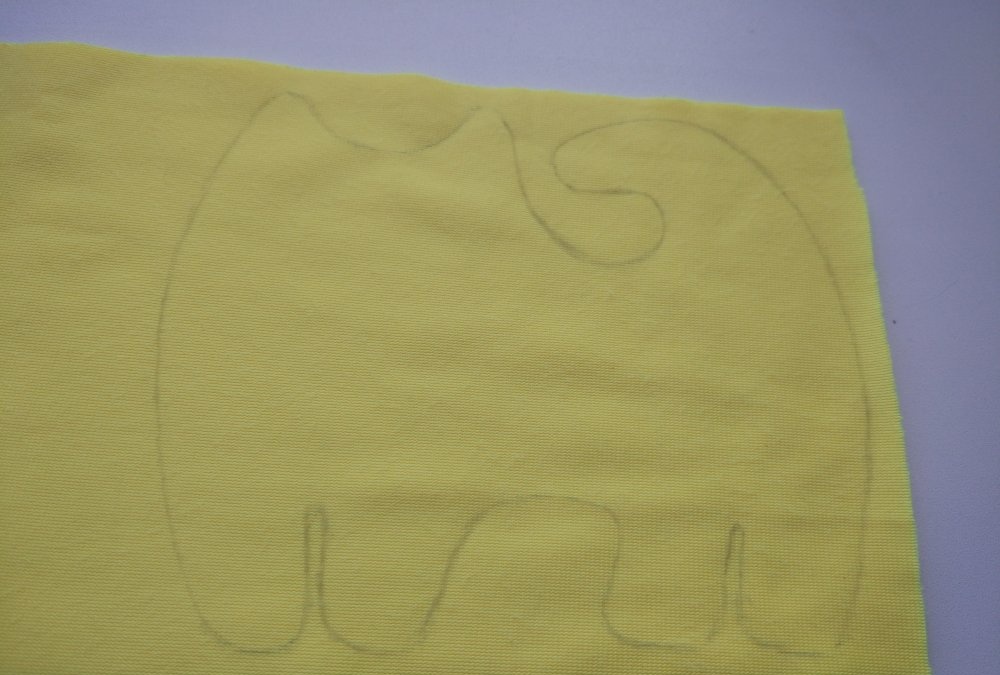
You need to prepare a pattern from thick paper or regular cardboard. To do this, you can draw the outline of the future toy by hand and cut it out.
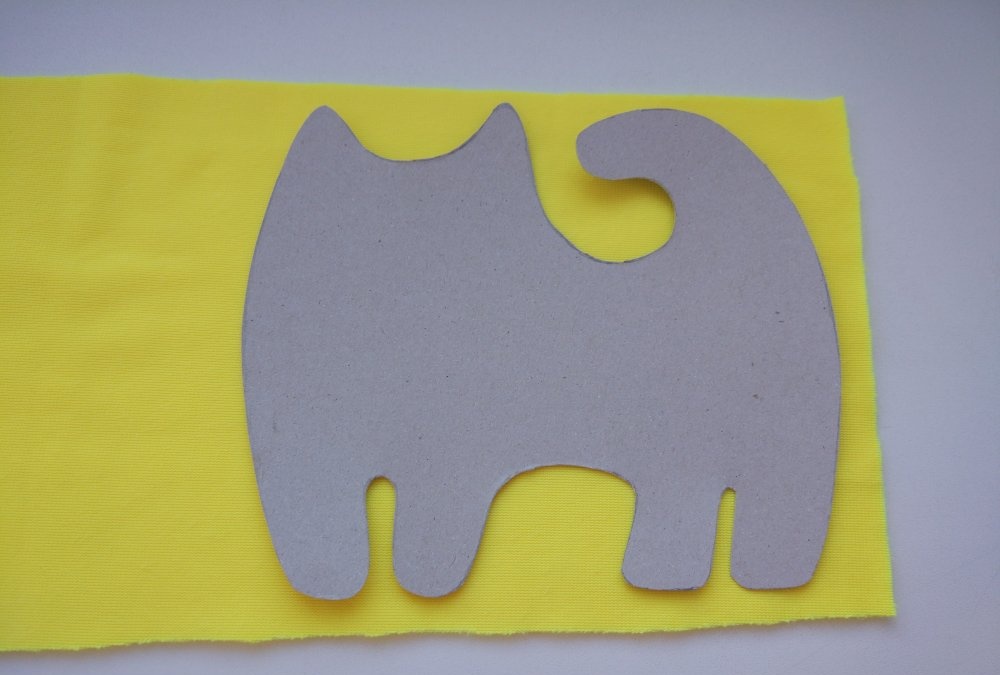
Attach the pattern to the fabric and outline the outline.
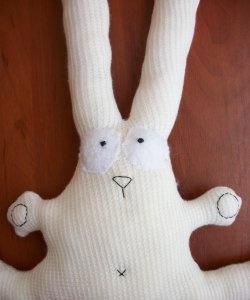
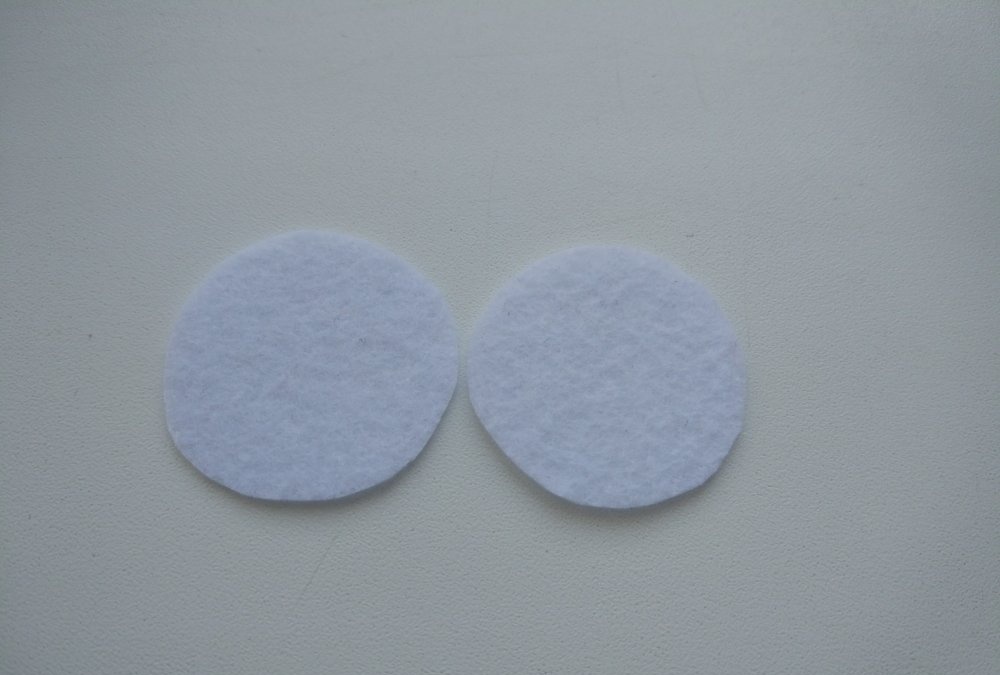
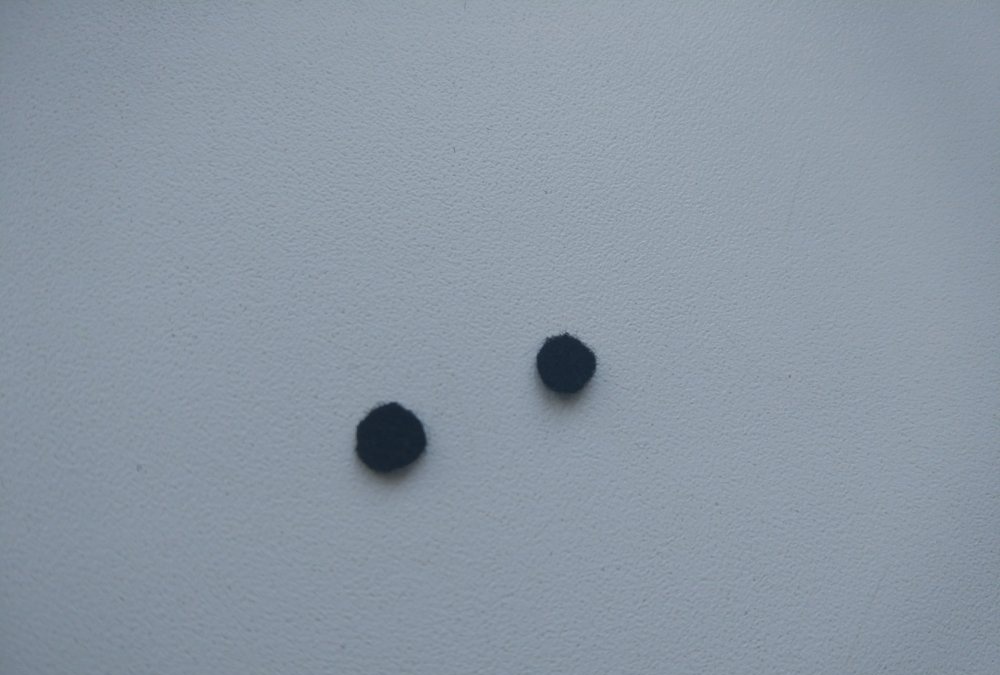
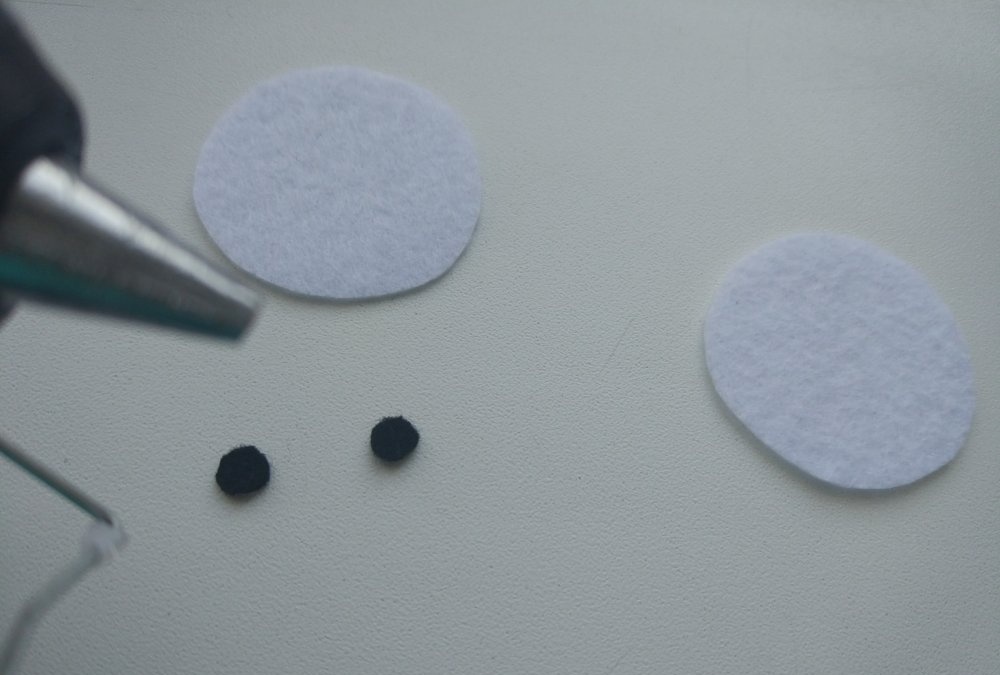
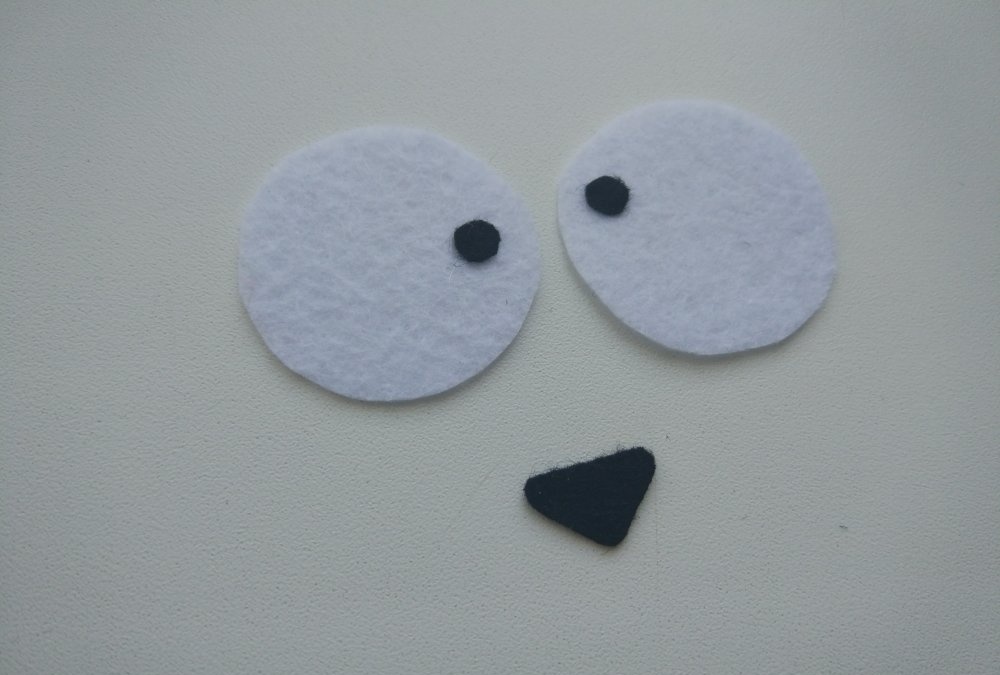
Facial features will be used as decoration. For the eyes, you need to cut out two large white circles from felt and two small black ones.
Glue the pupils using hot glue.

From the same felt you can cut a triangle that will become the nose.
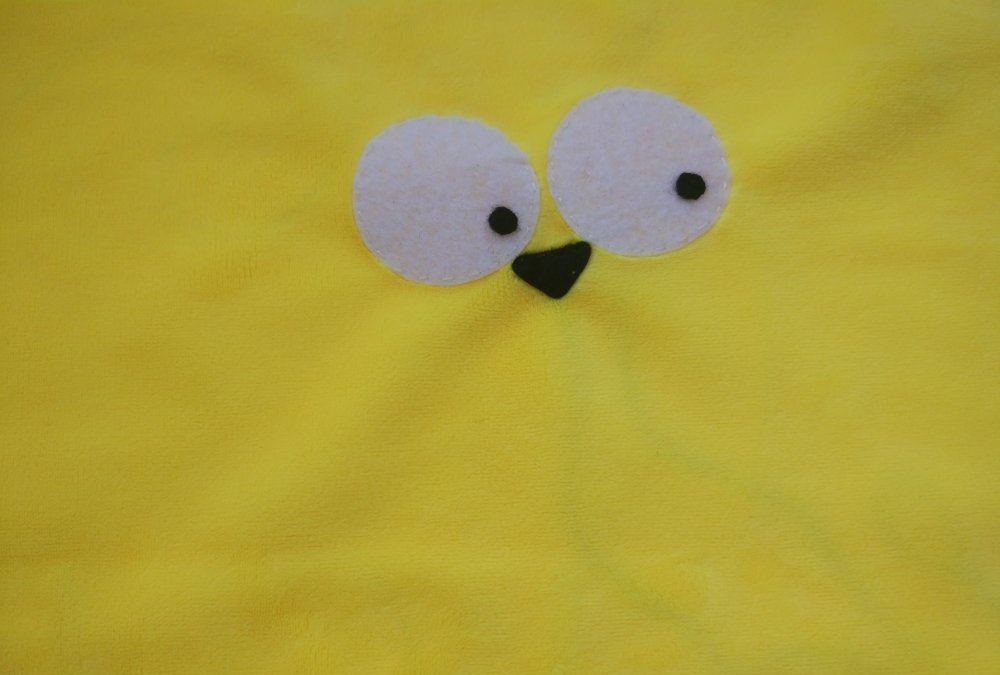
Sew the eyes and nose on the front side of the toy in the appropriate place.
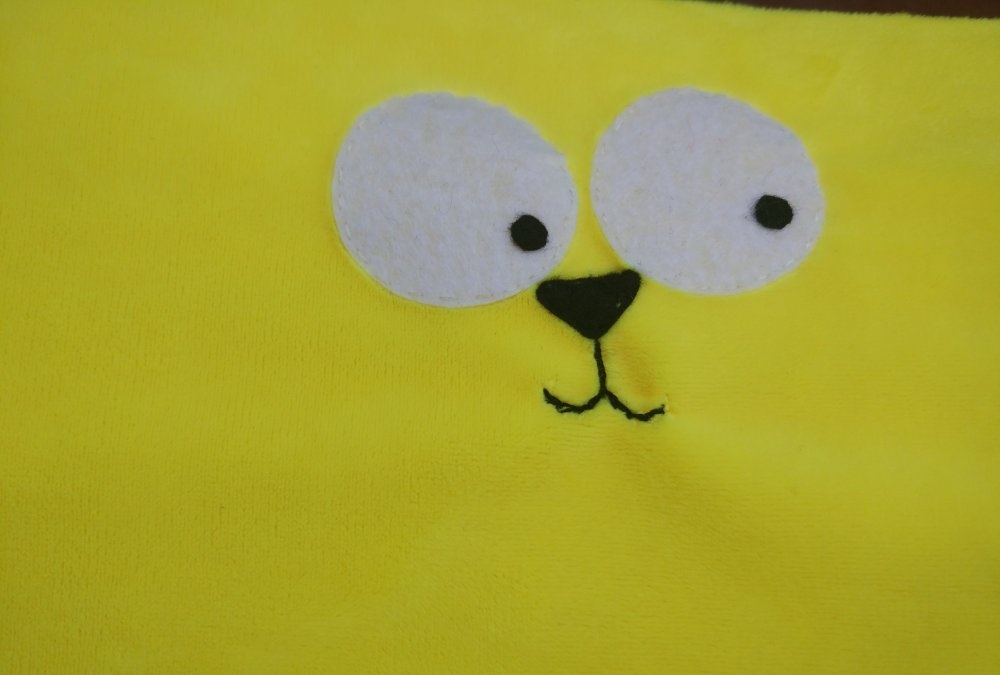
You can embroider a mouth under the nose using regular black thread.
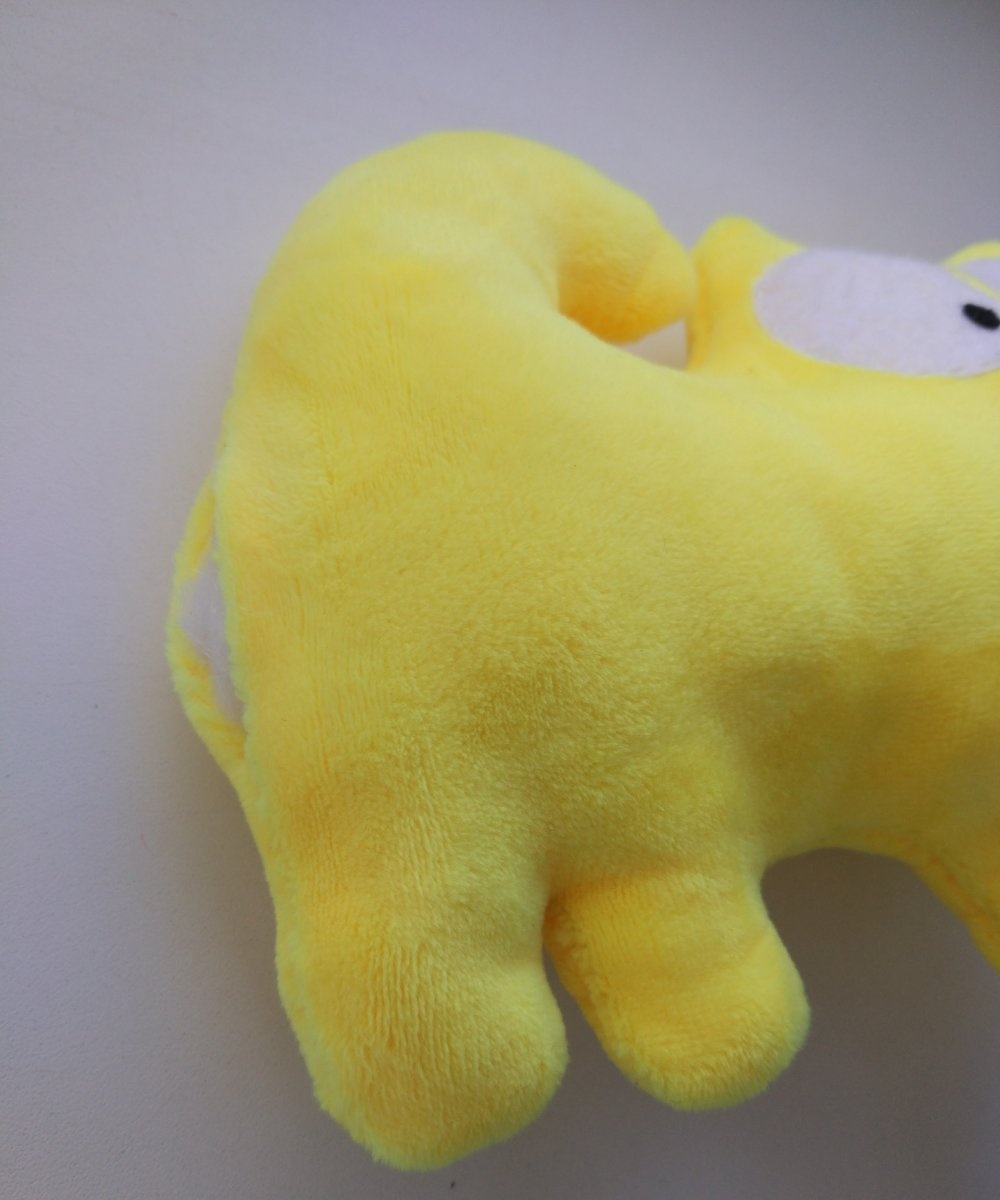
When all decorative elements are sewn, you need to sew the product along the drawn outline from the wrong side, leaving a small hole. Through this hole, turn the toy right side out.
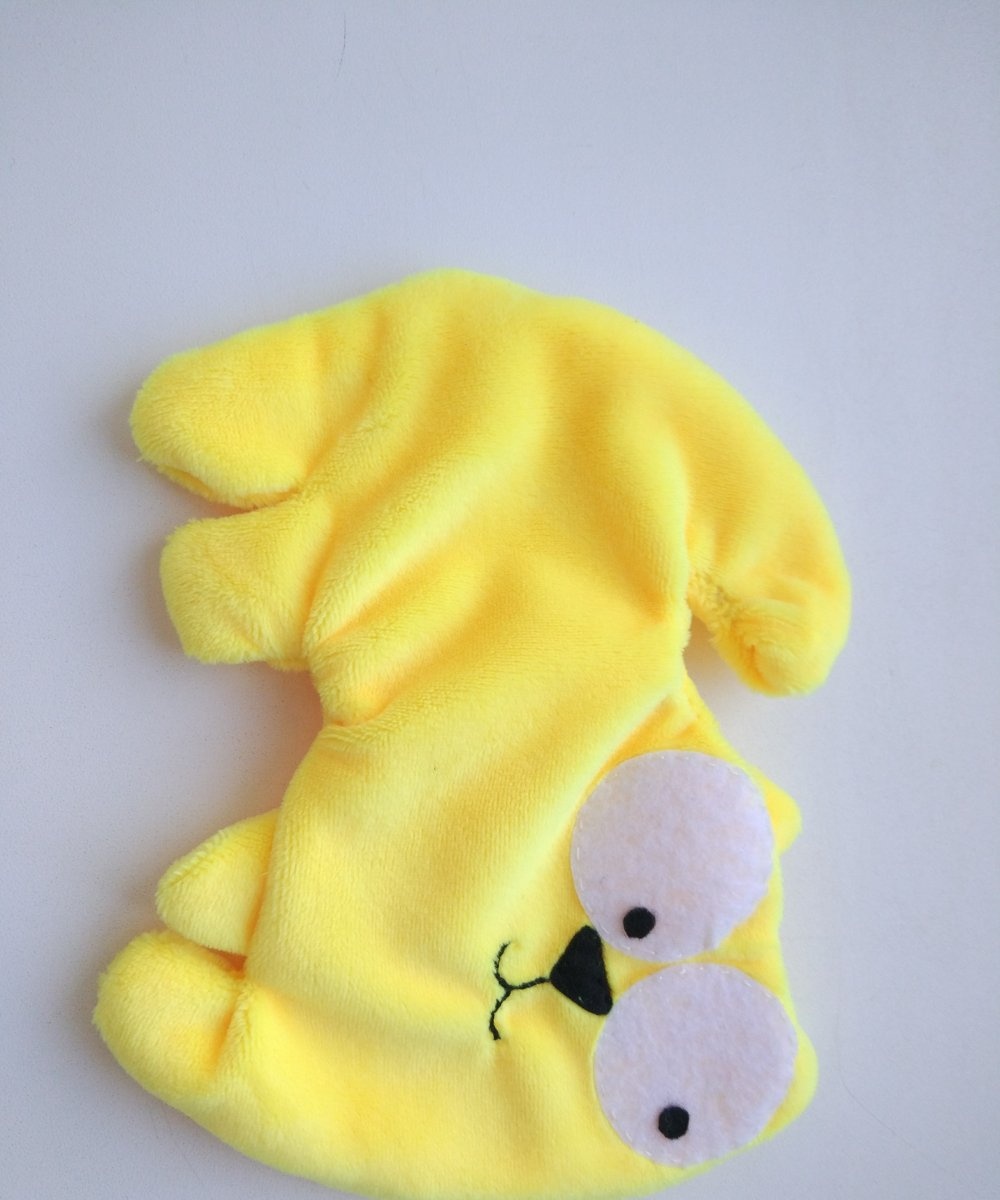
Now the product needs to be stuffed. As a filler, you can use a special padding polyester for soft toys or ordinary cotton wool.
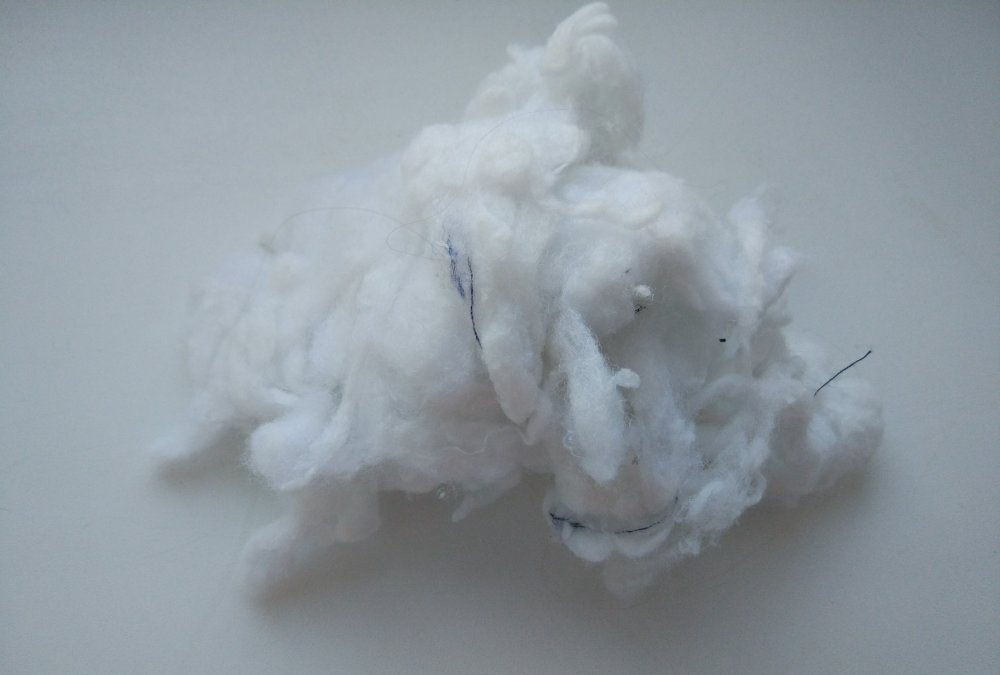
The filler must be carefully distributed inside the toy through the hole left and carefully sew it up.
The soft toy in the shape of a cat is ready.
As your child grows, you can create new products together with him. This is a wonderful educational activity that will bring results in the form of the development of creative skills and a finished handmade toy. We wish you creative success!