The weaving technique is not entirely complicated, but to ensure that the product turns out beautiful and error-free the first time, follow each step step by step in the photo. To weave an egg with beads and make this extraordinary souvenir, you will need a little time, patience and simple materials that can be purchased at any craft store.
Materials:
-White beads;
-Multi-colored beads (red, blue, light blue, green, golden);
-Fishing line (approximately 3 meters);
-Needle;
-Colored ribbon;
-Wooden egg blank.
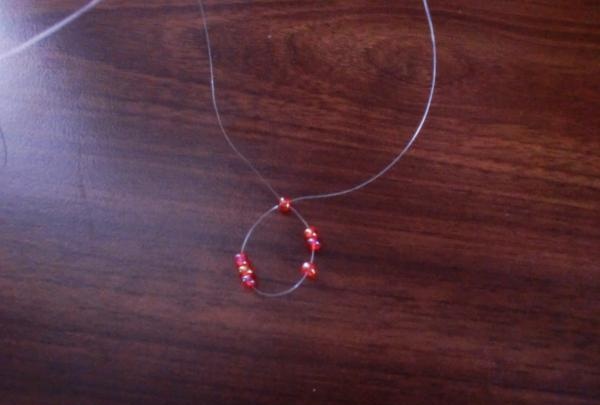
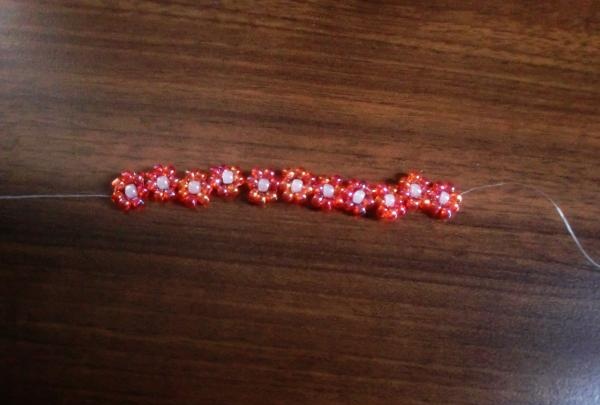
Step 1. The egg pattern is a flower, which will be located in the center.To make it, you will need to string 7 beads onto a fishing line. I made the middle of larger beads so that it would stand out from the others and be convex.
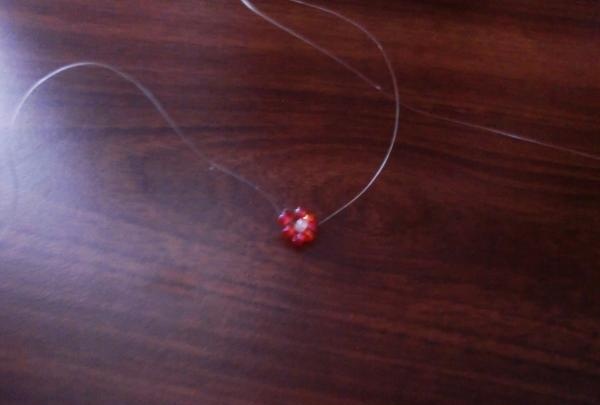
Step 2. Make the center from a white bead.
Step 3. In this way, make a thread of several flowers, the length of which should match the diameter of the wooden egg. In stores, wooden blanks are not exactly cheap, so it will be better if you carve it yourself - you can also make the egg larger.
Step 4. Connect the first and last flower with fishing line.
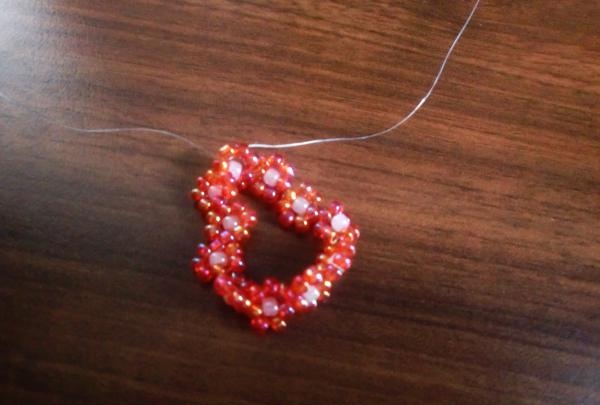
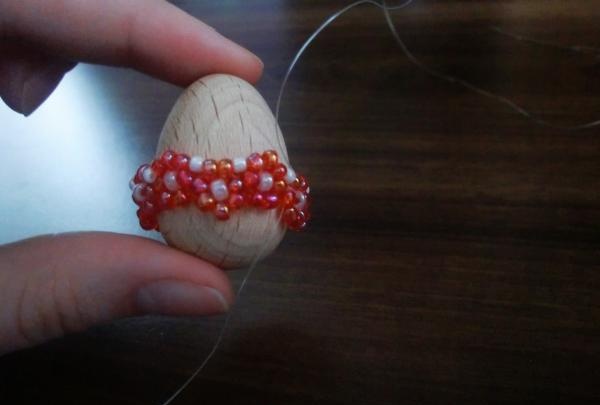
Step 5. Now put the flower ring on the wooden egg. The ring should fit tightly around the egg and not slip out.
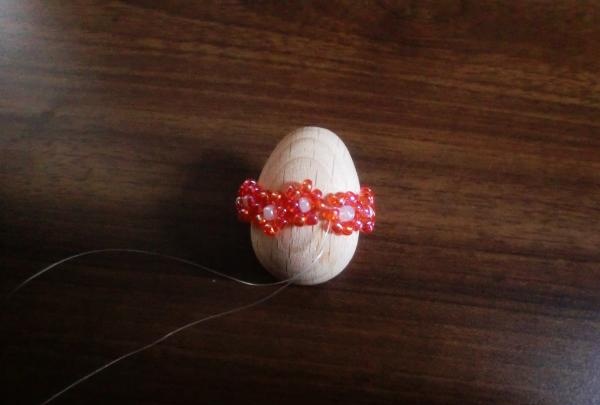
Step 6. Twist one end of the wire so that it does not interfere with you and start working with the second. One bead at a time is strung onto a fishing line and threaded through the one in the front.
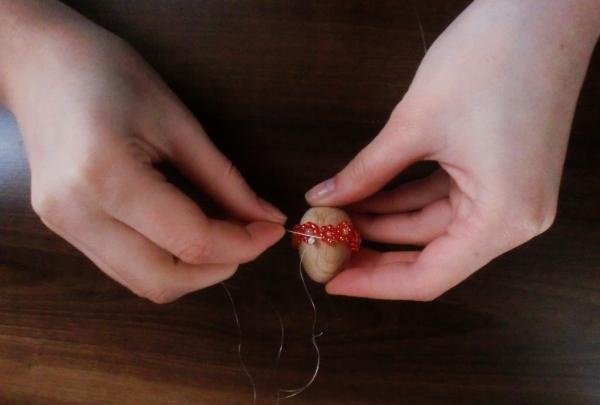
Step 7. So, you have woven the first row, continue in the same vein.
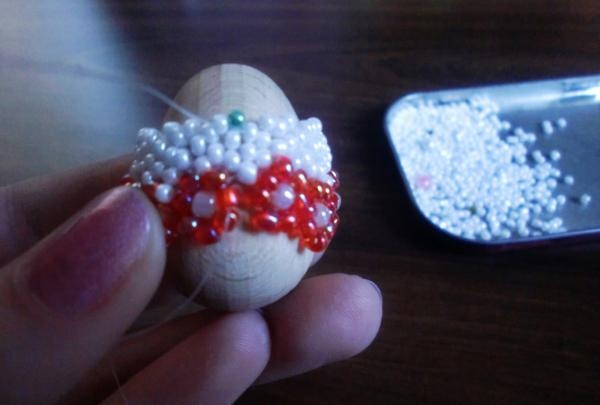
Step 8. Starting from the second or third row, the number of beads in the row should decrease, since the shape of the egg also decreases.
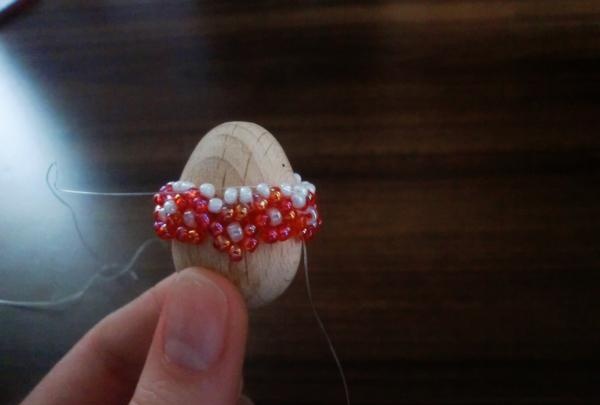
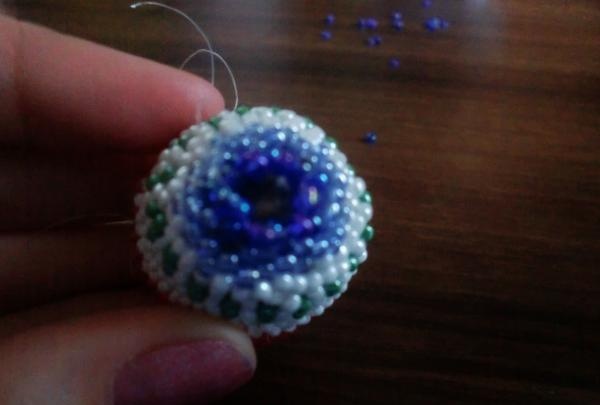
Step 9. Once you have weaved three or four rows of white beads, brighten up the background by adding two rows of colored beads.
Step 10. Alternate white beads with colored ones. Closer to the top you can add another color. I made the top blue.
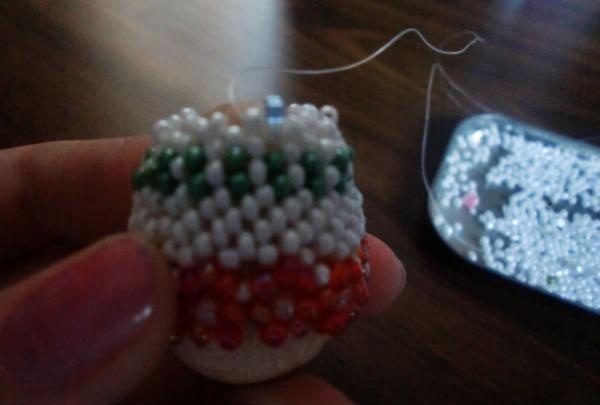
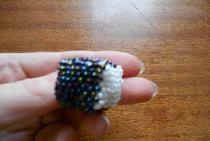
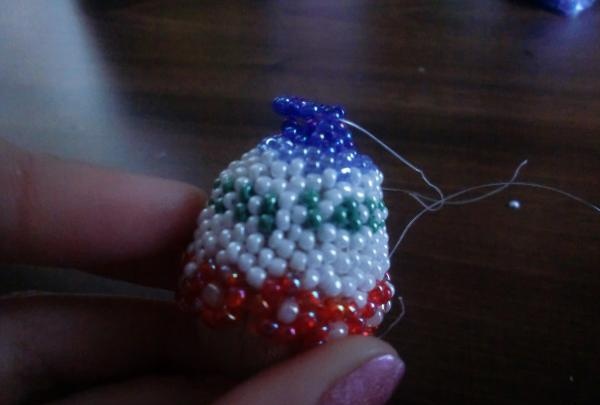
Step 11. Continue to reduce the number of beads in the row, and make the top from one bead.
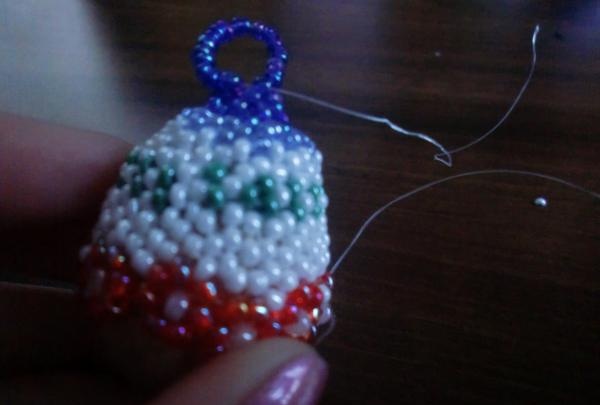
Step 12. The miniature Easter egg can be used as a keychain or other decoration, so you need to make a loop. Place several beads on the fishing line and secure.
Step 13. To prevent the egg from unraveling, the remaining fishing line can be cut off, hidden in the product, or burned with a burning match.This way you can be sure that the craft will remain intact and safe.
Step 14. The first part of the egg is done, proceed to the second. Do it by analogy with the first.

Step 15. Make a couple of rows of white beads, and then add colored ones. It will be more beautiful if the colors are not repeated. I made one row gold and the other red.
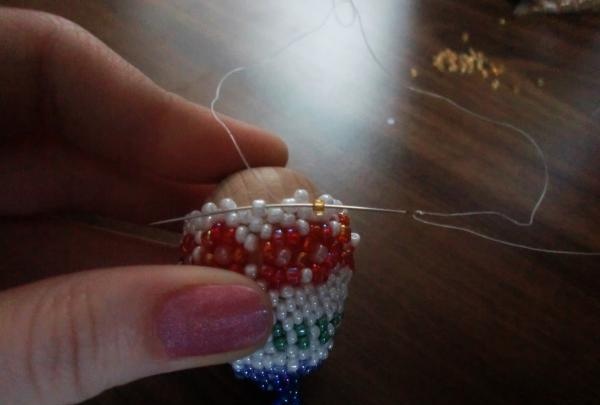
Step 16. Reduce the number of beads towards the end of the egg.

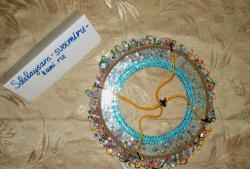
Step 17. You are now completely finished with the egg! Cut off the excess wire and secure it properly. Don't forget to attach a beautiful ribbon to the egg.

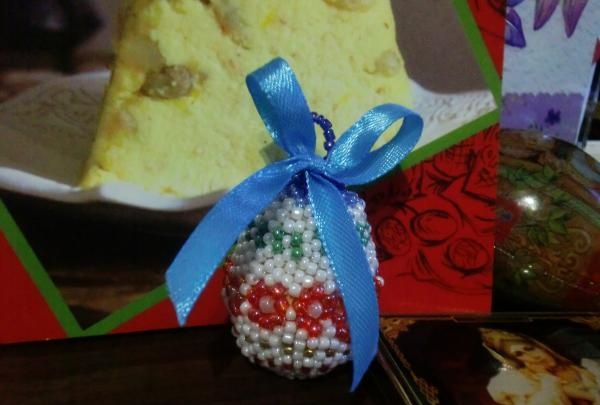
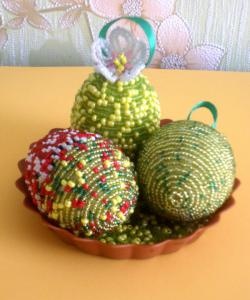
These are the original souvenirs you can make for Easter. The production time will take two to three hours depending on the size of the egg and your level of beading training. Spend a day making such souvenirs for all your loved ones - this will be the best gift that will be treasured for many years!