To knit a gray teddy bear in a scarf you will need thick acrylic (+wool) Nord threads and a hook No. 2-3, depending on your convenience.
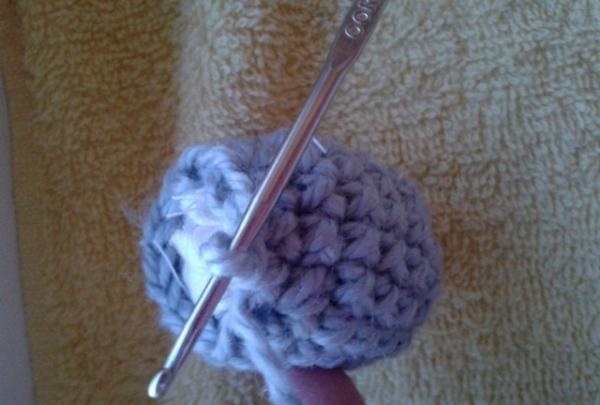
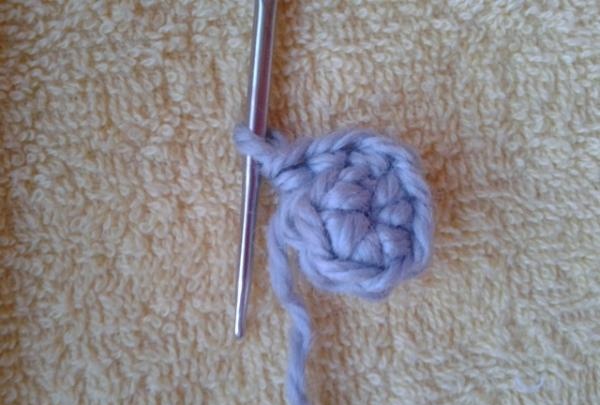
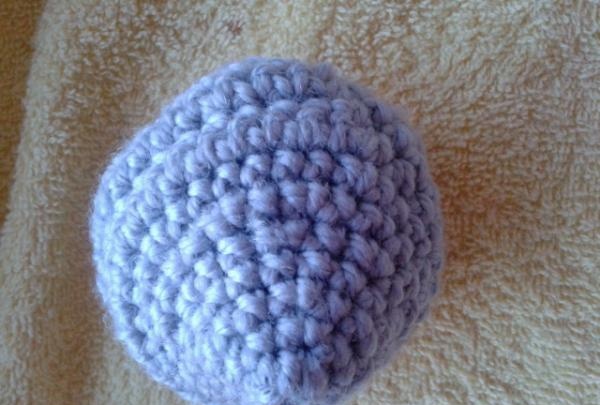
Start off knitting you need it from the head, namely from the nose of the bear. You need to pick up four chain stitches, connect and knit one after the other in a circle with single crochets, adding stitches in each row. The first row is eight, the second is ten, the third is 16, etc. It is necessary to add so that visually the knitting comes out in the shape of an obtuse cone.
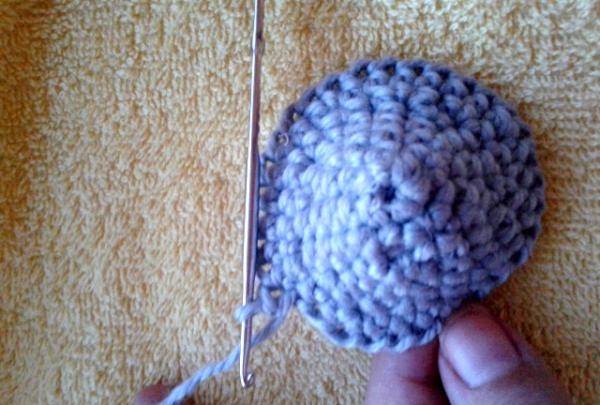
The knitting must be tight and even so that the surface of the future toy becomes uniform and pleasant to look and feel.
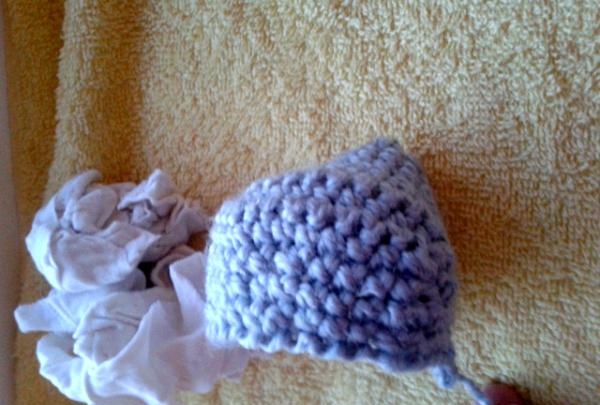
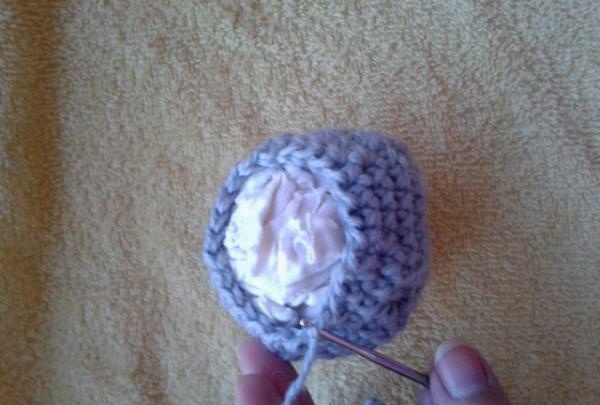
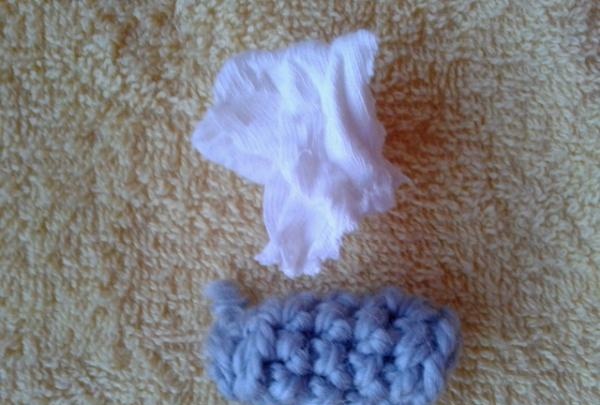
To stuff the toy, you will need thin, soft white knitwear, cut into small pieces. They should be placed tightly inside the part (there will be eight of them in total, four will need to be stuffed, of which the largest part is the head, the rest is the torso and lower legs).

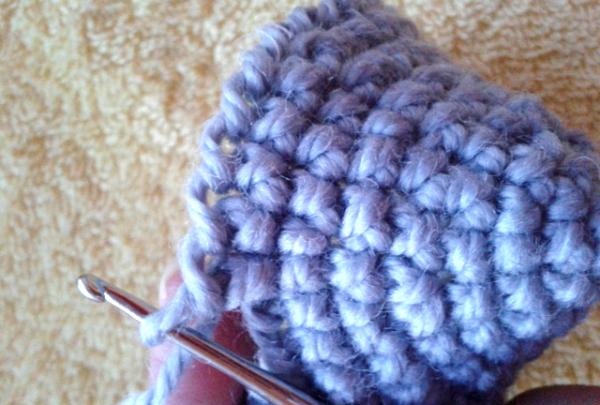
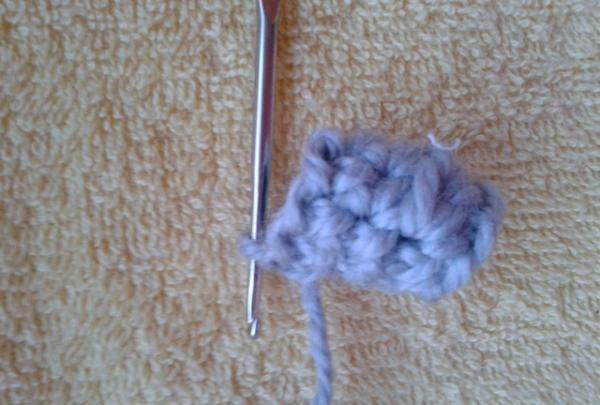
It is better to prepare more stuffing, it is used up quite quickly. After the circumference of the cone has become sufficient to encircle the head of the future toy, the rows begin to decrease.
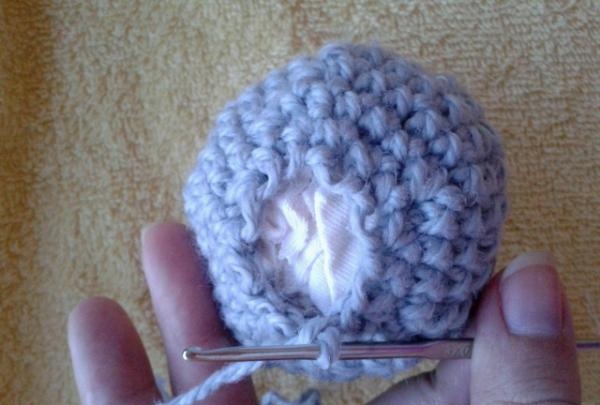
In each row, several stitches are knitted together, thus reducing the number of loops.
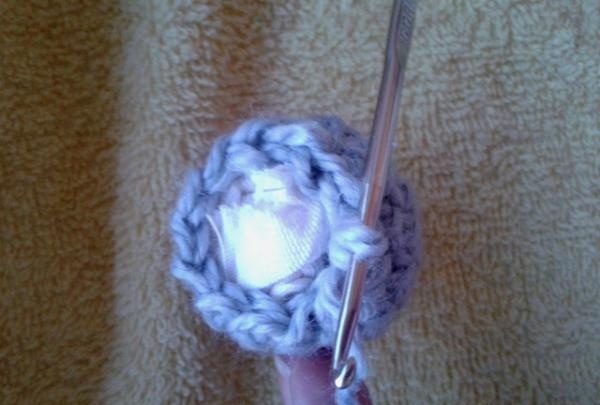
The calculation should be such that, having received the shape of a ball, the master receives three loops on the hook, which he quickly and carefully ties on top of each other.
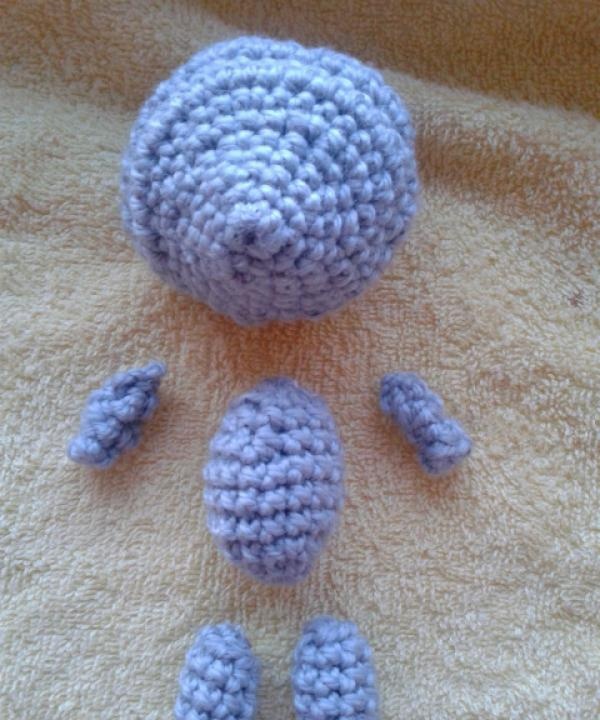
The next detail is the torso. Absolutely the same scheme, but unlike a cone-shaped head (which, by the way, can be made much simpler - absolutely round), you need to give it an oval shape or the shape of a small ball.
The same stuffing method is used.
And rounding the finished part.
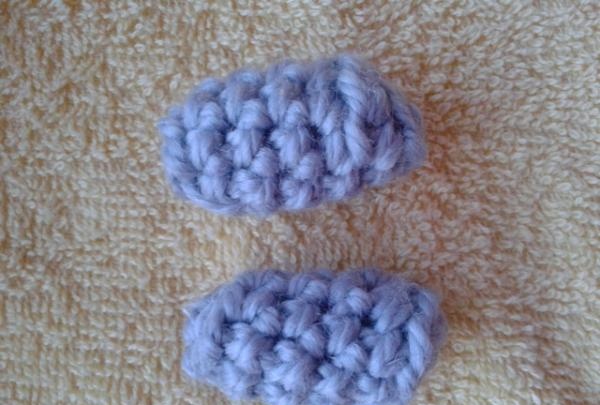
The next stage is the lower legs.
They are knitted in the same way as the body, but with an even smaller diameter.
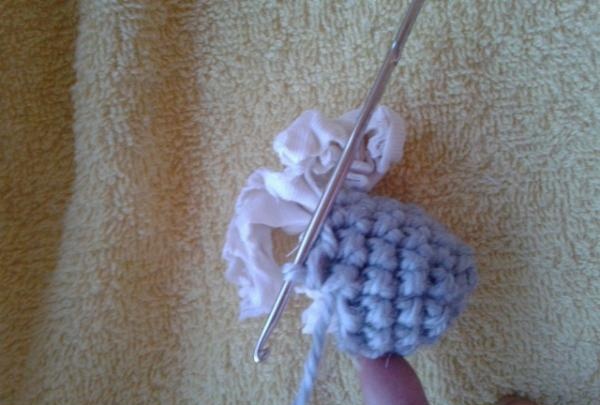
Same stuffing method. It's difficult to do this with small paws. It is convenient to use a hook to push the stuffing into the hole of the connected part.
On the head it remains to hide the threads deep into the detail.
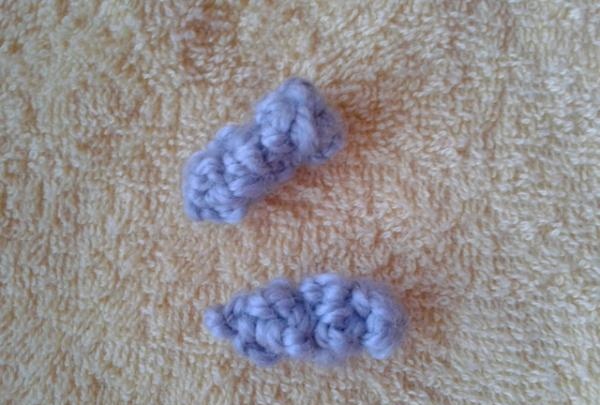
The bear needs two upper legs. The scheme used here is the connection of three loops, a row of four double crochets is repeated twice and at the top the loops are connected, forming a small voluminous foot. No need to stuff them! Knit two pieces.
On the lower legs, thread the threads deep into the part, check that there are two of them.
Using thin white cotton threads and a needle, sew the parts together.
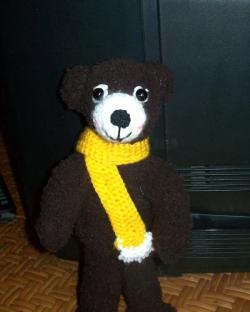
The hardest part is over. In order to make ears, you need to knit two semicircles with three rows of single crochets in each. They do not knit a full circle, but finish halfway and go in the opposite direction. Sew two ears to the head. Use black thin woolen threads to outline small eyes and a round black nose.In the photo, the bear is a fashionista, he has a scarf with tassels. This is a simple knitting with yarn overs using Iris threads. Scraps of thread are tied to the ends of the scarf and form cute tassels. The scarf takes about 15 minutes to knit on average and greatly enlivens the image of the toy.
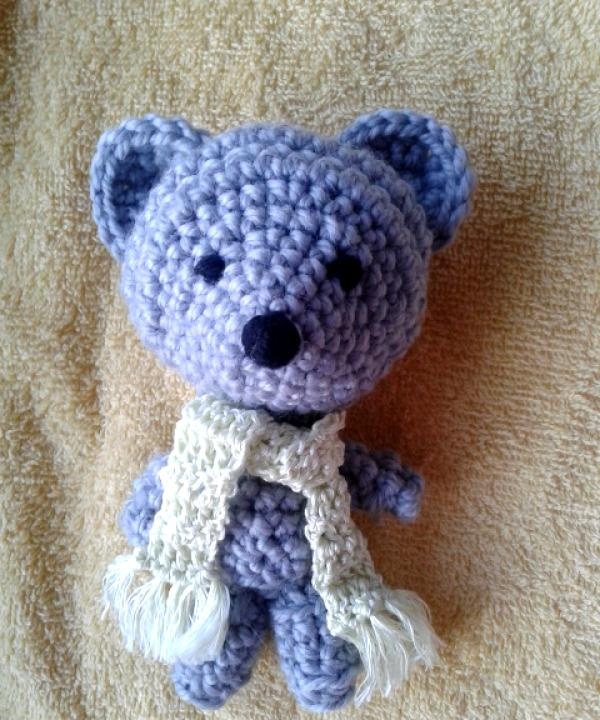
The bear is ready!