To create a notebook you will need the following materials:
- A4 paper, soaked in coffee and cinnamon (the number of sheets depends on the thickness of the finished product),
- thick cardboard for the cover,
- Ruler and pencil,
- fabric for cover design,
- iron,
- Moment glue,
- needle and thread (or sewing machine),
- nylon transparent thread,
- velvet colored paper,
- decorative tape for cover design,
- thick paper for decorating one of the sheets of the notebook and its back side,
- hemp,
- padding polyester,
- glue stick,
- various decorative elements for decorating the front side of the notebook,
- colored paper for scrapbooking,
- a set of colored pencils (you can use felt-tip pens or watercolors).
Creative process
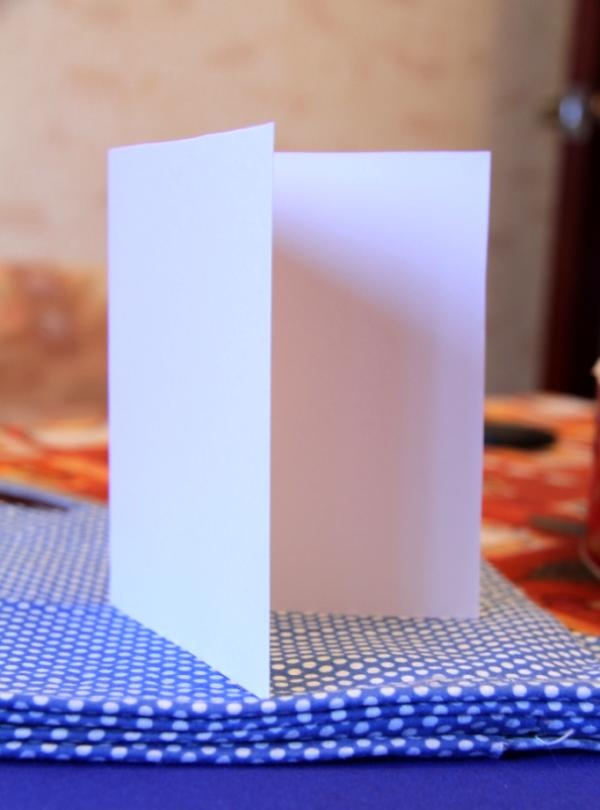
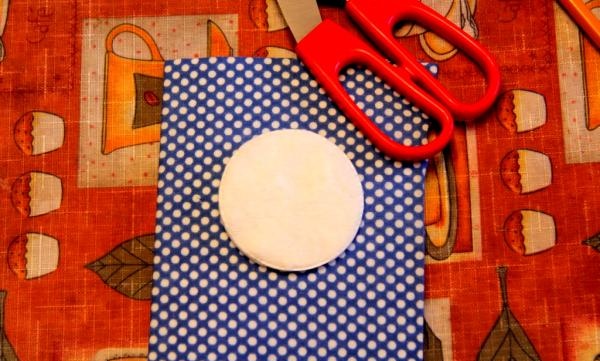
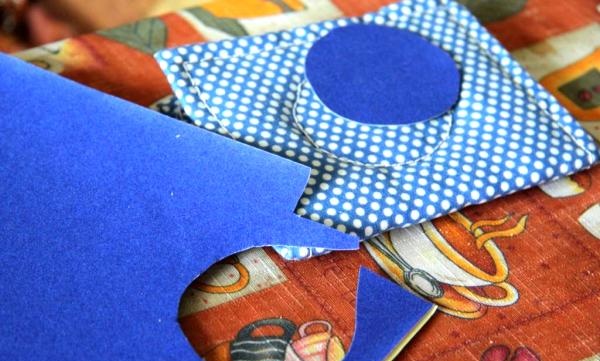
1. From thick paper you need to cut out the base for the notebook cover.
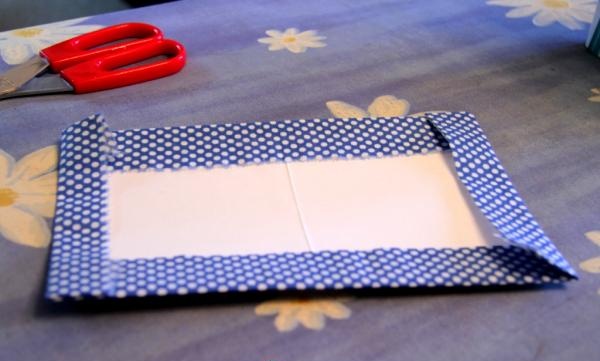
2. Cut the fabric for the cover so that the edges need to be folded inward.
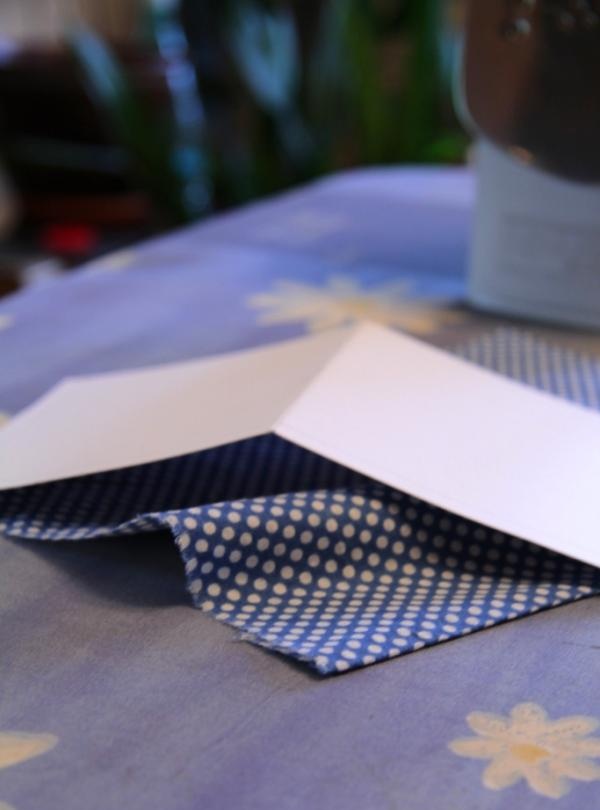
3. Iron the fabric onto the paper. It will be easier to work this way.
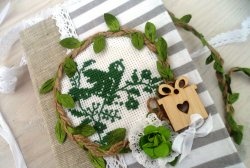
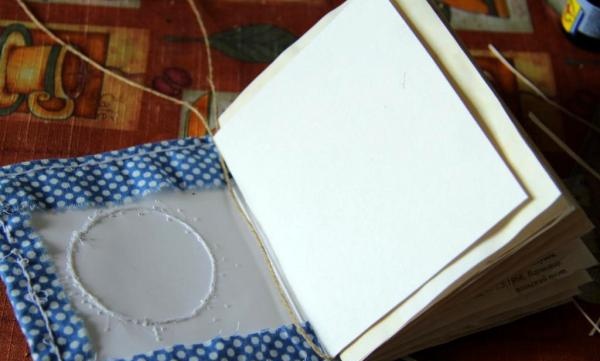
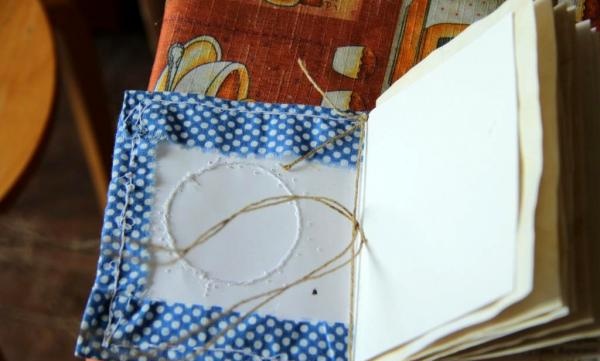
4.While the fabric is not yet sewn to the paper, draw a circle along the pattern. Sew the marked area with thread. This will allow the center of the composition to be flat. The area that will extend beyond the circle will gain volume due to padding polyester.
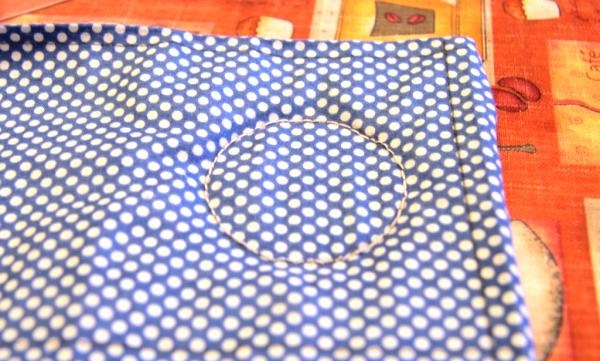
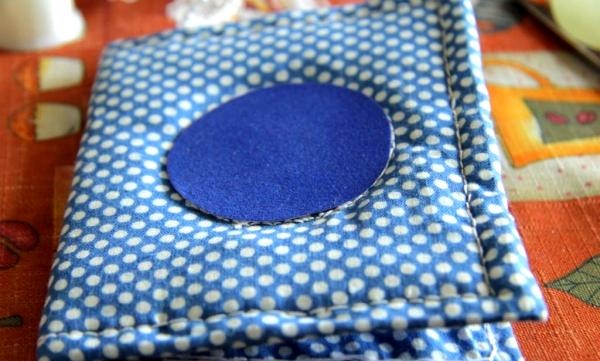
5. Cut a rectangle from padding polyester to the size of the cover, but do not forget to cut out a circle that duplicates the stitched fragment. Place padding polyester under the fabric and sew around the perimeter of the product.
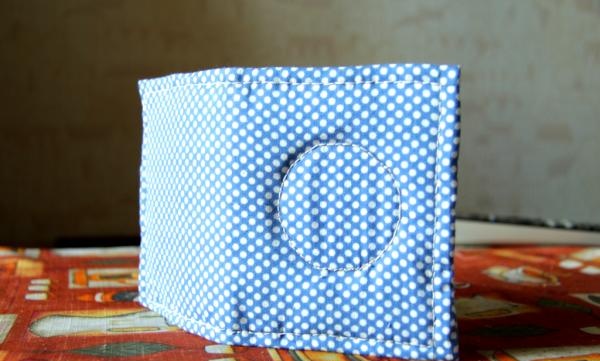
6. From colored velvet paper, cut out a circle to match the circle in the center of the cover. Glue this piece.
7. Using nylon thread, sew on a decorative ribbon.
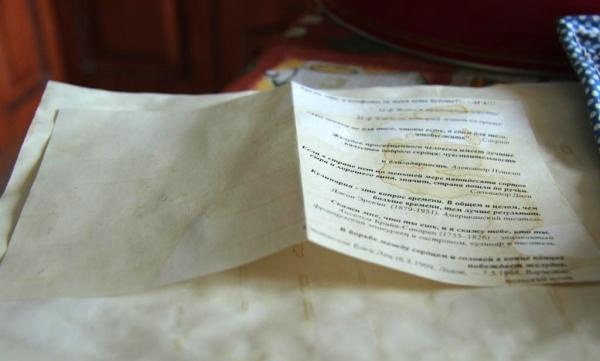
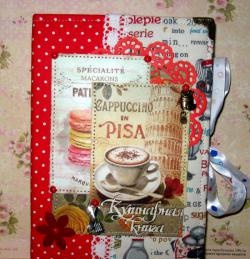
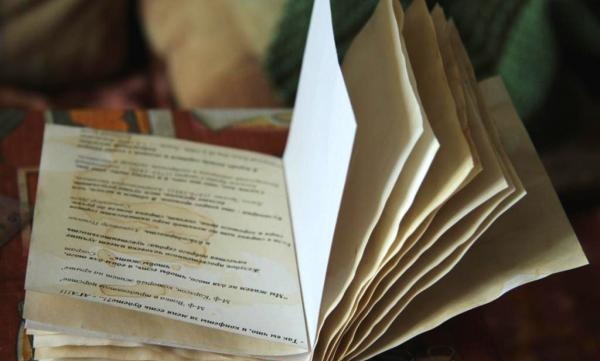
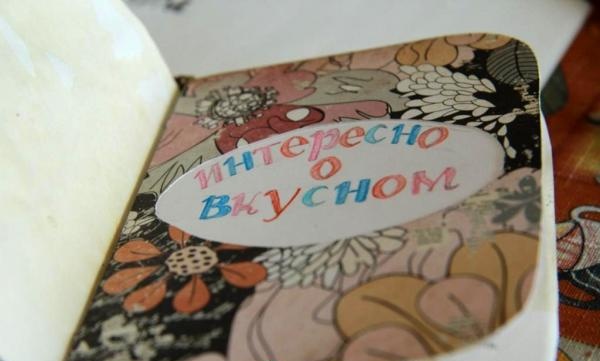
8. Cut out a sufficient number of sheets of paper soaked in coffee and cinnamon. So that the notebook does not look empty, it needs to be given some zest. Select one of the sheets and print something on it. In this case, a selection of interesting thoughts about food was made. To make the presence of this page in the notebook look appropriate, you need to come up with a cover that will be located in front of these notes.
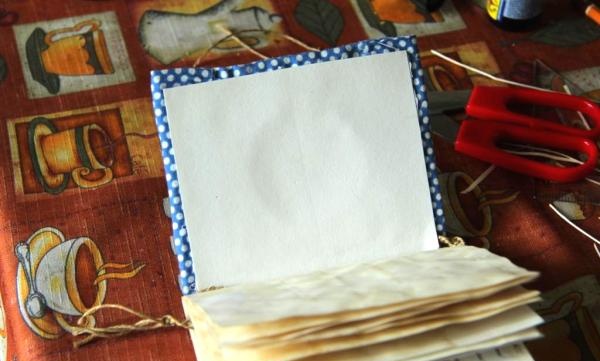
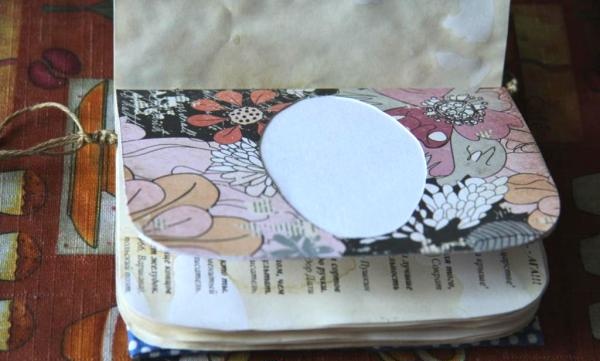
9. You need to cut out a rectangle from thick paper, insert it in front of the sheet on which the quotes are printed.
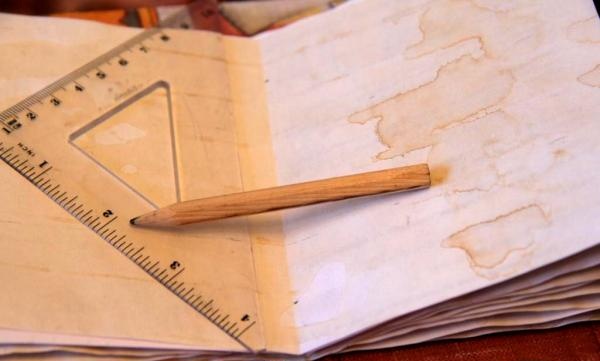
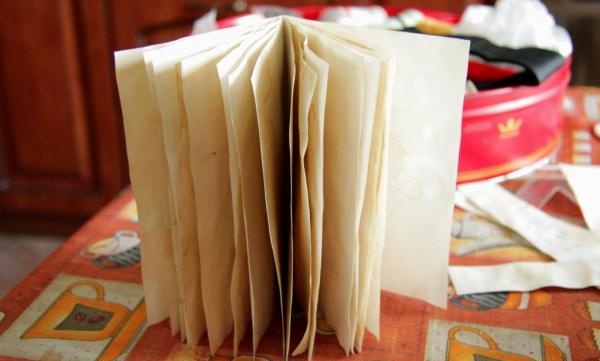
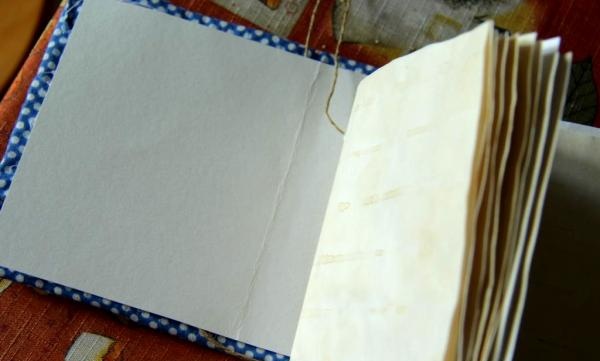
10. When all the sheets are assembled, you can start attaching them. Hemp was used for this. Mark two holes at equal distances from the edges of the sheet and make holes with a large needle. Pass the hemp through all the sheets so that the “tails” are on the side of the first and last sheets. Don't rush to tie the ends of the thread.
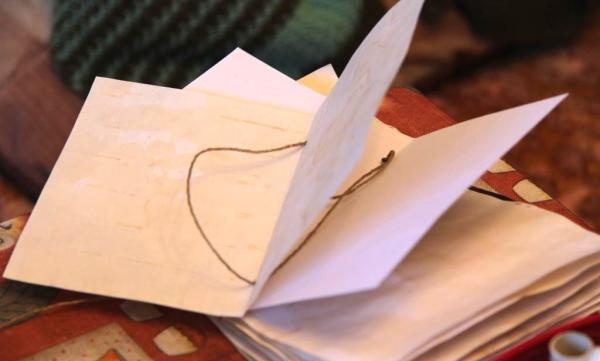

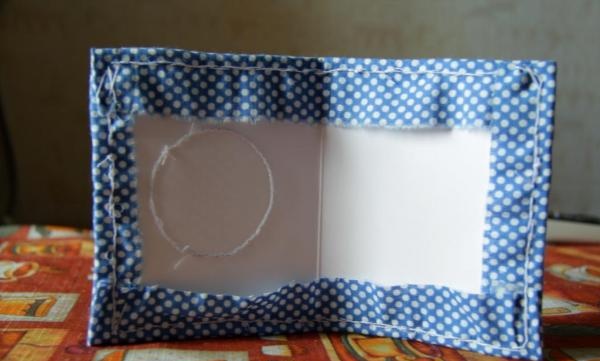
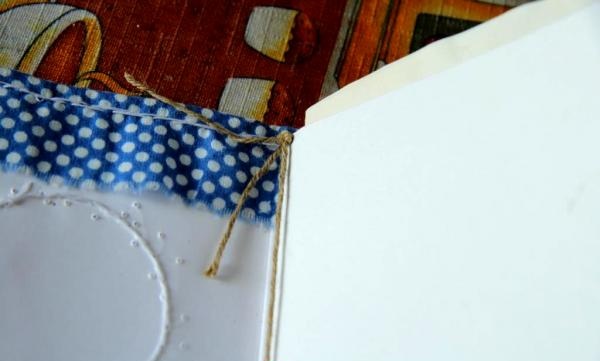
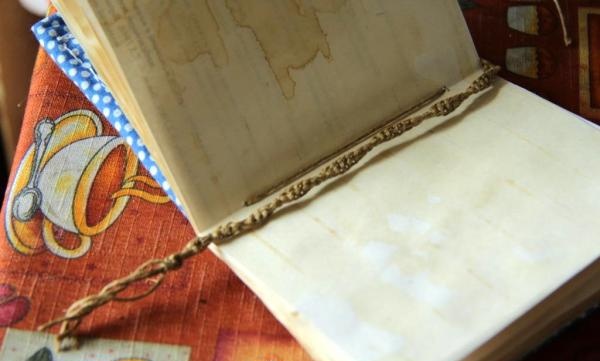
11. First you need to refine the back side and hide all the seams. From thick paper, cut out a rectangle smaller than the cover itself. Fold it in half. First glue one side of the rectangle, wrap the ends behind the thick paper and tie them at the “top” of the notepad spine.Do not glue the second part of the thick paper yet.
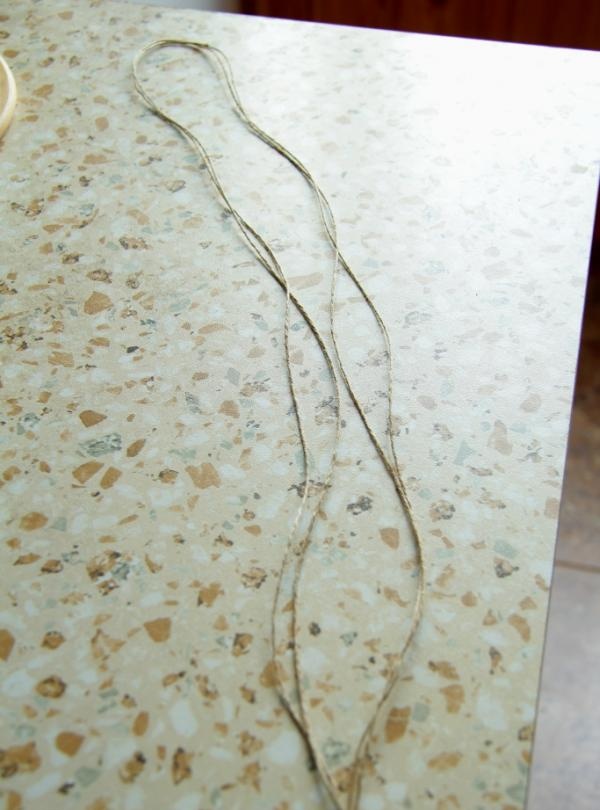
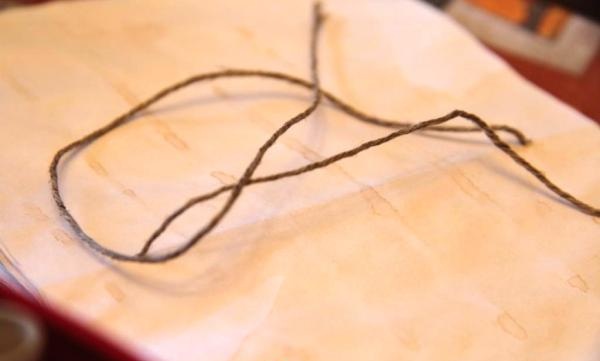
12. Let's start bookmarking. Making just two ropes peeking out from under the sheets is quite simple. I want to achieve an interesting visual picture. Therefore, we will weave a bookmark. Any weaving pattern can be used. In this case, two hemp threads were taken, folded in half. Bring these threads behind those that bind the sheets and pull them to the “top” of the spine of the notebook. Now you can glue the second half of the construction paper to hide the seams.
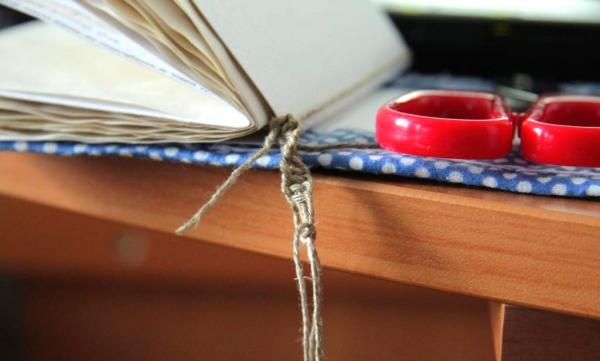
13. Secure the notebook and begin weaving a bookmark.
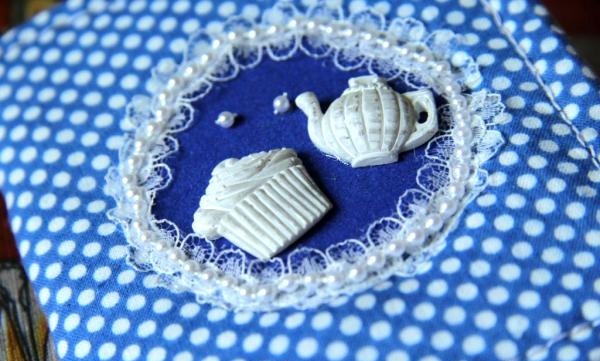
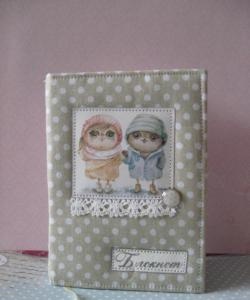
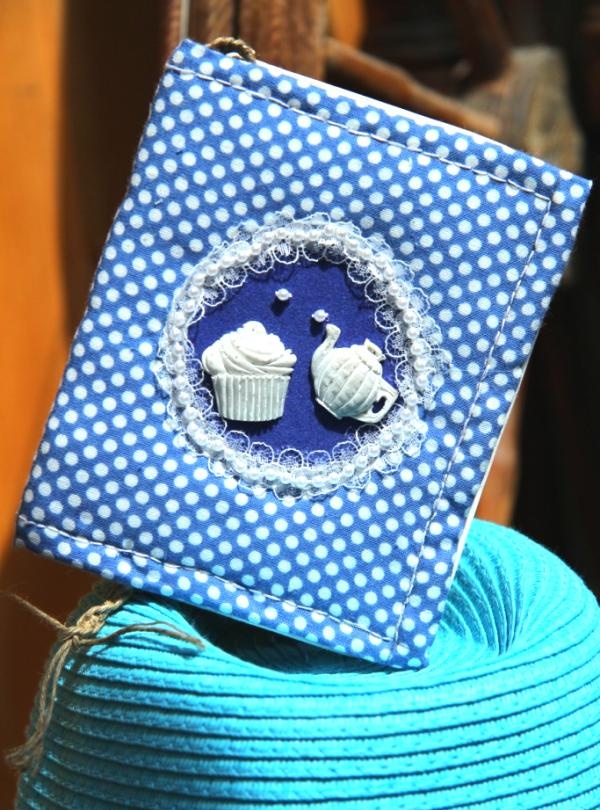
14. Let's move on to the cover design. Select decorative elements that suit the theme. Fix them on velvet paper with Moment glue.
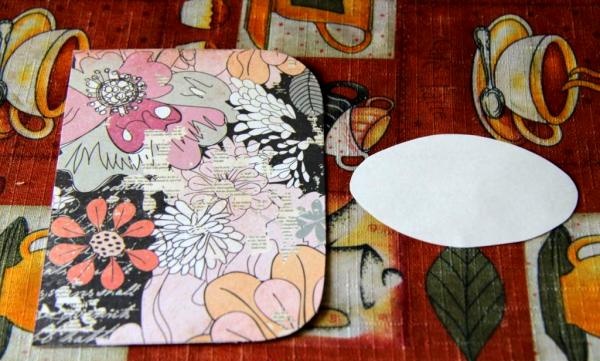
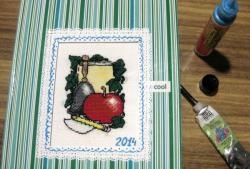
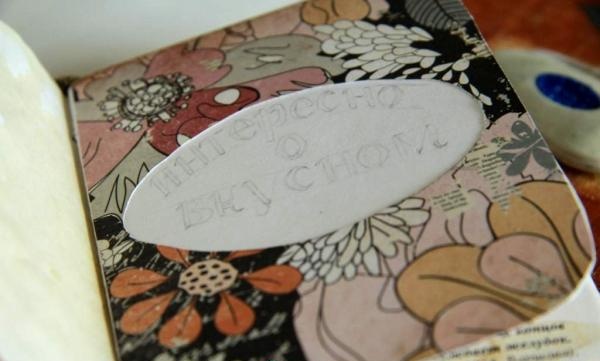
15. Let's continue designing the sheets inside the notebook. We decorate the sheet in front of the quotes with colored paper. Cut out an oval in the center of the colored paper. Glue colored paper onto white paper. We will fill the area that remains white with an inscription.
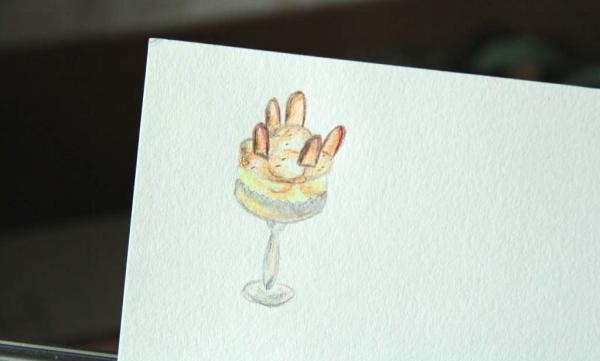
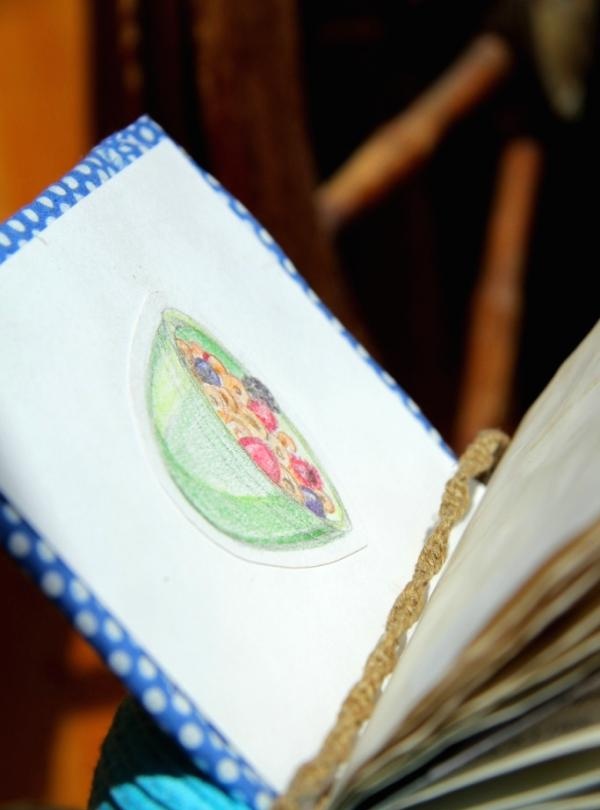
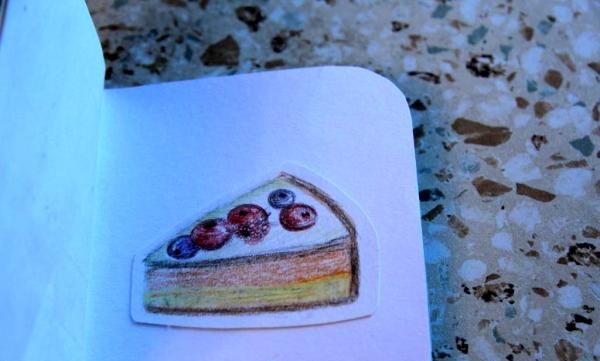
16. The second side of the white sheet, the inside of the cover and another page, which is located a little further from the quotes, remained blank. To decorate them, we draw various desserts and sweets. If you are not sure that you can draw cakes, you can make various kinds of appliqués from magazines. Here your imagination is not limited to the given framework of the article.
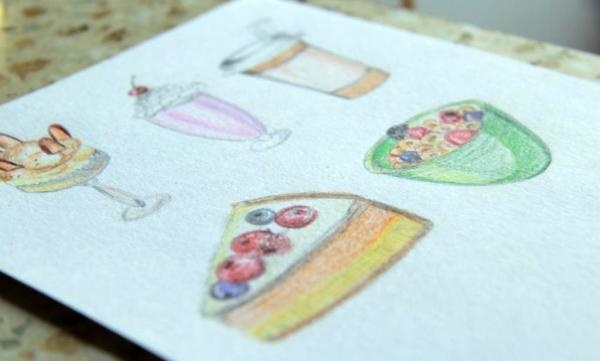
Complete all drawings on a separate sheet, then carefully cut them out along the contour.
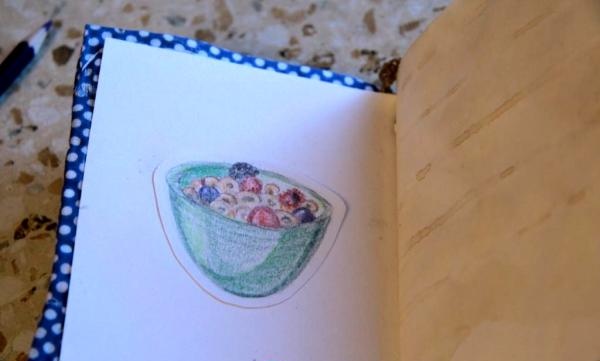
17. Glue one image at a time (sometimes two at a time) onto thick sheets.

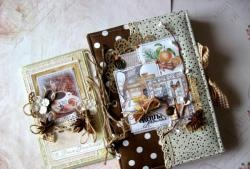
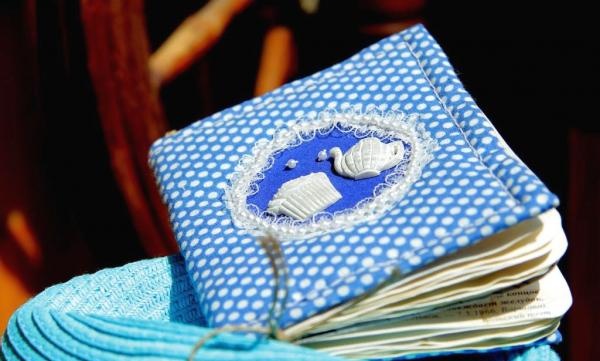
The notebook for culinary notes is ready.
Creative success and inspiration to you!