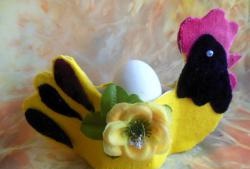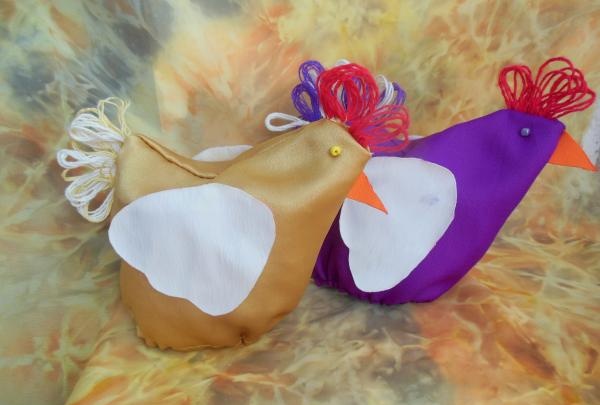
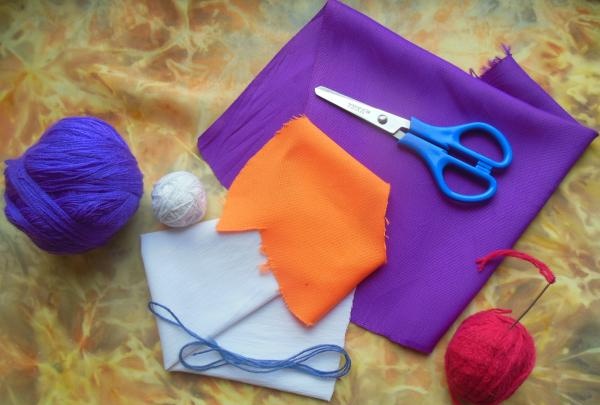
Sewing a cover requires the following materials:
• fabric for the base (thick, which will hold its shape well);
• two different materials for creating wings and beak (white plus orange);
• red yarn for the comb, some white and purple threads for the chicken’s tail (“the plumage” always matches the color of the wings and base);
• scissors;
• needle with a large eye;
• two beads for the eyes (can be replaced with large beads);
• polymer glue;
• strong cord (for tightening).
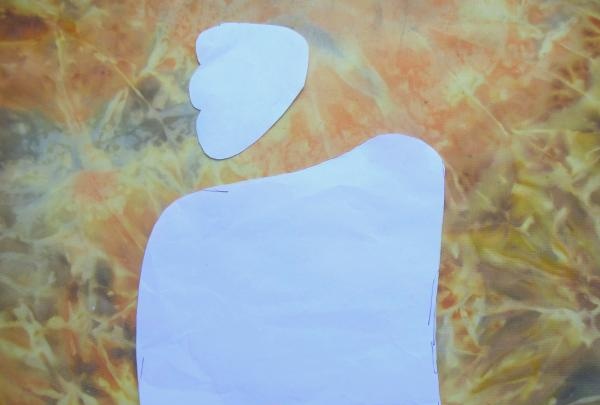
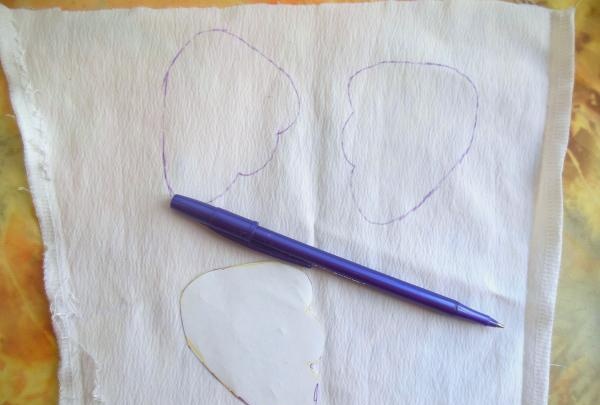
Create an outline of the bird on paper (the size is arbitrary, it depends on the amount of fabric or your own preferences), also draw a wing.
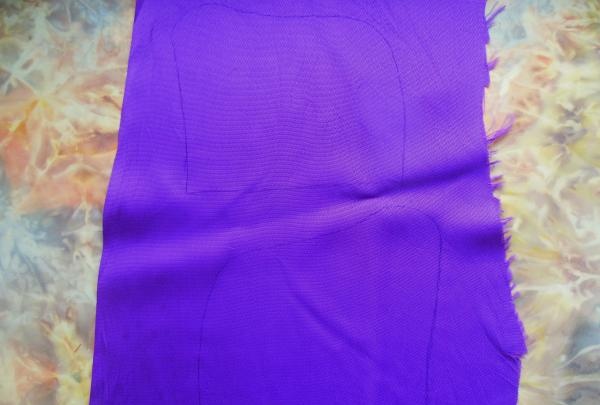
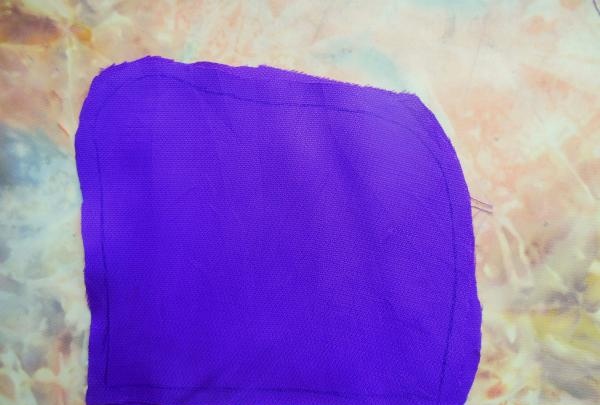
Trace the large piece twice on the wrong side of the fabric, positioning the pieces in a mirror image, and cut out with seam allowance.
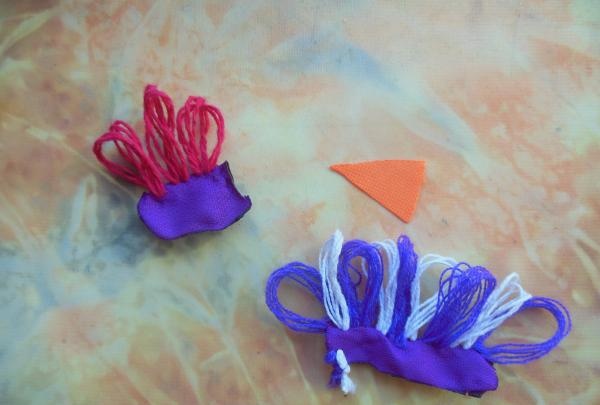
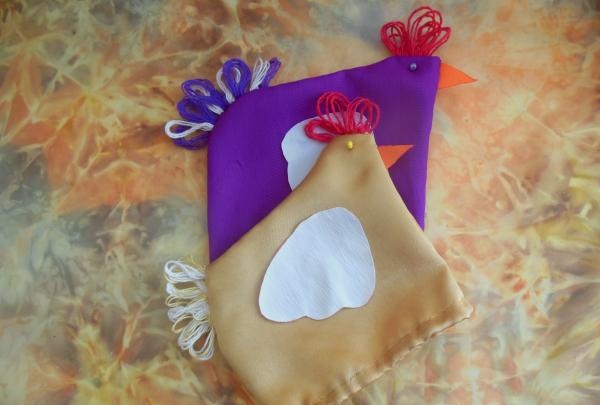
Before you start sewing the base, you need to take care of additional details (after all, they also need to be included in the work at the initial stage of sewing). Therefore, next you should make a scallop.
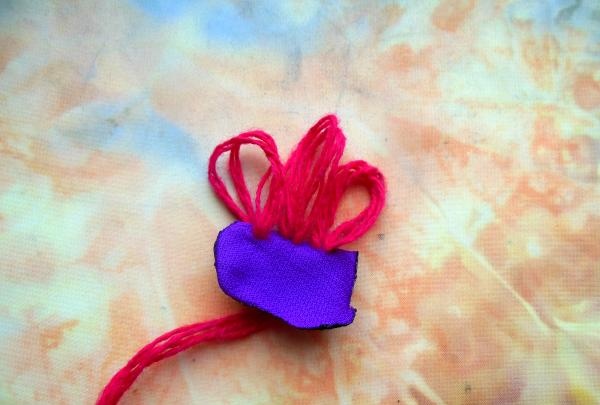
To do this, cut out a small even square from the remnants of the fabric, fold it in half and stitch it thickly with red yarn, forming protruding loops.
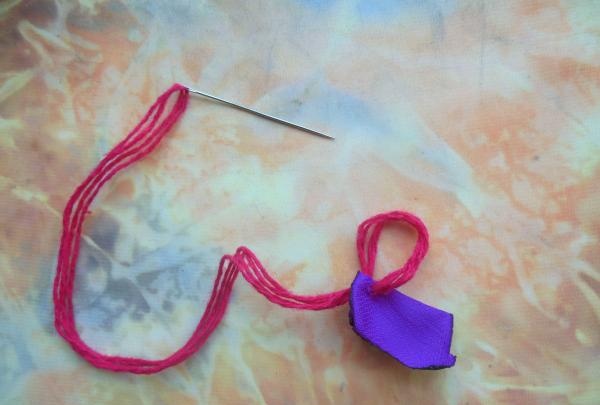
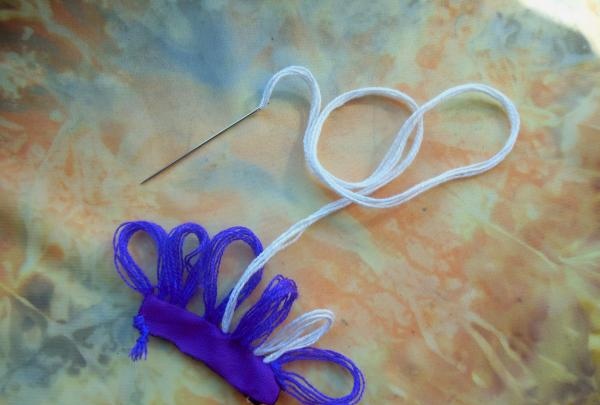
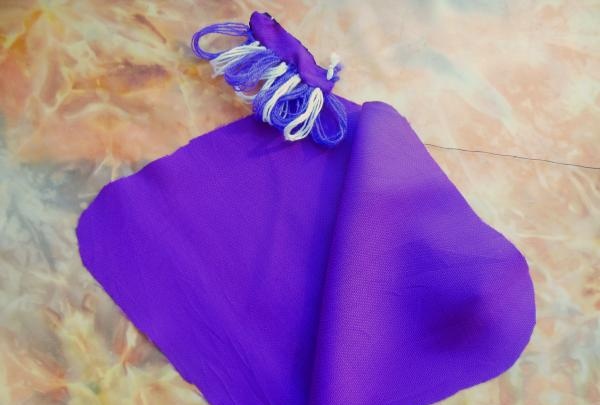
The tail has the same structure, but combines two colors: white (wing color) and purple (base color). It is twice as large as the ridge.
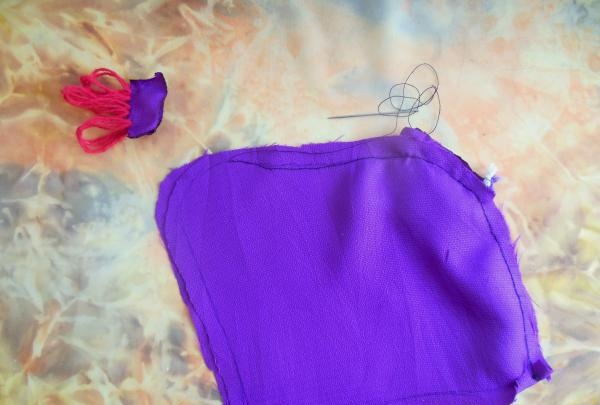
Once the comb, beak and tail are ready, you can begin the main task - sewing the base. Its two parts must be folded inward facing and sewn with a reverse stitch. When you reach the tail area, place a wide piece between the warp pieces, with the fuzzy side facing in, and sew along with them.

Sew in the comb in the same way, placing it on the top of the head.
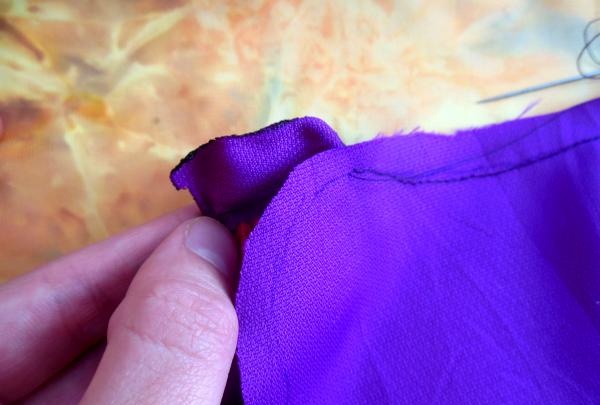
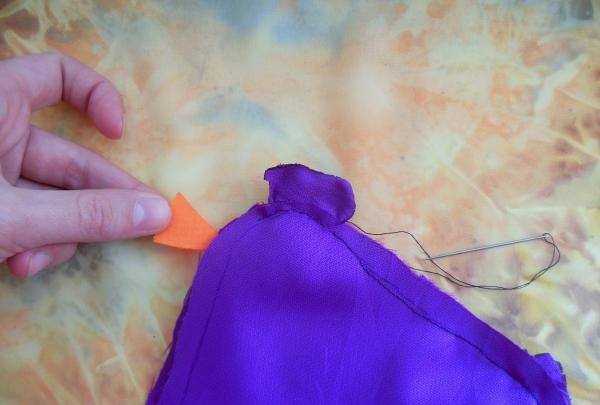
The beak is the last to be “put in place” and, as shown below, with the point inward.
Next, trace the paper wing on both sides on the white fabric and carefully cut out both drawn parts (but without any allowance).
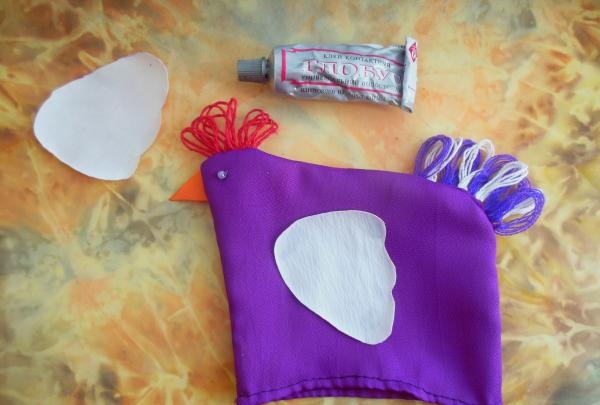
Take thread, beads for eyes and glue.
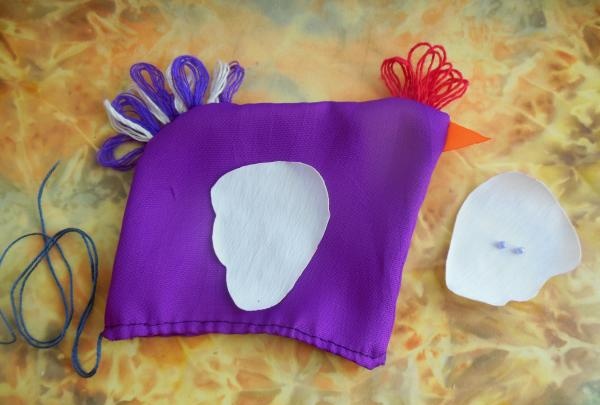
It’s better to sew on the eyes, but it’s quite possible to glue on the wings.
All that remains is to pull the thread into the hollow bottom seam. This thread will fix the position of the chicken and change it depending on your needs.
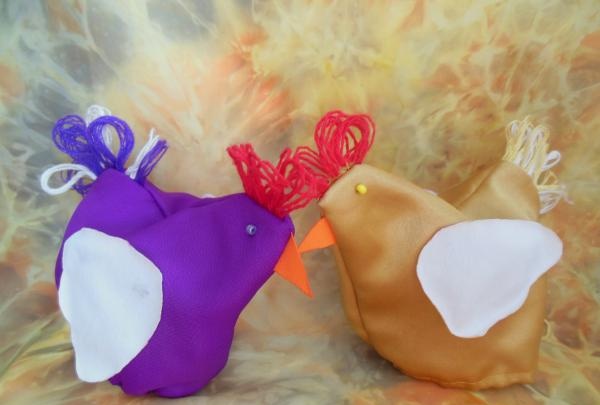
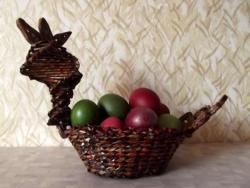
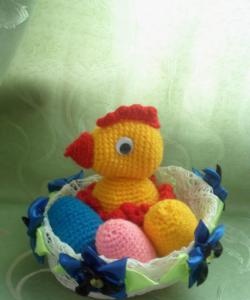
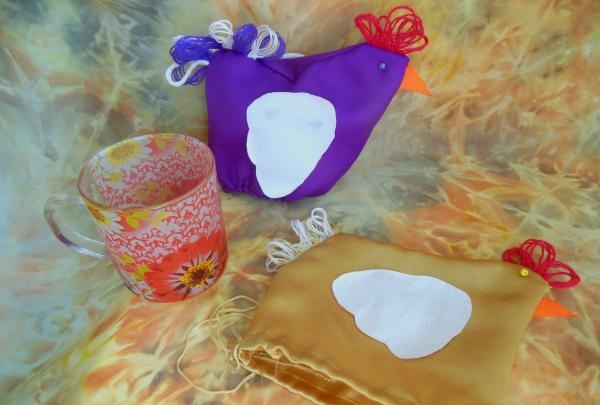
This is how you can quickly and easily make an interesting holiday attribute. It will be a good addition to a children's party, will serve as a means of storing cutlery during a picnic, and will even replace a thermos, covering food from the sun or vice versa, preventing it from quickly cooling in the air.