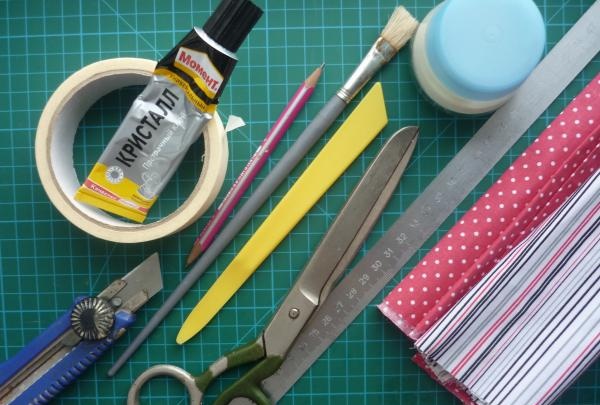
To create a stand you need to prepare:
cardboard - 2 mm thickness; fabric, preferably 100% cotton; PVA glue; whatman; glue "Moment Crystal/Universal"; stationery knife; scissors; glue brush; masking tape; pencil; ruler.
Cut out the cardboard blanks to the required size using a stationery knife.
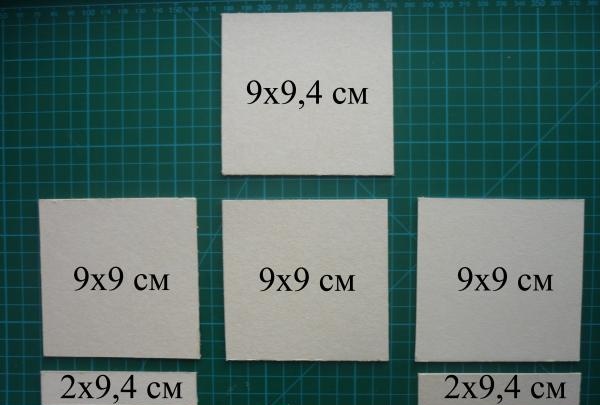
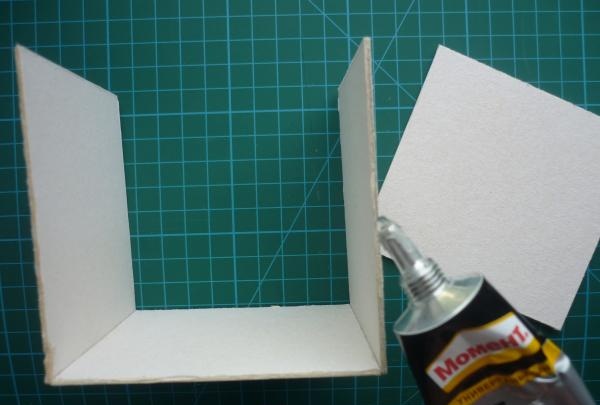
First, let's assemble three sides measuring 9x9 cm (two walls and the bottom of the stand), applying glue to the edges of the bottom. To ensure that the wall is at a right angle, you can adjust it by supporting it with a corner.
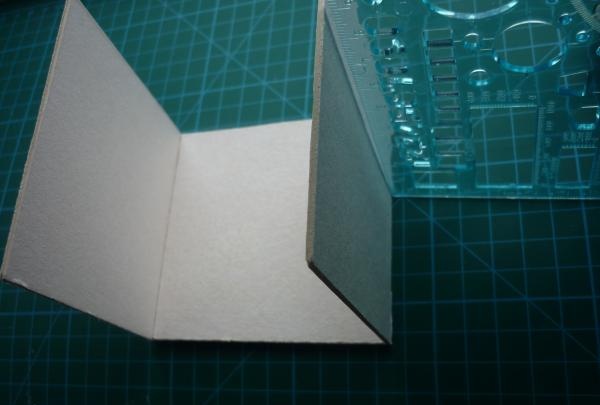
Glue the back wall of the stand.
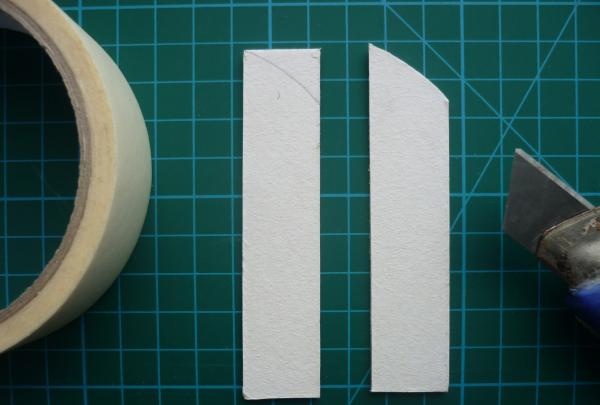
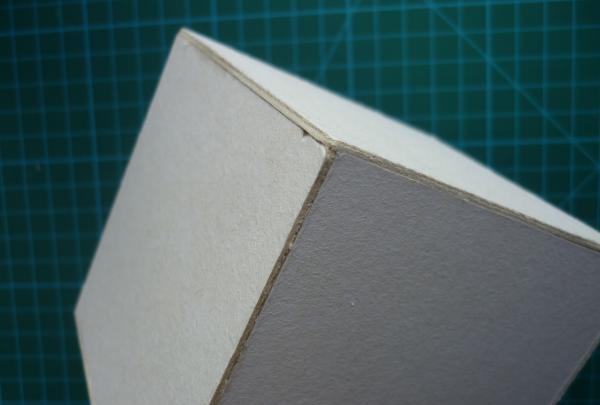
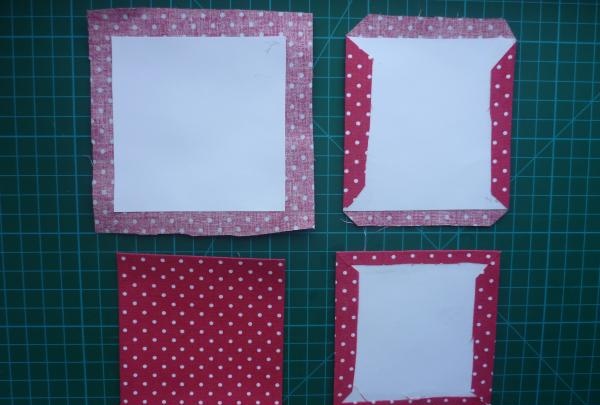
We take any round object and trace it on the blanks for the small front walls so that we get a beveled corner.
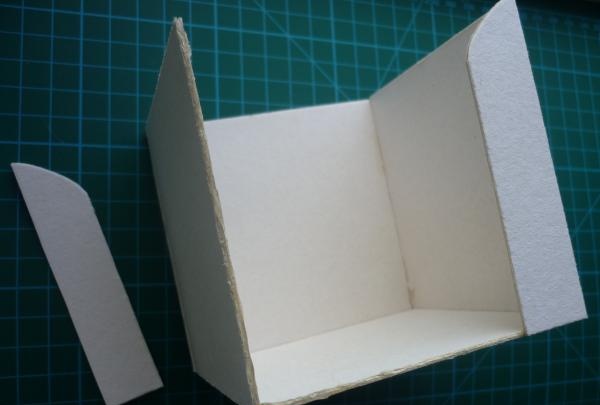
Glue the small parts by applying glue to the edges of the walls and bottom.
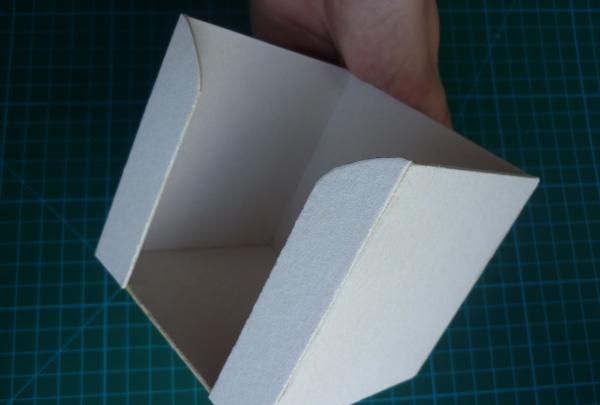
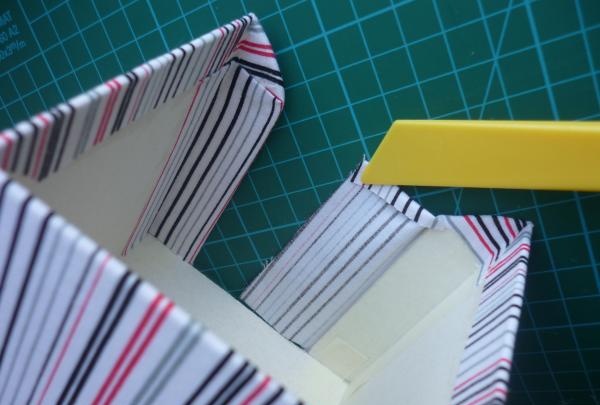
This is what the glued corners of the stand should look like.
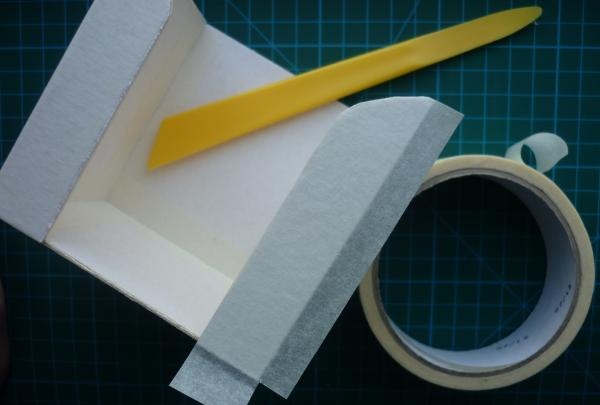
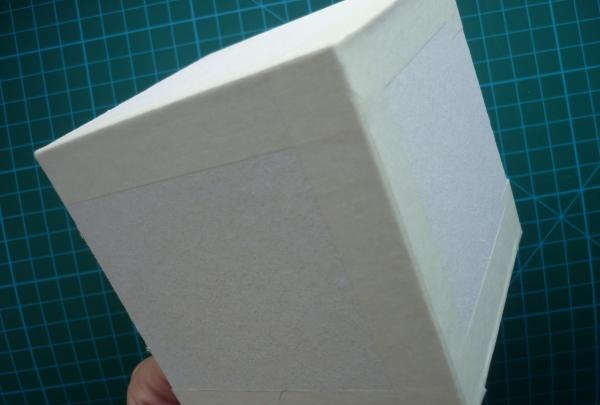
Masking tape is needed to secure the entire structure. We seal all the joints inside and outside the stand with it. Using a stack, smooth out the tape so that there are no wrinkles.
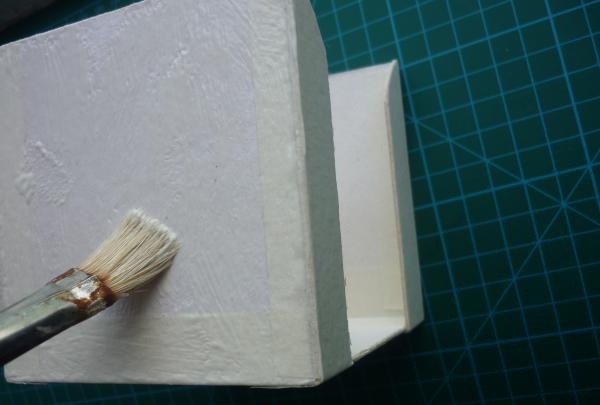
We iron a piece of fabric measuring 39x13 cm. We will glue the fabric to the walls of the stand, as if wrapping it around it. Apply a very thin layer of glue to the first wall. If you apply too much, the glue may penetrate the fabric and leave marks, or the cardboard may become deformed.
We glue this wall to the fabric. We make sure that the wall lies exactly in the center and there are indentations.
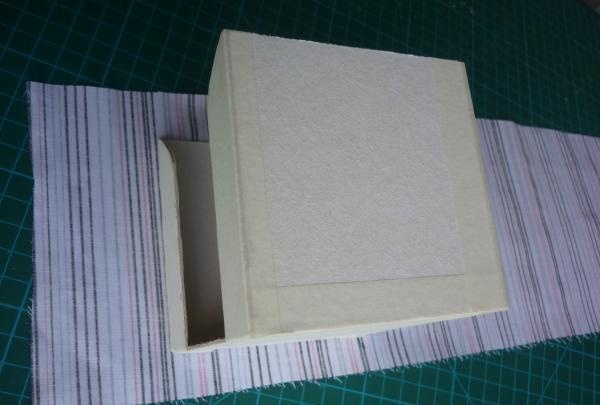
We glue all three walls, carefully adding small ones. We smooth the surface with a stack so that there are no blisters on the fabric.
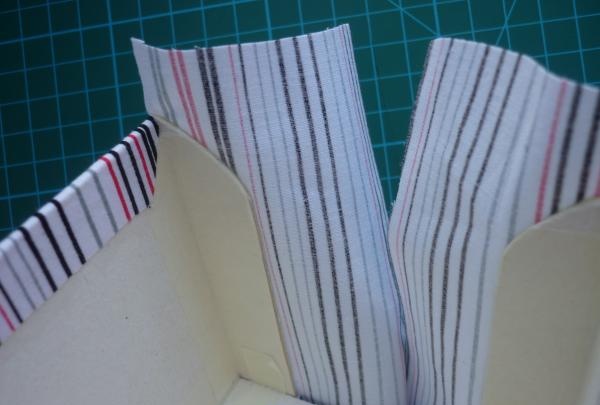
We cut the corners at an acute angle at the bottom of the stand. We seal the indents. First you need to make cuts on the fabric in the places where the small walls end. We do not cut off the excess fabric; we will use it to seal the inside of the walls.
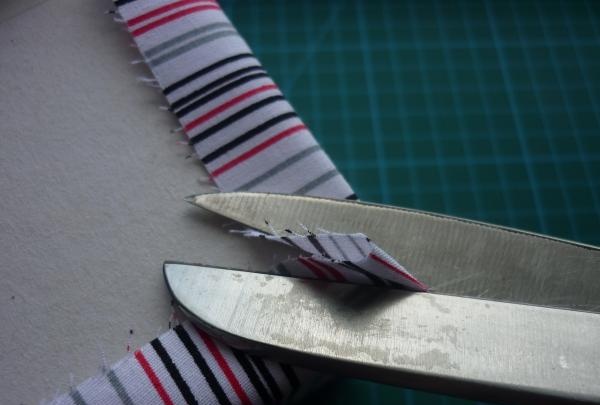
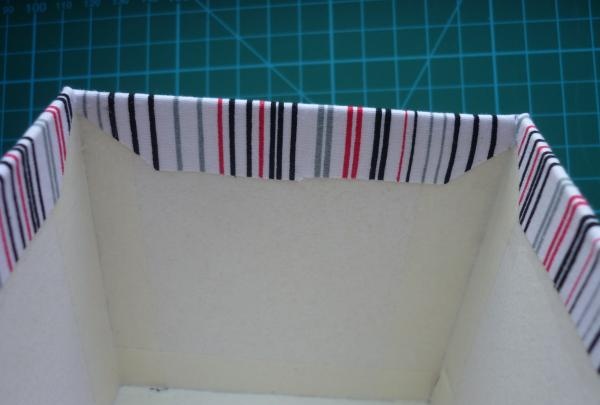
In the same way, we cut and glue the corners of the upper part of the stand of the rear and side walls.
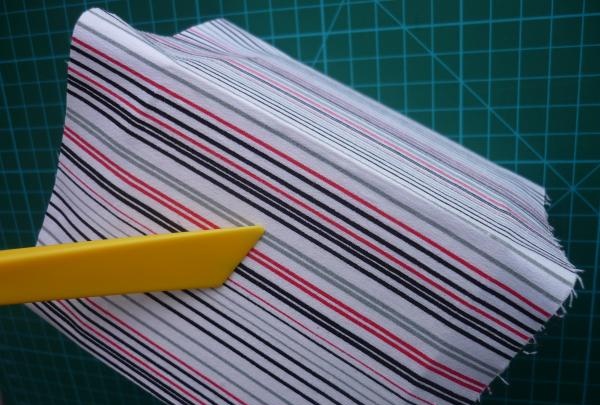
Now let's prepare the fabric in the front part to beautifully cover the small walls.
At the bottom, cut off the excess fabric evenly to the level of the upper part of the bottom.
We make cuts accordingly.
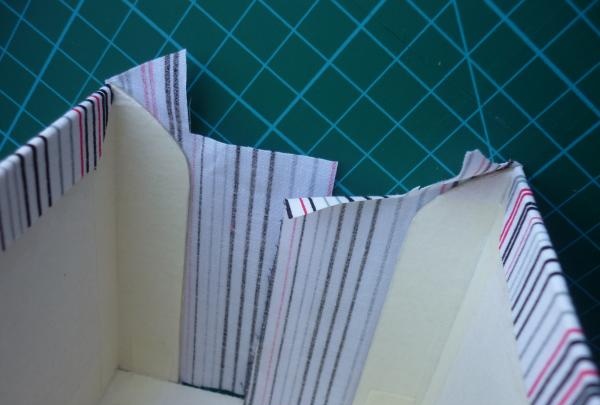
First, glue the top corner, braiding it around the perimeter of the rounded part. If excess folds appear, you can make small cuts by gluing them on top of each other. Let's bend and glue a piece of fabric that remains superfluous, but just serves the purpose so that the edges of the fabric are not visible. We carefully glue the last part, forming a flat surface and corners with a stack.
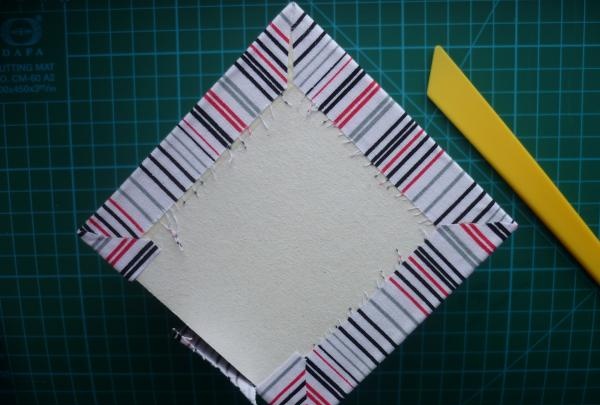
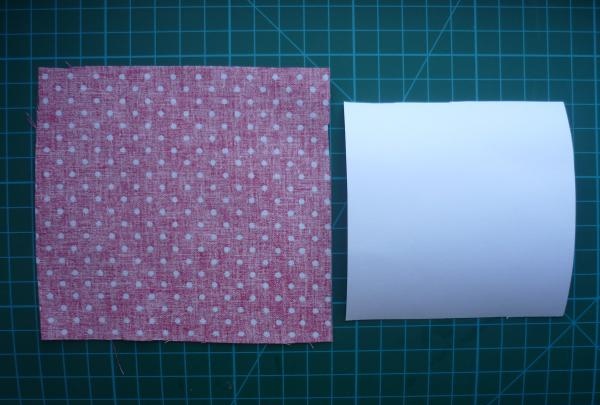
We cut out a square from whatman paper that fits the size of the bottom and a fabric with allowances for it.
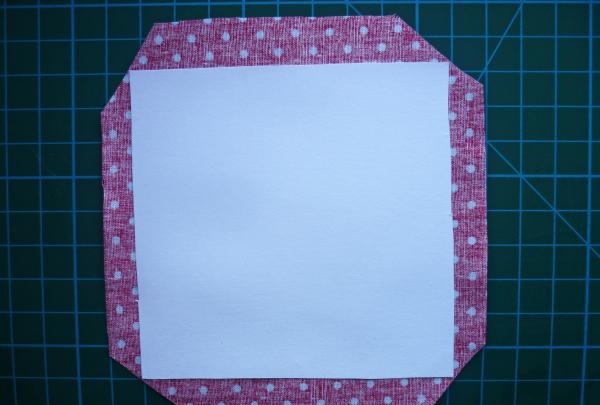
We glue whatman paper onto the ironed fabric. We cut the corners at an acute angle.
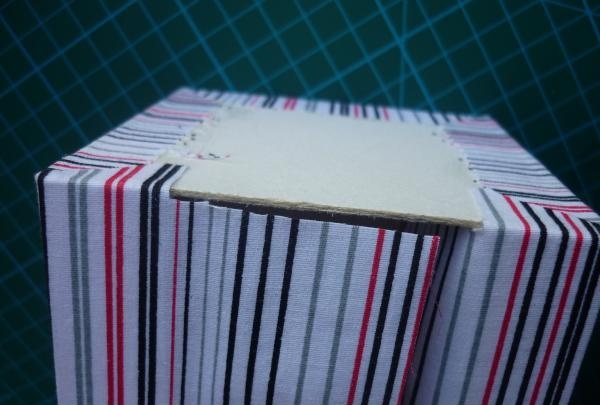
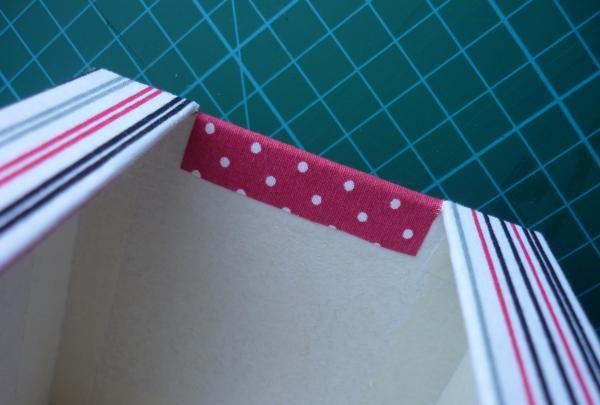
We leave the piece unsealed and glue it to the top of the bottom.

Glue the bottom, folding the loose fabric up.
Level the surface with a stack.

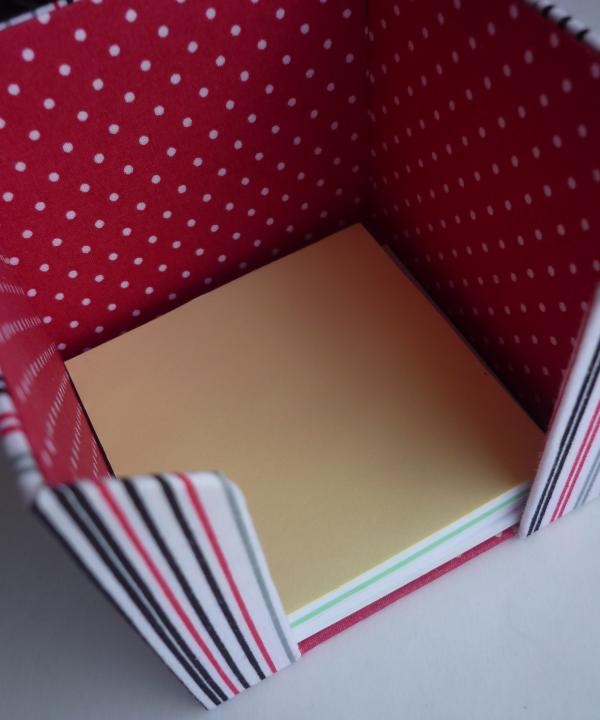
Let's cut out four blanks from whatman paper for the inside of the stand. They will be several millimeters smaller than the walls. It is better to first attach each piece and make sure that it fits freely and has another millimeter in reserve, because the fabric will also take up space. We cover all the blanks with fabric.
We paste the blanks over the inside of the stand, pressing well and leveling the surface with a stack.
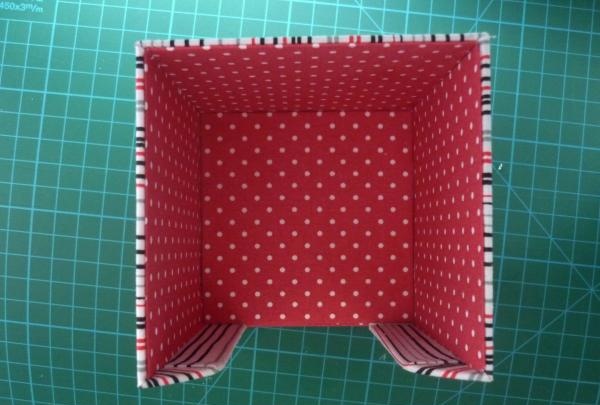
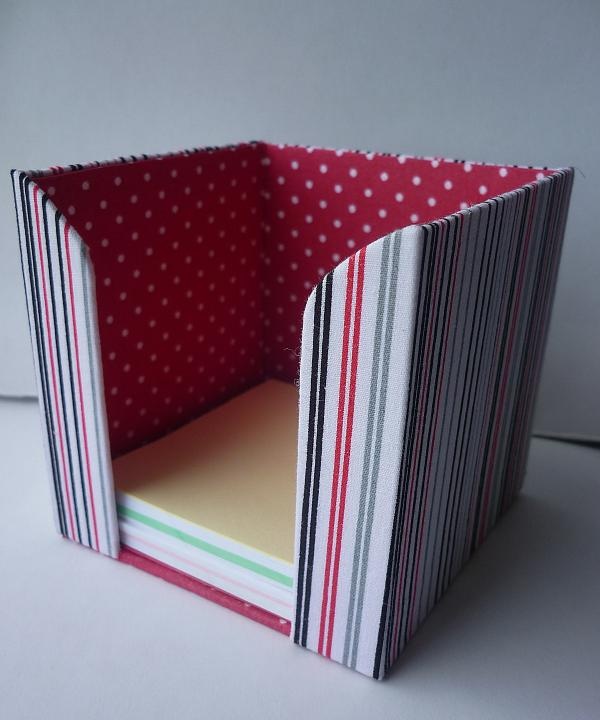
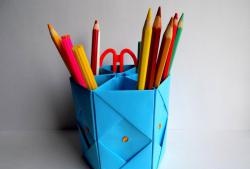
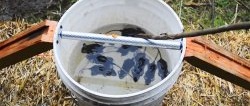
The paper stand is ready! Now there will always be order on the table!