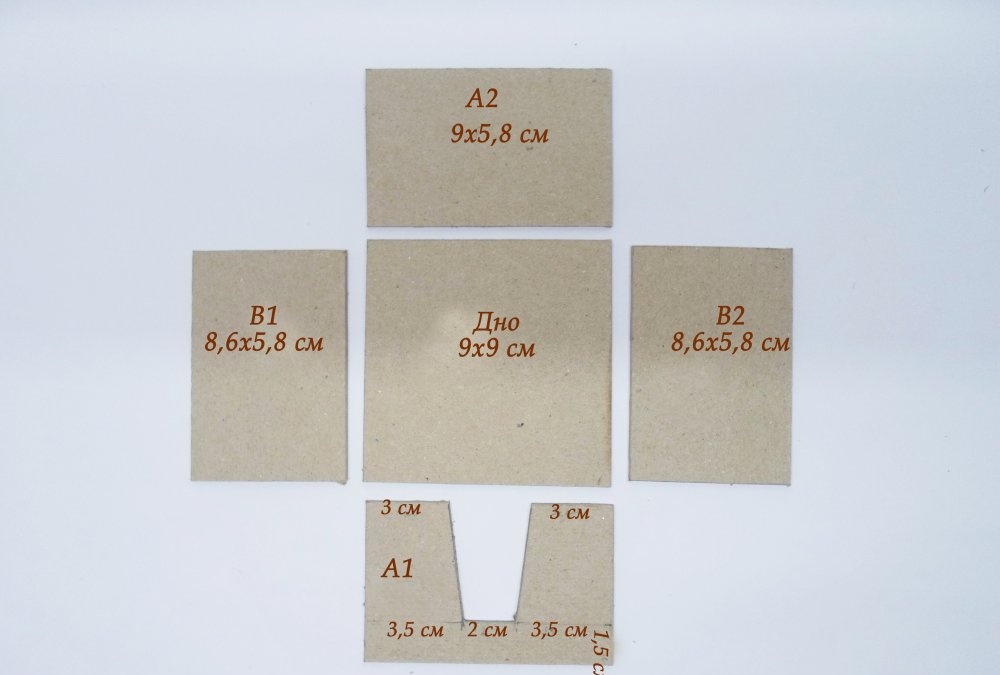
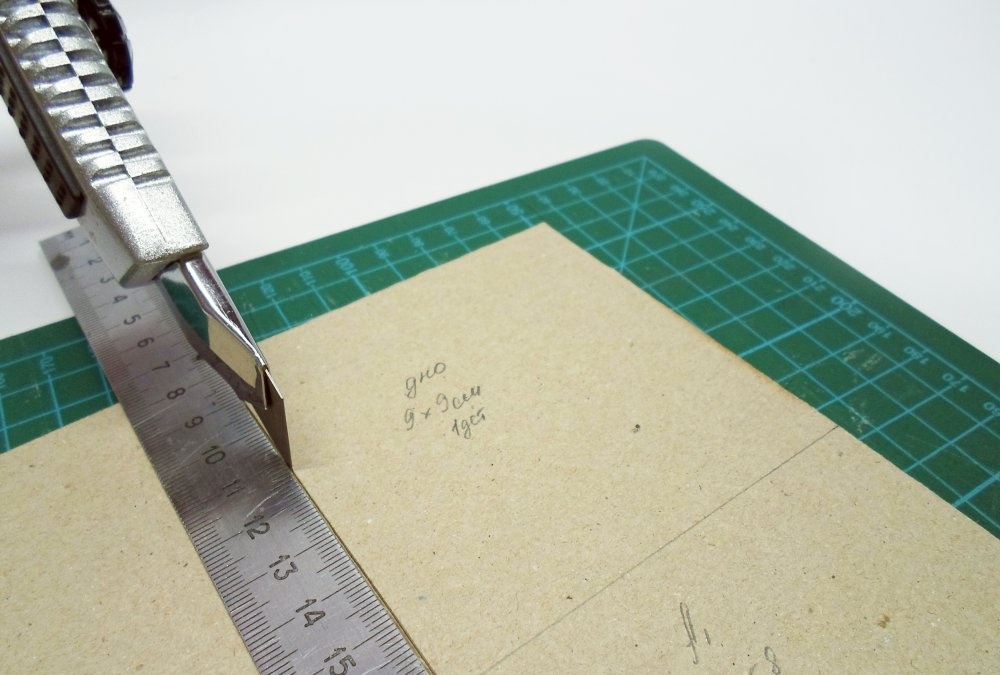
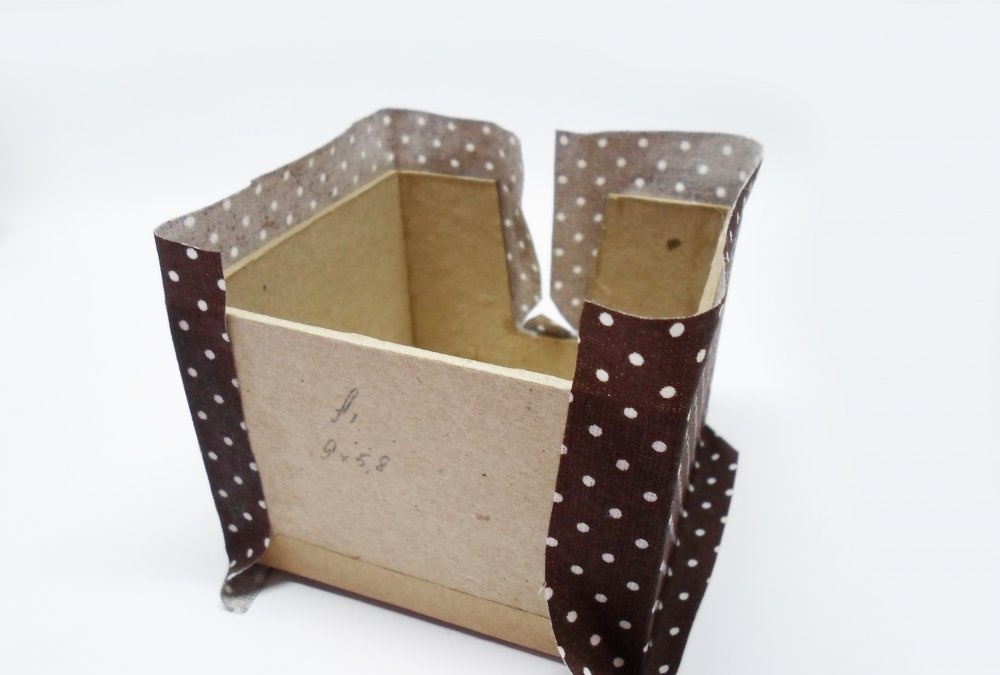
First of all, you need to prepare the details of the record box. To do this, cut out a bottom piece (a square with a side of 9 cm) and side wall pieces (two rectangles measuring 9x5.8 cm (A1, A2) and two 8.6x5.8 cm (B1, B2) from cardboard (2 mm). On part A1, make a cutout for the paper.
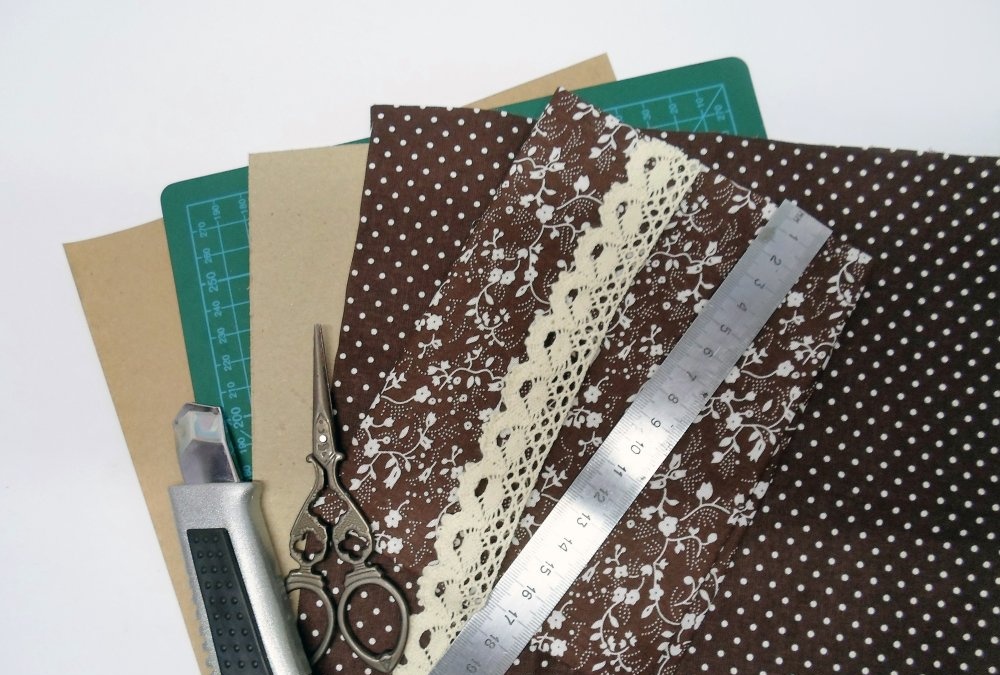
Cut out the parts with a sharp breadboard or roller knife, adjusting the cut line with a metal ruler. Place a cutting mat or linoleum under the cardboard.
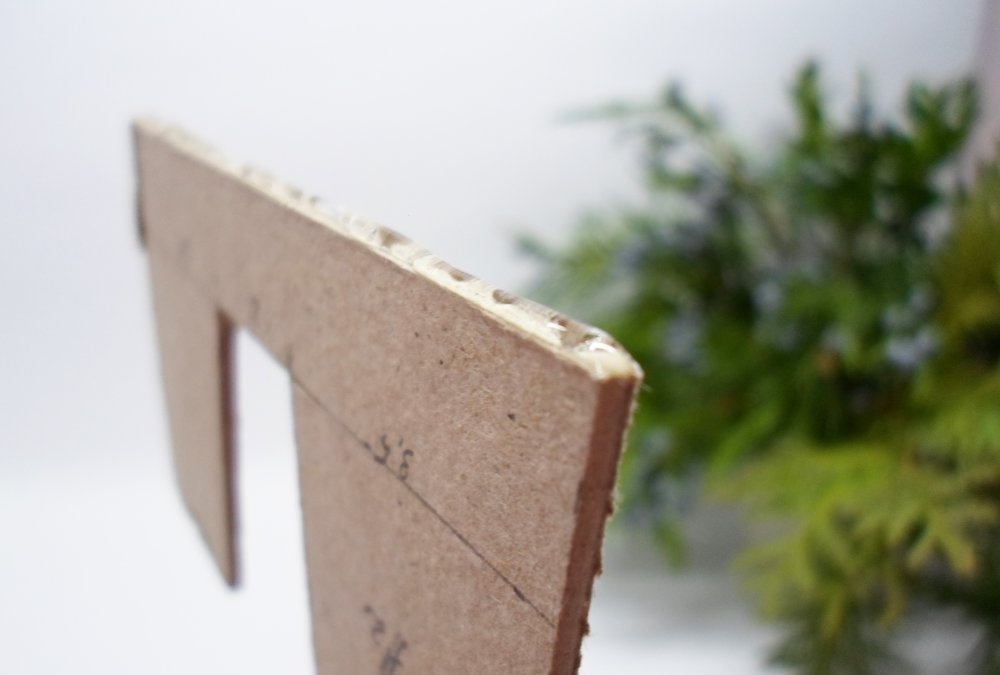
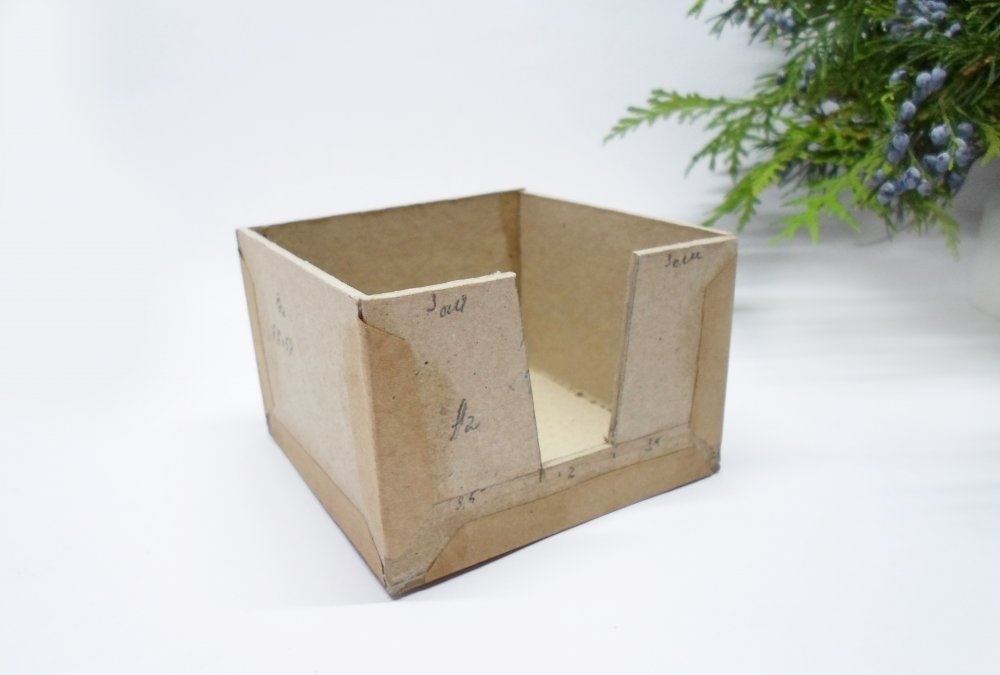
First glue rectangles measuring 9x5.8 cm (A1, A2) to the bottom part. To do this, apply polymer glue to the cut of the rectangles, attach the parts to the bottom, and then glue the remaining side walls (B1, B2) and strengthen the joints with craft paper glued to PVA.
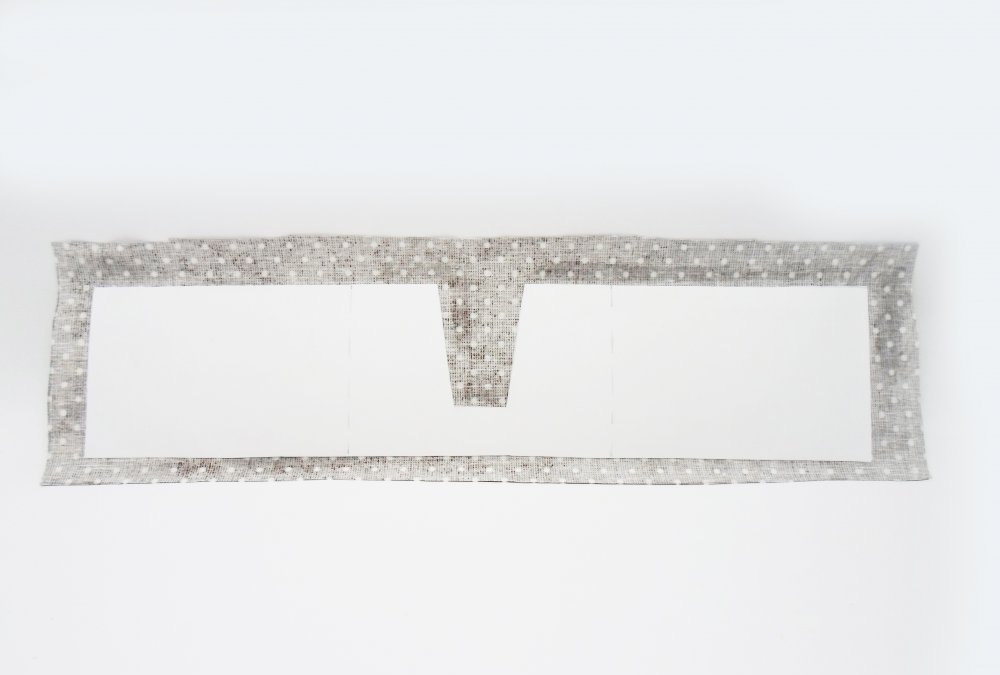
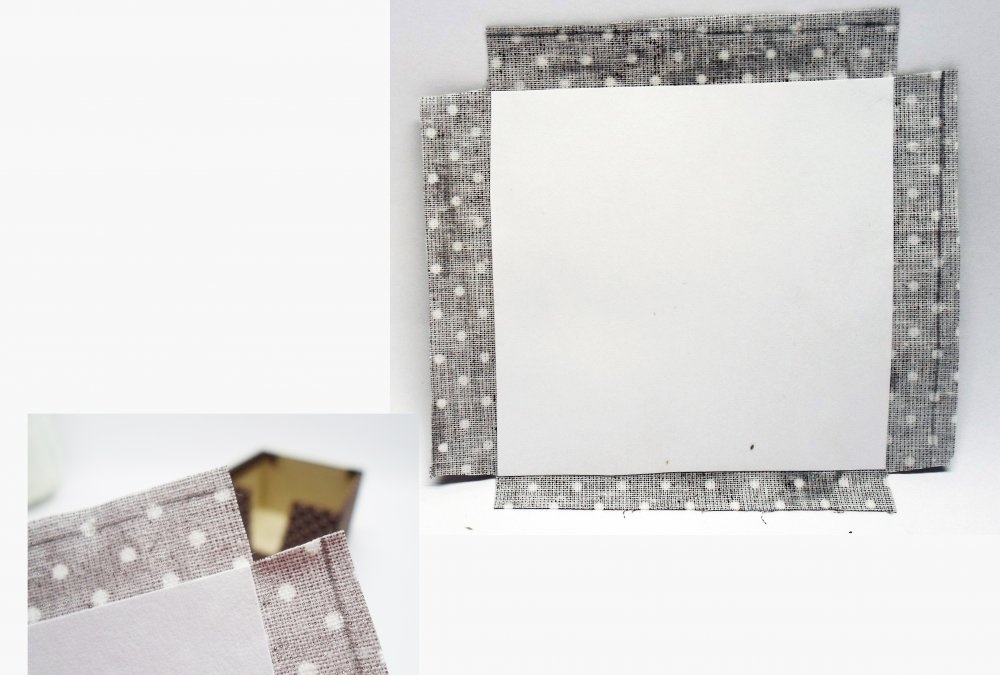
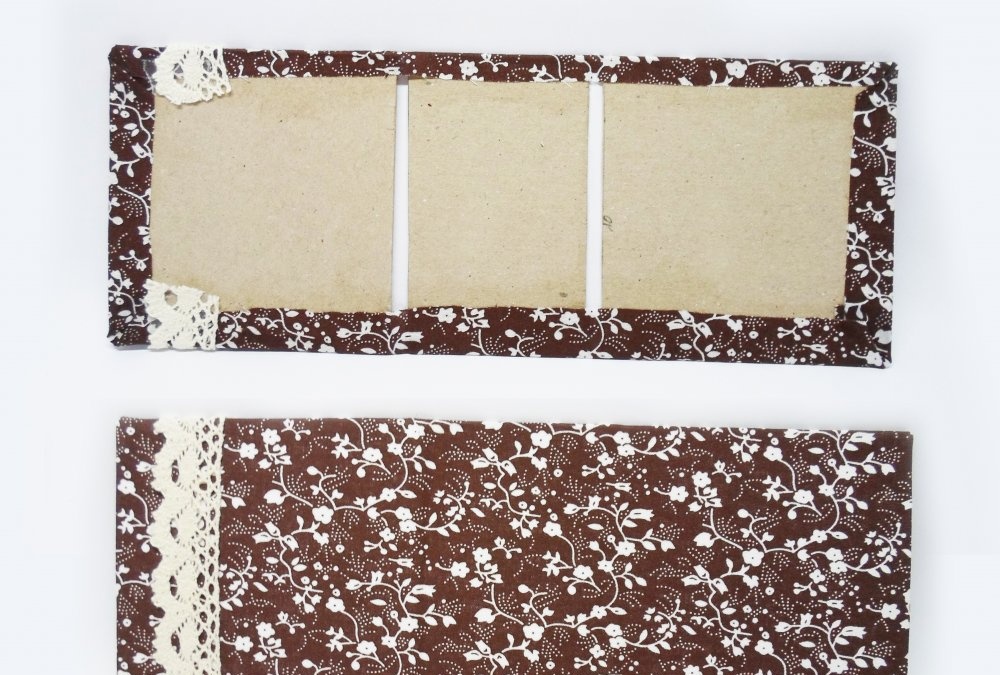
The next step is to cover the outer part of the block with fabric.To do this, cut out a piece measuring 27x6 cm from whatman paper, divide it into three 9x6 cm rectangles, and make a cutout for paper in the middle rectangle.
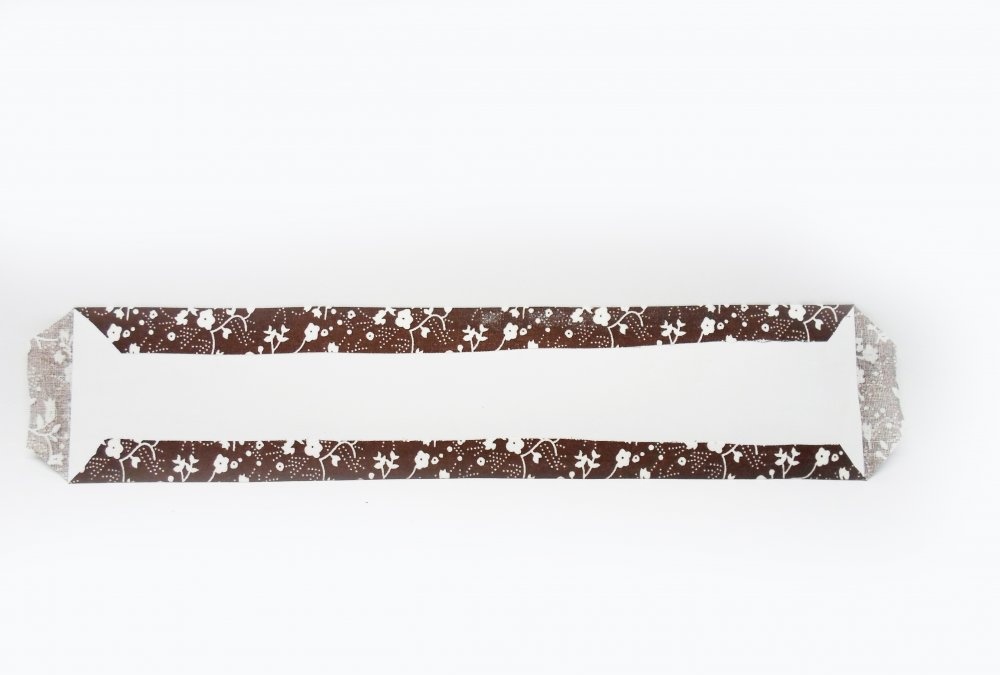
Cut a 29x8 cm rectangle from the fabric. Apply a thin layer of PVA glue to the Whatman paper, remove excess glue with a sponge or foam roller. Glue the paper and fabric together, smoothing out the folds with a soft spatula or plastic card and leaving equal allowances on each side of the piece.
Make cuts in the fabric where the paper is cut out.
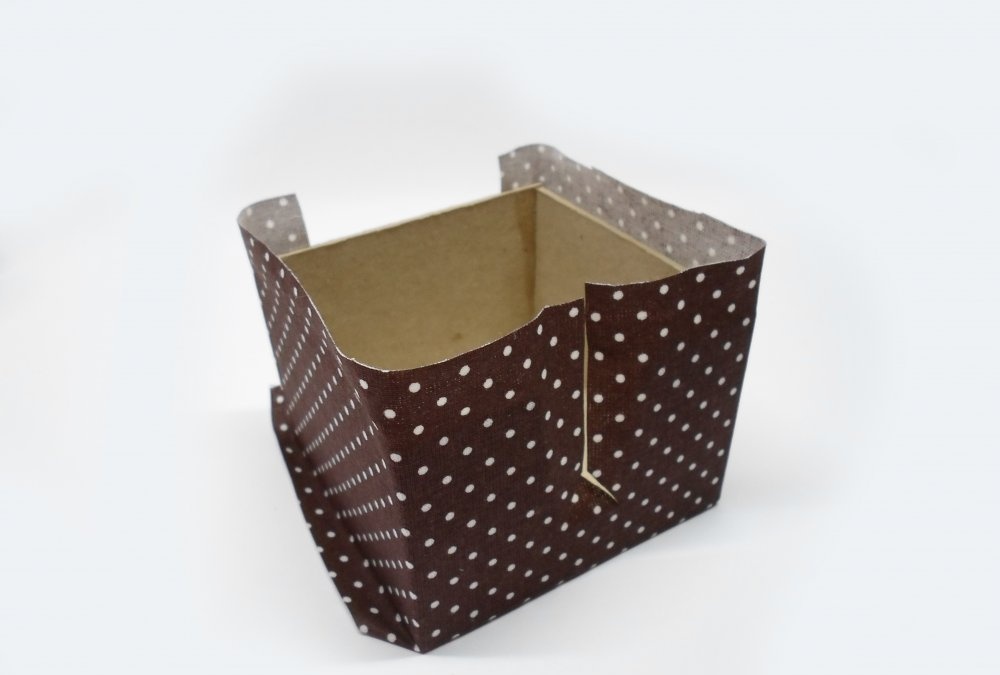
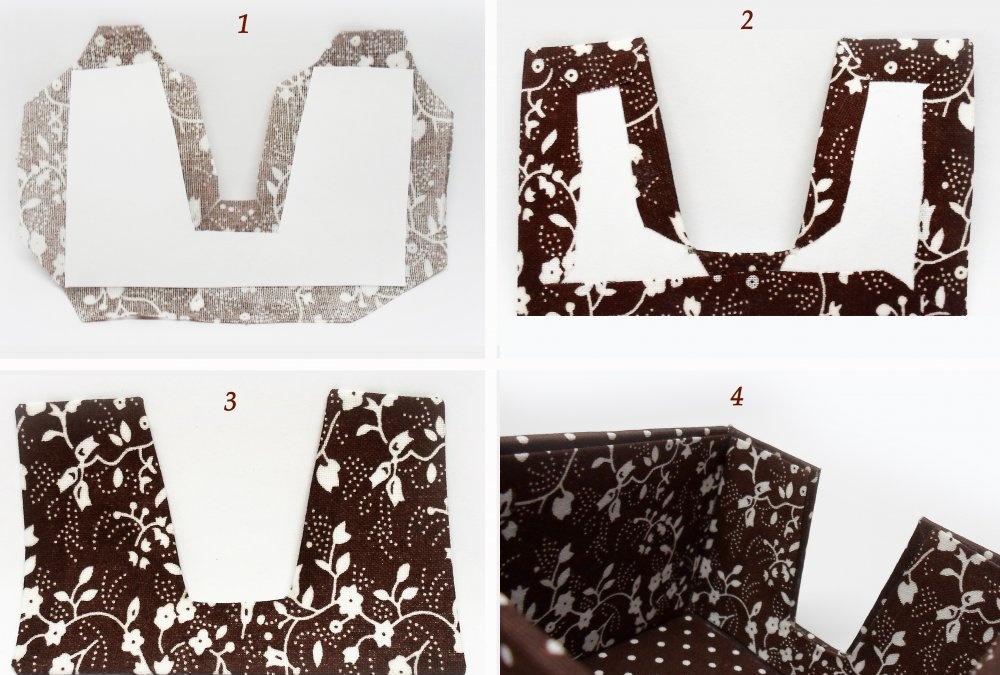
Apply a thin layer of PVA to the cardboard blank of the paper box and the inside of the Whatman paper. Glue these parts together, matching the cuts.
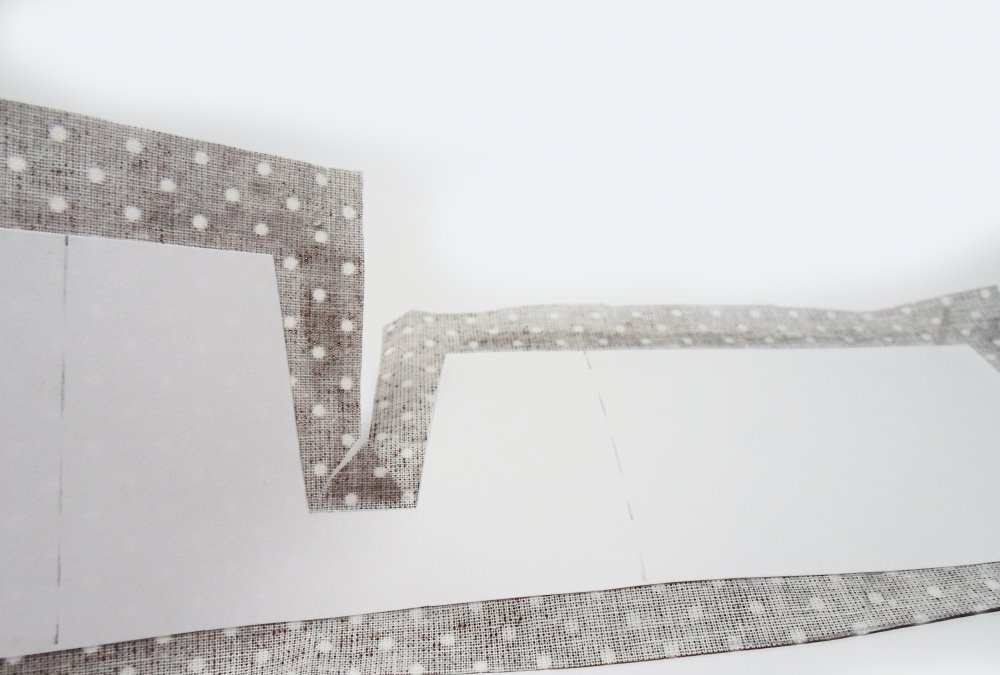
Thus, three sides of the box will be covered with fabric: the part with the cutout for paper and the sides adjacent to it. The opposite side remains unpasted.
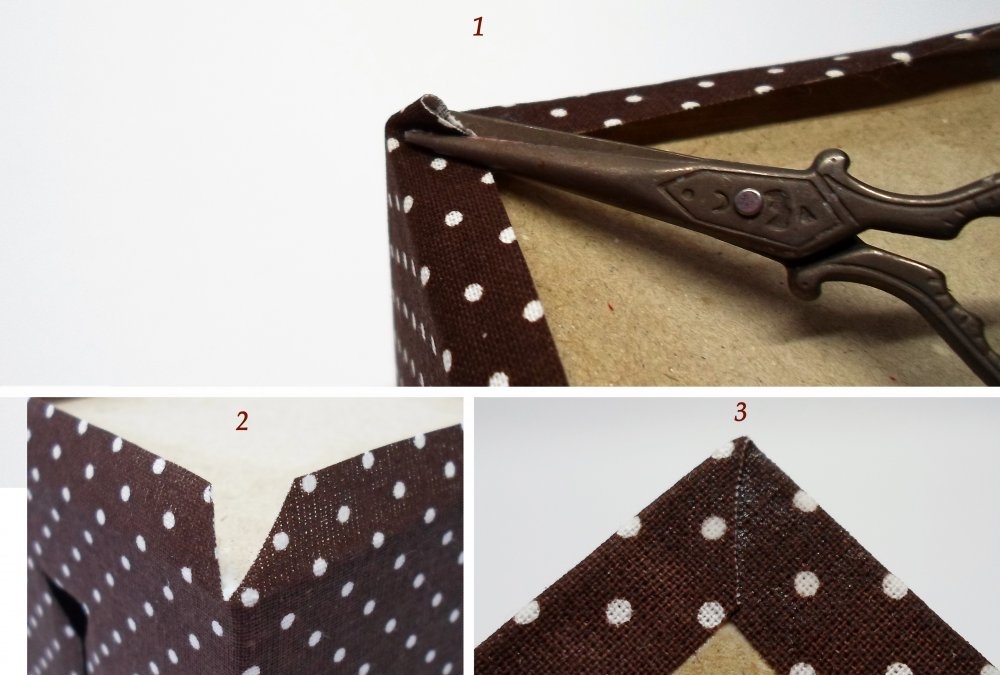
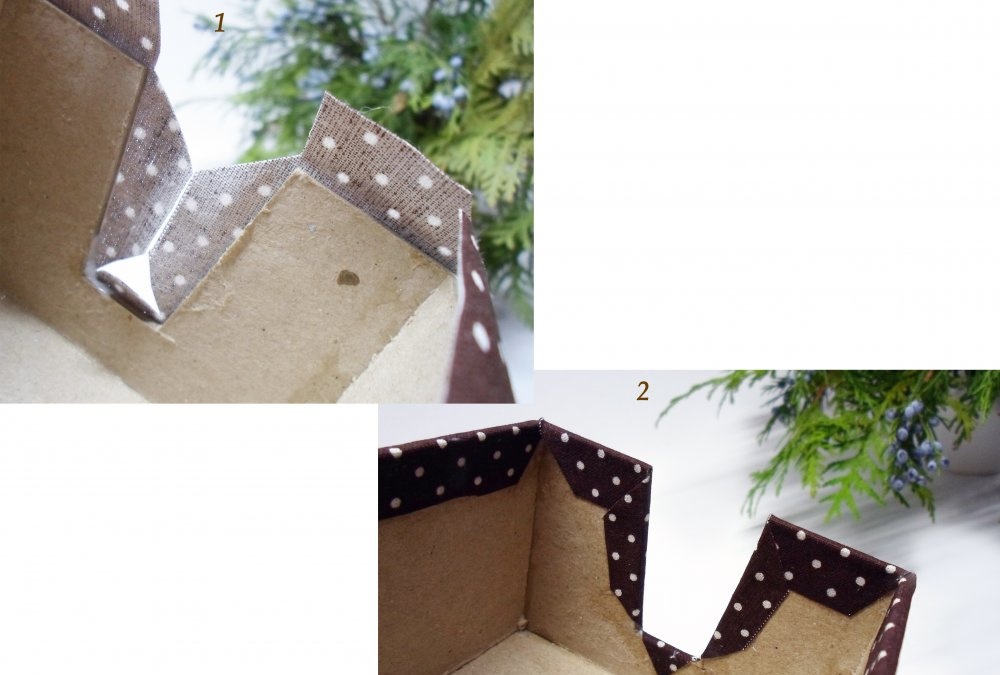
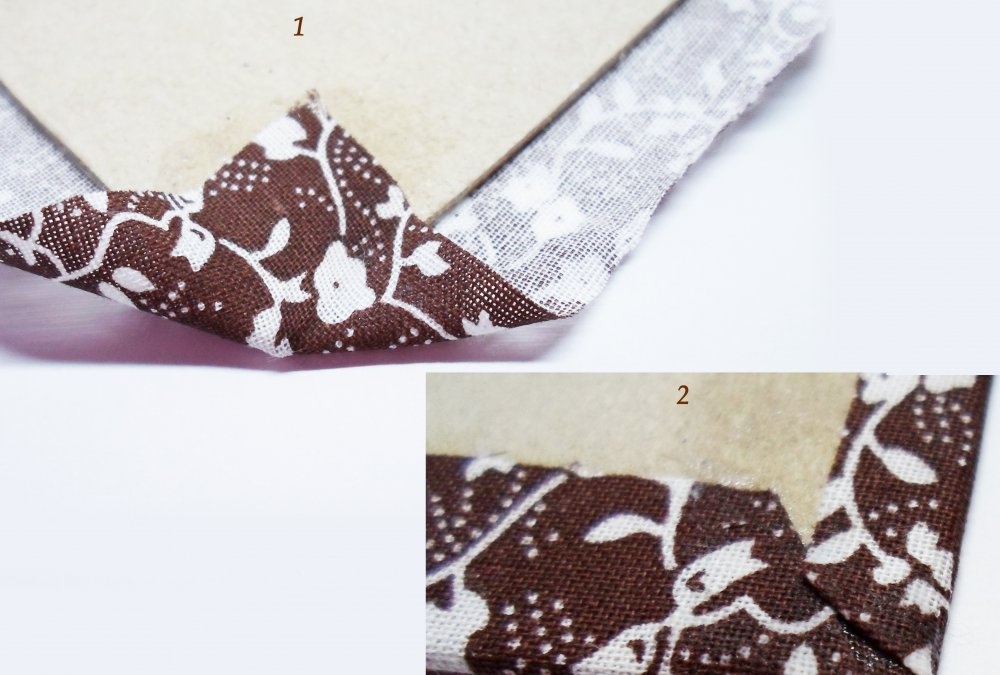
Next, you need to arrange the fabric allowances. Start from the bottom. Place allowances at the bottom and trim them. Align the seam allowances of the corners of the perpendicular sides and trim off the excess fabric. Glue the fabric to the bottom of the box.
Hereinafter, to glue fabric to paper parts (cardboard, Whatman paper), use PVA glue. Polymer glue is only needed for gluing the cardboard parts of the box.
Place the remaining fabric allowances on the inside of the box. Cut off the corners using the same principle as when decorating the bottom.
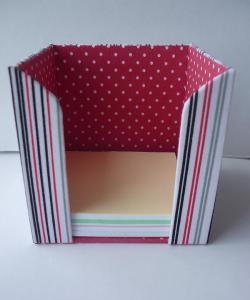
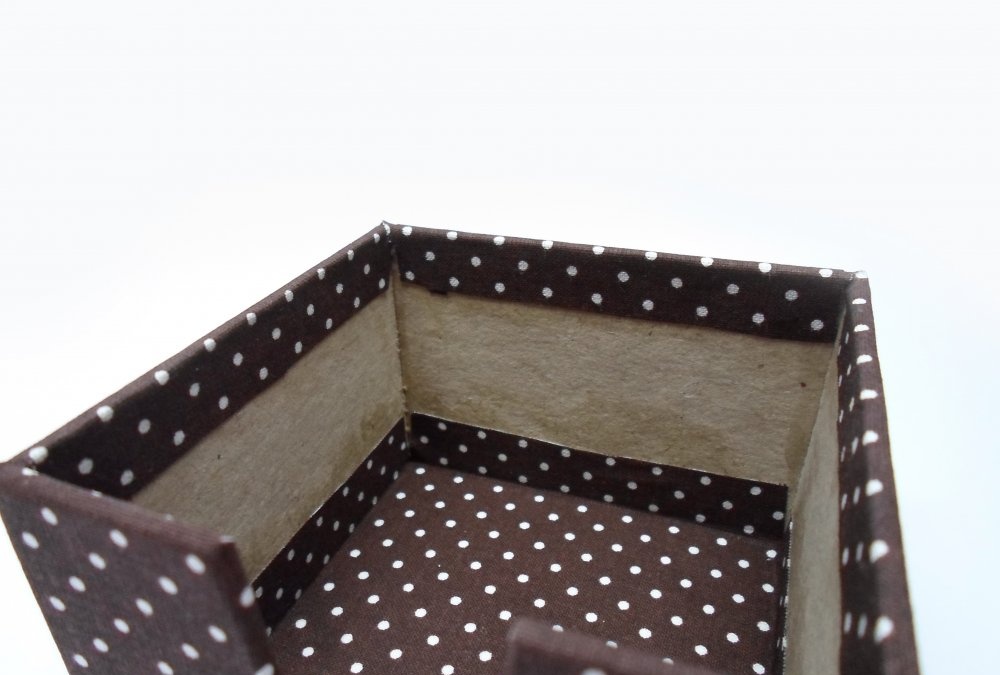
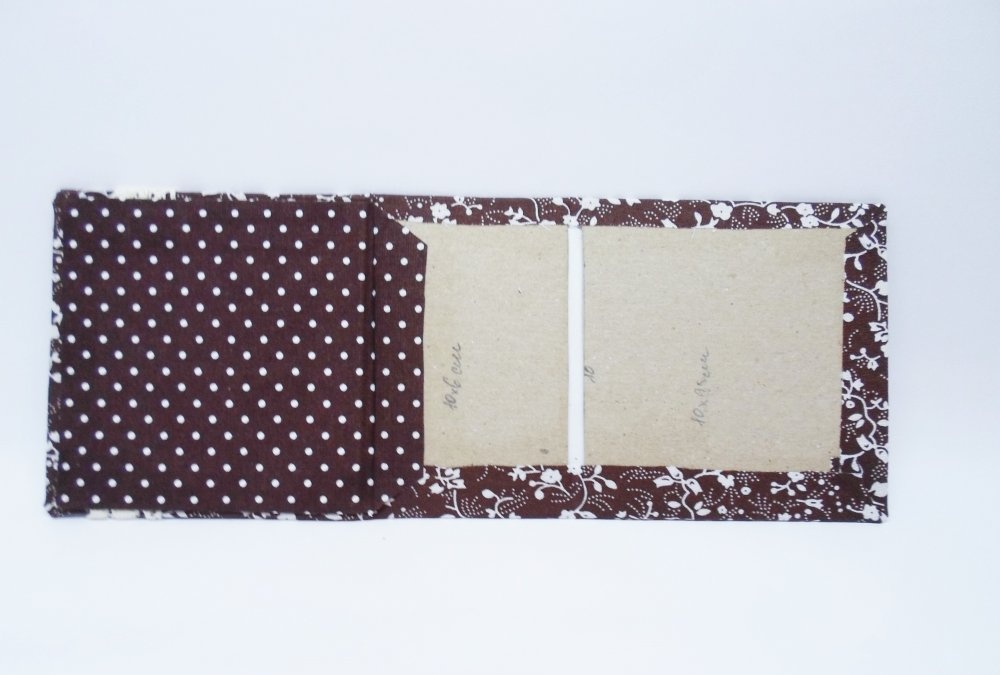
Let's move on to the internal lining of the block for notes. Let's start from the bottom. Cut a square with a side of 8.5 cm from whatman paper, and 10.5 cm from fabric. Glue the fabric to whatman paper. Cut the corners of the fabric at right angles to the Whatman paper.
Glue the fabric blank to the bottom of the box, placing allowances on the side walls.
Since one of the walls of the box (A2) was not covered, we need to make a cut along the outer edge. To do this, cut a strip of 8.5x3 cm from polka dot fabric and cover the cut with it.
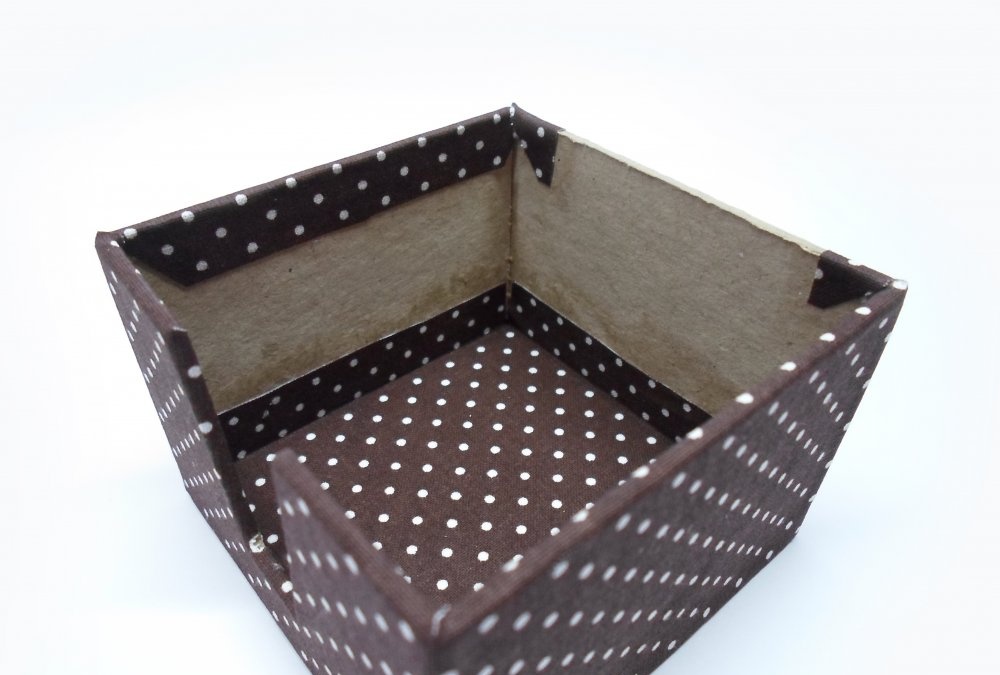
To complete the process of internal gluing of the note block, glue a fabric with a floral pattern (27.5 x 7.5 cm) onto whatman paper (25.5 x 5.5 cm). Cut the corners at an angle of 45 degrees to the base of the fabric blank. Glue the long sides of the rectangle to the inside.
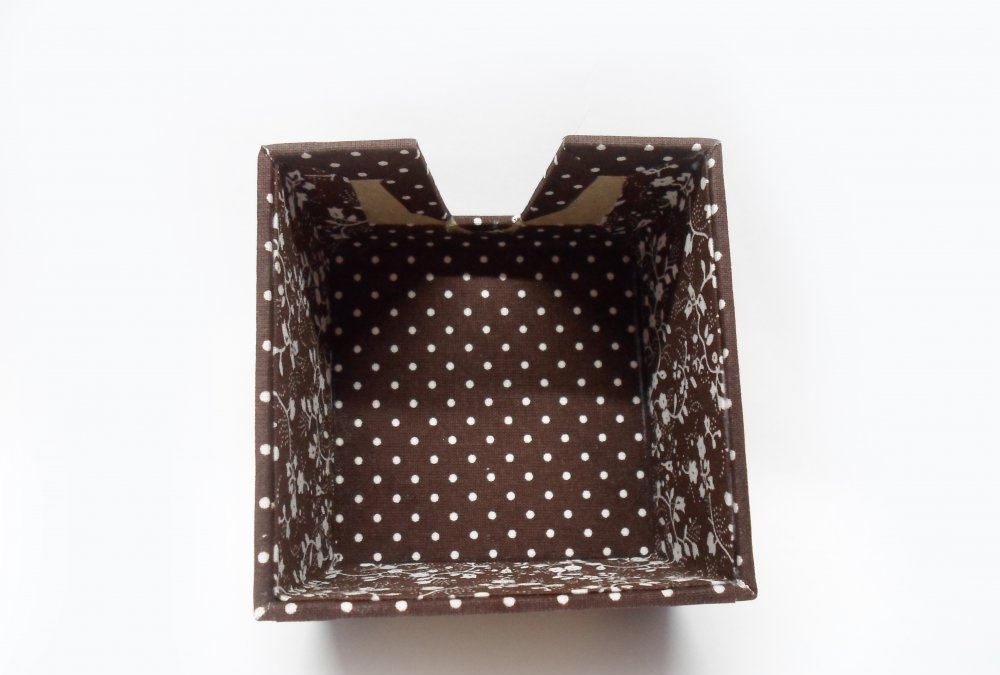
Glue the resulting part to the side walls B1, A2, B2, place short allowances on A1.
Then glue the part with the paper cut.
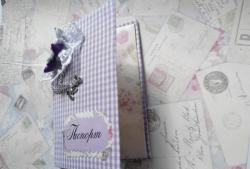
Let's move on to the design of the lid. From cardboard 2 mm thick, cut a rectangle 9.5x10 cm (block lid), and from cardboard 1 mm cut a rectangle 6x10 cm (A2) and 9.5x10 cm (bottom of the box). Glue the cardboard parts onto whatman paper, leaving 2-3 mm between them.
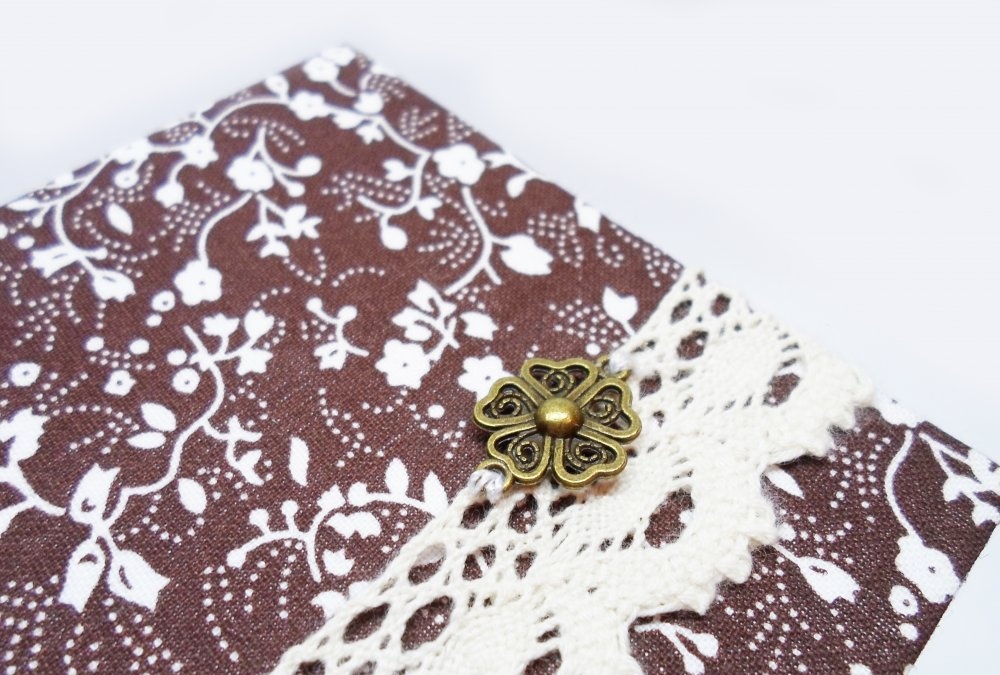
Take a fabric with a floral pattern and cut out a piece measuring 13x17 cm, glue it to the cardboard cover blank. Place the corners of the fabric onto the cardboard blank, secure with glue, then fold in the side allowances. You will get a neat corner.

Glue the seam allowances to the cardboard pieces and also glue the lace.
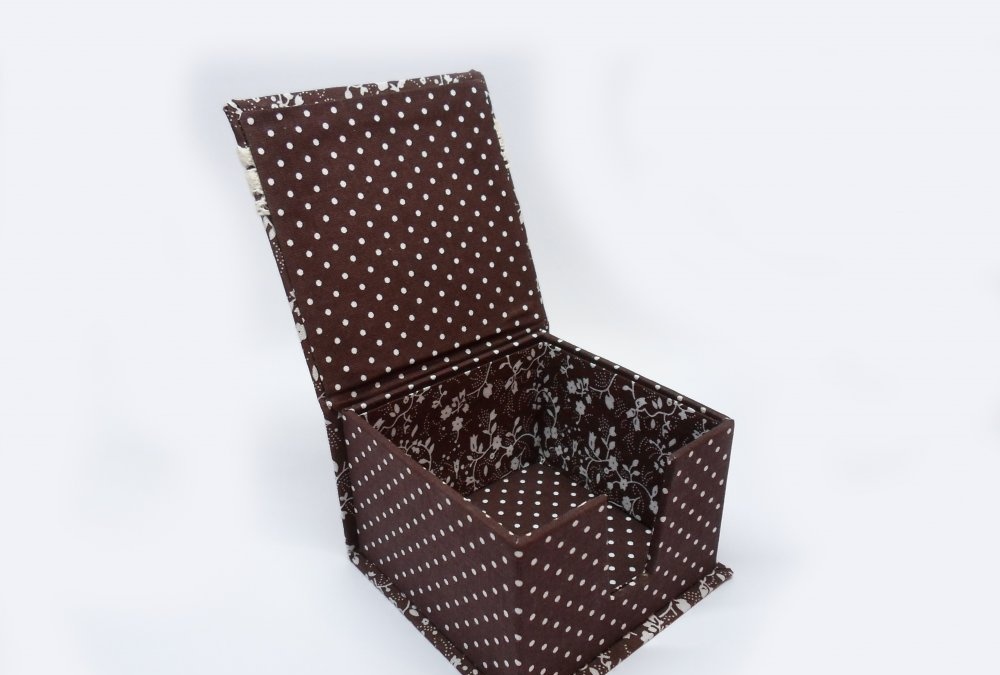
Parts made of cardboard with a thickness of 1 mm will be invisible, so there is no need to glue them from the inside, but on the lid part you need to glue a square with a side of 9.5 cm (on whatman paper (9.5x9.5 cm) glue fabric (11.5x11.5 cm) ), cut the corners at an angle of 45 degrees, place three allowances inward).
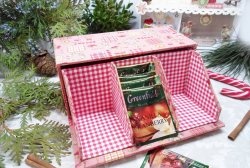
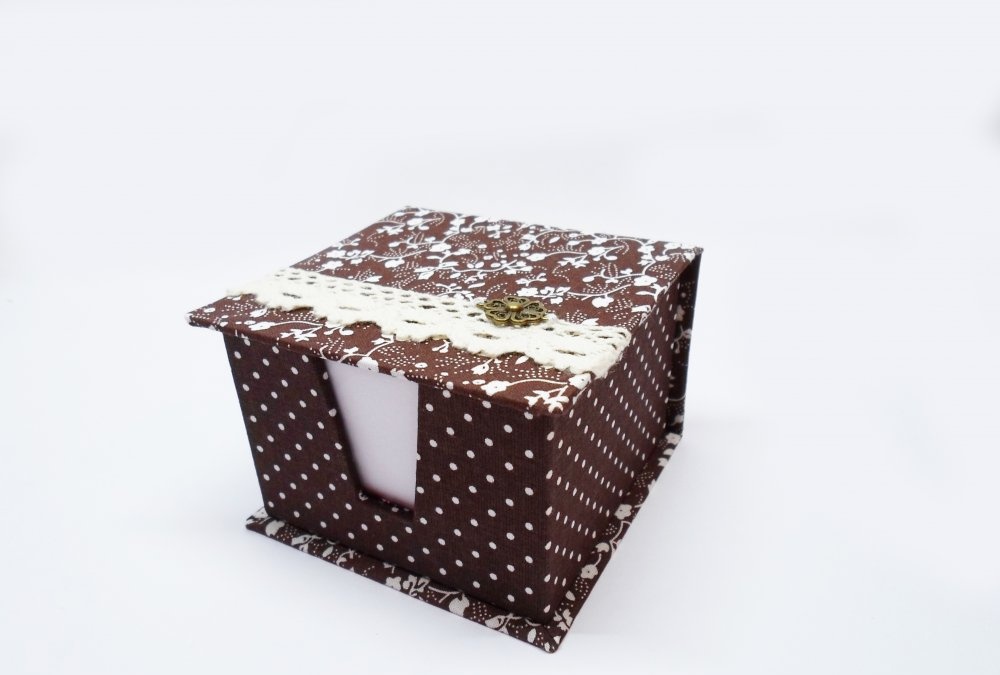
All that remains is to glue the box to the lid part and complete the composition with a copper pendant.
The block for notes using the cardboard technique is ready.
Elena Tregub