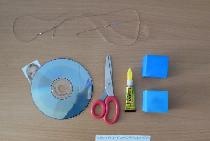
What do we need in our work?
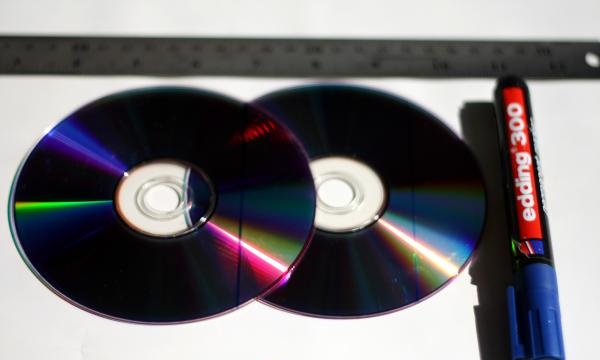
- 2 discs
- scissors
- ruler
- pencil
- marker
- colored paper
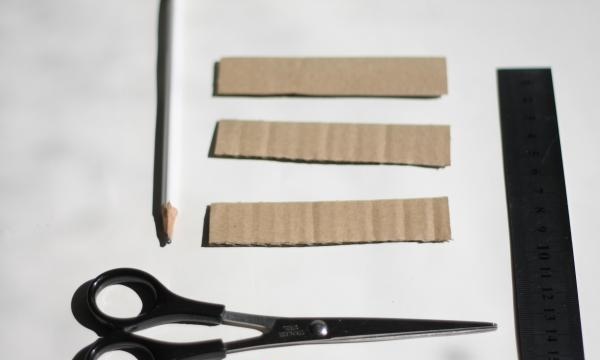
- thick cardboard
- PVA glue
- glue Moment Crystal
- glossy varnish
- decor (I have ribbons and butterflies)
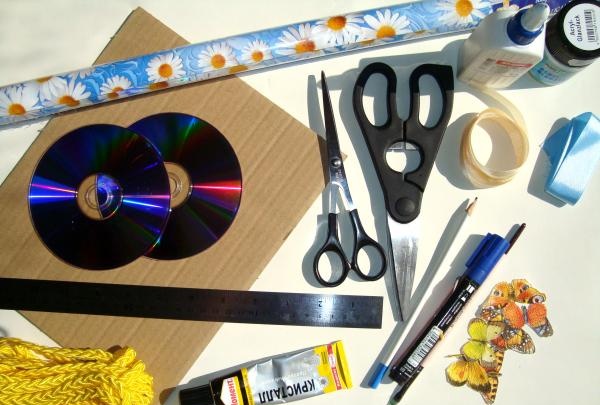
If some materials are missing, then I think, with some ingenuity, they can be replaced with something else.
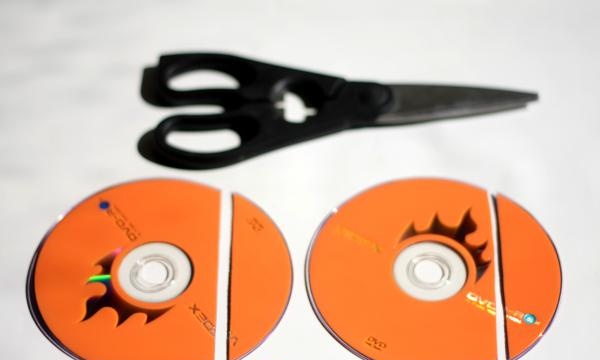
Begin. The first thing we need to do is trim the disks. Fortunately, we use disks less and less, so I think that in every home there are a couple of old unnecessary disks. As you may have guessed, the discs will serve as the basis of our napkin holder, so carefully measure the height as you wish. We mark with a marker, preferably a permanent one, and draw under the ruler.
We take stronger and larger scissors. I took scissors from the kitchen set. Carefully trim.
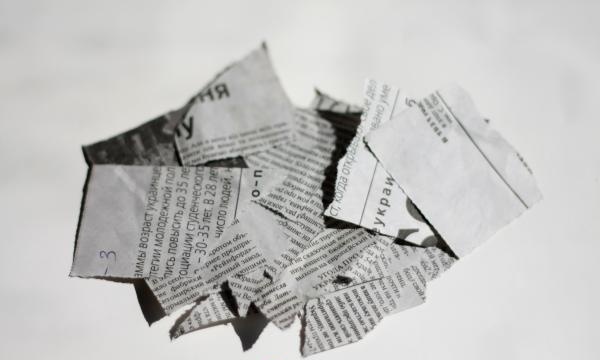
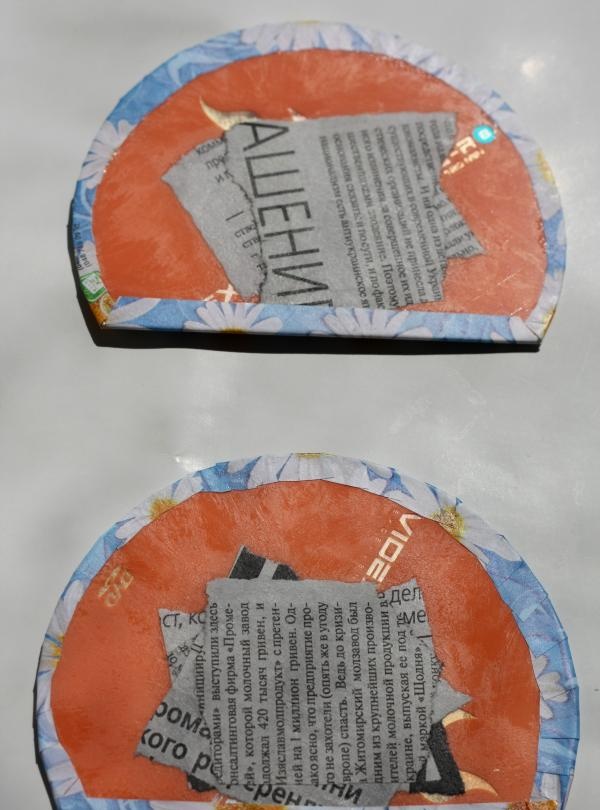
We prepare small scraps of newspapers.
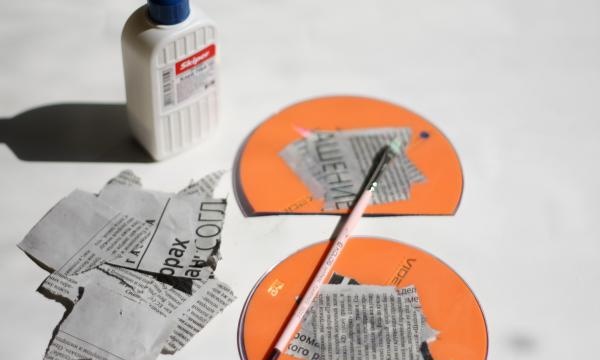
Using PVA glue, seal the holes in the disks on both sides. Apply several layers of newspaper, coating each layer with glue. Leave until completely dry.Tip: as the newspaper dries, it may ripple on the surface of the disk. If this happens, straighten the newspaper with your fingers while it is damp.
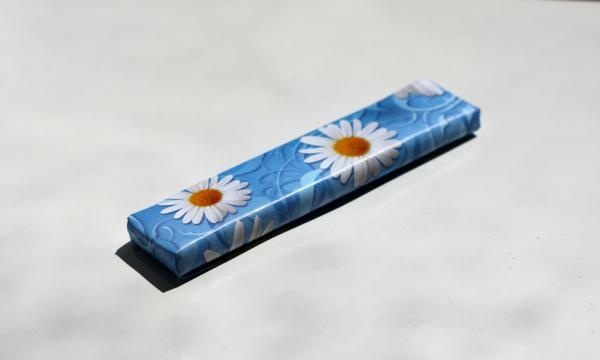
While the discs are drying, let's work on the bottom of the napkin holder. To do this, take cardboard, preferably thick, this will give our napkin holder stability. Unfortunately, I didn't have thick cardboard. Therefore, I cut three strips from the cardboard that I managed to find in the bins, dimensions 10x2 cm.
I glue them together with PVA glue.
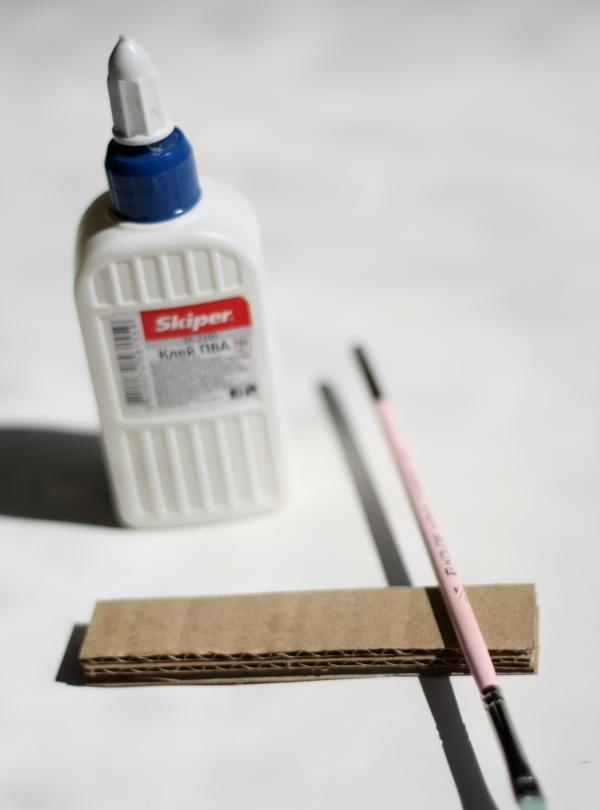
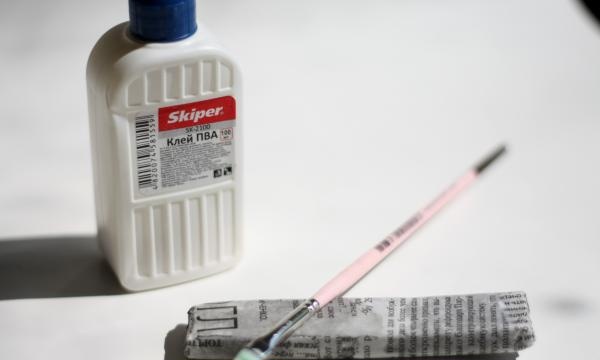
Because If my cardboard has an air gap inside, it will be both unstable and soft. I decided to cover the resulting bottom of the napkin holder with scraps of newspaper and PVA glue. After drying, the bottom will become hard, like plastic. Leave until completely dry.
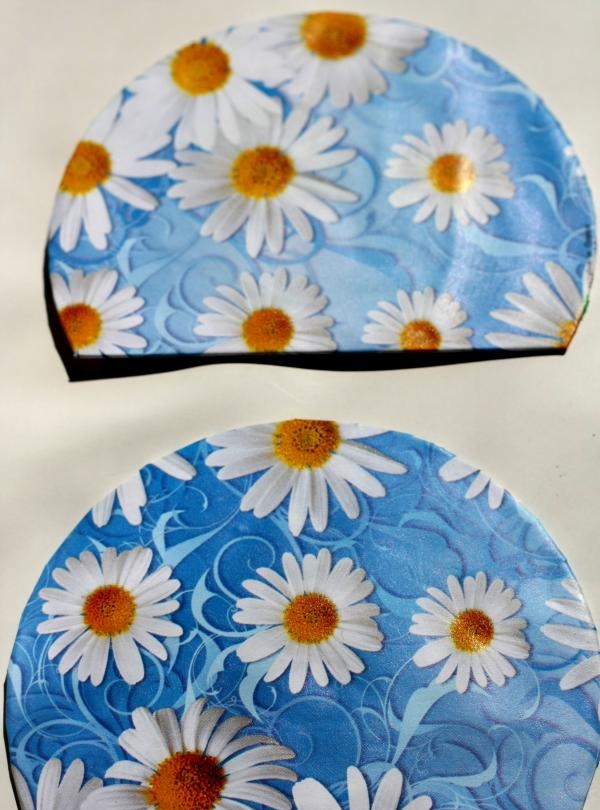
In the meantime, let's start decorating the napkin holder. I chose colored gift wrapping paper for this. We cut out 2 parts exactly the same size as the walls of the napkin holder, and 2 parts 5 mm larger on all sides, leaving them to be folded.
Using PVA glue, glue the sides of the napkin holder.
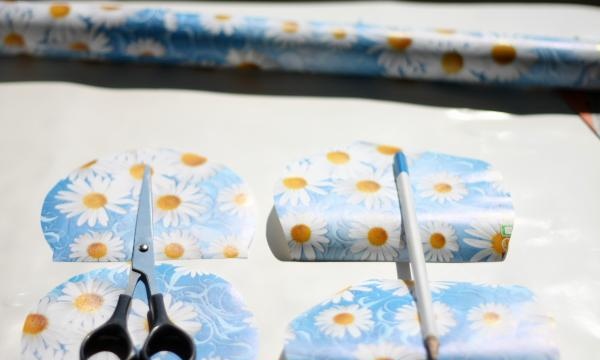
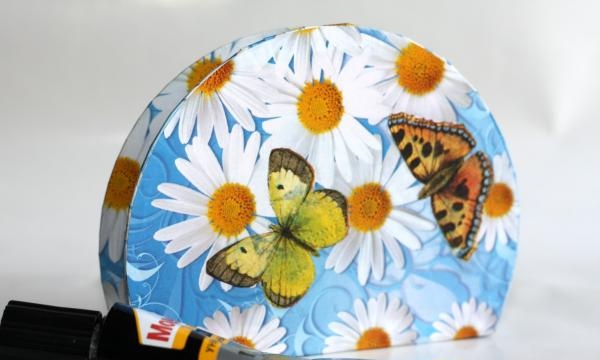
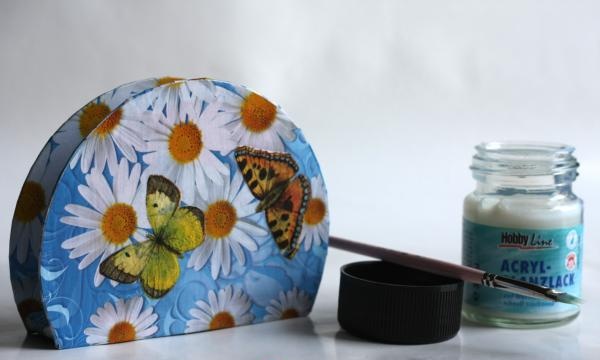
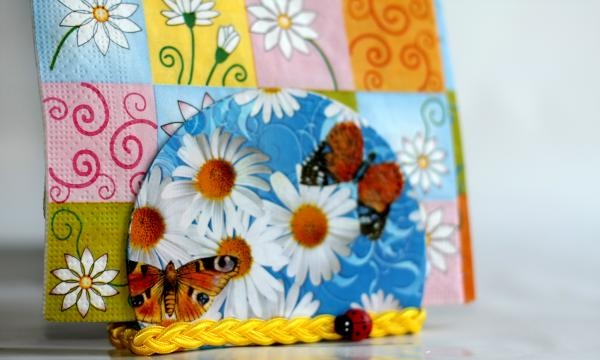
We decorate. At this stage, let your imagination run wild. Here you can use everything you have at hand: beads, beads, ribbons, lace, bows, in general, whatever your heart desires. I found some leftover decoupage napkins and cut out 4 butterflies, which, using PVA glue, took their place on the daisies.

When the bottom of the napkin holder is completely dry and hard, cover it with colored paper.
The moment of truth has arrived. Let's put all the details together. You can use a silicone gun for this. But somehow it didn’t work out for me, so my choice fell on the time-tested Moment Crystal.
We cover our napkin holder with 2 layers of varnish. I have acrylic gloss varnish.In principle, if desired, this stage can be skipped. Important: the varnish may streak slightly during application. Don't worry, after drying the streaks will disappear and you will have a smooth, glossy surface.
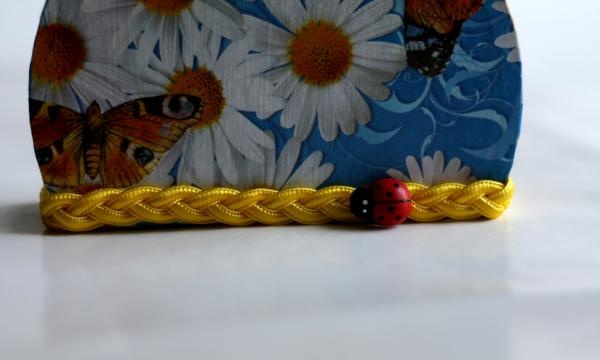
We continue to decorate. I covered the bottom of the napkin holder around the perimeter with bulky tape.
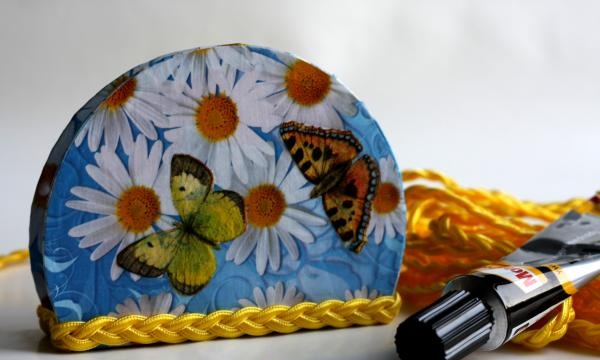
I hid the seam of the ribbon under a ladybug (left over from a bouquet of flowers given to me).
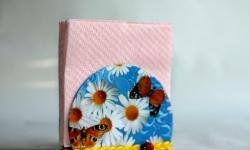
And here is the result of our work!
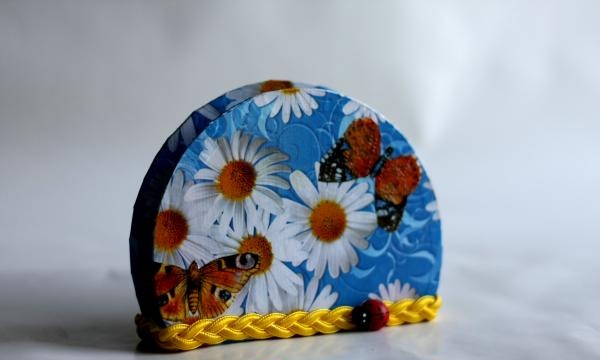
As you can see, this napkin holder accommodates both small and large napkins very conveniently.

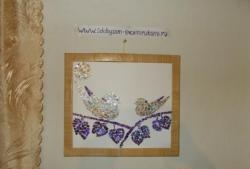
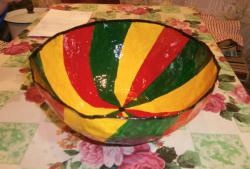
Here's another idea for inspiration.
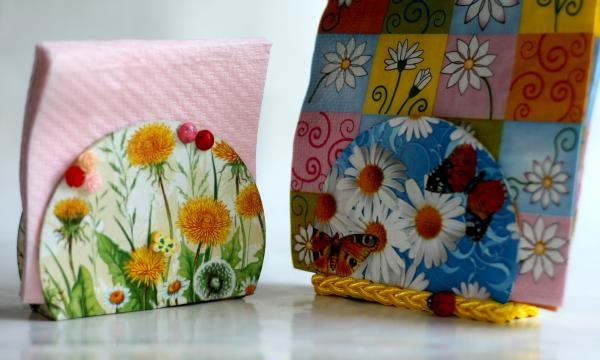
This napkin holder is made using the same principle, but instead of colored paper I used a decoupage napkin.