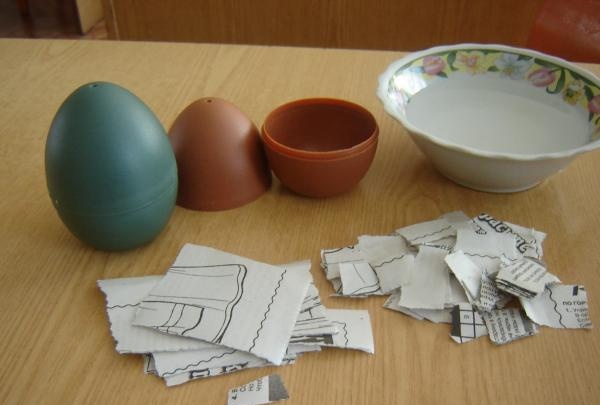
To begin with, we make a mold from plasticine, which we will subsequently paste over. If you have other egg-shaped blanks (as in our case, packaging from a children's toy), you can use them too.
The second step is to finely tear (or cut) a fairly large amount of paper. Ideally 6-7 sheets.
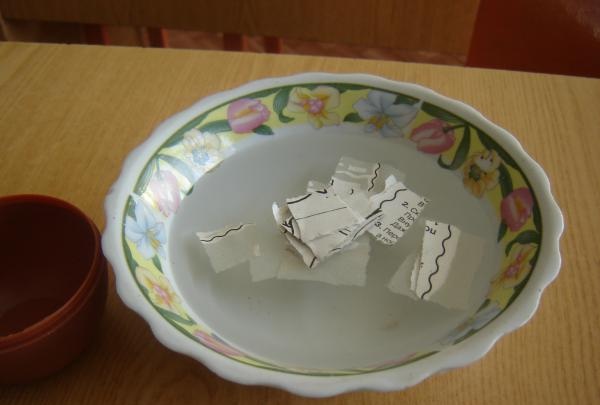
Soak a small amount of paper pieces in water. To do this, simply put it in a bowl.
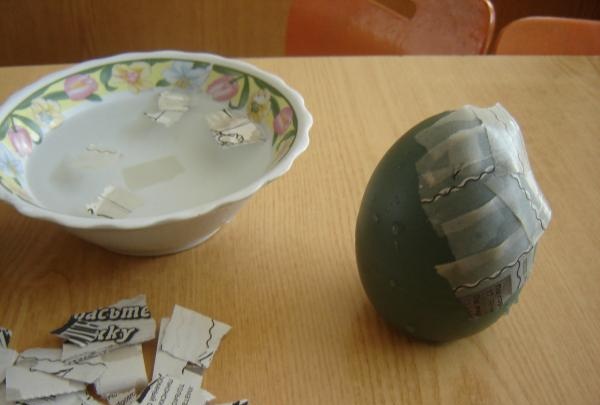
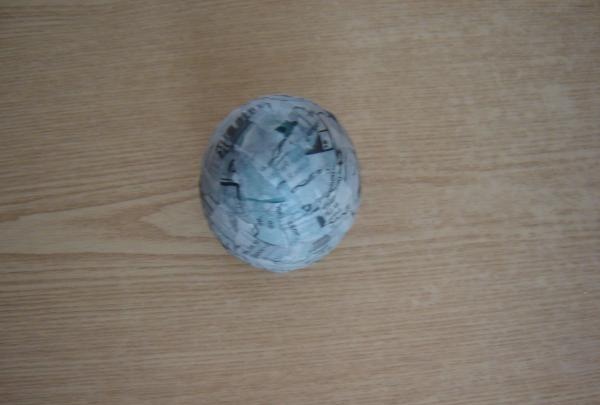
We paste the workpiece with wet paper (note that glue is not used yet) in one layer.
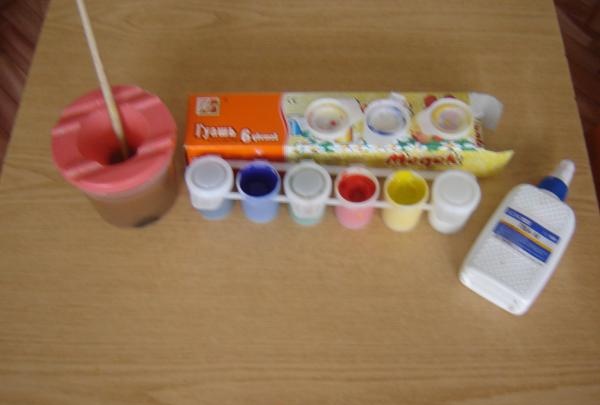
The next step is to mix water and glue in proportions of one to two. We will wet all subsequent layers of newspaper in this mixture.
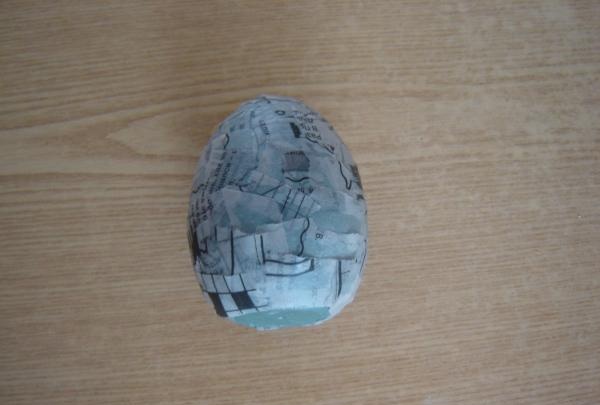
We apply another layer of newspaper cuttings (soaked in glue water) to the glued workpiece and let it dry thoroughly. The optimal time is two to three hours. After this we apply several more layers. A prerequisite is for the previous layer to dry before applying the next one.
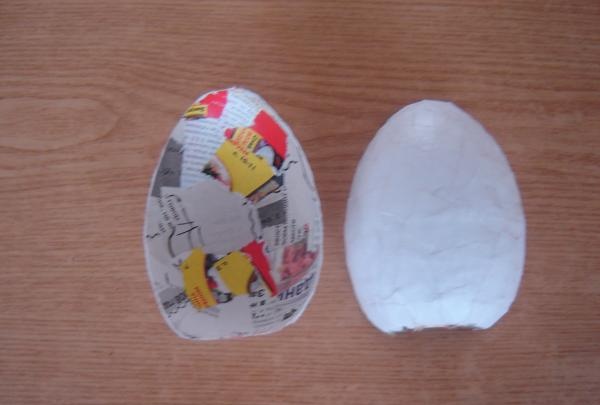
When our form is pasted over with 7-8 layers, we leave the craft to dry for a day and a half.
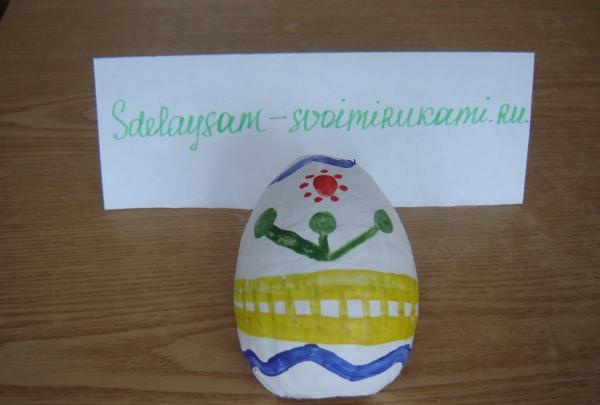
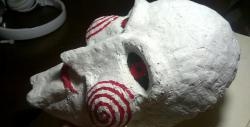
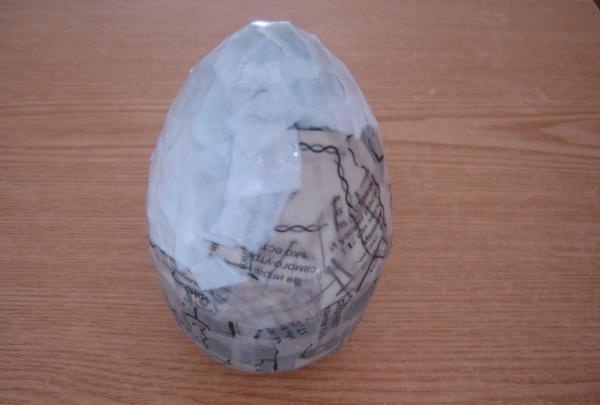
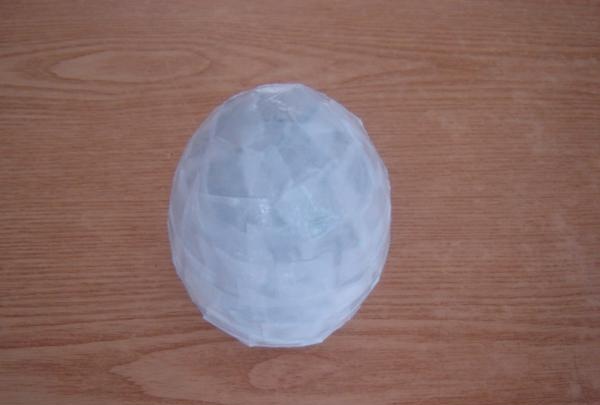
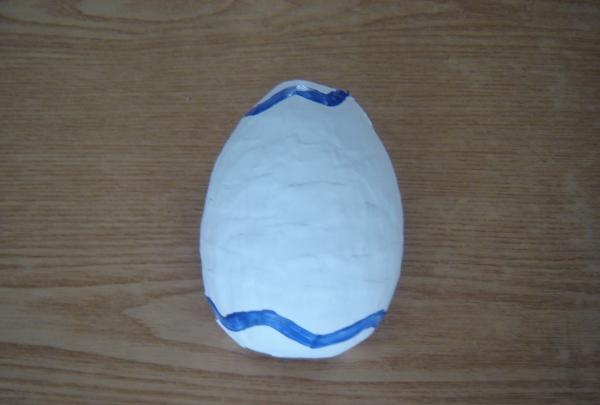
After this period has expired, apply a thick layer of white gouache paint to the egg - this will be a kind of primer. Let's wait until the egg dries and use a sharp knife to cut the layer of paper so that you can pull out the mold.
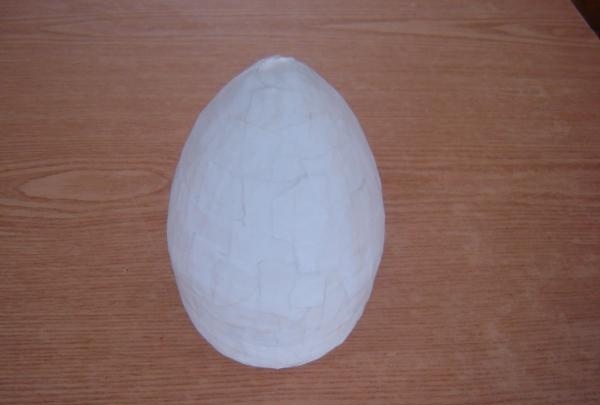
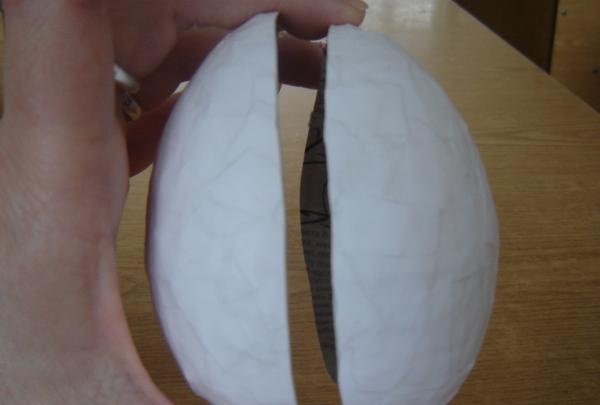
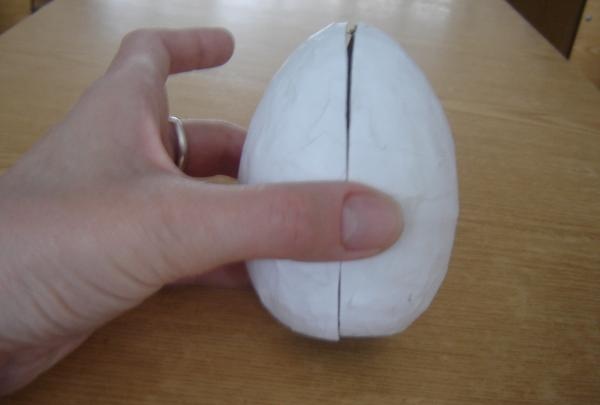
Glue the cut area with PVA glue or superglue. The craft is ready!
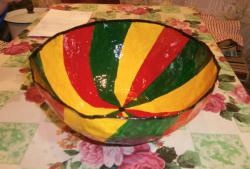
Now you can decorate the egg. There are no limits to imagination here! Primer is an excellent base for applying paint. You can use both gouache and watercolor when painting a craft. If you have beads or rhinestones in stock, you can stick them on.
In the same way, you can make a paska and other Easter attributes, the most important thing is to make or find a suitable shape!
Despite the fact that production crafts making from papier-mâché takes quite a lot of time, it is very simple and can be trusted even by a child.