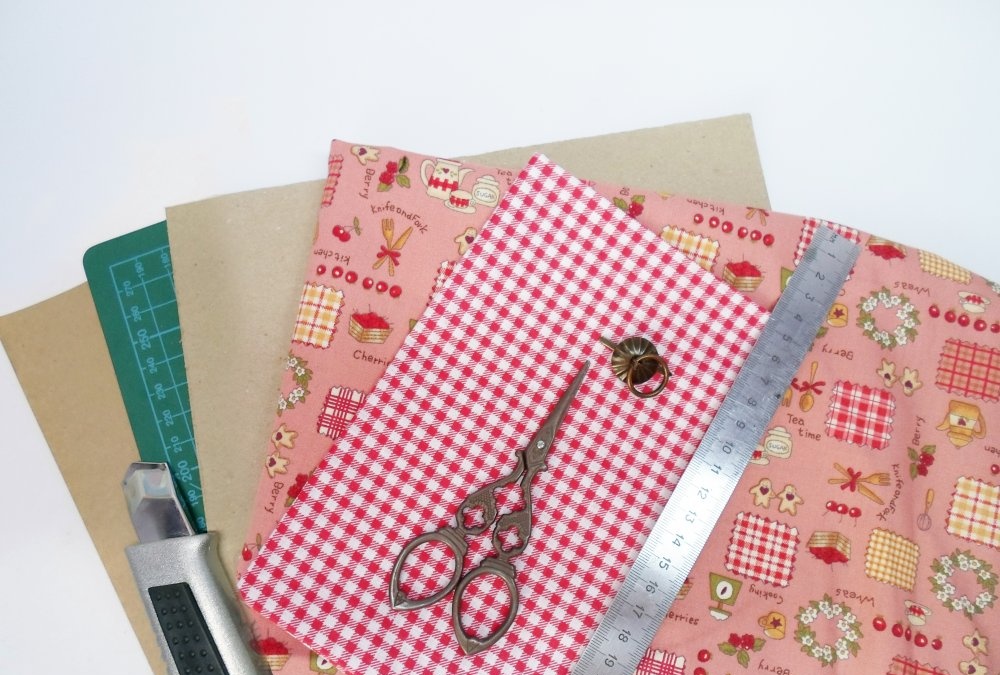
To make a tea box with your own hands using the cardboard technique, you need to prepare two companion pieces of cotton fabric (with the image of kitchen utensils and in a checkered pattern), binding or beer cardboard (3 mm and 2 mm thick), whatman paper, thick PVA glue, transparent polymer glue, as well as a breadboard knife, masking tape, scissors, a pencil and a ruler.
Modeling and assembly of the box
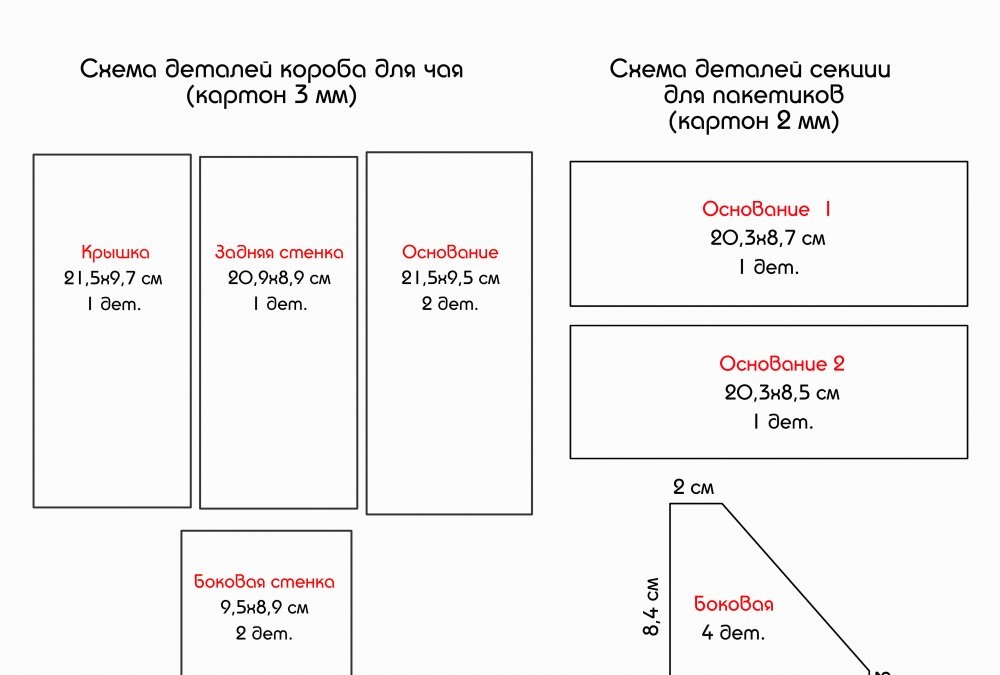
The box will consist of two main parts: a box and a section for tea bags. To form a box from binding cardboard, cut out two rectangles measuring 21.5x9.5 cm (bases of the box), 9.5x8.9 cm (side walls), as well as a back wall measuring 20.9x8.9 cm and a hinged lid 21, 5x9.7 cm.
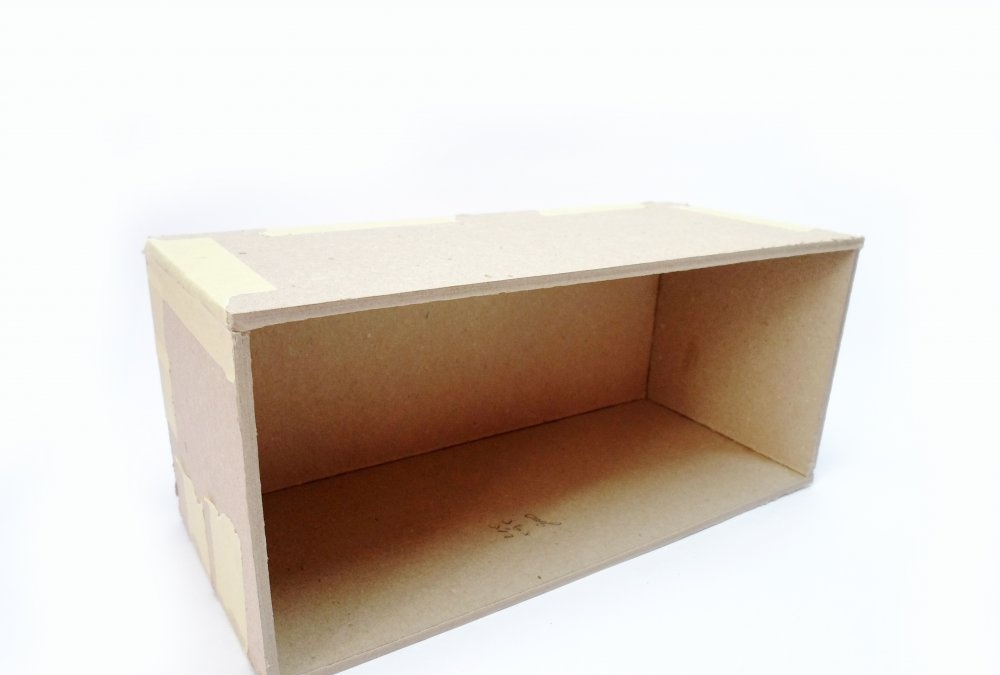
Glue the side and back walls of the box to the bottom base of the box (21.5x9.5 cm). Finally glue the top base.
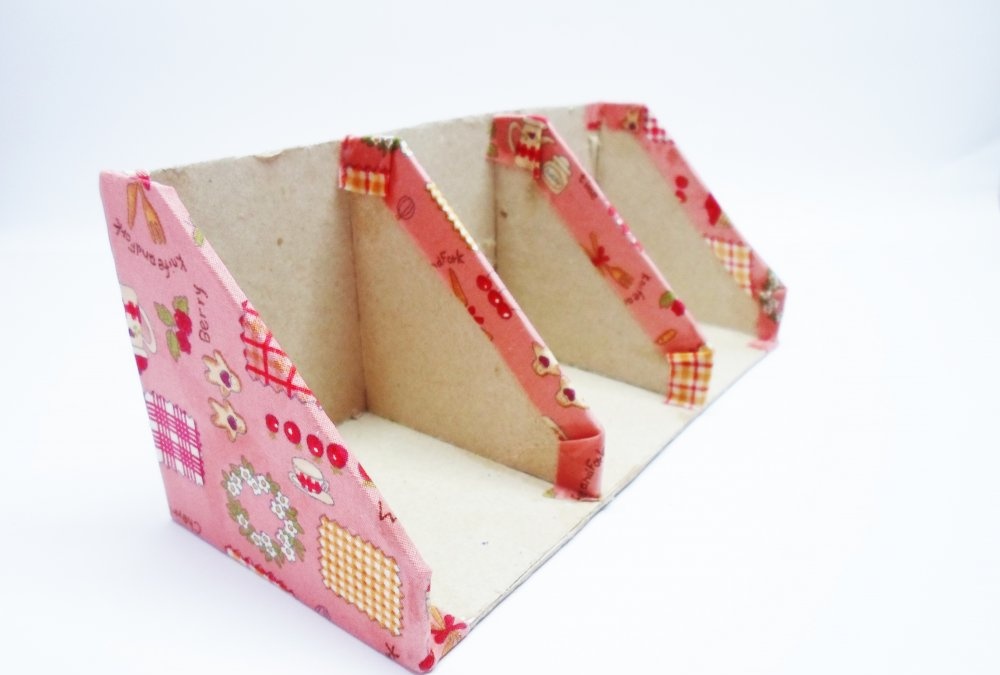
According to the dimensions shown in the diagram, cut out the sections for tea bags from cardboard. First glue the bases at right angles, and then glue the side partitions. At this stage, all parts of the box must be glued together using transparent polymer glue, and masking tape must be used to temporarily fix the parts.
Pasting the box
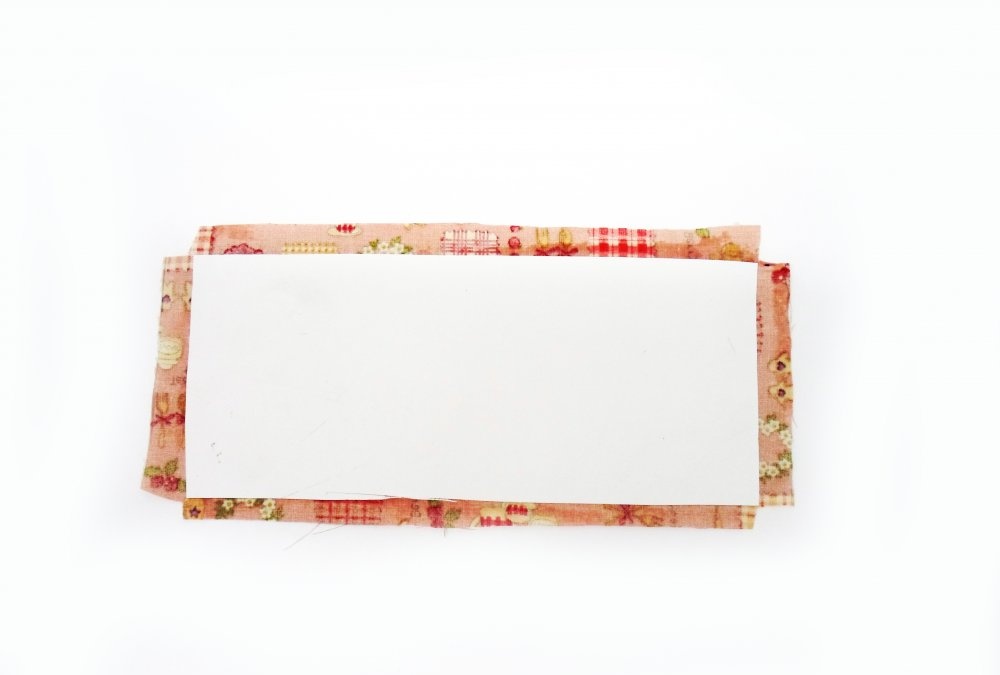
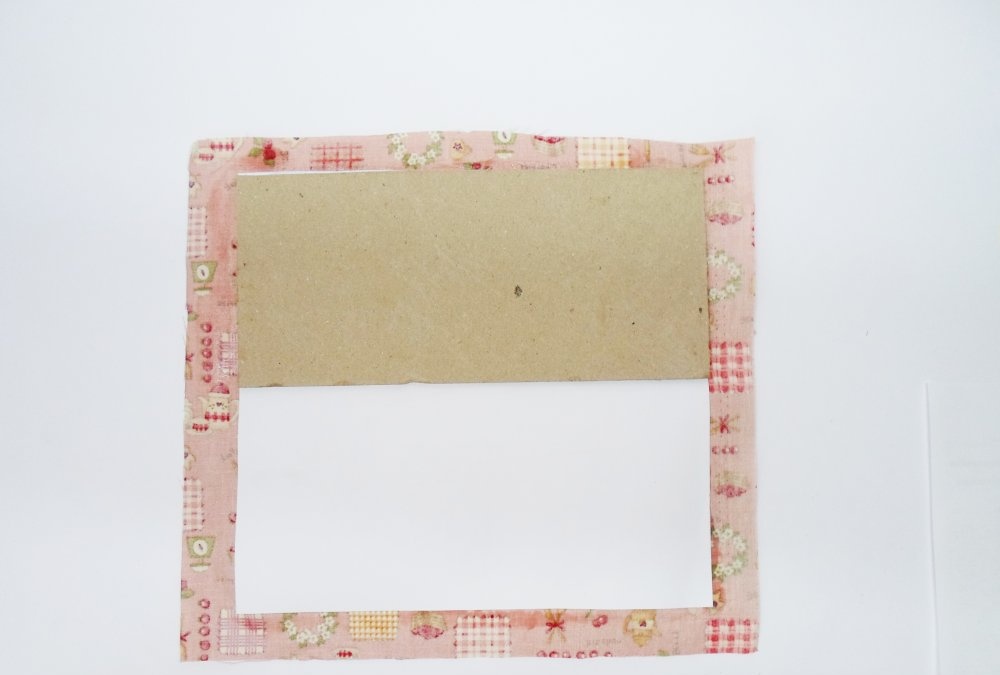
To cover the front side of the box, cut out a rectangle 40.9x9.5 cm from whatman paper, and 43x12 cm from fabric with the image of kitchen utensils. Glue the fabric onto whatman paper, leaving an allowance of 1 cm on each side.
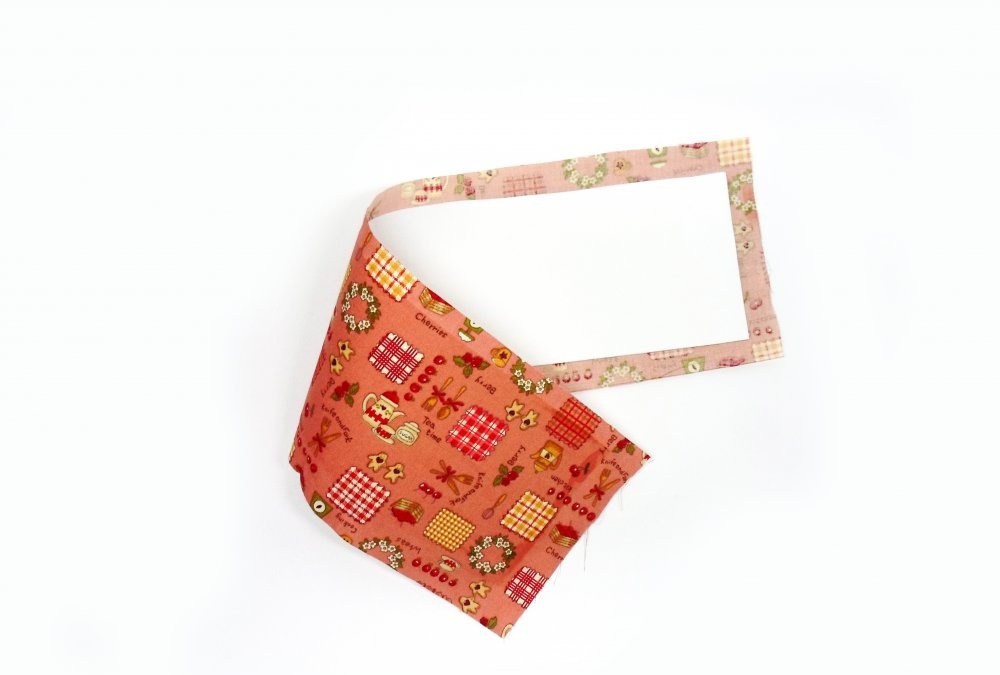
Here and below, use PVA glue to glue fabric and paper parts.
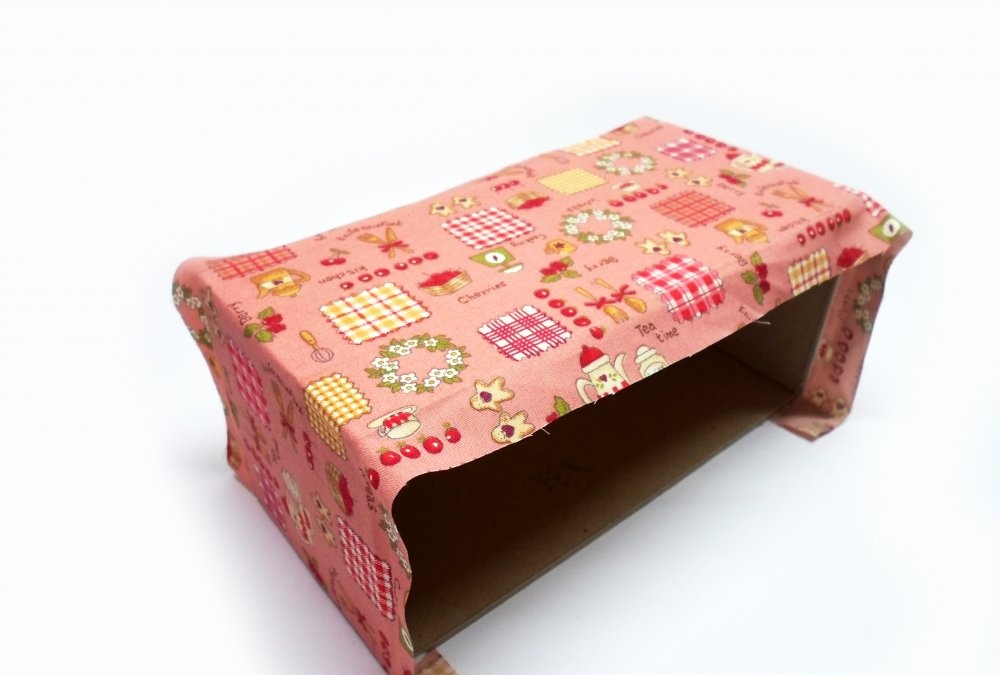
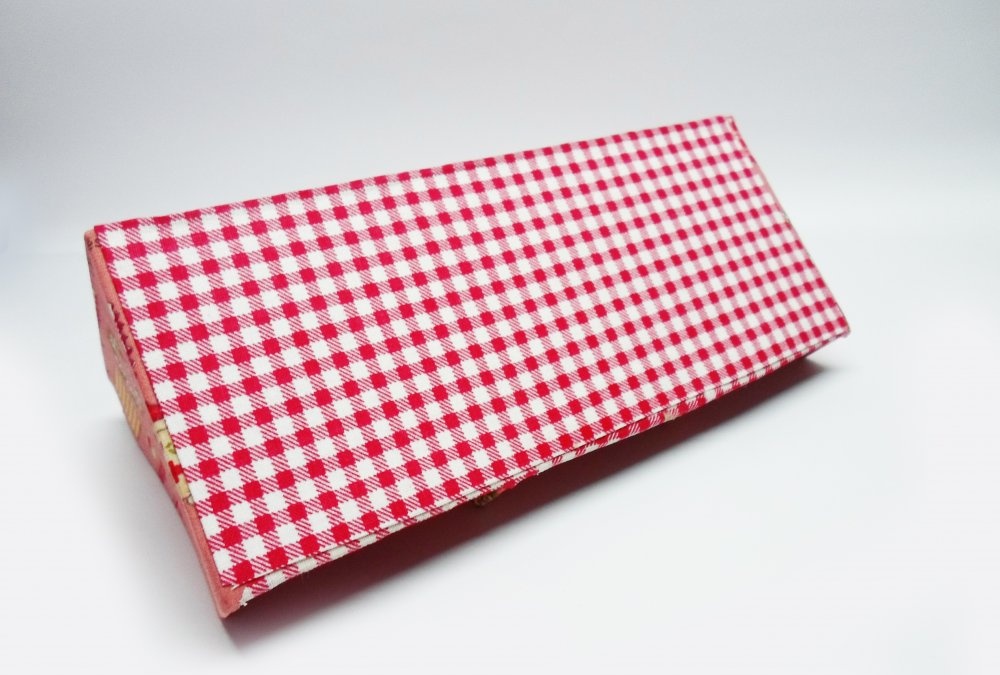
Cover the side and top base of the box with the resulting blank.
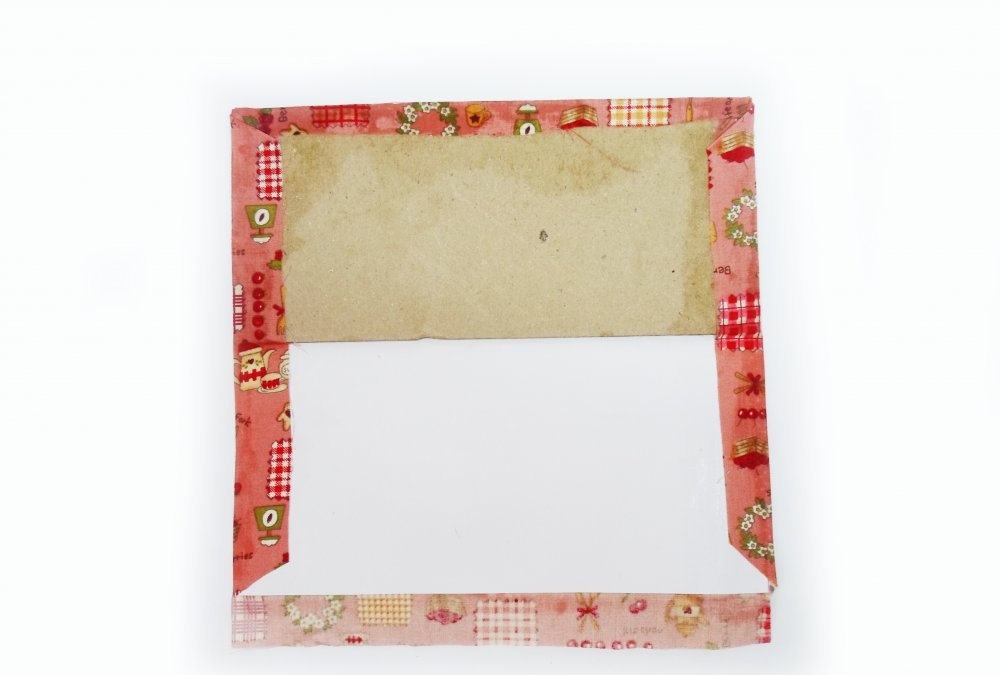
Trim off excess fabric at the corners of the box.
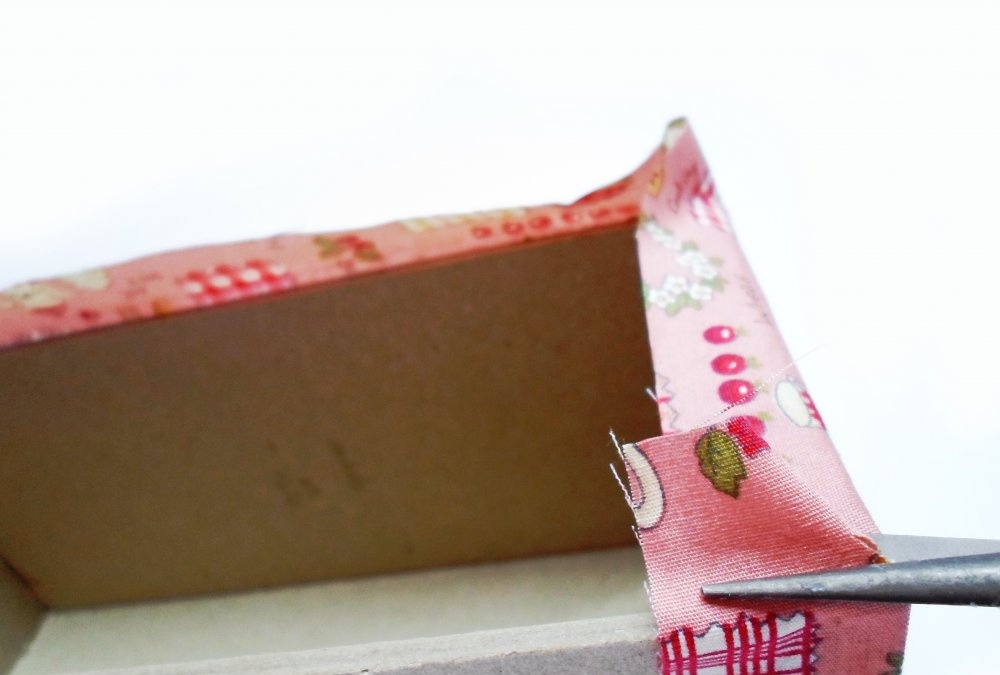
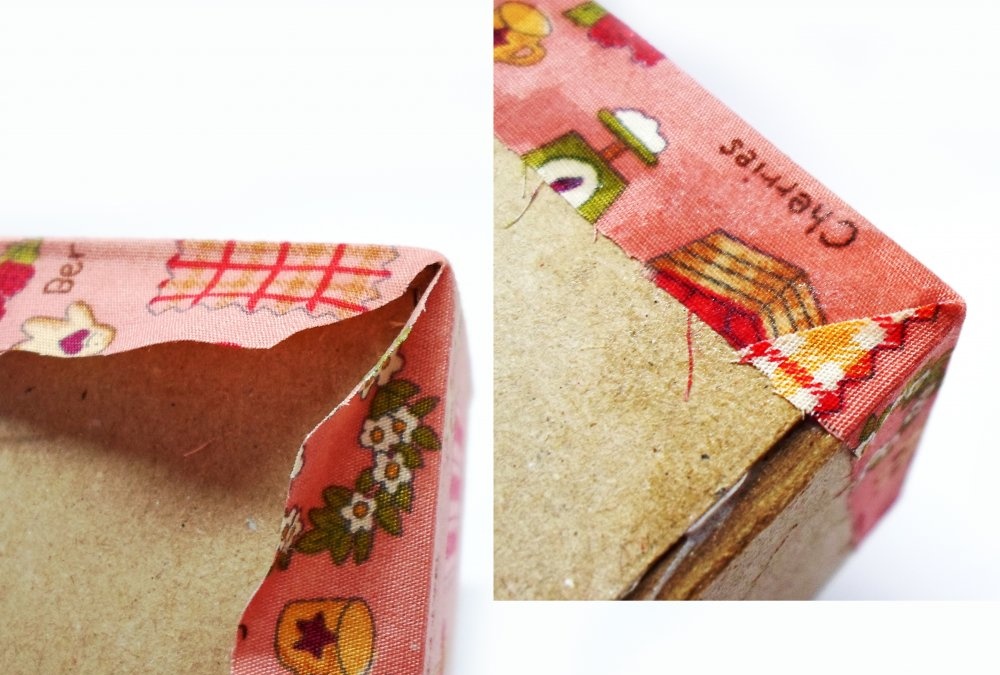
Bring the fabric allowances inward and glue them.

Process the corners of the joints at the bottom of the box in the same way.
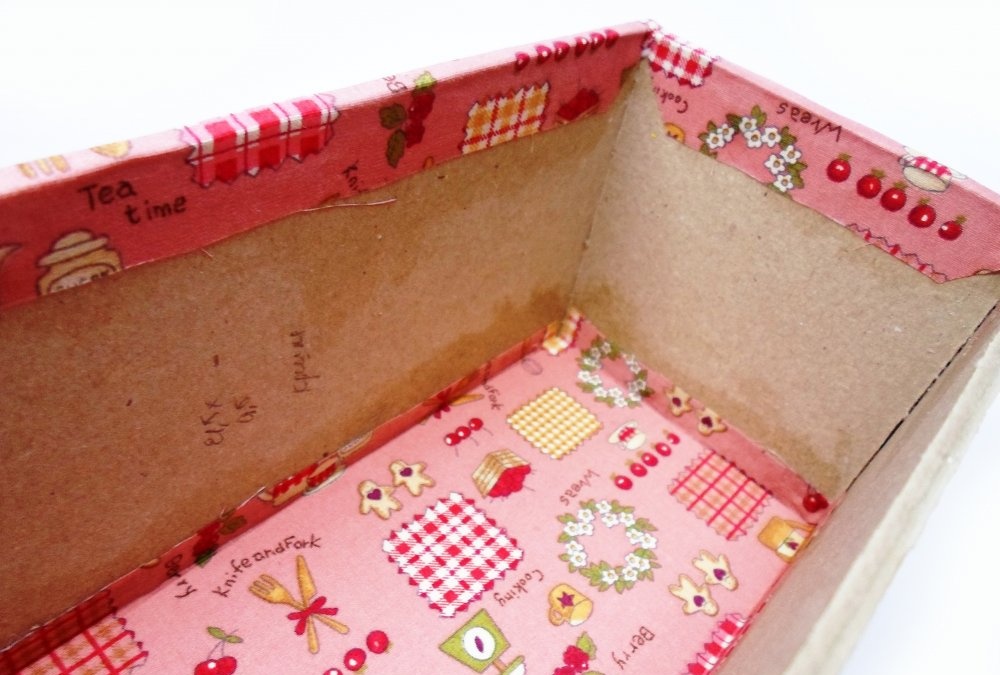
Now prepare to paste the inner bottom of the box: cut out a rectangle measuring 20.5x9 cm from whatman paper, and 22.5x11 cm from fabric. Glue the fabric with the image of kitchen utensils to the paper, and cut the corners of the fabric at right angles.
Glue the blank to the bottom of the box, place the allowances on the walls.
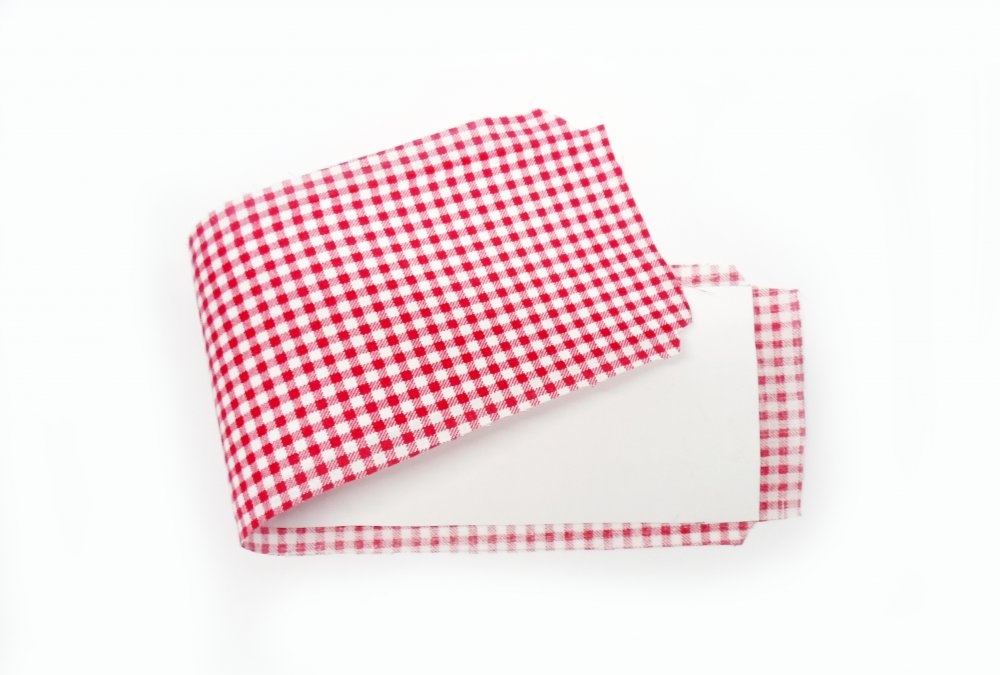
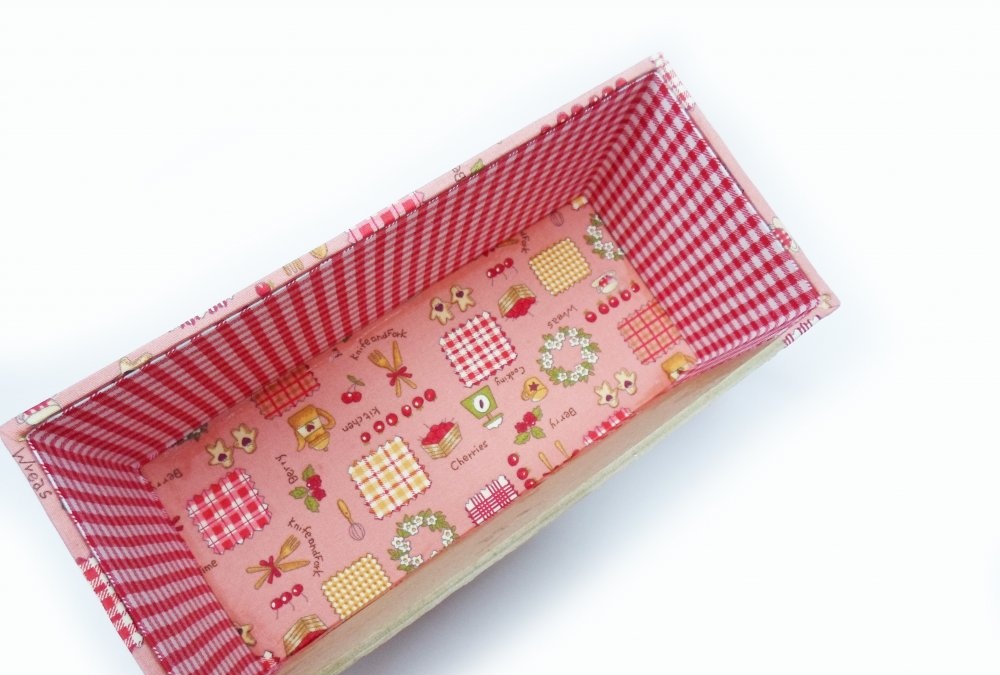
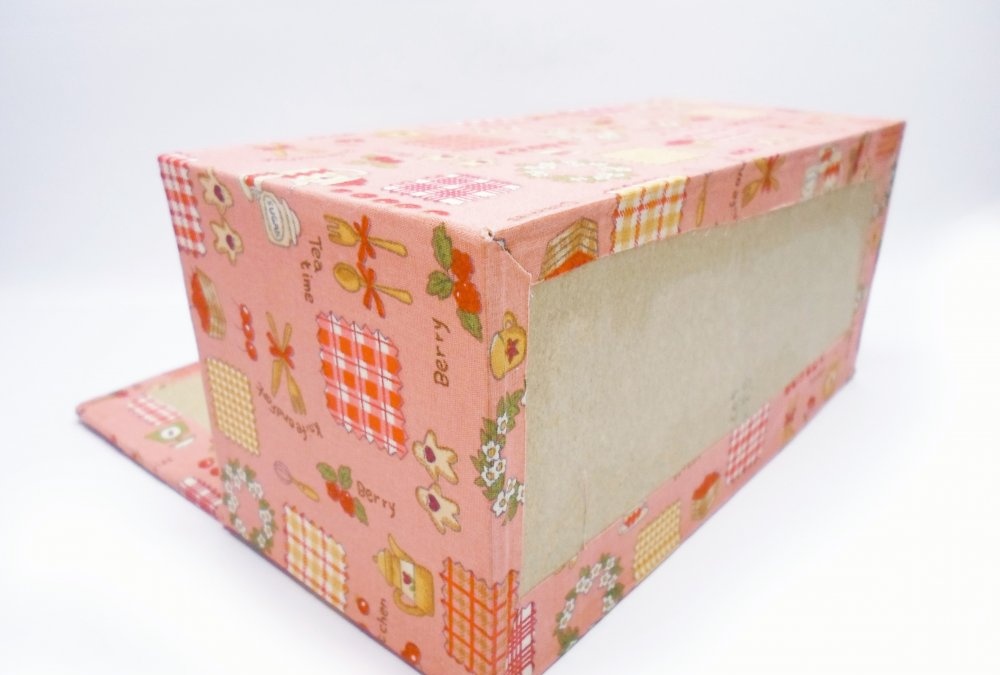
To paste the inside of the box, cut out a blank 38.5 x 8.8 cm from whatman paper, and 40.5 x 10.8 cm from red checkered fabric. Cut the corners of the fabric at right angles, and then bring it inward and glue the allowances along the long sides of the rectangle.
Glue the blank to the inside of the box. Thus, at this stage, the two sides and the upper base of the box box should be glued on the outside and inside.
Design of the lid and section for tea bags
To implement this stage, cut out a rectangle 21.3x20 cm from whatman paper, and 24.3x23 cm from fabric with the image of kitchen utensils. Glue the cardboard blank for the hinged lid (21.5x9.7 cm).
First glue an allowance 24.3 cm long to the inside of the workpiece, and then the side allowances.
Now glue the Whatman paper to the bottom base of the box, placing an allowance on the back wall.
To finish gluing the outer part of the box, cut out rectangles: from whatman paper 20.5x8.5 cm, from checkered fabric - 1 cm more on each side, i.e. 22.5 x 10.5 cm. Cut all the corners at an angle of 45 degrees, bring the allowances inward and glue the allowances along the long sides, and then along the short sides of the box. Glue the resulting blank to the inner base, and place the allowance on the lid.
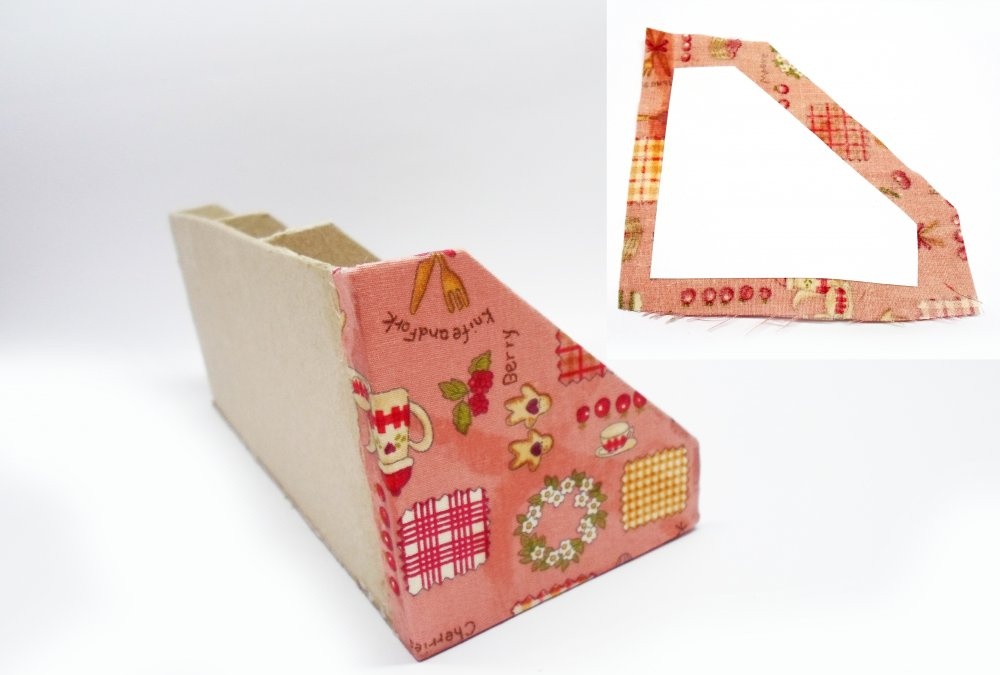
Start decorating the section for tea bags. To do this, cut out rectangles measuring 20.3x8.7 cm and 20.3x8.5 cm from cardboard (2 mm). Glue them along the long side. Then, in accordance with the dimensions indicated in the diagram, cut out 4 parts of the partitions and glue them between the bases.
Start gluing the section for bags from the outer part of the sides. To do this, cut out the contours of the parts from whatman paper and cover them with fabric depicting kitchen utensils. Glue the parts to the outer sides of the section for bags, and place the allowances on the bottom of the bases and through the cuts into the cells.
Cover the sections of the internal partitions with strips of fabric.
Proceed to gluing the inside of the section. Cut out 3 rectangles 16x6.4 cm from whatman paper, and 18x8.4 cm from checkered fabric. Cover the inner cells with the resulting blanks, placing allowances on the side partitions.
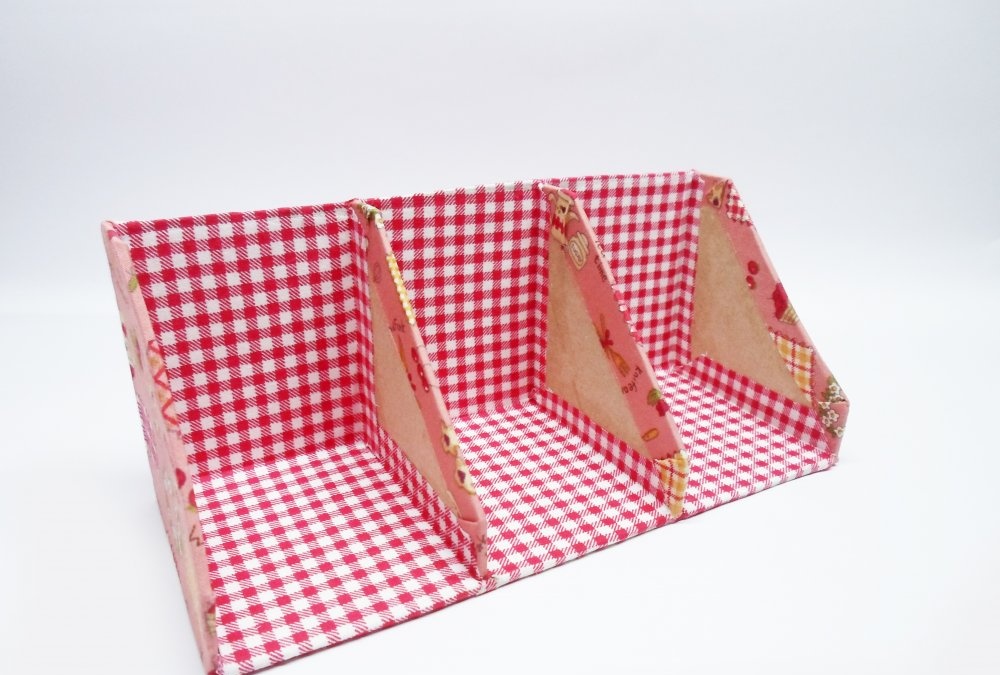
To paste over the sides of the partitions, cut out 6 parts from whatman paper, cover them with fabric, and place the allowances inward. Glue them to the cardboard pieces.
To complete the creation of a cardboard tea box, cover the base of the section for bags with fabric, glue the blank to the hinged lid and attach a decorative handle.
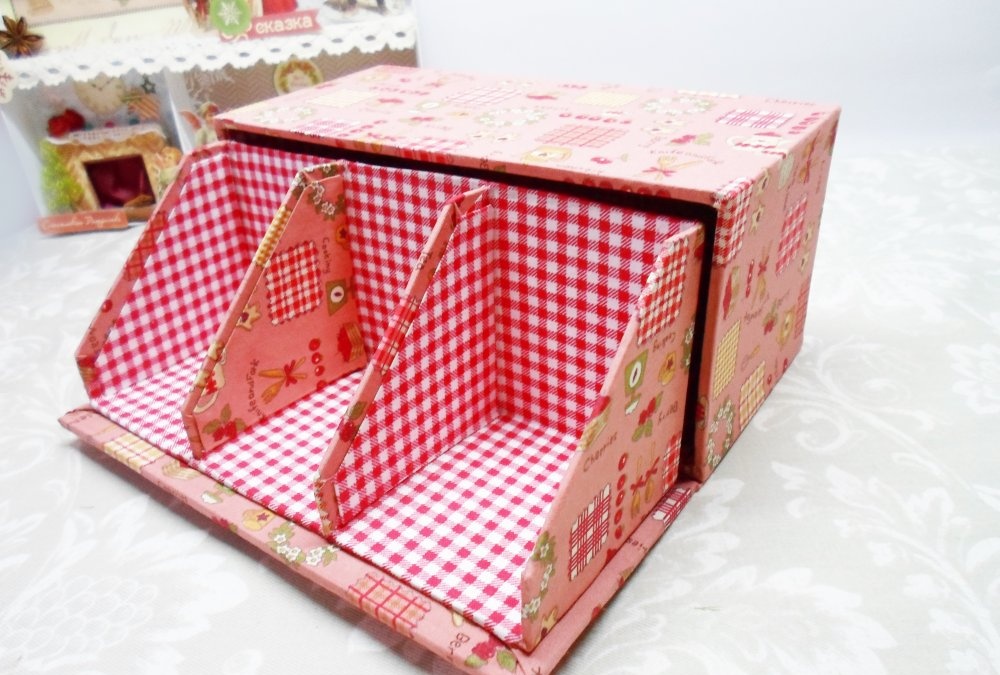

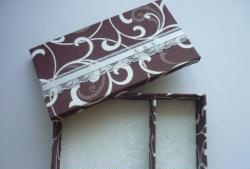
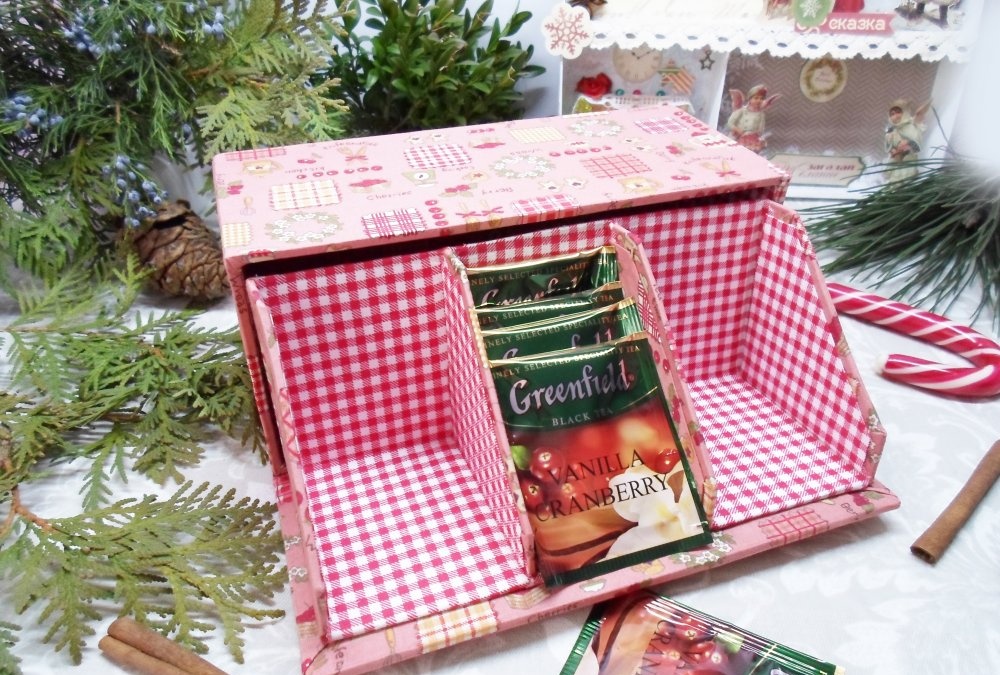
The box for tea bags is ready.
Elena Tregub