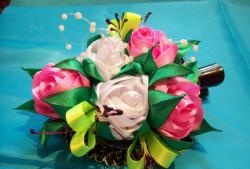
To make such a flower for a hairpin you will need:
- glue gun.
- leaves for decoration.
- hairpin.
- tweezers.
- large golden-colored beads, 12 pieces.
- lighter.
- red wide satin ribbon.
- scissors.
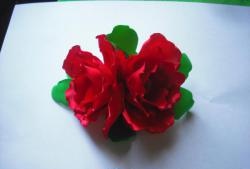
1 creation of petals.
From a tape 5 cm wide you will need to cut 34 pieces 5 cm long. From the resulting squares you need to cut out blanks for the petals. To do this, you need to make the two upper corners rounded.
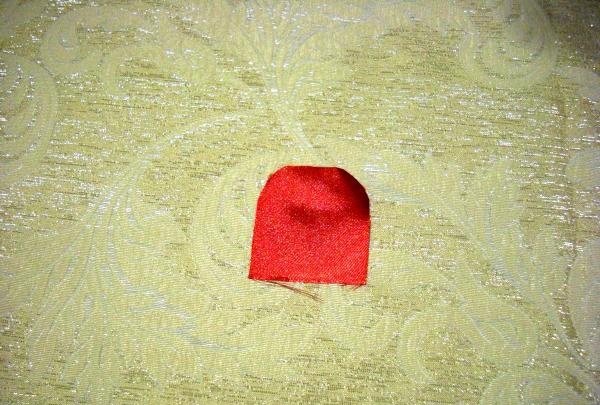
All petals are the same color, so such blanks should be made from all prepared squares. The sections of the parts must be treated with fire to prevent the fabric from fraying. When processing the rounded part of the petal, you should carefully burn the edge for a few seconds longer. Due to this prolonged heat treatment, the cut of the tape will begin to curl slightly. The result will be petals like a real tulip.
Further along the lower edge of the petals, you need to make two small folds and burn them with fire to secure them in this state.
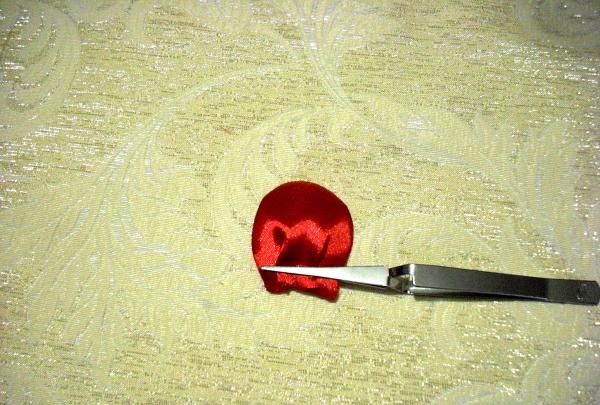
Such folds must be on all petals so that all the parts made receive the necessary roundness and volume.
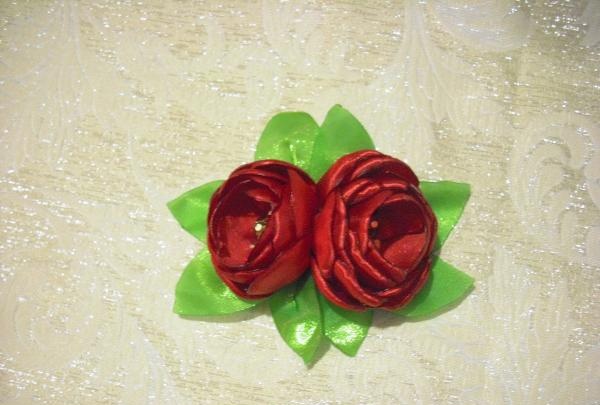
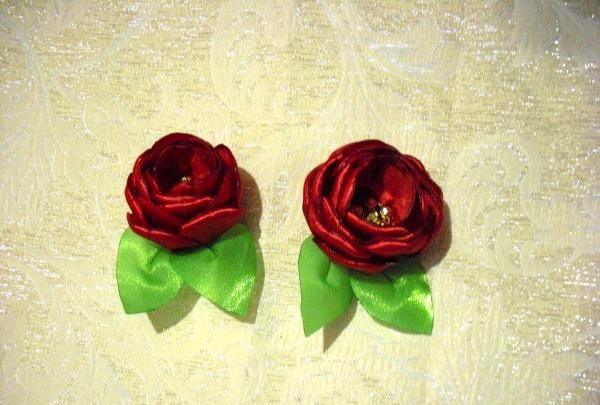
2 Connecting colors.
Now you need to collect two flowers from the made petals. To do this, they need to be divided into two equal parts so that there are 17 pieces for each flower.
Next, they need to be collected together, the base of each petal should be carefully lubricated with glue and attached to each other, distributed over the entire circumference of the future flower.
In the center of the flowers you should glue 6 large beads, which will be the stamens. And two leaves must be attached to the base of each bud.
3 Hairpin connection.
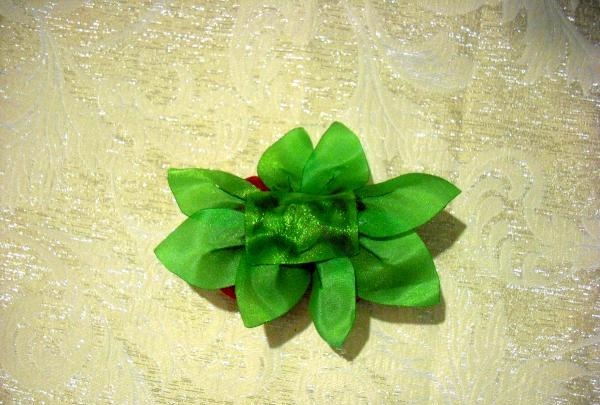
Now you need to glue the color together, and two more leaves on each side should be attached to the place where they intersect.

From the bottom of the decoration you now need to glue a small rectangle, which will cover all the seams and connections of the flowers.
All that remains is to secure the hairpin with glue, placing it strictly in the center of the decoration.
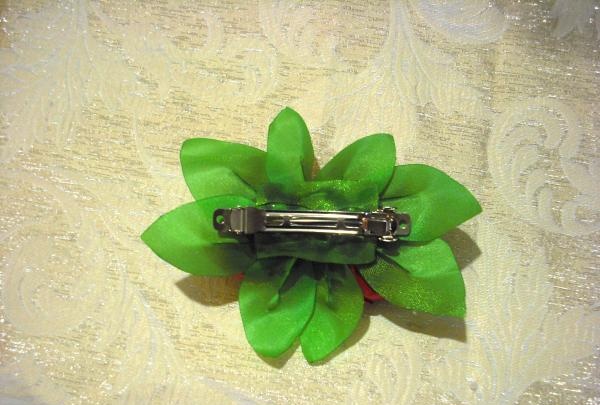
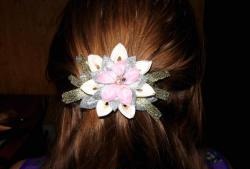
Now the “Blooming Tulips” hair clip is completely assembled and will perfectly decorate any hairstyle!