Do it yourself
Life hacks, master classes, useful tips, recipes.
home » Handicraft techniques » Kanzashi » Kanzashi hair clips » Hairpin “Blooming poppies”
The poppy flower has its own peculiarity and difference from the others, but this is what attracts us. Therefore, the imitation of a blossoming poppy is often used in various decorations and design paintings. Needlewomen use the image of this flower to create hairpins; the bright red color of these buds looks especially fascinating against the background of dark-colored hair.

poppy flower


To create such a charming hairpin I will need:
- hairpin.
- tweezers with thin long edges.
- red ribbon 5 cm wide.
- scissors.
- leaves from famiaran.
- glue gun.
- large beads in the shape of a crystal.
- lighter.

Creating decoration.
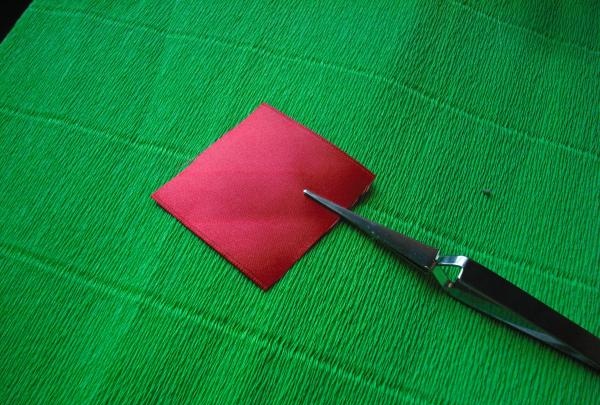
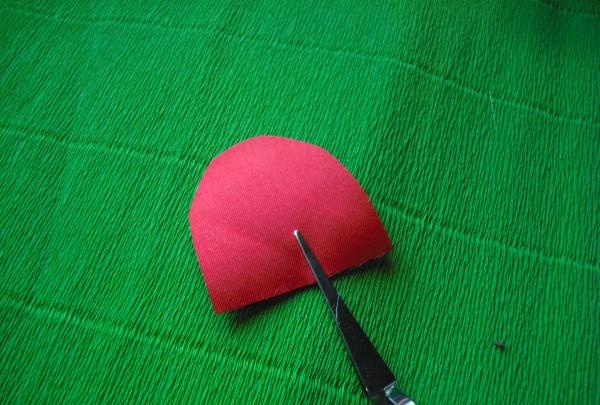
First, I need to make petals for the flowers, and for this I cut squares with sides of 5x5 cm from red ribbon. In total, I will need 24 of them for this hairpin. Each flower will use 12 petals.

Creating a decoration


Next, all the squares need to cut off the two upper corners, rounding them.

make petals


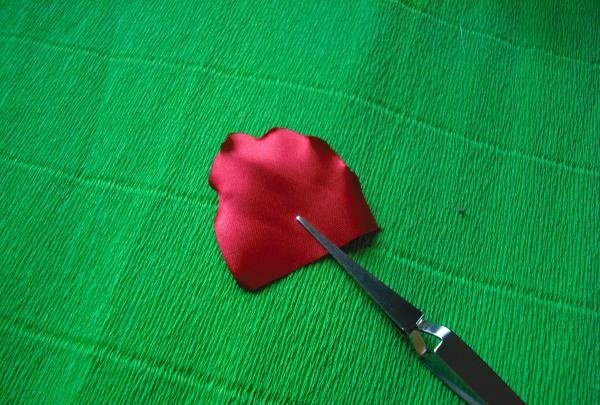
Now I carefully singe the rounded edge of the future petal, while every 1 cm I carefully stretch the cut to make a wave. Thus, all sides of the part should be processed, except the bottom cut.

I singe the rounded one


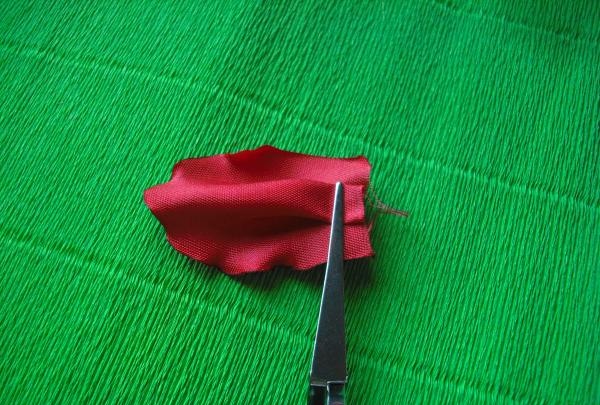
Now I start processing the bottom cut. Turning the part face down, I make a counter fold in the middle of the unprocessed cut of the petal.

I'm starting to process the bottom cut.


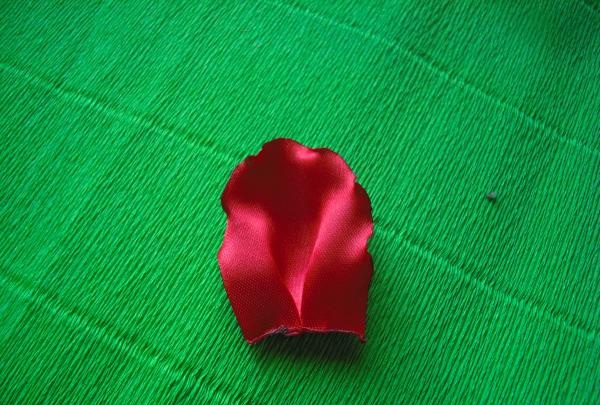
Now I secure the fold I made by singeing the fabric and soldering the joints together. This fold will make the petal voluminous, giving the necessary shape. After this I straighten the piece and straighten out the fold. The result is such a beautiful petal.

I secure the fold I made


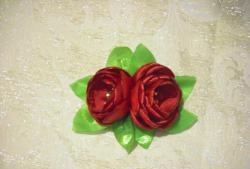
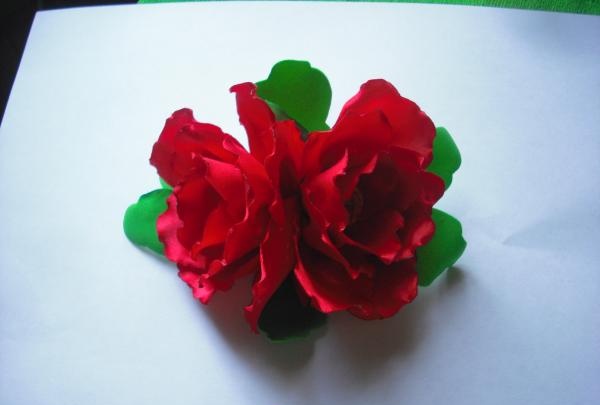
Using the same sequence, I need to make the rest of the petals needed for pinning. After creating them, you can start assembling the flowers. Each bud will require 12 petals. A large crystal-shaped bead will be used as the center of the flower. To such a bead I gradually glue the petals around the entire circumference, pressing them tightly to the base. As a result, I got two beautiful buds.

you can start assembling flowers


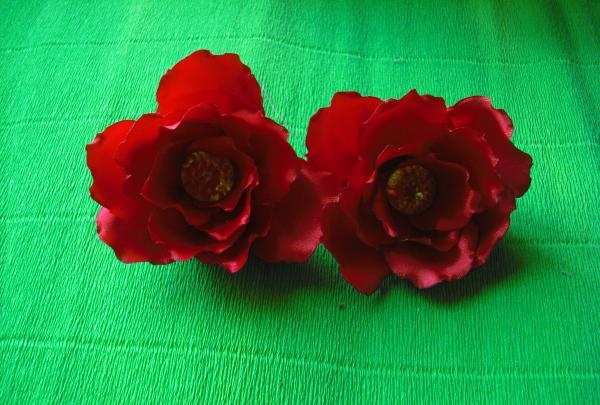
Now, after applying glue to the side of the bud, I glue them together. And I attach leaves to the base of the flowers.

poppy flower


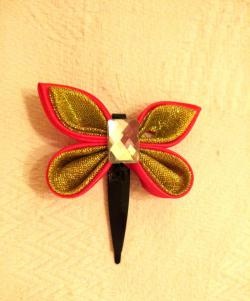
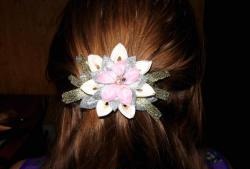
After that, all I had to do was attach a hairpin to the base of the flowers.

I attach leaves to the base of the flowers


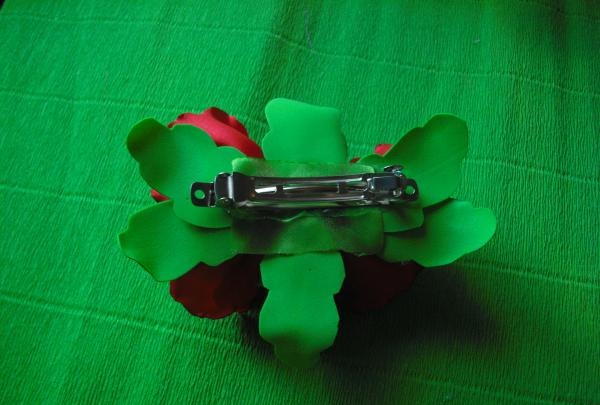
This completes the creation of the hairpin, it is ready!
come back
Comment
  • bowtiesmilelaughingblushsmileyrelaxed relaxedsmirk
    heart_eyeskissing_heartkissing_closed_eyesflushedrelievedsatisfiedgrin
    winkstuck_out_tongue_winking_eyestuck_out_tongue_closed_eyesgrinningkissingstuck_out_tonguesleeping
    worriedfrowninganguishedopen_mouthgrimacingconfusedhushed
    expressionlessunamusedsweat_smilesweatdisappointed_relievedwearypassive
    disappointedconfoundedfearfulcold_sweatperseverecrysob
    joyastonishedscreamtired_faceangryragetriumph
    sleepyyummasksunglassesdizzy_faceimpsmiling_imp
    neutral_faceno_mouthinnocent
5+two=
Comments (0)

Butter from cream

Tin Can Hole Saw | Do it yourself

Crafts - Do it yourself, step-by-step master classes | Page 42

Three ideas for crafts made from plastic bottle caps

«Do it yourself - with your own hands» - a site of interesting homemade products made from scrap materials and items at home. Step-by-step master classes with photos and descriptions, technologies, life hacks - everything a real master or just a craftsman needs for needlework. Crafts of any complexity, a large selection of directions and ideas for creativity.

We recommend reading

Washing machine error codes