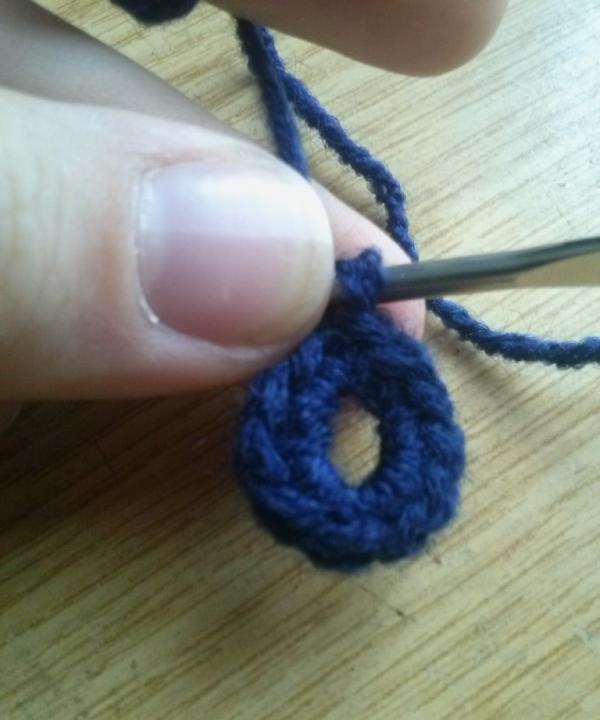
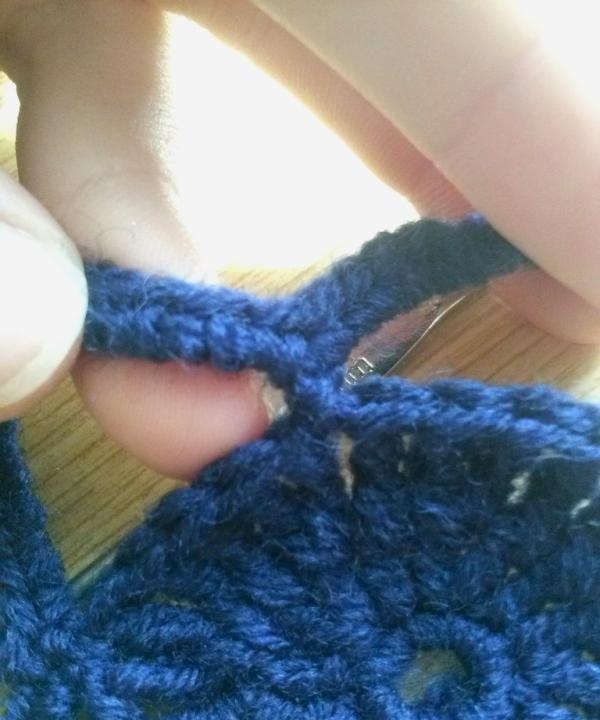
So, let's get to work. We cast on 6 loops and connect them into a circle. Connecting is quite simple - to do this, pull the thread through the first and last loops so that you get one loop.

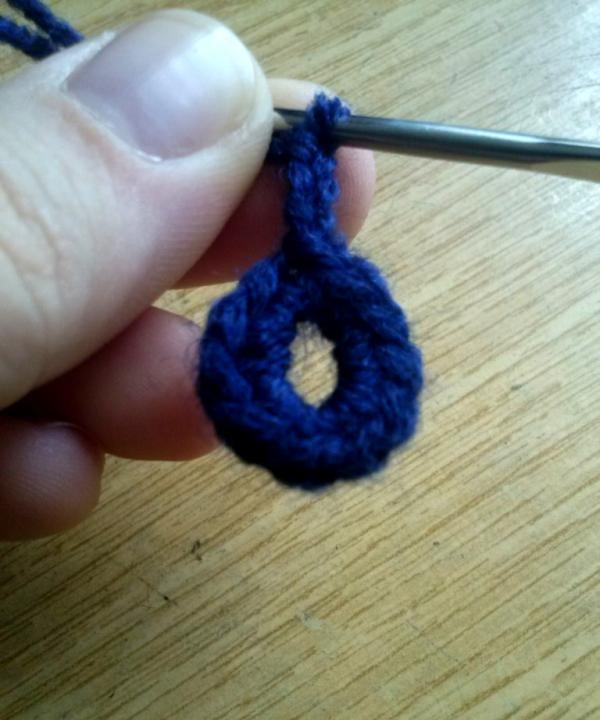
After we have a circle, it is worth tying it. To do this, knit 10 stitches without additional casting on the heat. You should get something like this:
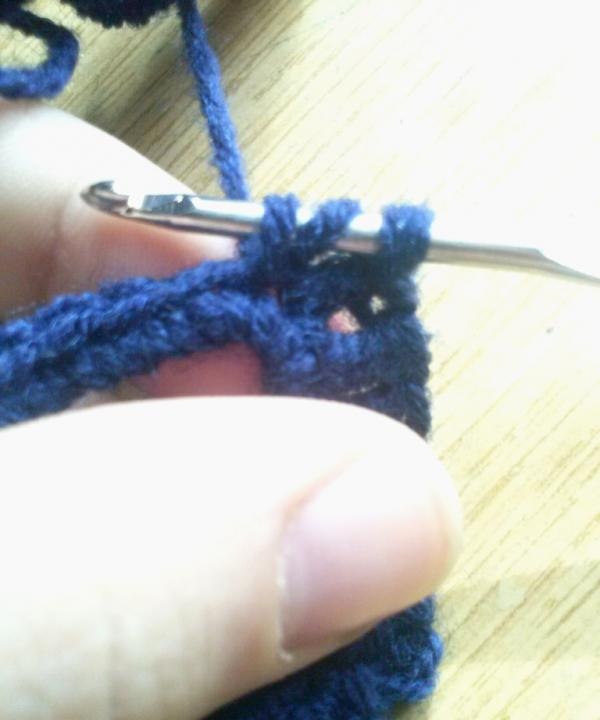
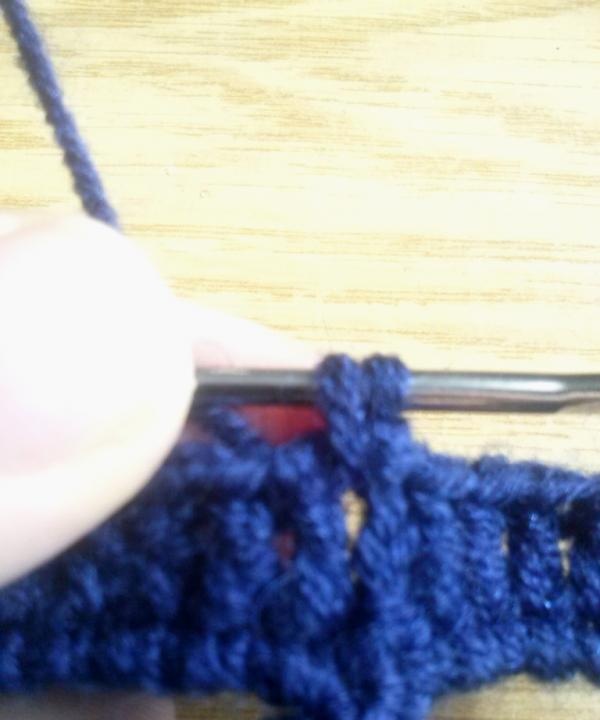
Don’t forget to connect the rows together, because if you miss this, you won’t end up with a beautiful flower, but something incomprehensible. Next we will knit stitches with additional loops and casts. To do this, add three more loops to the existing loop of the new row, then add one cast and only after that knit a new column.Thus, it is necessary to knit the entire row, but! This row should contain 16 columns, which means that when knitting it, you should alternate one and two columns in the previous bottom row.
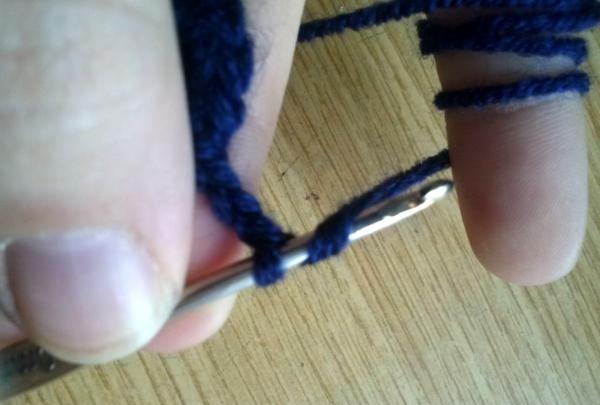
Now we will move on to a new row, but with a double cast to the loop. To do this, the first thing we do is add four more loops to the existing loop, and then make a double cast:
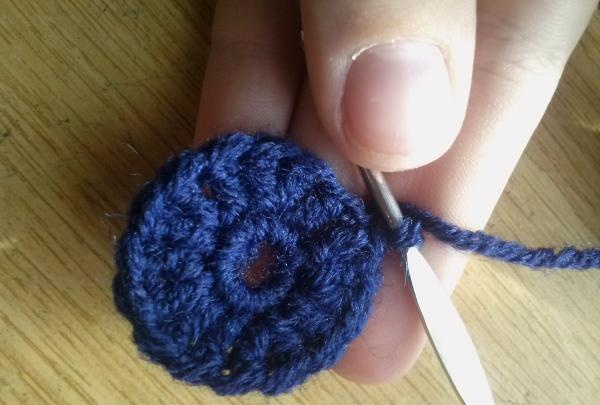
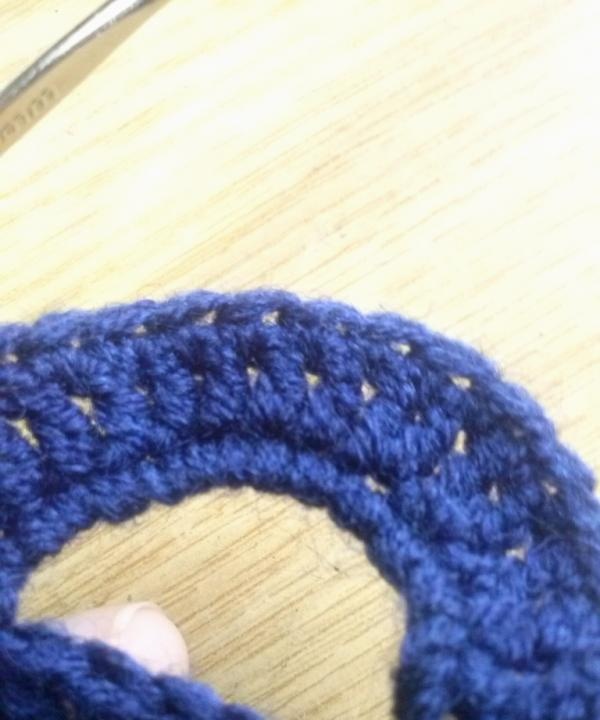
Thus, we knit the entire row, but in the end result we should get 25 columns. To do this, in the same way as with the previous row, we alternate one or two columns from one loop.
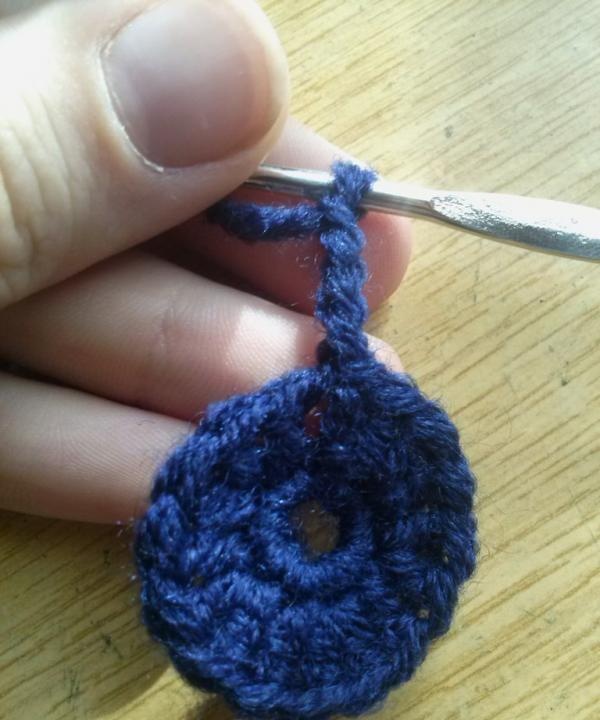
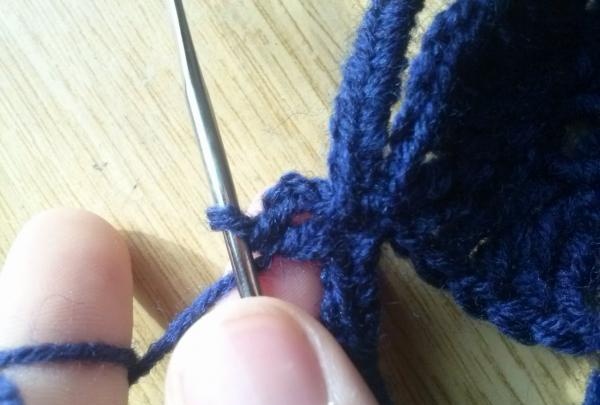
We should end up with a circle like this. When the circle is ready, you can start working with the petals. To begin, we cast on 15 free loops to the existing one and connect them to the previous row through 5 columns.
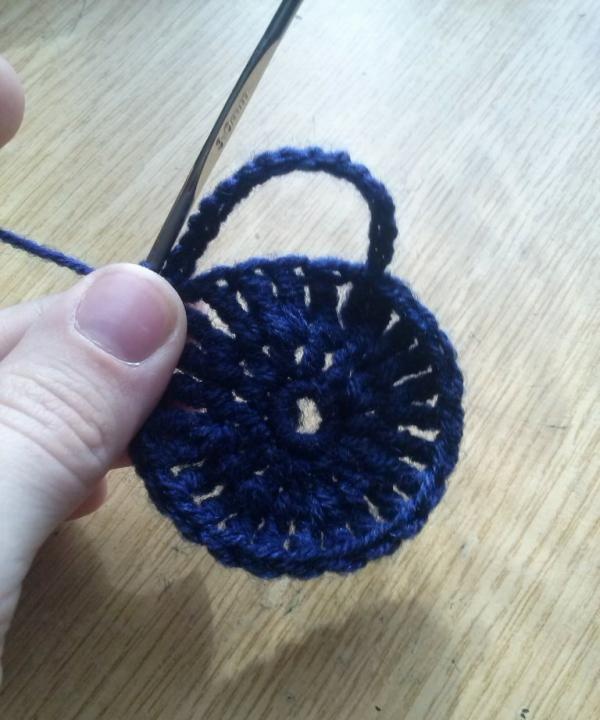
We do the same thing four more times. As a result, we should get this:
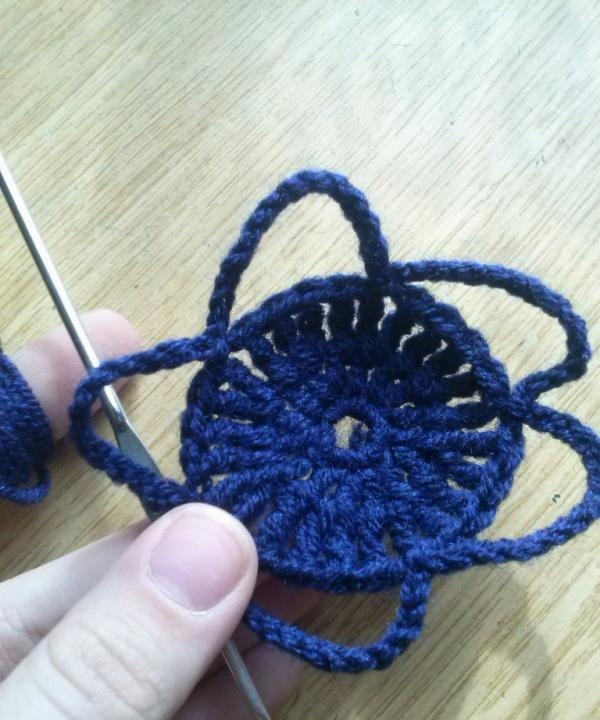
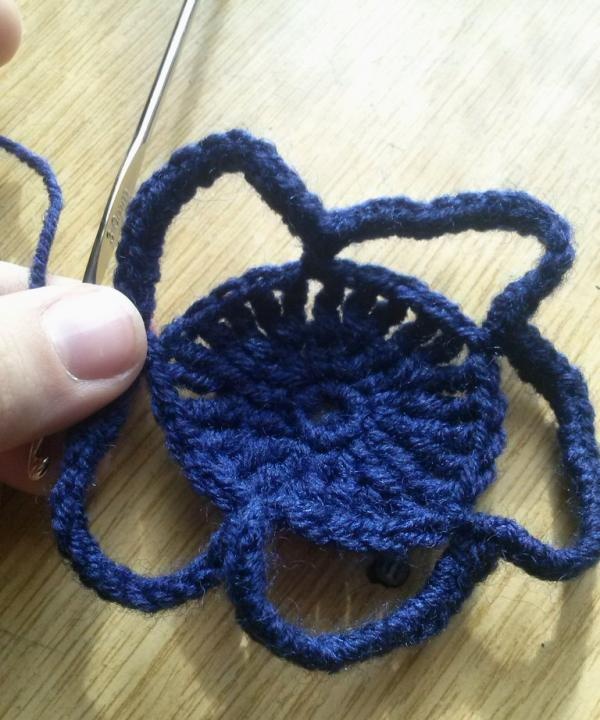
In order for everything to turn out beautifully, the resulting leaves should be knitted with simple stitches, without additional loops and casting (the same way as we knitted the first row).
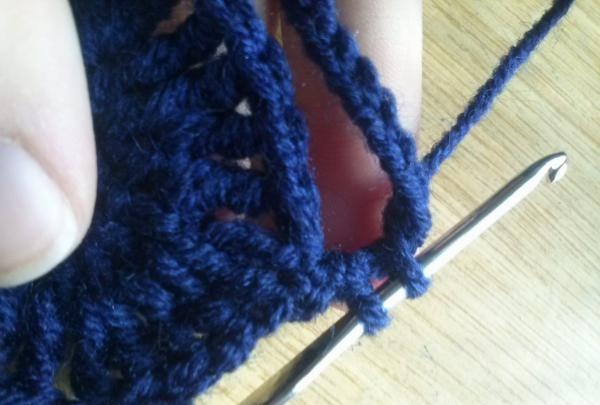
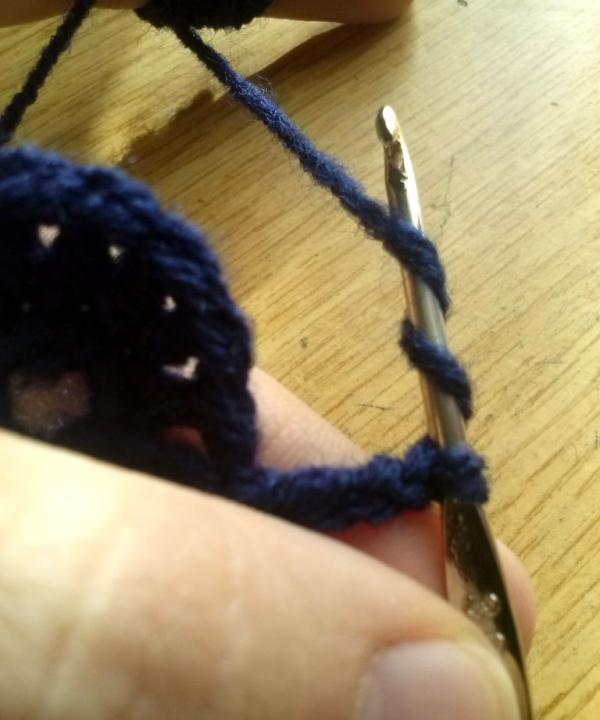
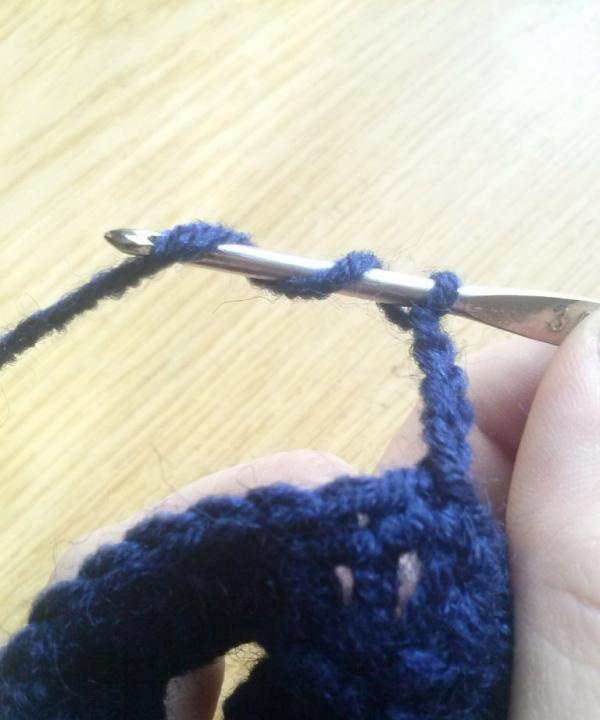
We will knit the next row in exactly the same way as the second - add three loops and one additional cast.

This way we knit the entire row.
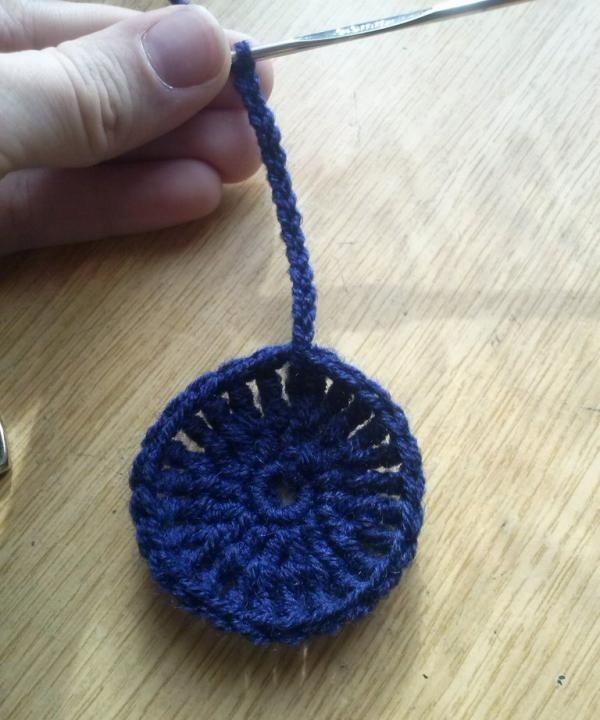
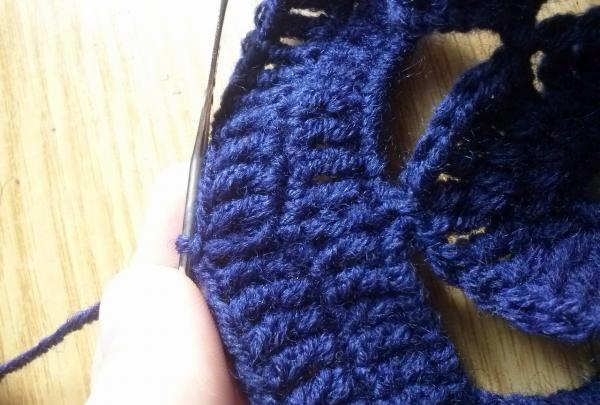
To ensure that the knitting is beautiful and not overtightened, after the patterned row we use a simple tightening row (in the same way as we knitted the first row and petals).
We knit the next row in the same way as the third - additional loops with two casts.
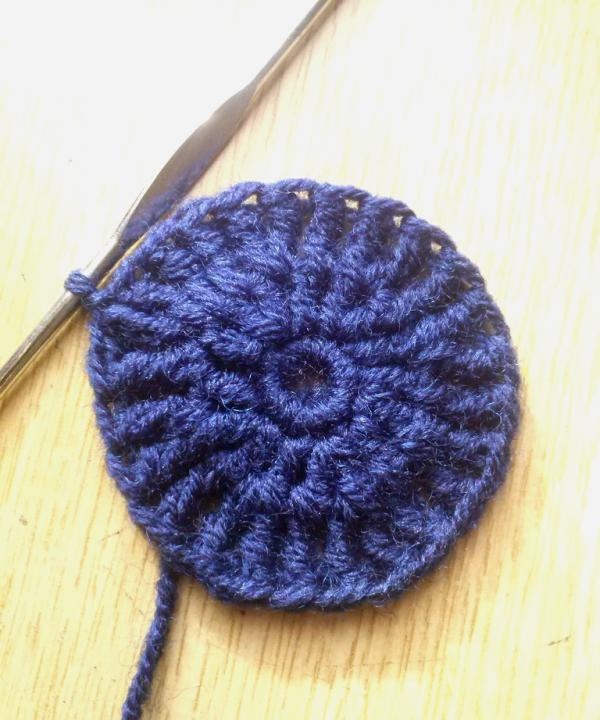
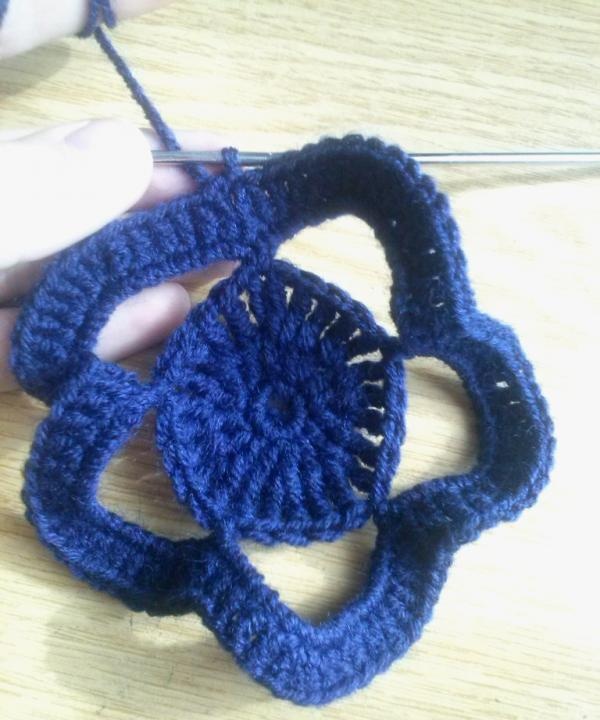
Then again there is a contracting row, which will be the final one in this flower. This is what we should end up with.
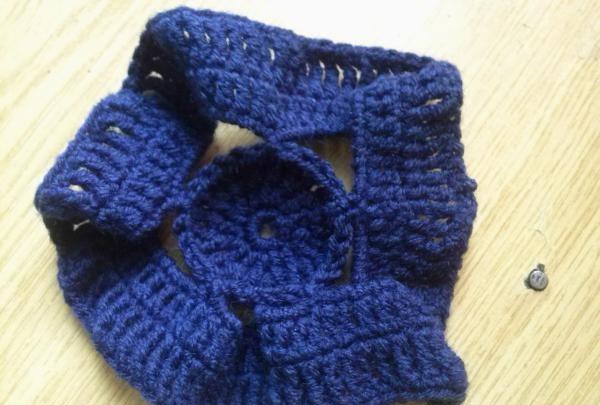
One flower is ready, but we need 15 flowers for the collar.After we have them ready, we will begin to connect them. Everything here is much simpler than it might seem at first glance. If you look closely, the shape of our flower resembles a five-knot, and it is along these “cuts” that we will connect it.
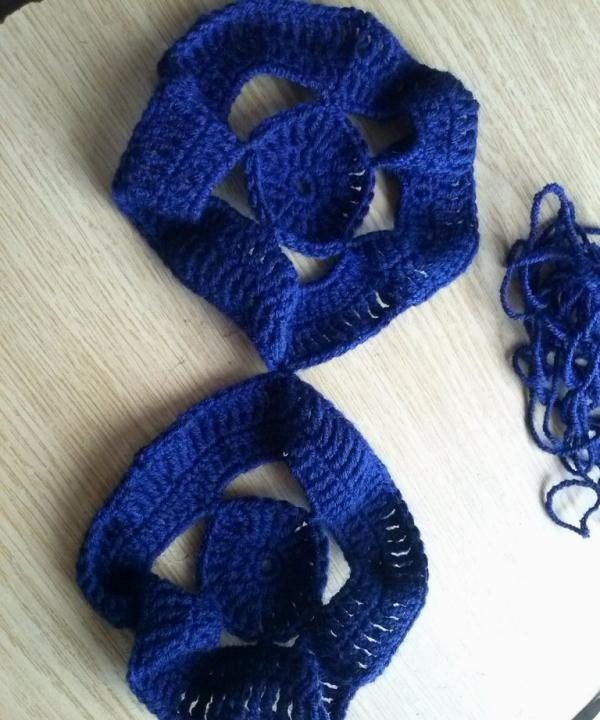
Thus, we connect all 25 flowers together so that we get three rows of 5 flowers each.
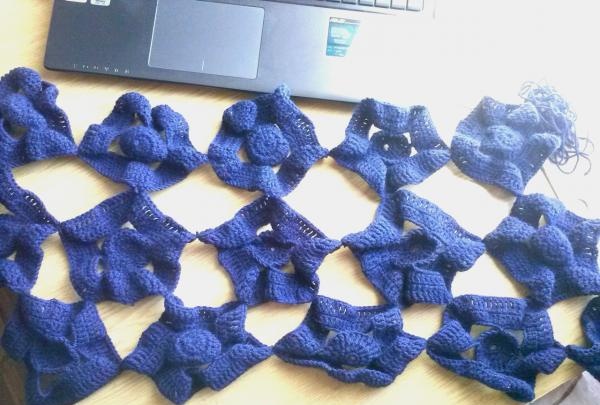
Now you should add the final touch - namely, connect everything in a circle to give it the shape of a clamp.
That's all. The light flower clamp is ready.