Materials:
- plastic canisters 20-30 l – 2 pcs.;

- plywood 10 mm;
- self-tapping screws;
- furniture handles – 3 pcs.

Organizer manufacturing process
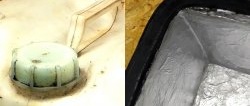
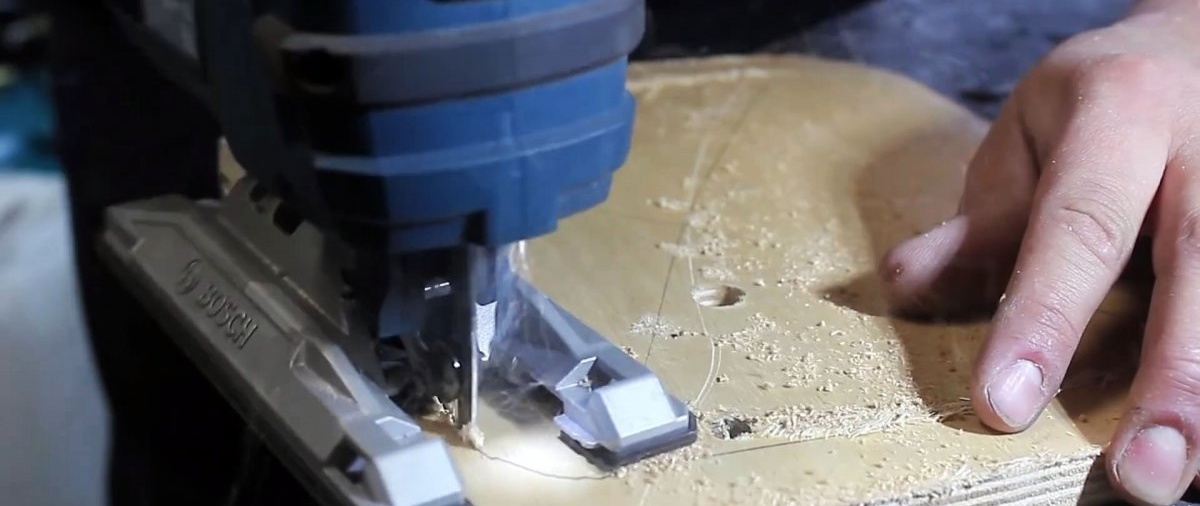
A large window for boxes is cut out in the side of the canister. In this case, you need to leave a little plastic for rigidity on top and at the bottom.


5 inserts are cut out of plywood to fit the internal size of the canister. One of them should be in the form of a ring. For ease of marking, you can use the cut bottom from the same canister.


The insert in the form of a ring is located at the bottom of the canister along the lower edge of the window. It is leveled horizontally and screwed to the walls with self-tapping screws.

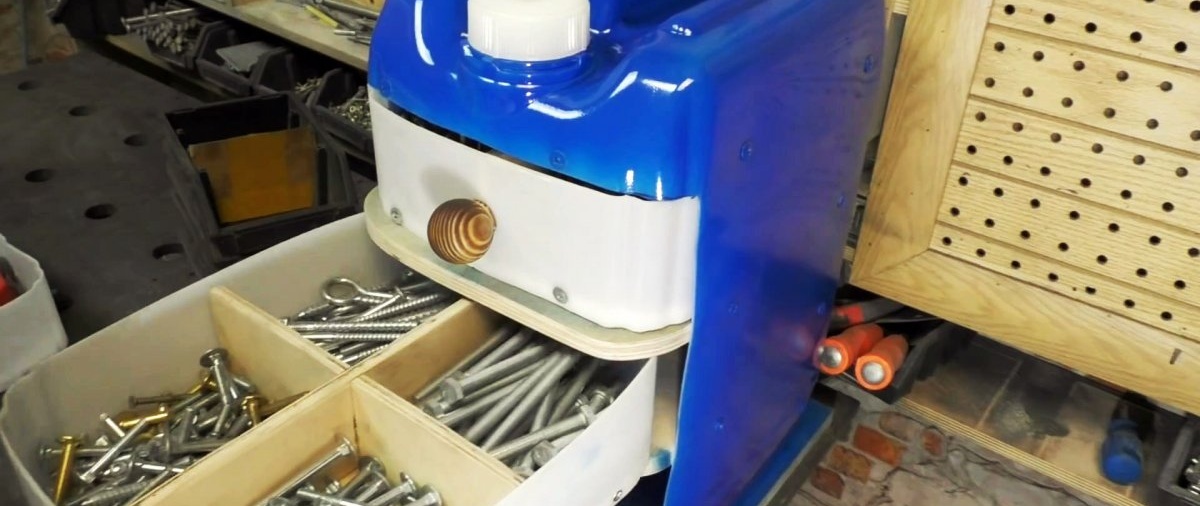
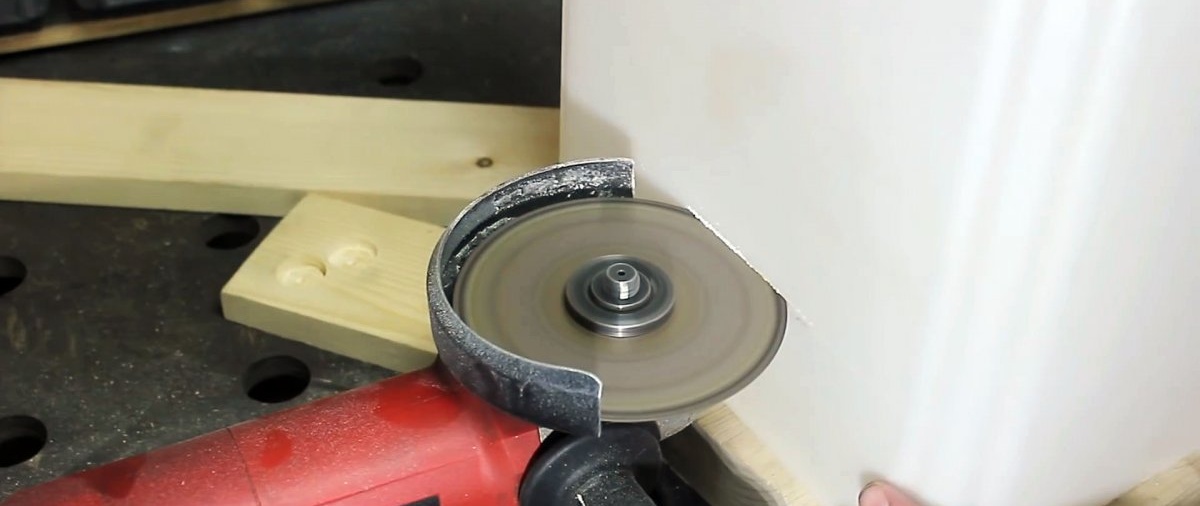
From the second canister, the bottom of which was used for marking, you need to cut 3 rings to make drawers for the organizer.Their total height should be 2.5 cm less than the cut window.

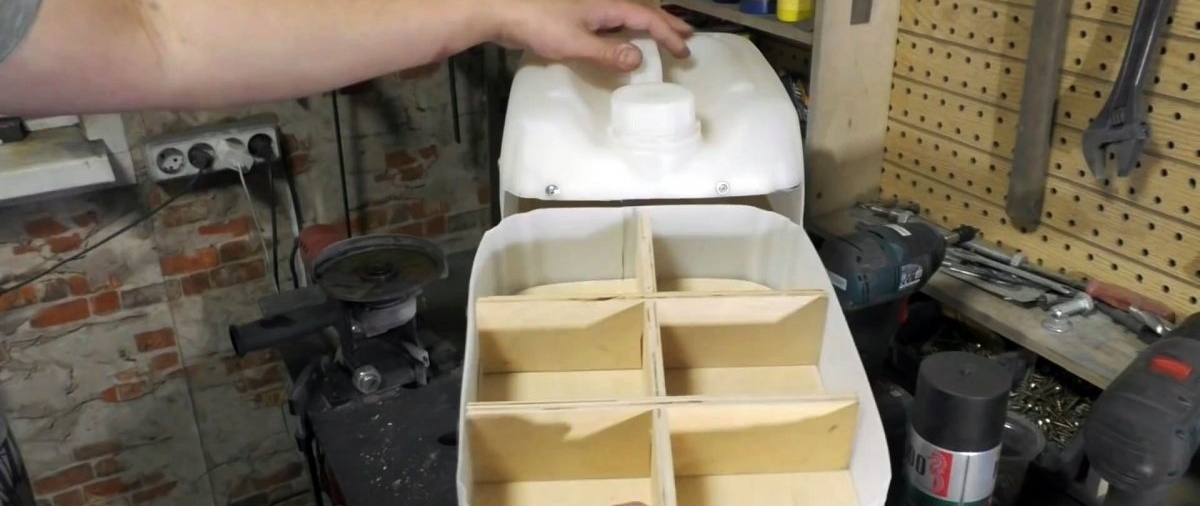
The rings are cut crosswise and a bottom is screwed to each of them. The cut is needed to narrow the drawers so that they can fit into the organizer body. Also, 2 shelves are cut out of plywood, which are screwed to the canister so that the boxes can be placed on them. The remaining inner insert is secured above the top drawer at the neck.


Dividers are then made from plywood to separate the boxes. Each department will be used for a specific size of bolts, nuts, and screws.

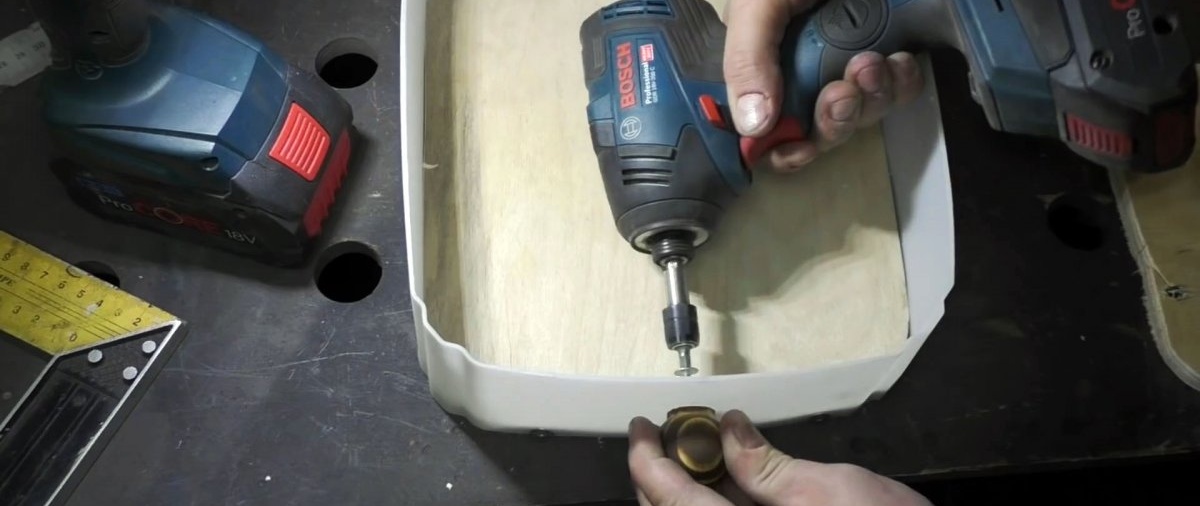
Handles are screwed onto the drawers. The canister itself is painted.


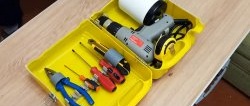
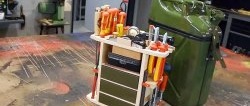
After it dries, the boxes are used for storing small items. Under the lower one you can put rarely used tools, for example, brushes. This organizer is easy to carry and is also quite roomy.