Do it yourself
Life hacks, master classes, useful tips, recipes.
A wedding is an important event in life for the newlyweds themselves, as well as for their close circle. On this important and long-awaited day, the responsibility lies with absolutely everyone: The newlyweds carefully select an outfit, choose a suitable celebration place, order transport, music, and choose rings. Close people, parents, girlfriends and comrades, in turn, fuss and pick up present for the heroes of the occasion. Basically, at our weddings, how this procedure goes, they give either household appliances, bed linen, souvenirs, but generally many prefer to congratulate the newlyweds with a cash gift, and they themselves will purchase for themselves what they consider necessary for their life together. But the most important thing at a wedding is a verbal congratulation with sincere wishes, as well as a beautiful memorable greeting card. You can easily buy an envelope or a postcard, but it’s somehow trivially simple, but making a beautiful handmade wedding card will be very pleasant and will leave the most sincere impressions of you.With this master class we will learn a lesson on making a wedding card of complex shape. It will be a folding card that neatly turns into a regular postcard.

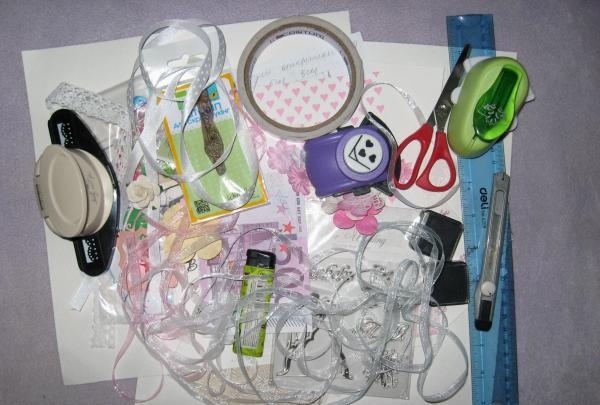
We need the following items for MK:
• A4 sheet of watercolor paper;
• Notebook sheet in a box for developing a diagram;
• Wedding and romantic scrapbook paper, three different sheets;
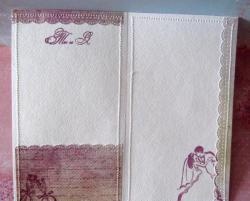
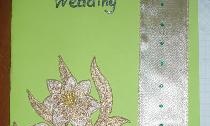
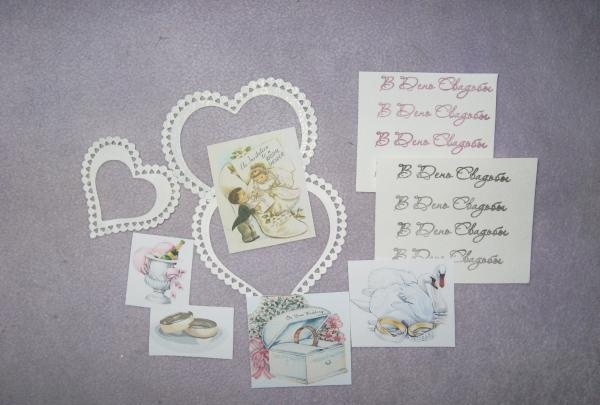
• Stamping “On the Wedding Day” on watercolor in burgundy and black ink;
• Pictures about the wedding, five in total;
• Openwork corner and border hole punches;
• Different flowers in both color and shape;
• Hollow mother-of-pearl heart made from cutting;
• Acrylic wedding rings stamp, set of wedding stamps with different elements, black ink;
• White organza and white satin ribbon with hearts;
• Pink butterfly from a cutting;
• Half beads are round and heart-shaped, white;
• Two heart pendant;
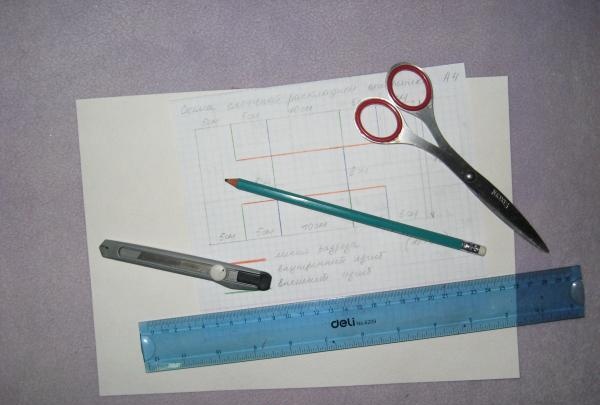
• Additional tools for work: frost, stationery knife, sharp scissors, pencil, eraser, lighter, glue gun.

what do we need


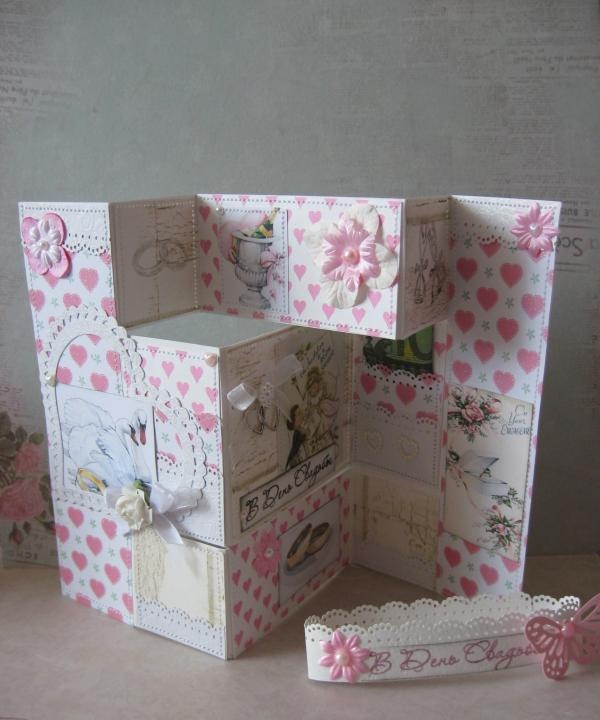
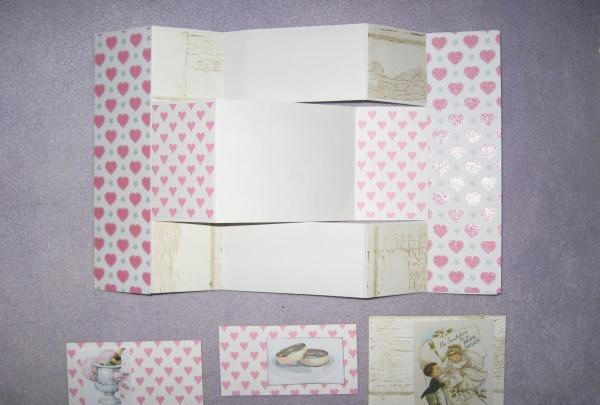
First, we take a notebook sheet in a box and on it we draw a diagram of the base of a complex postcard. The unfolded size of the postcard will be 18*30 cm. We mark the base with watercolors.

draw a diagram of the base


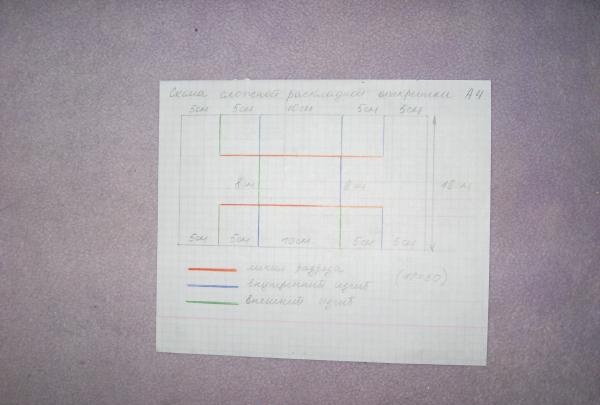
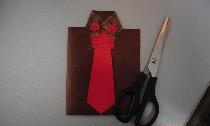
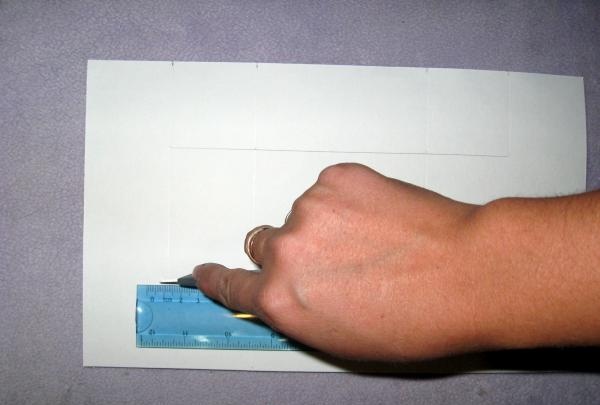
According to the diagram, we make creasing lines, for this we use a ruler and scissors. The main thing is to lay the base on a hard surface. The red stripes in the diagram indicate the cut, so we make cuts exactly under the ruler with a stationery knife.

draw a diagram of the base

make creasing lines


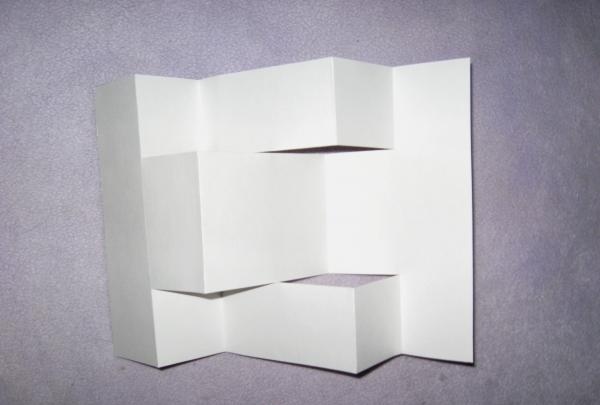
We fold the card with external and internal bends, as in the diagram. Now we take scrap paper and measure the following dimensions: 2 pieces - 5*18 cm, 2 pieces - 5*9.8 cm, 2 pieces - 4.8*9.8 cm, 1 piece - 7.8*9.8 cm and 4 pieces – 4.8*4.8 cm. Cut out all the shapes.

make creasing lines

Folding a postcard


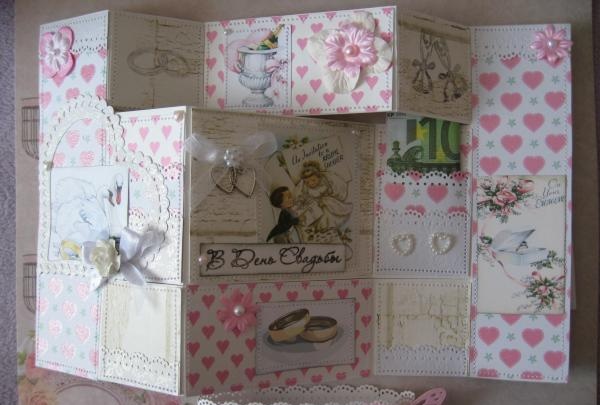
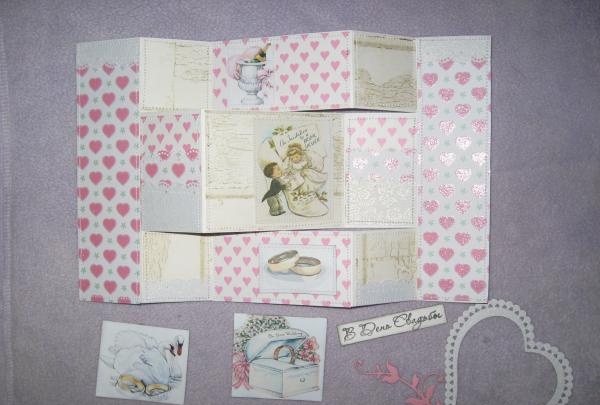
We glue the pictures with tape onto scrap paper and sew each one separately. Cut out congratulatory inscriptions.

We glue pictures

We glue pictures


Now we glue all the parts of the scrap paper onto the base and stitch each element along the edges with a machine.

we stitch the element with a machine

we stitch the element with a machine


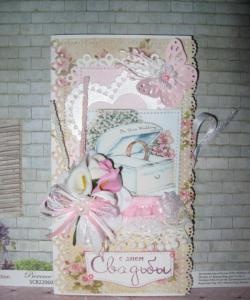
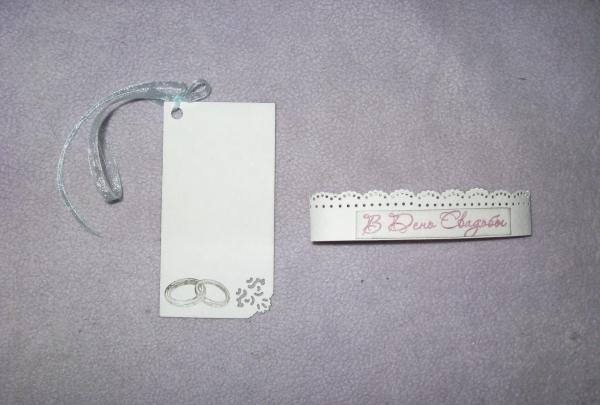
We stamp a separate rectangle of watercolor paper with rings, make an openwork corner and use a hole punch to make a loop for the ribbon in the upper corner. The postcard is folded, 10*18 cm when folded. We make a paper castle. We go through the strip with a border hole punch, assemble it into a ring and glue it so that it fits on a postcard. Glue the inscription and decor.

we stitch the element with a machine

Glue the rest of the decor

Glue the rest of the decor


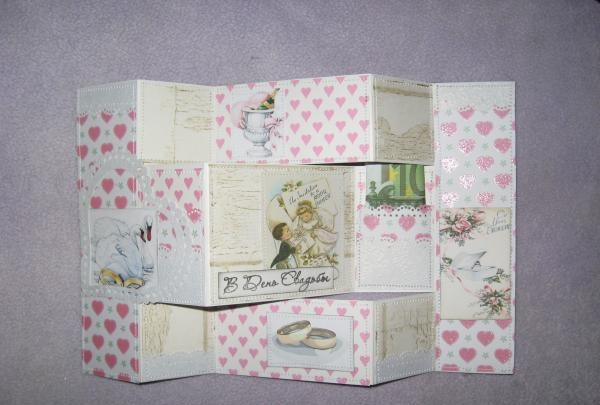
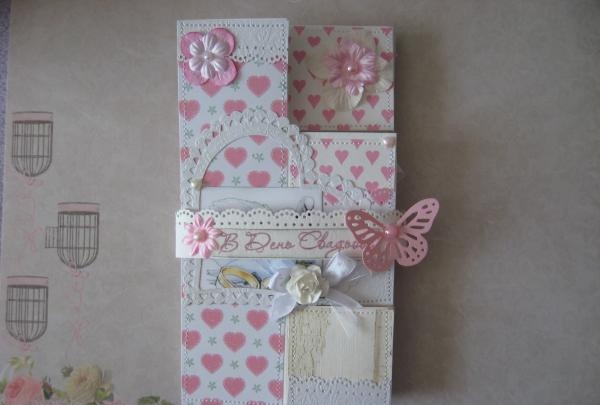
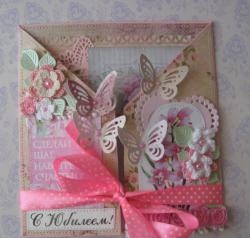
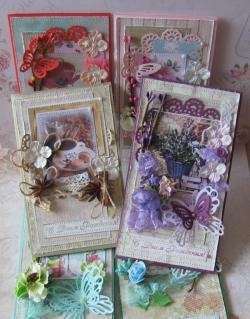
We glue the rest of the decor as in the photo. In the middle we make a pocket for money. Fold the bill and insert it into your pocket. Ready! Very gentle and unusual!

Glue the rest of the decor

Intricate wedding card
come back
Comment
  • bowtiesmilelaughingblushsmileyrelaxed relaxedsmirk
    heart_eyeskissing_heartkissing_closed_eyesflushedrelievedsatisfiedgrin
    winkstuck_out_tongue_winking_eyestuck_out_tongue_closed_eyesgrinningkissingstuck_out_tonguesleeping
    worriedfrowninganguishedopen_mouthgrimacingconfusedhushed
    expressionlessunamusedsweat_smilesweatdisappointed_relievedwearypassive
    disappointedconfoundedfearfulcold_sweatperseverecrysob
    joyastonishedscreamtired_faceangryragetriumph
    sleepyyummasksunglassesdizzy_faceimpsmiling_imp
    neutral_faceno_mouthinnocent
4 minus one =
Comments (0)

Christmas tree made from salt dough | Do it yourself

How to make a milling cutter from a bolt for working in hard-to-reach places

Polymer clay frame with food weight measure | Do it yourself

Converting a car generator into a powerful electric motor

«Do it yourself - with your own hands» - a site of interesting homemade products made from scrap materials and items at home. Step-by-step master classes with photos and descriptions, technologies, life hacks - everything a real master or just a craftsman needs for needlework. Crafts of any complexity, a large selection of directions and ideas for creativity.

We recommend reading

Washing machine error codes