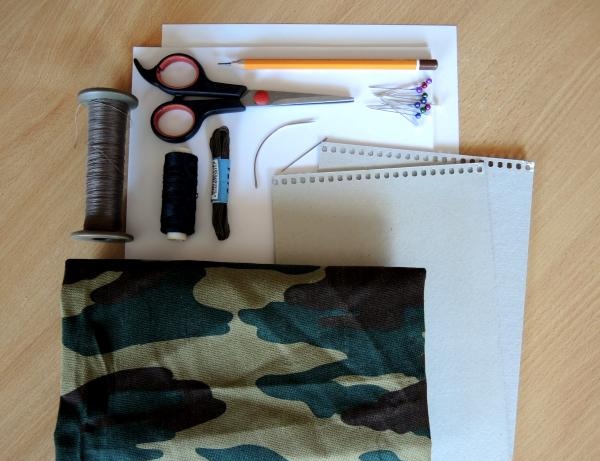
- 15 sheets of A4 format,
- 1 sheet of thick A4 paper,
- very thick cardboard (you can use a hard backing from an album, a box) A4 size,
- any fabric that you like,
- threads to match the color of the fabric for sewing,
- elastic band (30-40 cm),
- threads for stitching pages (you can take sewing threads, but it’s better to use a thicker thread),
- needles (medium and large),
- pins,
- scissors,
- ruler,
- pencil,
- Your skillful hands.
Let's get to work.
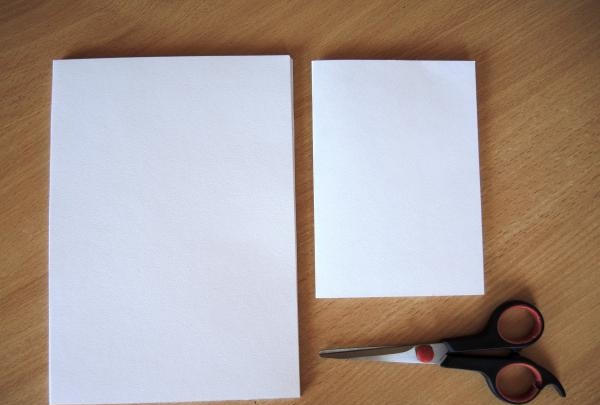
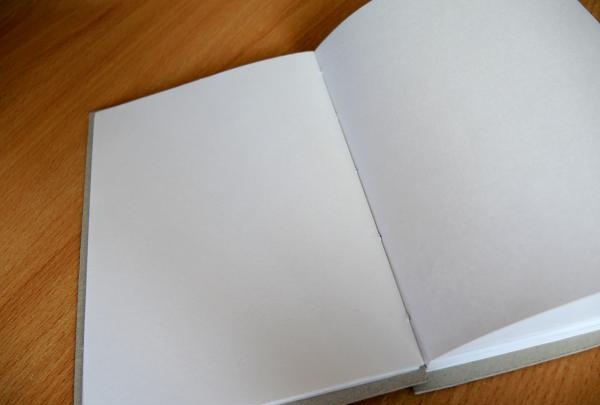
Take paper (15 regular sheets and one thicker sheet) and cut each one in half. We bend two sheets of thick paper in half, one at a time (these sheets will be located between the cover and the block of paper), and divide the remaining sheets into packs of three sheets each and also fold them in half. Iron the folded area thoroughly.
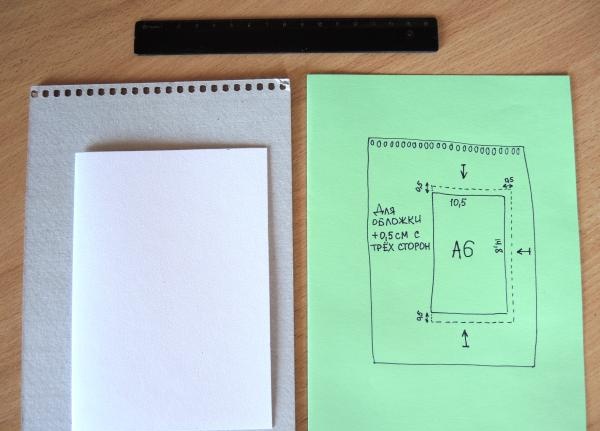
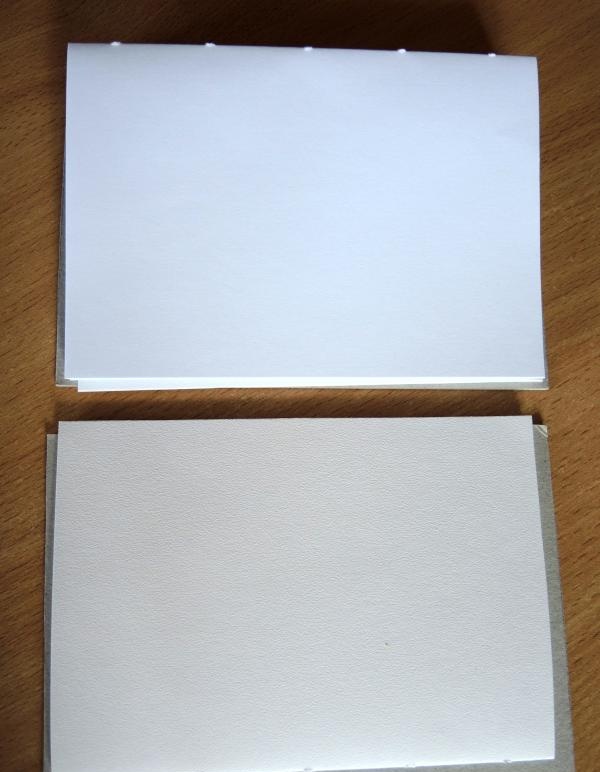
Next we move on to the cover. Let's take a thick cardboard and measure the dimensions of an A6 sheet on it, adding 0.5 cm to the three sides of the resulting rectangle. The result should be two crusts, slightly larger than the pages.
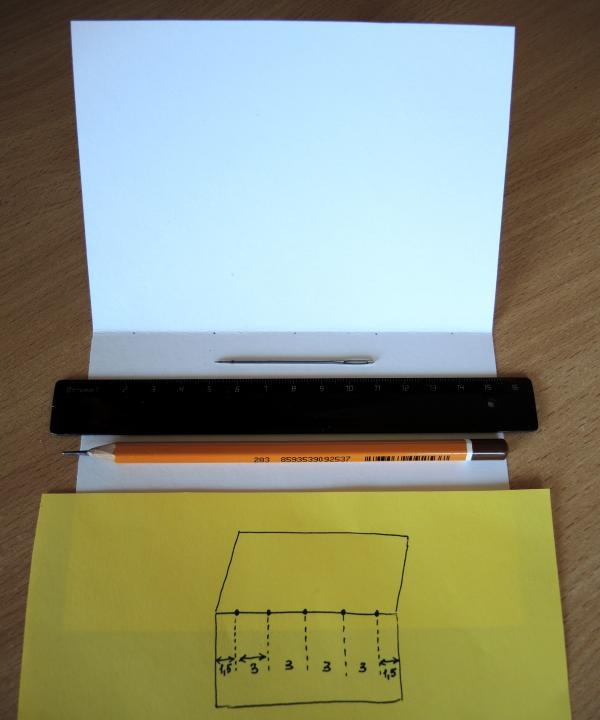
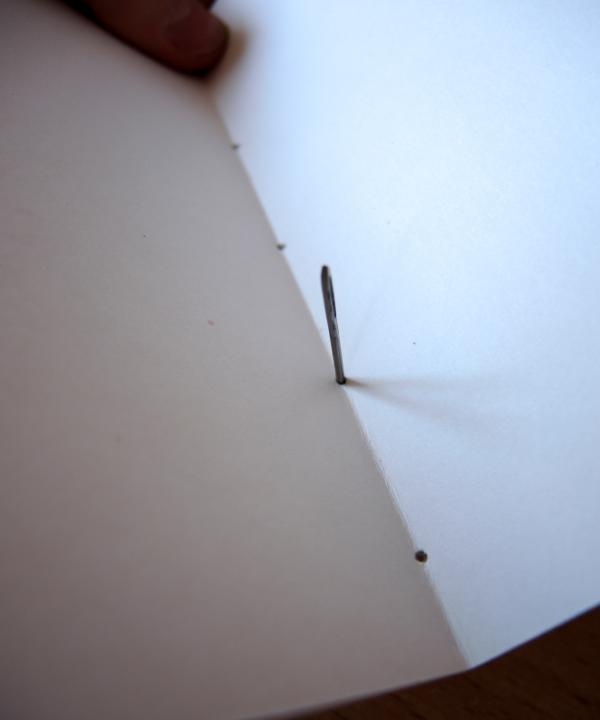
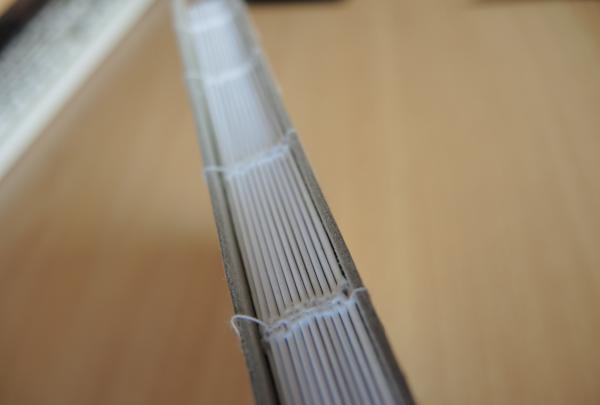
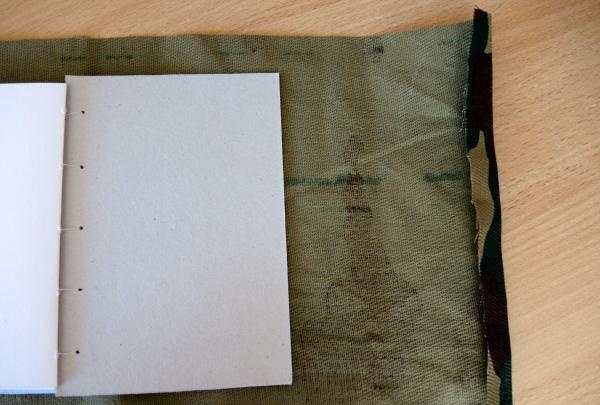
We move on to the next stage: stitching the pages.We will sew the sheets together using Coptic binding, which is often used for sketchbooks. First, let's poke holes with a thick needle on the fold of the sheets. We measure out the location of the holes on one page. The diagram below shows the distance between them.
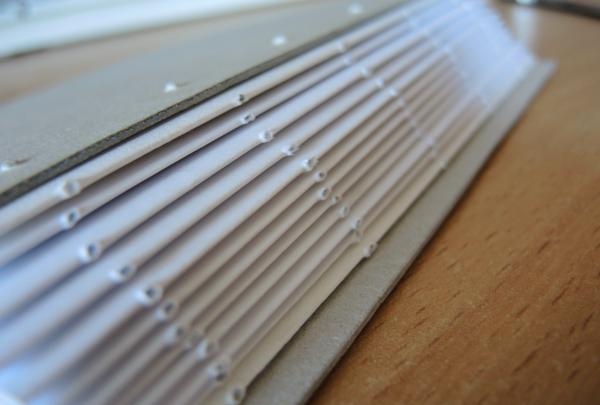
Having made holes on one sheet, we do the same with the remaining sheets and covers by overlapping. Only on the covers you need to step back from the edge by about one satrimeter.
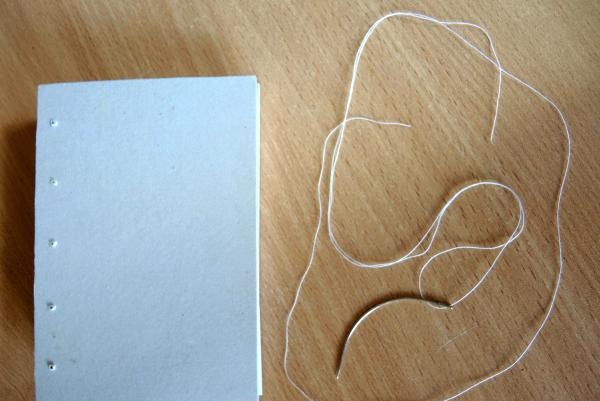
Now we thread the needle and begin to fasten the sheets into a single block.
We take one crust cover and a sheet.
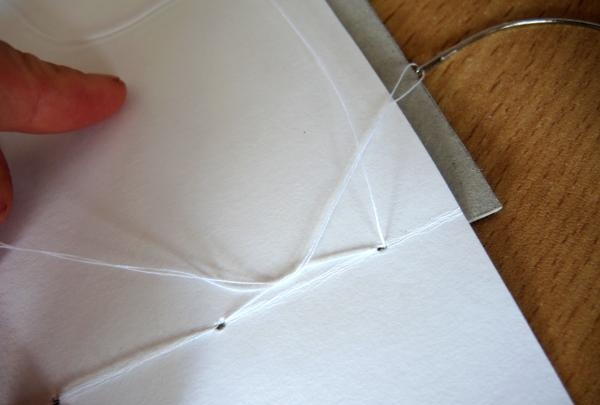
Open the page and thread the needle through the outer hole.
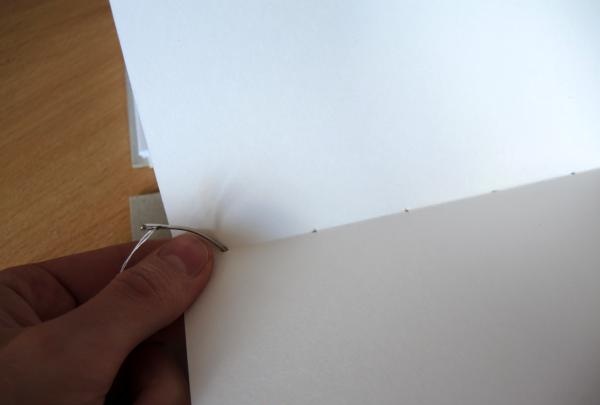
We pull the thread outward, leaving a small tail, and thread the thread into the corresponding hole in the cover, then return to the same hole on the fold of the sheet from which the thread leads.
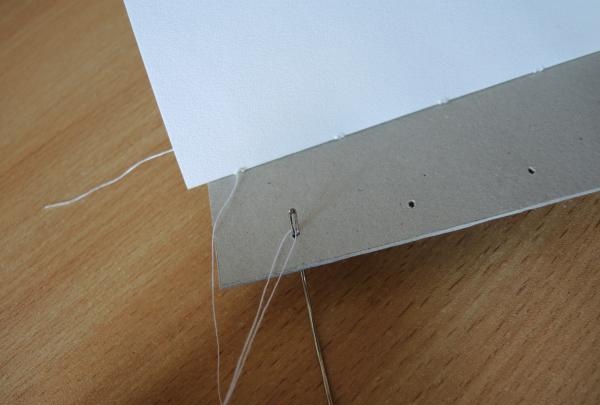
We tie a knot inside.
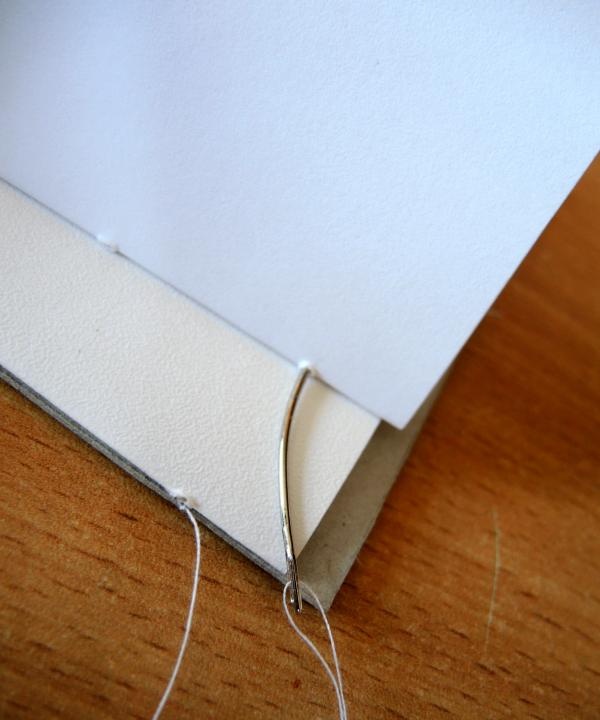
Next, pull the thread out into the next hole and continue fastening the cover to the sheet in the same way as the previous steps. When you reach the last hole, secure the thread inside with a knot and pull it out again.
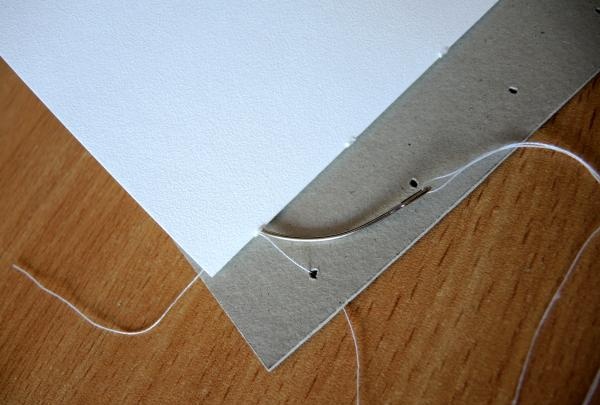
Next, take a stack of three sheets and thread the needle through the outer hole.
Inside we thread the thread into the following.
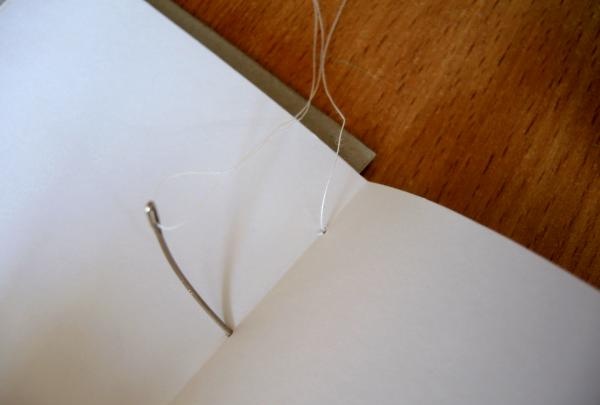
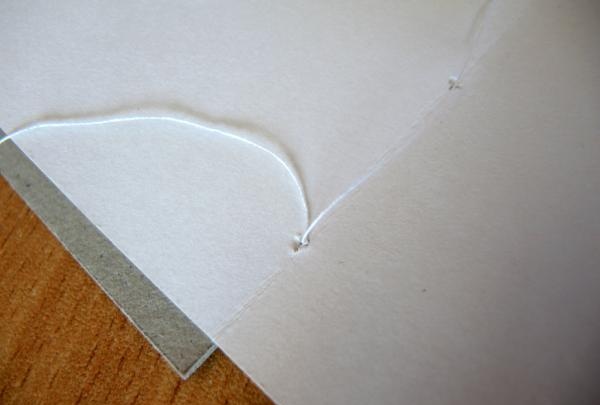
Now, hooking the needle onto the previous row, we make a loop (knot).

And we return to where the thread leads.
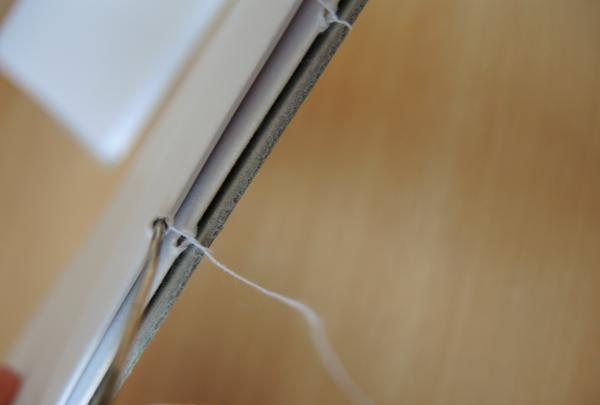
Next, we perform the same steps until all the sheets and the cover are connected to each other.
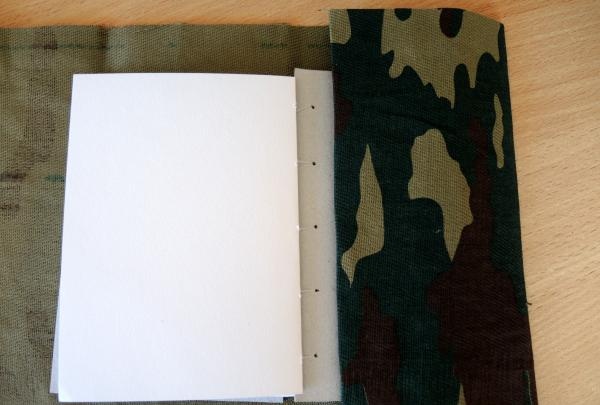
Now let's move on to the fabric cover. We first measure the fabric by eye.
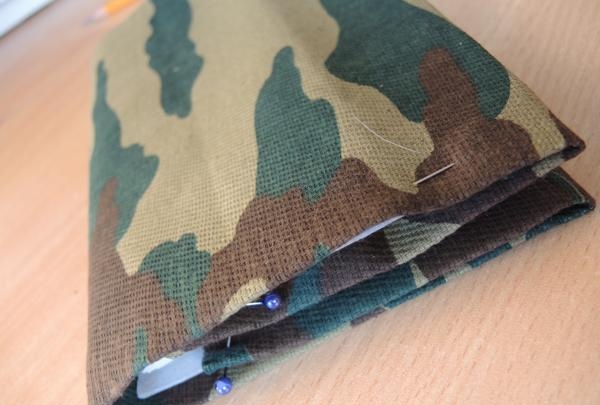
The result is a rectangle measuring 49x20 cm. We bend the fabric as shown in the diagram. Indents from the edge of 1.5 cm - on the hem.
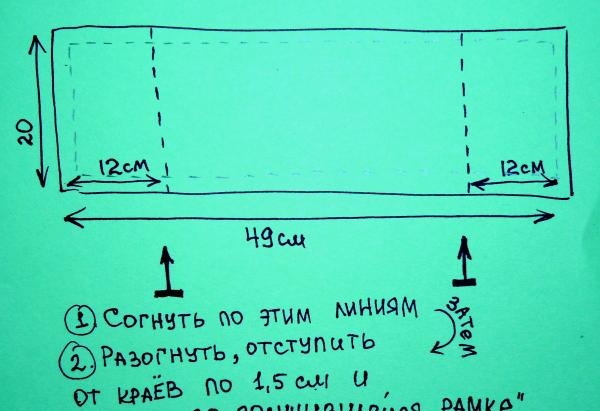
We secure everything with pins.

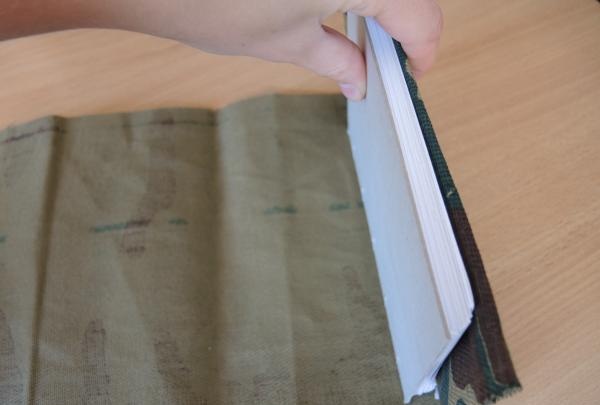
And we try the cover on the block.
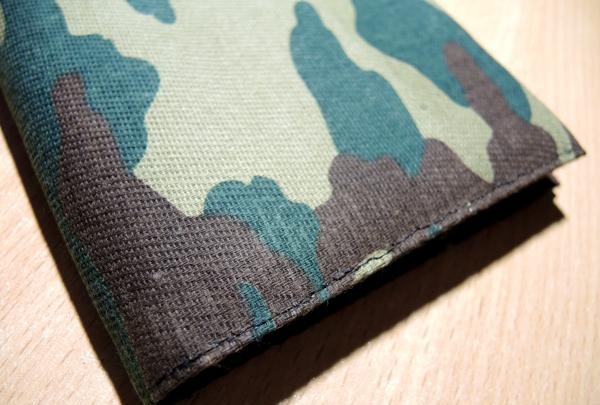
We sew the cover at the top and bottom, if desired, you can go around the entire perimeter.

Place the cover on a block of paper.
Now let's get to the "clasp". Take a rubber band and wrap it around the notepad, tying a knot. You can attach beads to the remaining tails.
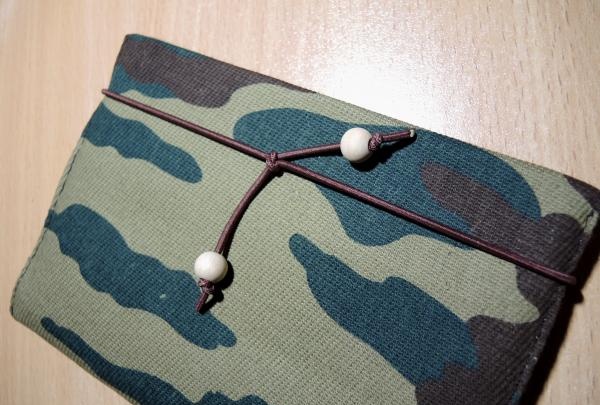
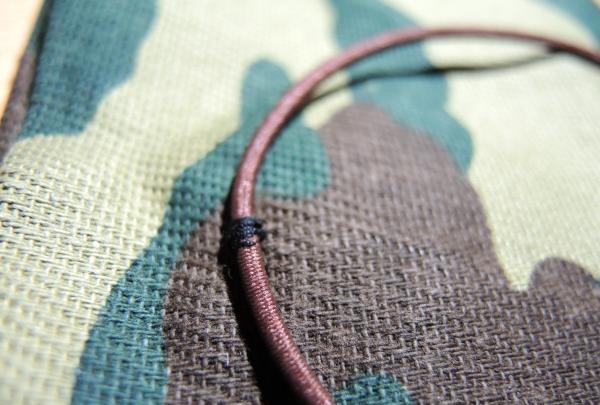
On the reverse side we sew an elastic band to the fabric so that it does not fall off or “ride.”
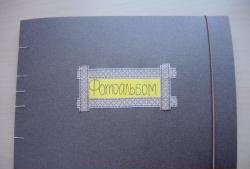
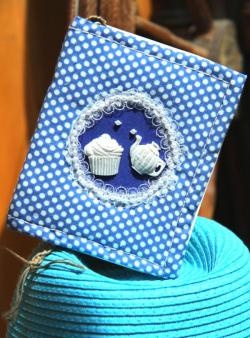
You can make such a compact and strong notebook with your own hands.
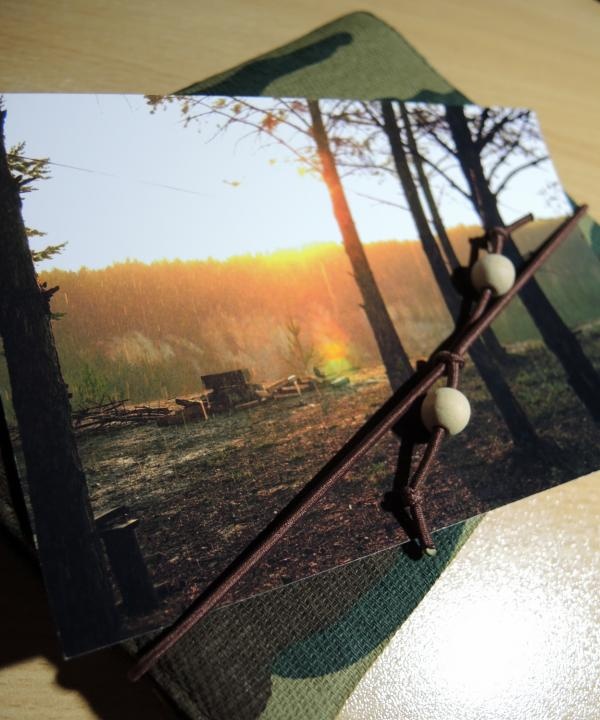
I wish you creative success and inspiration!