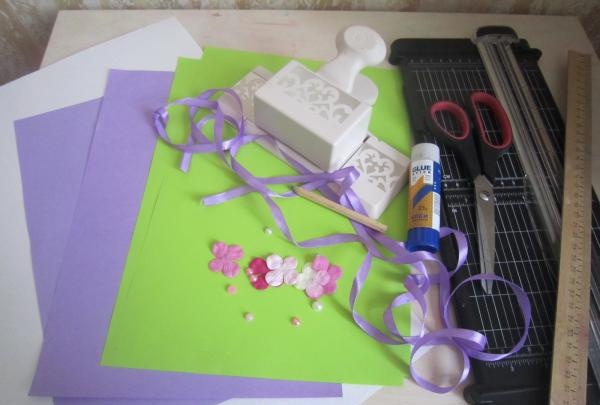
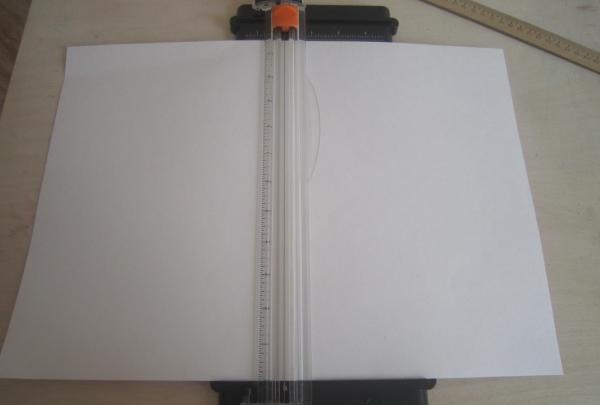
Watercolor paper works very well for cards. It is textured, pleasant to the touch, and bends well into two halves. From a sheet of paper, cut out a square with sides of 22 cm. You can use regular scissors or a special paper cutter.
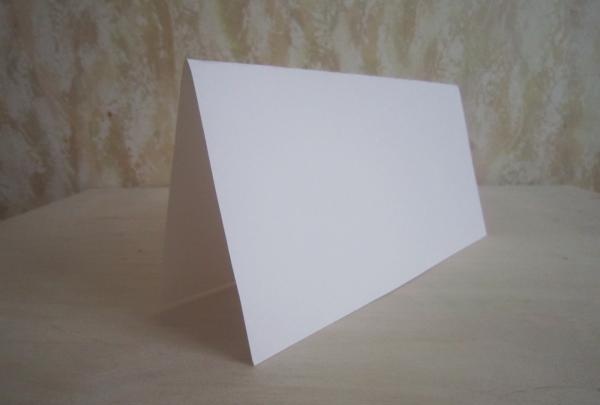
We bend the resulting base in the middle to form a rectangle with sides 22 and 11 cm.
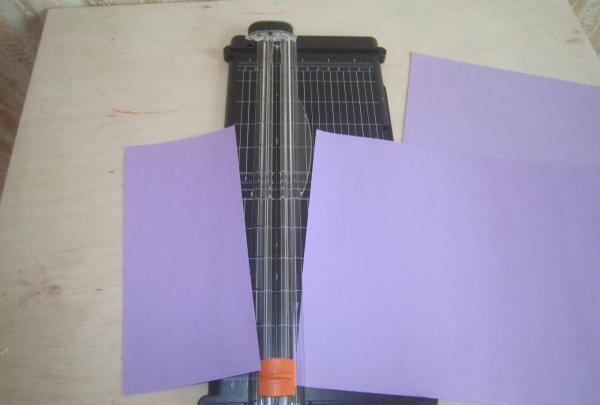
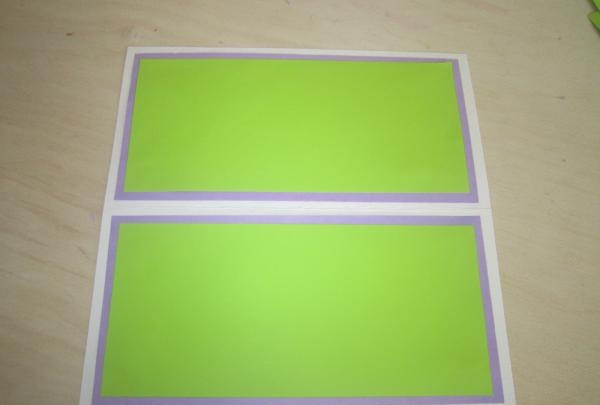
We begin to cut out the colored backing. First, take a sheet of purple paper, lay out a rectangle with sides of 21 and 10 cm on it, and cut it out. We will need 4 such blanks.
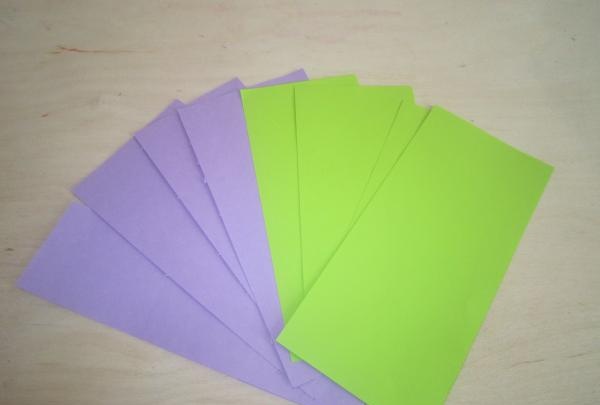
The next colored backing will decrease by 0.5 cm on each side. On a sheet of green paper we lay out a rectangle with sides of 20 and 9 cm, respectively. Cut out 4 rectangles from green paper.
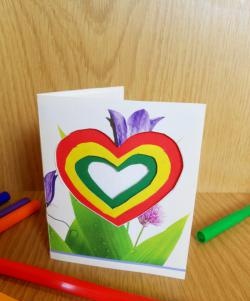
When all the blanks are ready, they can be glued to the base. You need to retreat 0.5 cm from the edge of each side. This measurement can be marked on the postcard on each side with a needle so as not to leave a mark from a pencil or pen.The paper sticks well to a regular glue stick. It will not deform the product and will not leave marks. First we glue the purple sheet; then, again we retreat from the edge (now from the purple sheet) 0.5 and glue the green rectangle.
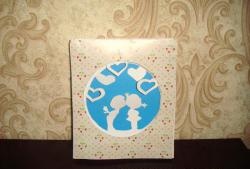
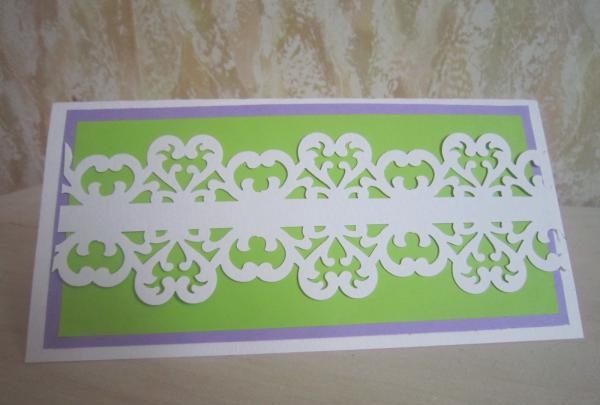
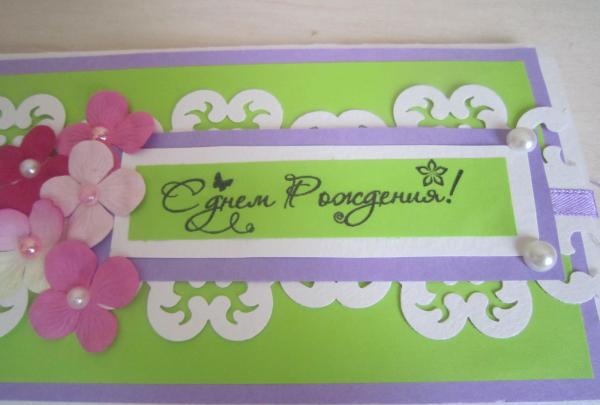
Take a sheet of watercolor paper measuring 7.5 by 22 cm and a figured hole punch. From the top and bottom sides we go through the rectangle with a hole punch. Glue the resulting openwork sheet to the postcard.

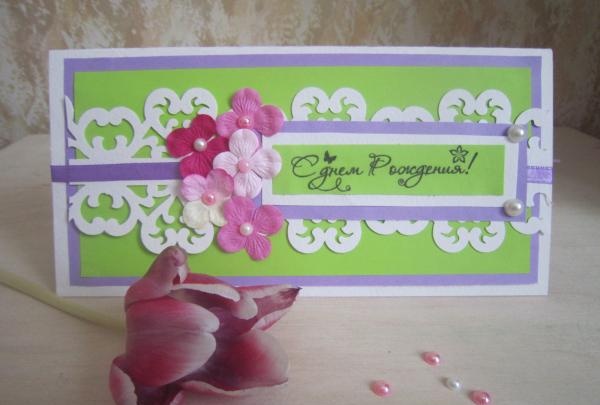
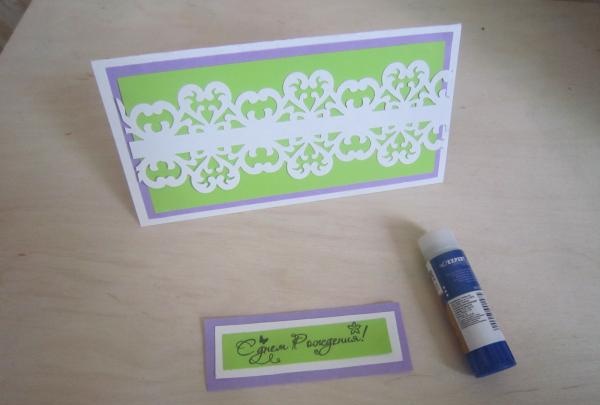
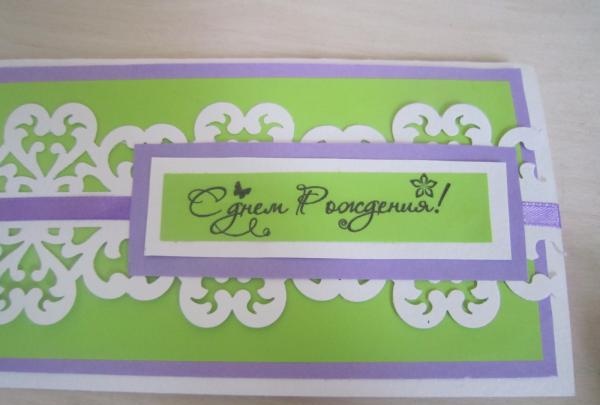
A congratulatory inscription will appear on the right side of the postcard, but you need to prepare the basis for it. We print out the inscription “Happy Birthday” on a sheet of green paper. The dimensions of this rectangle are 10 by 2 cm. This means that subsequent sheets will be increased by 1 cm in order to maintain a margin of 0.5 cm. We cut out a rectangle measuring 11 by 3 cm from watercolor paper, and 12 by 4 cm from purple paper. Glue all the cutouts together. starting with a larger size and ending with a small one, with an inscription.
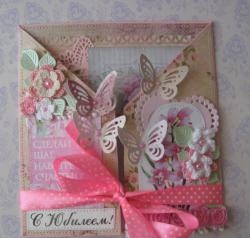
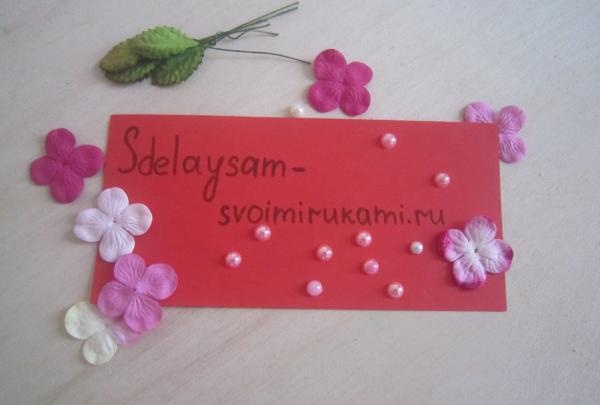
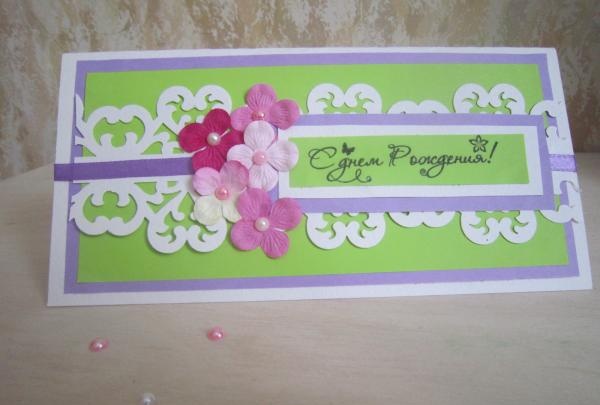
Let's start decorating our card. All kinds of ribbons, half-beads, and flowers will be useful for this.
A thin purple ribbon is glued to the middle of the card in the center of the figured blank. On top is a combination with congratulations.
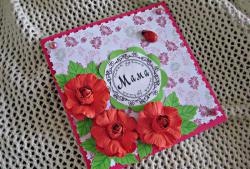
The card will be decorated with pink flowers. It is better to glue their centers, half-beads, with Moment glue. Flowers can be evenly distributed over the entire surface, or they can be placed nearby.
We glue one flower to the inside to decorate future congratulations.
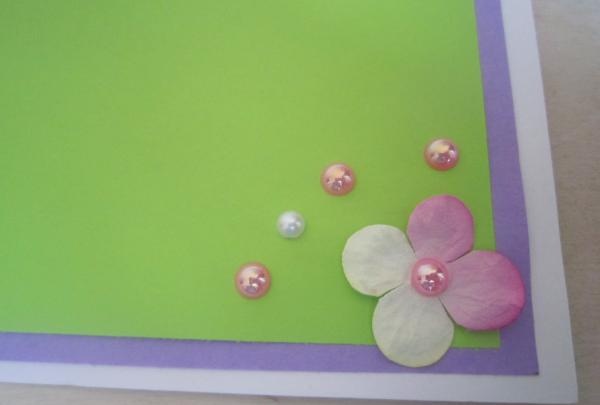
We decorate the corners of the congratulatory inscription with larger half-beads.
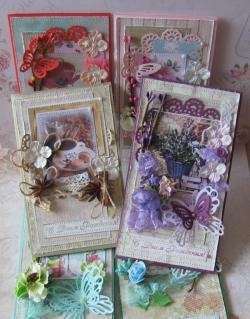
Our postcard is ready.