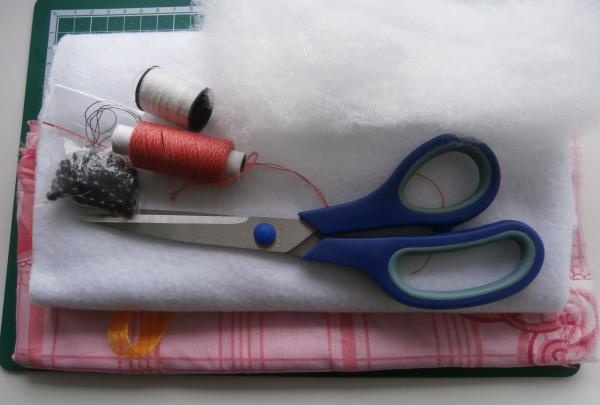
To make a toy you need to prepare:
- white fabric, such as fleece or faux fur;
- pink chintz fabric with a pattern;
- padding polyester;
- small black beads for eyes;
- white, pink and black threads;
- yellow satin ribbon;
- needle;
- scissors.
The procedure for working on a soft toy.
1. Let's redraw the toy pattern onto paper. You can attach a sheet of not very thick paper to the monitor screen and trace the details from the photo with a simple pencil. We should get details of an oval head, an elongated ear and a body with legs.
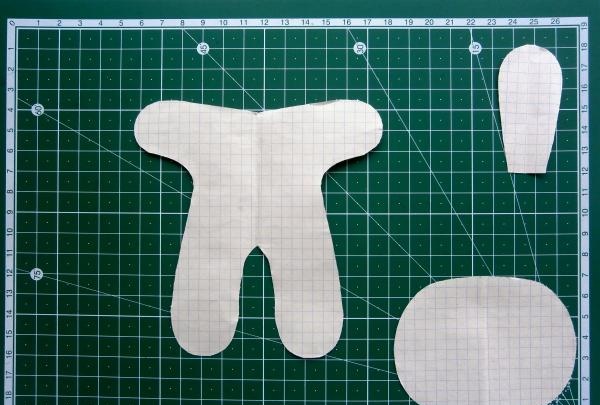
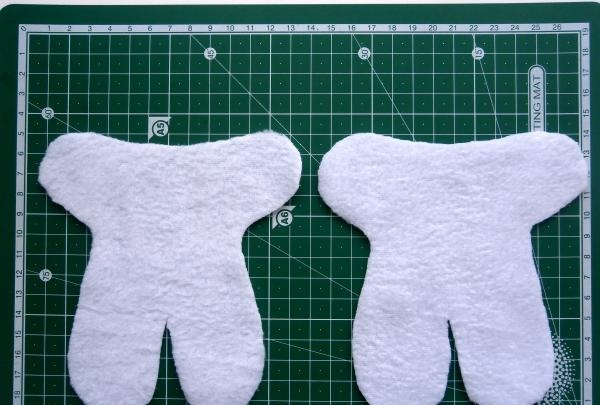
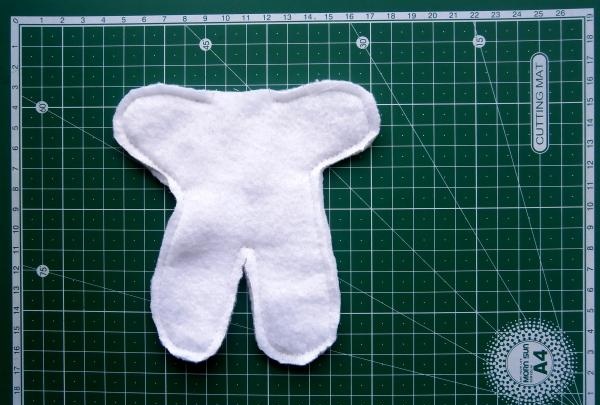
2. Cut out two identical parts of the body with legs from white fabric, adding seam allowances.
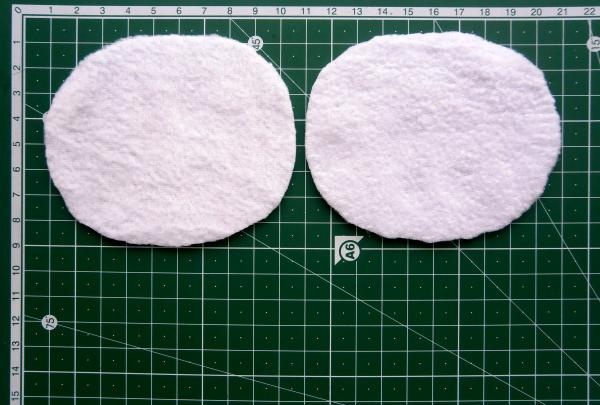
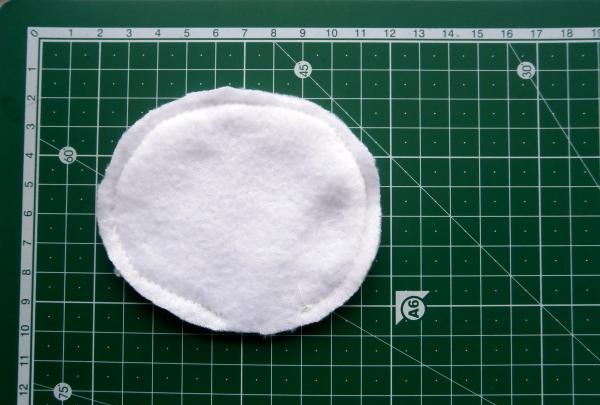
3. Now let’s transfer the pattern of the bunny’s head onto a white fabric, outline it with a simple pencil and cut out two identical parts of the oval-shaped head, adding seam allowances.
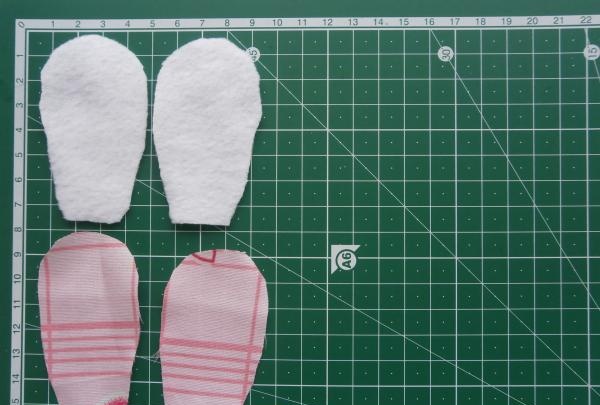
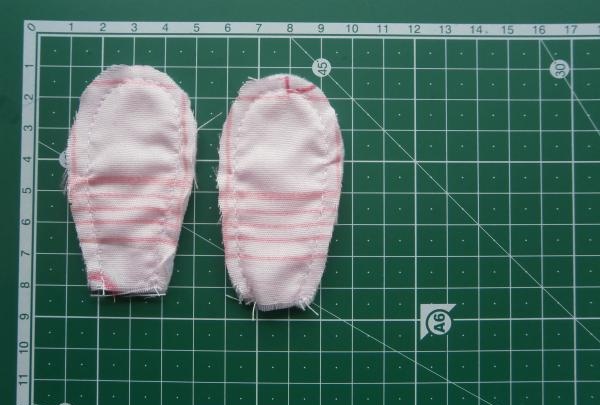
4. For the ears we need four parts. We will cut out two identical ear parts (with seam allowances) from white fleece fabric, and two from pink chintz fabric.
5. Let's start sewing our bunny.First, we will sew the body with the legs - to do this, we will place the parts one to the other with the right side and sew along the edge. In the upper part of the body, where the neck should be, we will leave a small unsewn area.
6. The next stage is sewing the head. Let's put the head parts right sides together and sew them together. In the neck area we will also leave a small unsewn area.
7. All that remains is to sew the ears. We will sew each ear from white and pink fabric, folding the parts right sides together. Sew the ears so that there is a hole at the bottom.
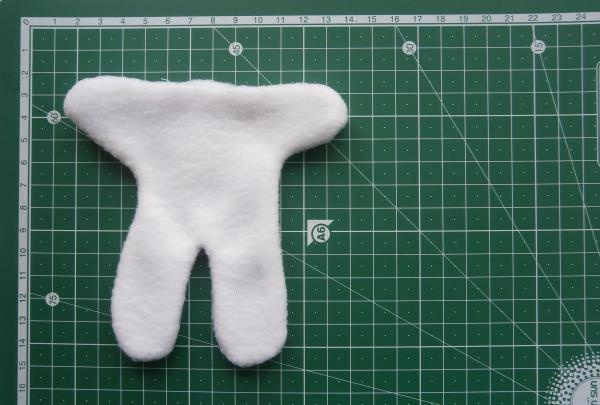
8. Now you need to unscrew all the parts. First, turn the body with its legs inside out and straighten it thoroughly.
9. After this, turn out the part of the bunny’s head and straighten it too.

10. It remains to turn out both ears, helping yourself with a pencil or a thin stick.

11. The next stage is stuffing the toy. First of all, we fill the body with padding polyester. The toy should be filled evenly.

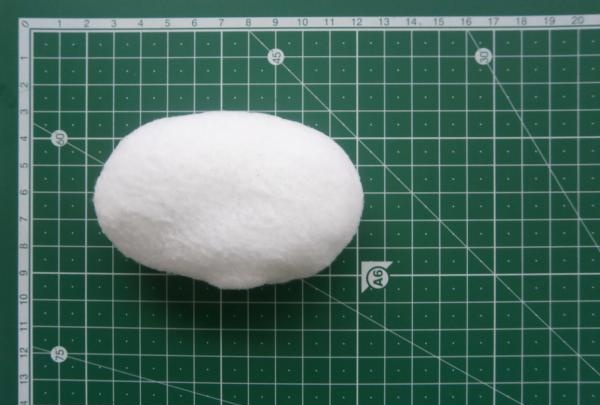
12. After this, fill the head tightly.
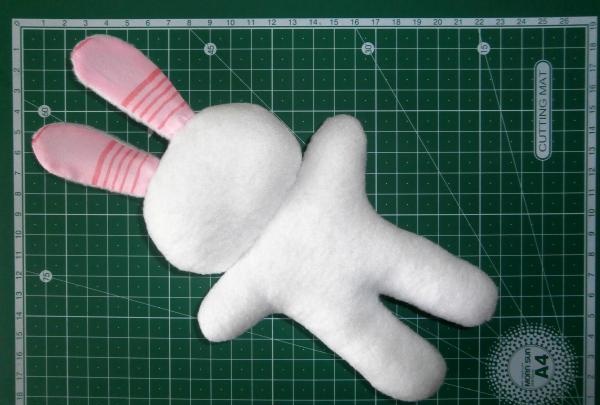
13. Sew up the unsewn areas on the head and body. Using white thread we sew the head to the body. We will also sew up holes on each ear and sew the ears to the head.
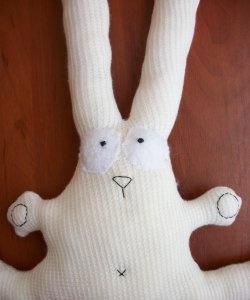
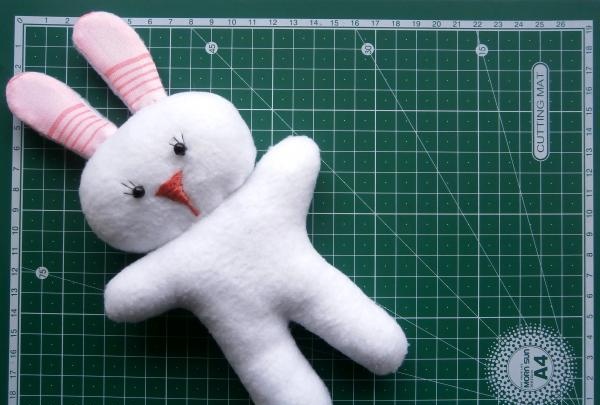
14. Our bunny is almost ready. Using a simple pencil, draw dots-eyes on the muzzle and outline the nose. Use black thread to sew eyes made of black beads in the places marked with a pencil. Near each eye we embroider eyelashes with black thread. Using pre-drawn lines, we embroider a nose in the form of a small triangle with pink threads.
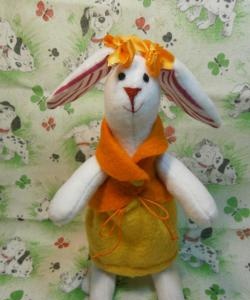
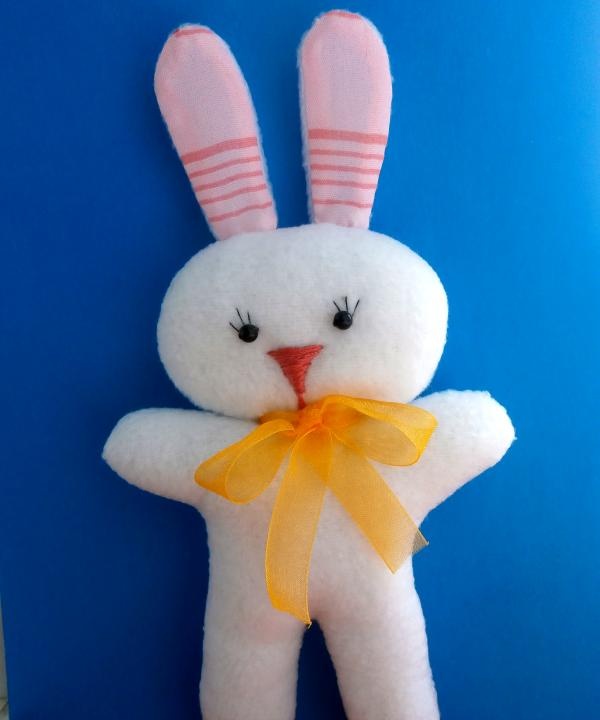
15. Take a yellow ribbon 37 cm long and tie a bow from this ribbon for our bunny.
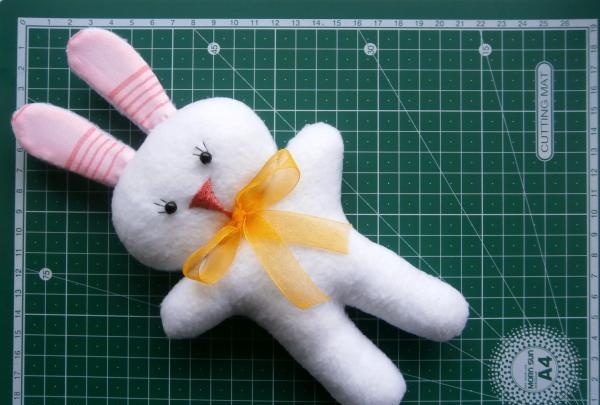
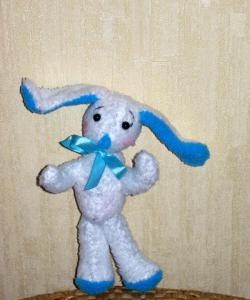
Our toy is ready. I hope this snow-white bunny with a bow will please your child. Such a bunny can be sewn not only from white fabric - you can use blue, pink, and fabric with small flowers.